Introduction
Welcome to the world of technology, where we are constantly surrounded by devices that capture our every move. From laptops to smartphones, one of the most common features is the built-in webcam. While webcams are incredibly useful for video calls, conferences, and capturing memories, there may come a time when you want to turn off your webcam.
Whether it’s due to privacy concerns, the need to conserve battery life, or simply the desire for a break from being constantly “visible,” knowing how to turn off your webcam is an essential skill. In this article, we will explore different methods to disable your webcam and regain control over your online presence.
Before we dive into the methods, let’s quickly discuss why you might want to turn off your webcam in the first place. Privacy is a major concern in the digital era, with hackers and malicious individuals constantly finding new ways to exploit vulnerabilities. Disabling your webcam when not in use adds an extra layer of protection against unauthorized access and potential breaches.
Furthermore, applications and websites can sometimes access your webcam without your knowledge or consent. By turning it off when not needed, you can prevent these unauthorized access attempts and protect your privacy.
Another reason to turn off your webcam is to save battery life, especially on devices such as laptops and tablets where power usage is crucial. Webcams require power to function, and turning them off can extend your device’s battery life, ensuring you have more time to get work done or entertain yourself without worrying about running out of power.
Lastly, disabling your webcam can provide peace of mind and allow you to enjoy your device without feeling constantly watched. In an age where surveillance and intrusion have become prevalent, having control over when and how you are seen can offer a sense of autonomy and security.
Now that we have established the importance of disabling your webcam, let’s explore the various methods you can use to turn it off. Whether you prefer a software-based solution or a physical disconnection, we have you covered. Read on to find the method that best suits your needs.
Why should you turn off your webcam?
While webcams are a valuable tool for communication and content creation, there are several reasons why you might want to turn them off when not in use. Let’s explore some of the key reasons:
1. Protecting your privacy:
Your webcam is essentially a window into your personal space. Hackers and malicious individuals can exploit vulnerabilities in your device’s software to gain unauthorized access to your webcam. By turning off your webcam, you can prevent potential invaders from spying on you and invading your privacy.
2. Preventing unauthorized access:
Some applications and websites have the ability to access your webcam without your knowledge or consent. This can be a significant concern, as your webcam could be used to capture images or videos of you without your permission. By disabling your webcam, you can ensure that only trusted applications have access to it.
3. Conserving battery life:
If you’re using a laptop or other portable device, turning off your webcam can help conserve battery life. Webcams require power to function, and by disabling it when not needed, you can extend your device’s battery life and maximize your productivity or entertainment time.
4. Minimizing distractions:
In online meetings or conferences, having your webcam turned off can help minimize distractions. By focusing solely on the audio and visual content being shared, you can improve concentration and actively engage in the discussion without worrying about how you appear on camera.
5. Improving device performance:
Webcams, particularly high-resolution ones, require significant processing power to capture and transmit video. By turning off your webcam, you can free up system resources, allowing your device to run more smoothly and perform tasks more efficiently.
These are just a few compelling reasons why you might want to turn off your webcam. Whether it’s protecting your privacy, preventing unauthorized access, conserving battery life, minimizing distractions, or improving device performance, having control over your webcam usage is essential in today’s digital landscape.
Different ways to turn off your webcam
When it comes to disabling your webcam, there are multiple methods you can choose from, depending on your device and preferences. Let’s explore some of the most common ways to turn off your webcam:
1. Using the software settings:
Most operating systems provide built-in settings that allow you to control your webcam. In Windows, you can navigate to the Device Manager, locate the webcam under Imaging devices, right-click on it, and select the ‘Disable’ option. On macOS, you can go to System Preferences, click on Security & Privacy, and under the Privacy tab, disable access for applications that use the webcam.
2. Disconnecting the webcam physically:
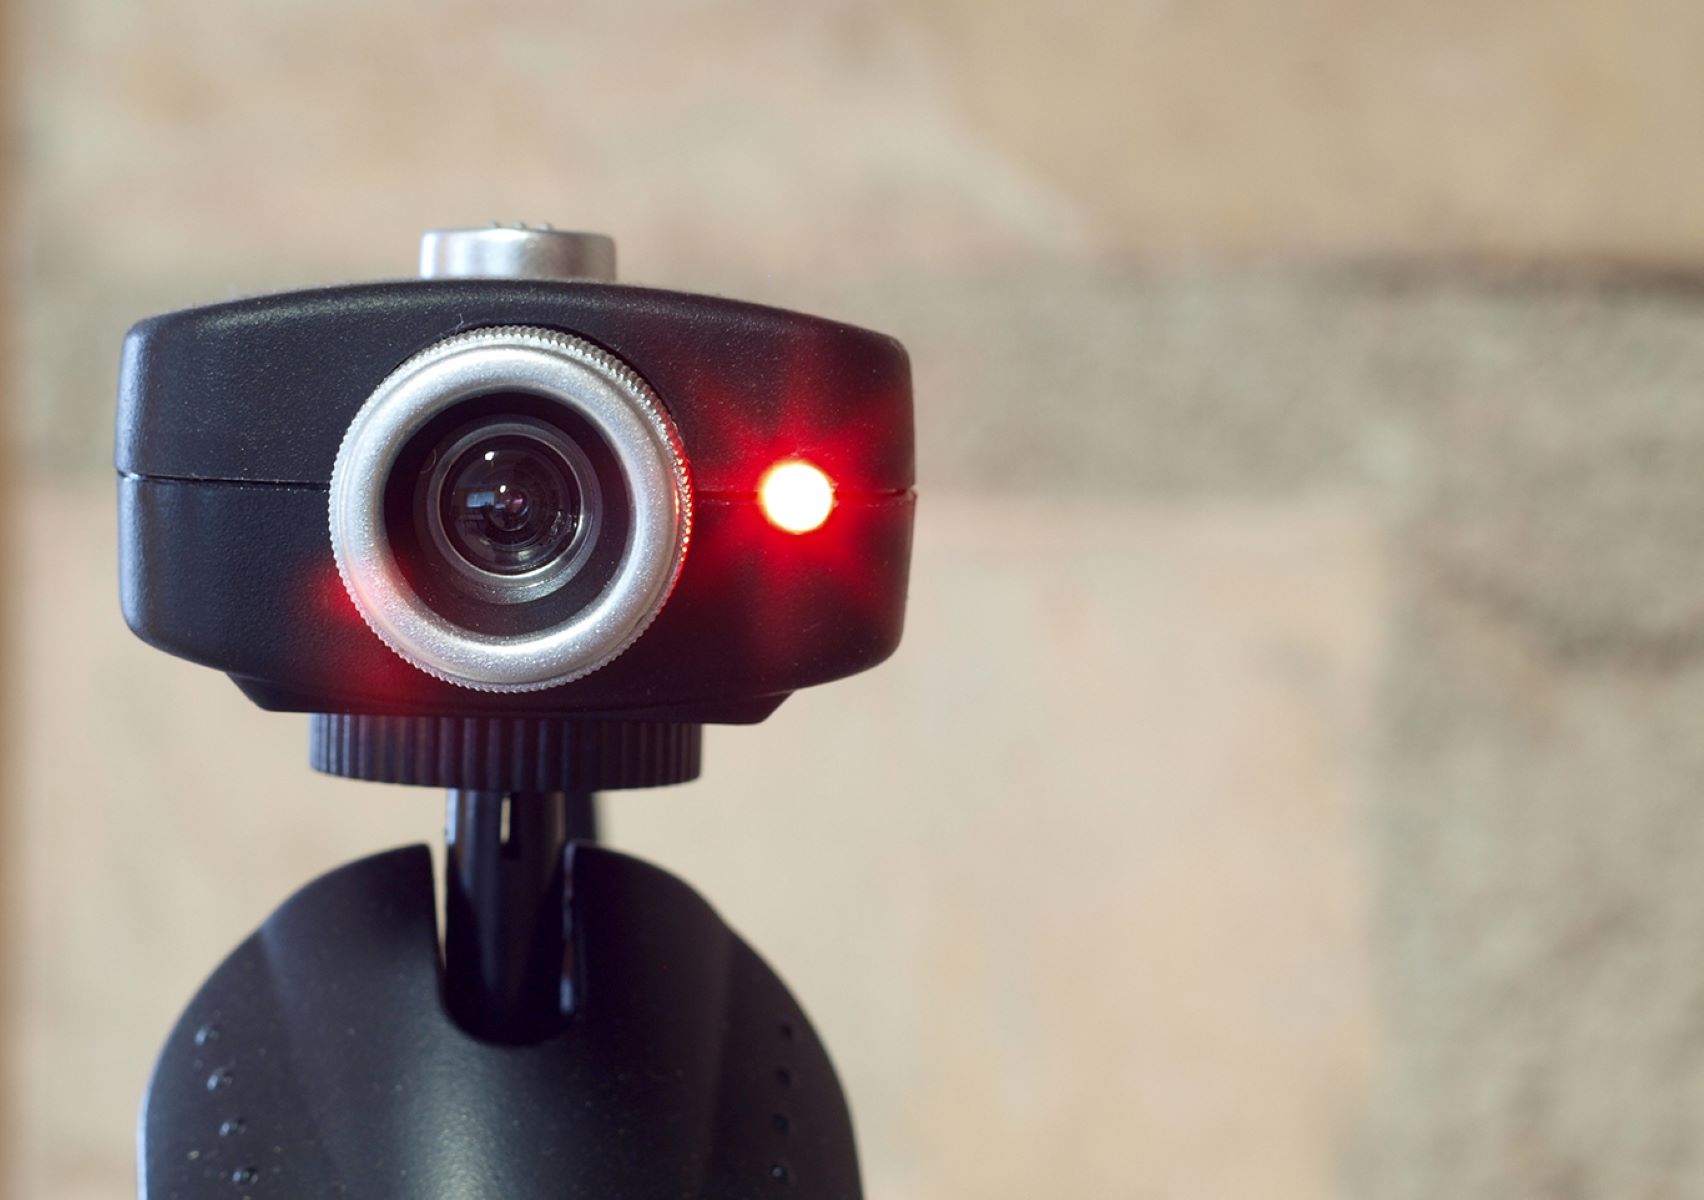
If you want to ensure complete privacy and disable your webcam physically, you can unplug the USB cable connecting the webcam to your device. This method is effective but may not be viable for built-in webcams found in laptops or all-in-one desktop computers.
3. Using the task manager:
For Windows users, an alternative method to disable your webcam is by using the Task Manager. Press Ctrl + Shift + Esc to open the Task Manager, navigate to the ‘Processes’ or ‘Details’ tab, find the process associated with your webcam (e.g., “cam.exe” or “webcam.exe”), right-click on it, and select ‘End Task’ or ‘End Process’. However, be cautious when using this method, as ending the wrong process can cause system instability.
4. Installing a third-party webcam blocker software:
If you want more control and additional features, you can consider installing third-party webcam blocker software. These applications provide advanced options to disable and enable your webcam, as well as monitor and block unauthorized access attempts. Some popular examples include Webcam Blocker, Webcam Shield, and IObit Malware Fighter.
These are just a few methods to turn off your webcam. It’s essential to choose the method that suits your device and requirements best. Whether you prefer using software settings, physically disconnecting the webcam, using the task manager, or installing third-party software, taking control of your webcam usage ensures your privacy and peace of mind.
Method 1: Using the software settings
One of the simplest and most common ways to turn off your webcam is by utilizing the software settings on your device. This method allows you to disable the webcam through the operating system’s built-in controls. Here’s how you can do it:
For Windows:
1. On your Windows device, open the Start menu and search for “Device Manager.”
2. Click on the “Device Manager” option from the search results to open the Device Manager window.
3. In the Device Manager window, expand the “Imaging devices” or “Cameras” category.
4. Right-click on your webcam device (it may have a name like “Integrated Camera” or the brand name of your external webcam) and select the “Disable” option from the context menu.
5. A confirmation prompt may appear. Click “Yes” or “Disable” to confirm the disabling of the webcam.
For macOS:
1. On your Mac, go to the Apple menu and click on “System Preferences.”
2. In the System Preferences window, click on the “Security & Privacy” icon.
3. Select the “Privacy” tab at the top of the window.
4. In the left sidebar, click on “Camera.”
5. Uncheck the box next to the applications that you want to restrict from accessing your webcam.
By following these steps, you can easily disable your webcam using the software settings provided by your operating system. This method ensures that your webcam is turned off at the system level, preventing any application from accessing it until you choose to enable it again.
Remember to enable your webcam when you intend to use it, following the same steps but selecting the “Enable” or “Allow” option instead of “Disable.” Additionally, it’s a good practice to keep your operating system and antivirus software up to date to ensure the security of your webcam and overall system.
Now that you have learned how to turn off your webcam using the software settings, let’s explore another method that involves physically disconnecting the webcam from your device.
Method 2: Disconnecting the webcam physically
For those who want to ensure complete privacy and have control over their webcam, physically disconnecting it is a viable option. By unplugging the webcam from the device, you can guarantee that it is effectively turned off. Here’s how you can do it:
For external webcams:
If you have an external webcam connected to your device via a USB cable, follow these steps:
1. Locate the USB cable that connects the webcam to your device.
2. Carefully unplug the USB cable from your device’s USB port.
Note: Make sure to identify the correct USB cable associated with your webcam to avoid accidentally disconnecting other devices.
For built-in webcams:
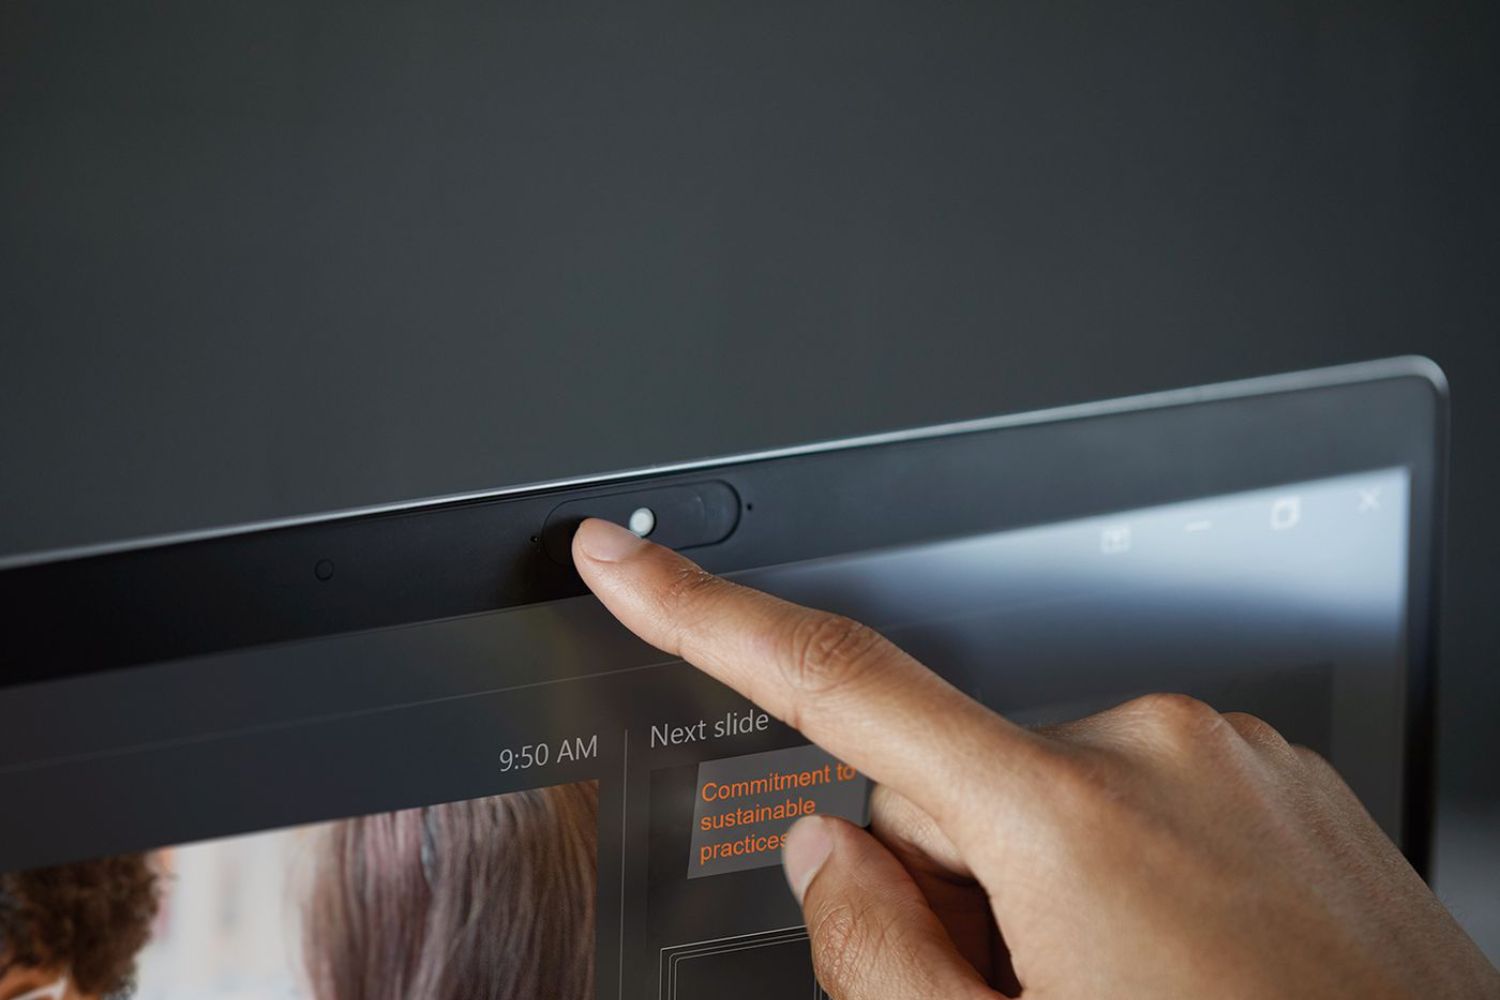
If your webcam is built into your device, such as a laptop or an all-in-one desktop computer, physically disconnecting it may not be as straightforward. In such cases, you might need to refer to your device’s user manual or seek professional assistance to disable the webcam by disconnecting internal cables or disabling it through the device’s hardware settings.
Physically disconnecting the webcam provides peace of mind, as it ensures that no software, application, or unauthorized individual can access your webcam without your knowledge. However, it’s worth noting that this method may not be suitable for those who frequently use their webcams and need to access them conveniently.
Remember that when you need to use your webcam again, you will need to reconnect it physically by plugging it back into your device’s USB port. Ensure that the webcam is securely connected to avoid any issues with the device recognizing it when you want to enable it.
Now that you have explored the method of physically disconnecting the webcam, let’s move on to another approach involving the use of the task manager to disable the webcam.
Method 3: Using the task manager
Another method to turn off your webcam is by utilizing the task manager, a built-in tool in Windows that allows you to manage running processes and applications. By ending the process associated with your webcam, you can effectively disable it. Here’s how you can do it:
Note: This method is applicable for Windows users only.
1. Press the Ctrl + Shift + Esc keys simultaneously to open the Task Manager.
2. In the Task Manager window, make sure you are on the “Processes” or “Details” tab.
3. Look for the process related to your webcam. The name of the process may vary depending on the camera model or software running it. Common process names include “cam.exe” or “webcam.exe”.
4. Right-click on the webcam process and select “End Task” or “End Process”.
5. A confirmation prompt may appear. Click “End Task” or “End Process” to confirm the disabling of the webcam process.
By ending the webcam process through the task manager, you effectively prevent the webcam from operating and transmitting any video or audio data. However, it’s important to note that this method is temporary, and the webcam will be reactivated when you restart your computer or the process is initiated again.
Exercise caution when using the task manager as it gives you the power to end processes that are critical for your system’s stability. Make sure you identify the correct process related to your webcam and avoid terminating any essential system processes.
Now that you have learned how to disable the webcam using the task manager, let’s explore another method that involves installing third-party webcam blocker software.
Method 4: Installing a third-party webcam blocker software
If you prefer a more comprehensive solution to manage your webcam usage and enhance your privacy, you can consider installing third-party webcam blocker software. These applications provide advanced features and additional security measures to help you monitor and control your webcam. Here’s how you can use this method:
Note: There are numerous third-party webcam blocker software options available, and the specific steps may vary depending on the software you choose. The following steps provide a general guide:
1. Research and choose a reputable third-party webcam blocker software that suits your needs. Some popular options include Webcam Blocker, Webcam Shield, and IObit Malware Fighter.
2. Visit the official website of the selected software and download the installation file.
3. Double-click on the downloaded file to initiate the installation process and follow the on-screen instructions to install the software on your device.
4. Once the software is installed, launch it and explore the available options and features. Most webcam blocker software allows you to enable or disable your webcam with a simple click or keystroke.
5. Customize the settings according to your preferences. You may have the option to set permissions for specific applications or create rules for automatic webcam blocking based on certain conditions.
6. Regularly update the webcam blocker software to ensure you have the latest security enhancements and compatibility with your operating system.
Third-party webcam blocker software provides an additional layer of security, giving you more control over your webcam usage. These applications often come with advanced features to monitor and alert you if any unauthorized access attempts are made.
It’s important to note that while third-party webcam blocker software can enhance your privacy and security, it’s crucial to choose reputable and trusted software from reliable sources. Be cautious of potential malware or spyware disguising themselves as webcam blocker software. Research thoroughly before installing any software and read reviews from reputable sources to ensure its legitimacy and functionality.
With the installation of third-party webcam blocker software, you can have peace of mind knowing that you have an additional layer of protection and control over your webcam usage.
Now that you have learned about the various methods to turn off your webcam, you can choose the method that best suits your requirements and preferences.
Conclusion
In today’s digital world, where privacy and security are of utmost importance, knowing how to turn off your webcam is a valuable skill. Whether you want to protect your privacy, conserve battery life, minimize distractions, or improve device performance, there are several methods you can employ to disable your webcam.
By using the software settings provided by your operating system, such as Windows Device Manager or macOS Privacy settings, you can easily disable and enable your webcam at the system level. This ensures that no applications or unauthorized individuals can access your webcam without your knowledge.
If you prefer a more physical approach, you can disconnect your external webcam from the USB port. This guarantees that the webcam is completely turned off, providing you with peace of mind and control over your privacy.
For Windows users, the task manager offers an alternative method to disable the webcam by ending the associated process. However, exercise caution when using the task manager, as terminating the wrong process can lead to system instability.
Lastly, installing third-party webcam blocker software provides advanced features and additional security measures to monitor and control your webcam usage. These applications offer a comprehensive solution to enhance your privacy and protect against unauthorized access attempts.
Remember to choose the method that best suits your device and requirements. Each method has its own benefits, so consider factors such as convenience, security, and ease of use when deciding how to turn off your webcam.
By being proactive and taking control over your webcam, you can ensure your privacy, conserve resources, and have peace of mind knowing that you are in charge of when and how your webcam is being used.


