Introduction
With the increasing concerns about privacy and security, it’s not uncommon for users to want to turn off their webcam on their Mac systems. Whether you simply want to ensure your privacy or prevent unwanted access to your camera, there are several methods to disable the webcam functionality.
In this article, we will outline four different options to turn off the webcam on your Mac. From using system preferences to disconnecting or covering the webcam physically, we will guide you through the process step by step. We will also explore the use of third-party apps for temporary webcam disabling and managing webcam access on individual applications.
It’s important to note that while these methods allow you to turn off your webcam, they do not affect the functionality of other features on your Mac system. You can still continue using your device for other tasks without any limitations.
So, whether you want to ensure your privacy while browsing the web, participating in virtual meetings, or simply want to have control over your camera, continue reading to find the solution that works best for you.
Steps to Turn Off Webcam on Mac
Disabling your webcam on a Mac is a relatively straightforward process. Follow these steps to ensure your webcam is turned off:
- Option 1: Using System Preferences
- Click on the Apple menu located on the top left corner of your screen and select “System Preferences.”
- Within the System Preferences window, click on “Security & Privacy.”
- Click on the “Privacy” tab.
- In the left sidebar, select “Camera.”
- Uncheck the box next to the applications that you want to deny access to your webcam.
- Your webcam is now disabled for the selected applications.
To disable your webcam using system preferences, follow these steps:
- Option 2: Disconnecting or Covering the Webcam Physically
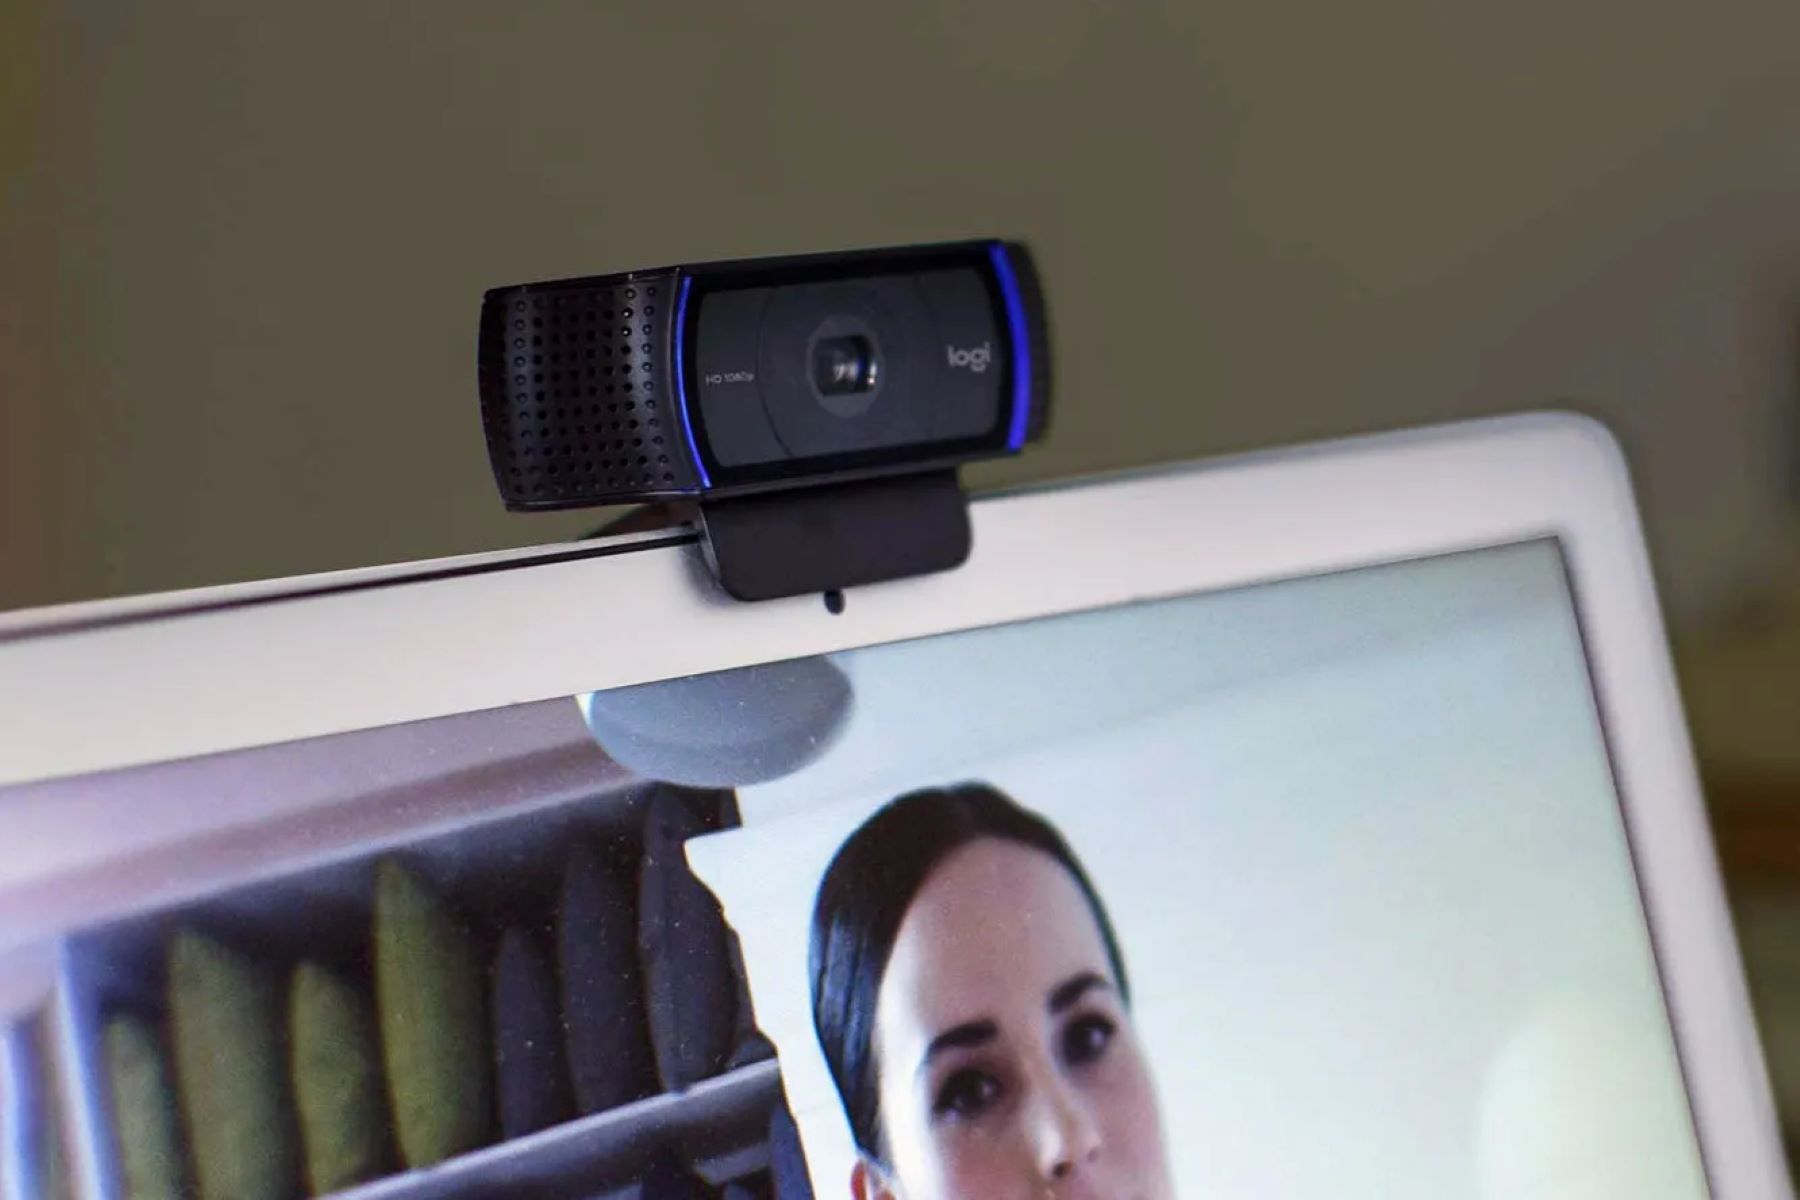
- Locate your webcam on your Mac. Depending on the model, it is usually located at the top center of the screen.
- If your Mac has a built-in webcam, you can disconnect it by disconnecting the cable that connects the camera to the motherboard. However, this option may not be viable for all Mac models, so proceed with caution.
- If disconnecting is not an option, you can use a webcam cover or a piece of opaque tape to physically cover the camera. This will prevent anyone from accessing your webcam, even if it is enabled.
- Option 3: Using Third-Party Apps to Disable Webcam Temporarily
- Camera Guard – This app provides enhanced security by alerting you whenever an application tries to access your webcam. You can then choose to grant or deny access.
- Micro Snitch – Micro Snitch shows a visual notification whenever your webcam or microphone is activated, allowing you to monitor and control access.
- Oversight – This app continuously monitors your webcam and microphone and notifies you whenever they are accessed or blocked, providing an extra layer of security.
- Option 4: Managing Webcam Access on Individual Apps
- Go to “System Preferences” and click on “Security & Privacy.”
- Click on the “Privacy” tab and select “Camera” in the left sidebar.
- Check or uncheck the boxes next to the applications in the list to enable or disable access to your webcam.
- Your changes will take effect immediately, and the selected applications will either have access to or be denied access to your webcam.
- Click on the Apple menu located on the top left corner of your screen and select “System Preferences.”
- Within the System Preferences window, click on “Security & Privacy.”
- Click on the “Privacy” tab.
- In the left sidebar, select “Camera.”
- You will see a list of applications that have access to your webcam.
- To disable the webcam for a specific application, uncheck the box next to it.
- Locate the webcam on your Mac. Depending on the model, it is usually located at the top center of the screen.
- If your Mac has a built-in webcam, you can disconnect it by disconnecting the cable that connects the camera to the motherboard. However, please note that this option may not be suitable for all Mac models and requires technical knowledge. If you’re unsure about this step, it’s best to seek professional assistance or consult the device’s documentation.
- If disconnecting the webcam is not feasible or you want a reversible option, you can cover the camera physically. You can use a webcam cover or simply place a piece of opaque tape over the camera to block its view.
- Camera Guard: Camera Guard is a reliable app that alerts you whenever an application attempts to access your webcam. It provides you with the option to either allow or deny the access. This way, you can have complete control over which apps can access your camera, ensuring your privacy.
- Micro Snitch: Micro Snitch is another useful app that provides visual notifications whenever your webcam or microphone is being accessed. It allows you to monitor and control the usage, so you can quickly detect any unauthorized access attempts.
- Oversight: Oversight is a comprehensive security app that continuously monitors your webcam and microphone for any activity. It notifies you whenever an app tries to access or block your camera and microphone, giving you real-time protection against potential privacy breaches.
- Go to “System Preferences” on your Mac and click on “Security & Privacy.”
- Within the Security & Privacy settings, click on the “Privacy” tab.
- From the left sidebar, select “Camera.”
- A list of applications that might have requested webcam access will be displayed.
- To enable or disable webcam access for a specific app, simply check or uncheck the respective box next to the application’s name.
If you prefer a physical solution, you can disconnect or cover your webcam. Here’s how:
If you prefer a software-based solution, there are various third-party apps available that allow you to disable your webcam temporarily. Here are a few popular options:
If you want granular control over which applications can access your webcam, you can manage webcam access on an individual basis. Here’s how:
By following these steps, you can successfully turn off your webcam on your Mac and have control over when it is used.
Option 1: Using System Preferences
One of the simplest ways to turn off your webcam on a Mac is by using the System Preferences. Follow these steps to disable your webcam:
By unchecking the box, you are denying that application access to your webcam. Repeat this step for any other applications that you want to disable the webcam for.
It’s important to note that not all applications will appear on this list. Some applications may not require explicit permission to access the webcam or may have their own settings to control the camera usage. Make sure to check the settings within individual applications if you want to manage webcam access for those specific apps.
Using System Preferences to disable your webcam is a convenient option, as it allows you to have control over which applications can access your camera. You can always re-enable the webcam for any application by checking the box next to it in the Camera settings.
Now that you know how to disable your webcam using System Preferences, you can rest assured knowing that your camera won’t be accessed without your knowledge or permission, providing an extra layer of privacy and security.
Option 2: Disconnecting or Covering the Webcam Physically
If you prefer a physical solution to turn off your webcam on your Mac, you can consider disconnecting or covering the webcam. Here’s how you can do it:
Covering your webcam physically provides a simple and effective solution to ensure your privacy. Even if the webcam is enabled, no one will be able to see through the covered lens.
There are various webcam covers available in the market, ranging from slide covers to adhesive covers. You can choose the one that suits your preferences. It’s important to note that the cover should not interfere with the movement or closing of your Mac’s lid.
By disconnecting or covering the webcam physically, you have complete control over its usage. You can easily reverse the process by reconnecting the camera or removing the cover when you wish to use it again.
Ultimately, by implementing a physical solution, you can have peace of mind knowing that your webcam is completely disabled, providing an additional layer of privacy and security.
Option 3: Using Third-Party Apps to Disable Webcam Temporarily
If you prefer a software-based solution to temporarily disable your webcam on your Mac, you can rely on various third-party apps specifically designed for this purpose. These apps provide additional control and monitoring capabilities to enhance your privacy. Here are a few popular options:
These apps work by monitoring the access to your webcam and providing you with notifications whenever any application tries to use it. They add an extra layer of security and allow you to actively manage and control the access to your camera.
Before using any third-party app, make sure to research and choose a reputable and trusted one from reliable sources. Additionally, ensure that you keep the app updated to benefit from the latest security features and enhancements.
Remember, while third-party apps can provide temporary webcam disabling features, it’s important to consider other security measures as well, such as enabling firewalls, keeping your operating system and applications up to date, and practicing safe browsing habits to protect your privacy effectively.
By using third-party apps to disable your webcam temporarily, you can have peace of mind knowing that you have an additional layer of control and monitoring over your privacy, enhancing your overall security.
Option 4: Managing Webcam Access on Individual Apps
If you prefer a more granular approach to managing webcam access on your Mac, you can control the camera usage on an individual app basis. This allows you to specify which applications have permission to access your webcam. Here’s how you can do it:
By selecting or deselecting the box next to the app’s name, you are granting or denying webcam access to that specific application.
It’s important to note that not all applications will appear on the list, as some apps may not require explicit permission to access the webcam or may have their own settings within the app to control camera usage. Therefore, it’s recommended to explore the settings within individual apps if you want to manage webcam access for those specific applications.
Managing webcam access on an individual app basis gives you the flexibility to allow or deny camera access based on your preferences and usage patterns. This enables you to have fine-grained control over which applications can utilize your webcam, ensuring maximum privacy and security.
Remember to review and update these settings periodically, especially after installing new applications or when your usage patterns change. This way, you can always stay in control and protect your privacy effectively.
By managing webcam access on individual apps, you can have peace of mind knowing that you have complete control over which applications can access your camera, allowing you to safeguard your privacy and ensure maximum security.
Conclusion
Ensuring the privacy and security of your Mac’s webcam is of utmost importance in today’s digital landscape. With the various options outlined in this article, you can easily turn off your webcam when it’s not in use or when you want to have complete control over its accessibility.
Using the System Preferences, you can conveniently manage webcam access for different applications. By disabling camera access for specific apps, you can prevent any unauthorized access and protect your privacy effectively.
If you prefer a physical solution, you can disconnect or cover the webcam physically. By disconnecting the webcam’s cable or using a webcam cover, you can ensure that your camera remains inaccessible and your privacy remains intact.
For temporary webcam disabling, there are several third-party apps available that offer additional control and monitoring. Apps like Camera Guard, Micro Snitch, and Oversight allow you to actively manage and control webcam usage, providing an extra layer of security.
If you want more granular control, managing webcam access on an individual app basis is a viable option. By enabling or disabling webcam access for specific applications, you can tailor your privacy settings to suit your preferences and usage patterns.
Remember to regularly review and update your settings to stay on top of your privacy and security. Additionally, practice other security measures such as enabling firewalls, keeping your system and applications up to date, and following safe browsing practices to enhance your overall protection.
By employing these methods, you can confidently turn off your webcam on your Mac whenever you desire, knowing that your privacy is safeguarded and your security is prioritized.


