Introduction
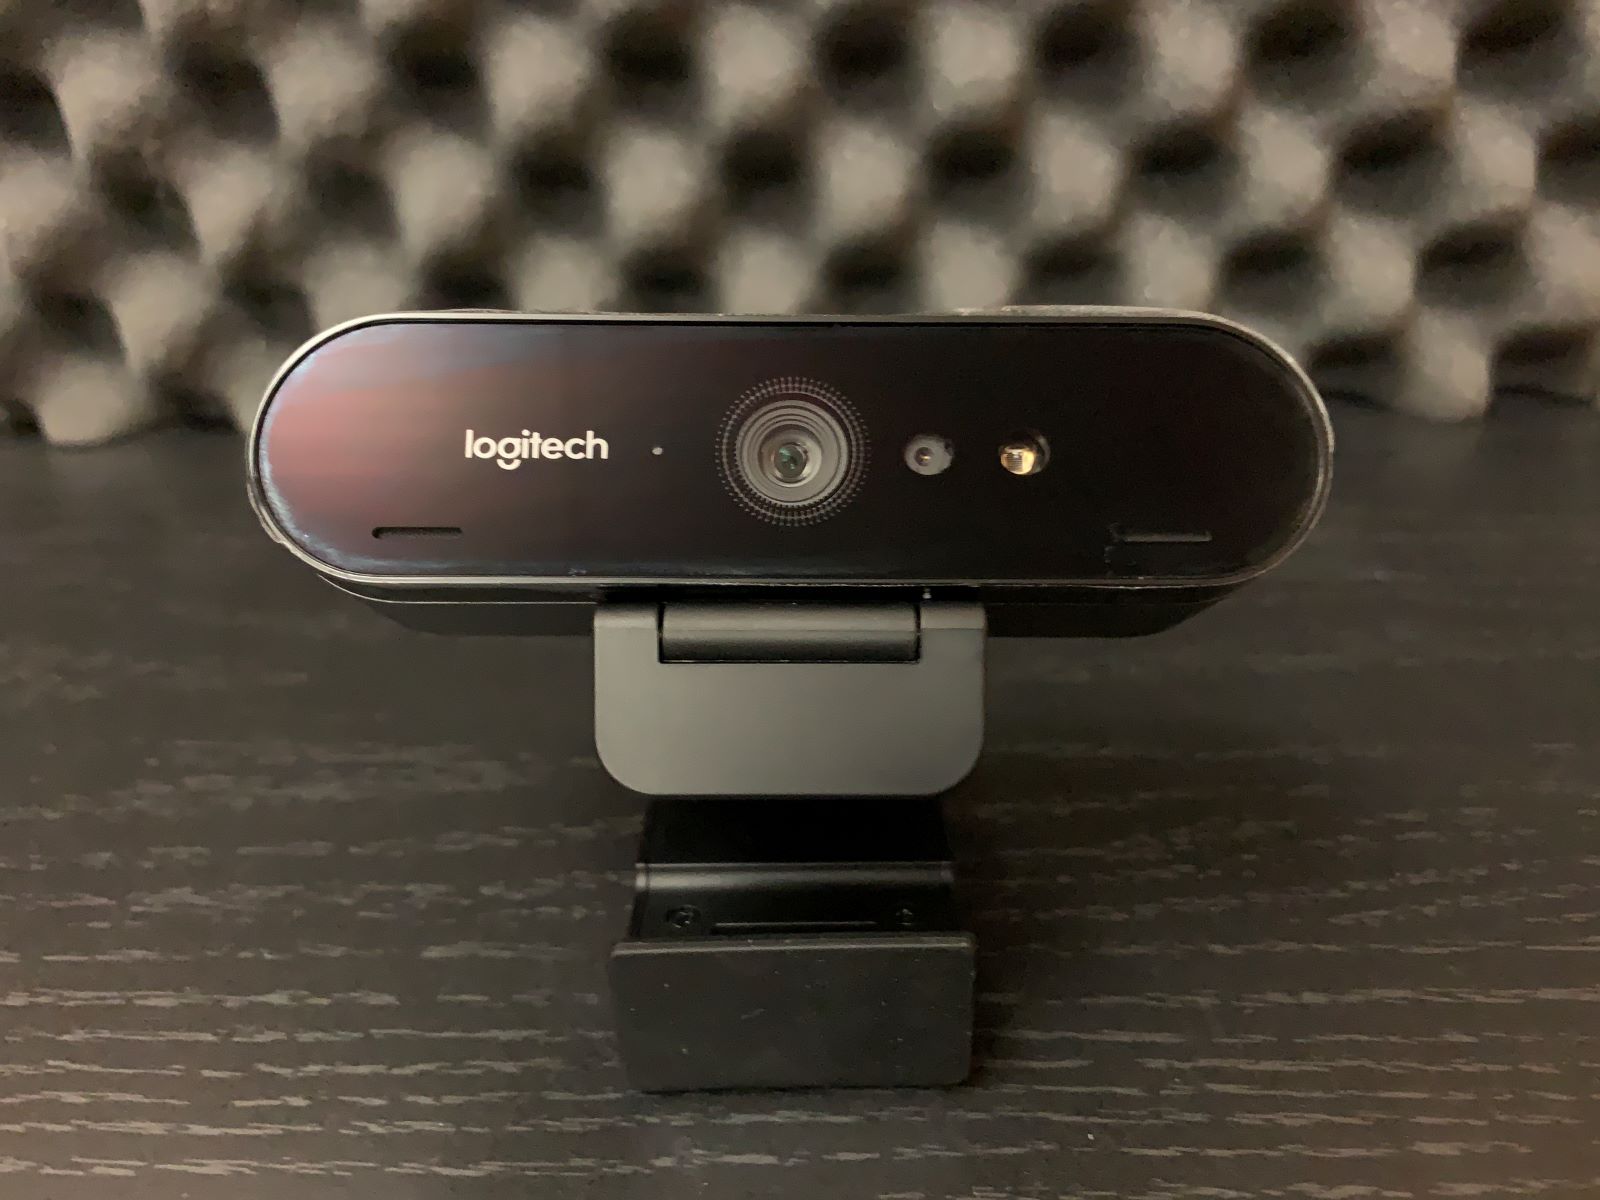
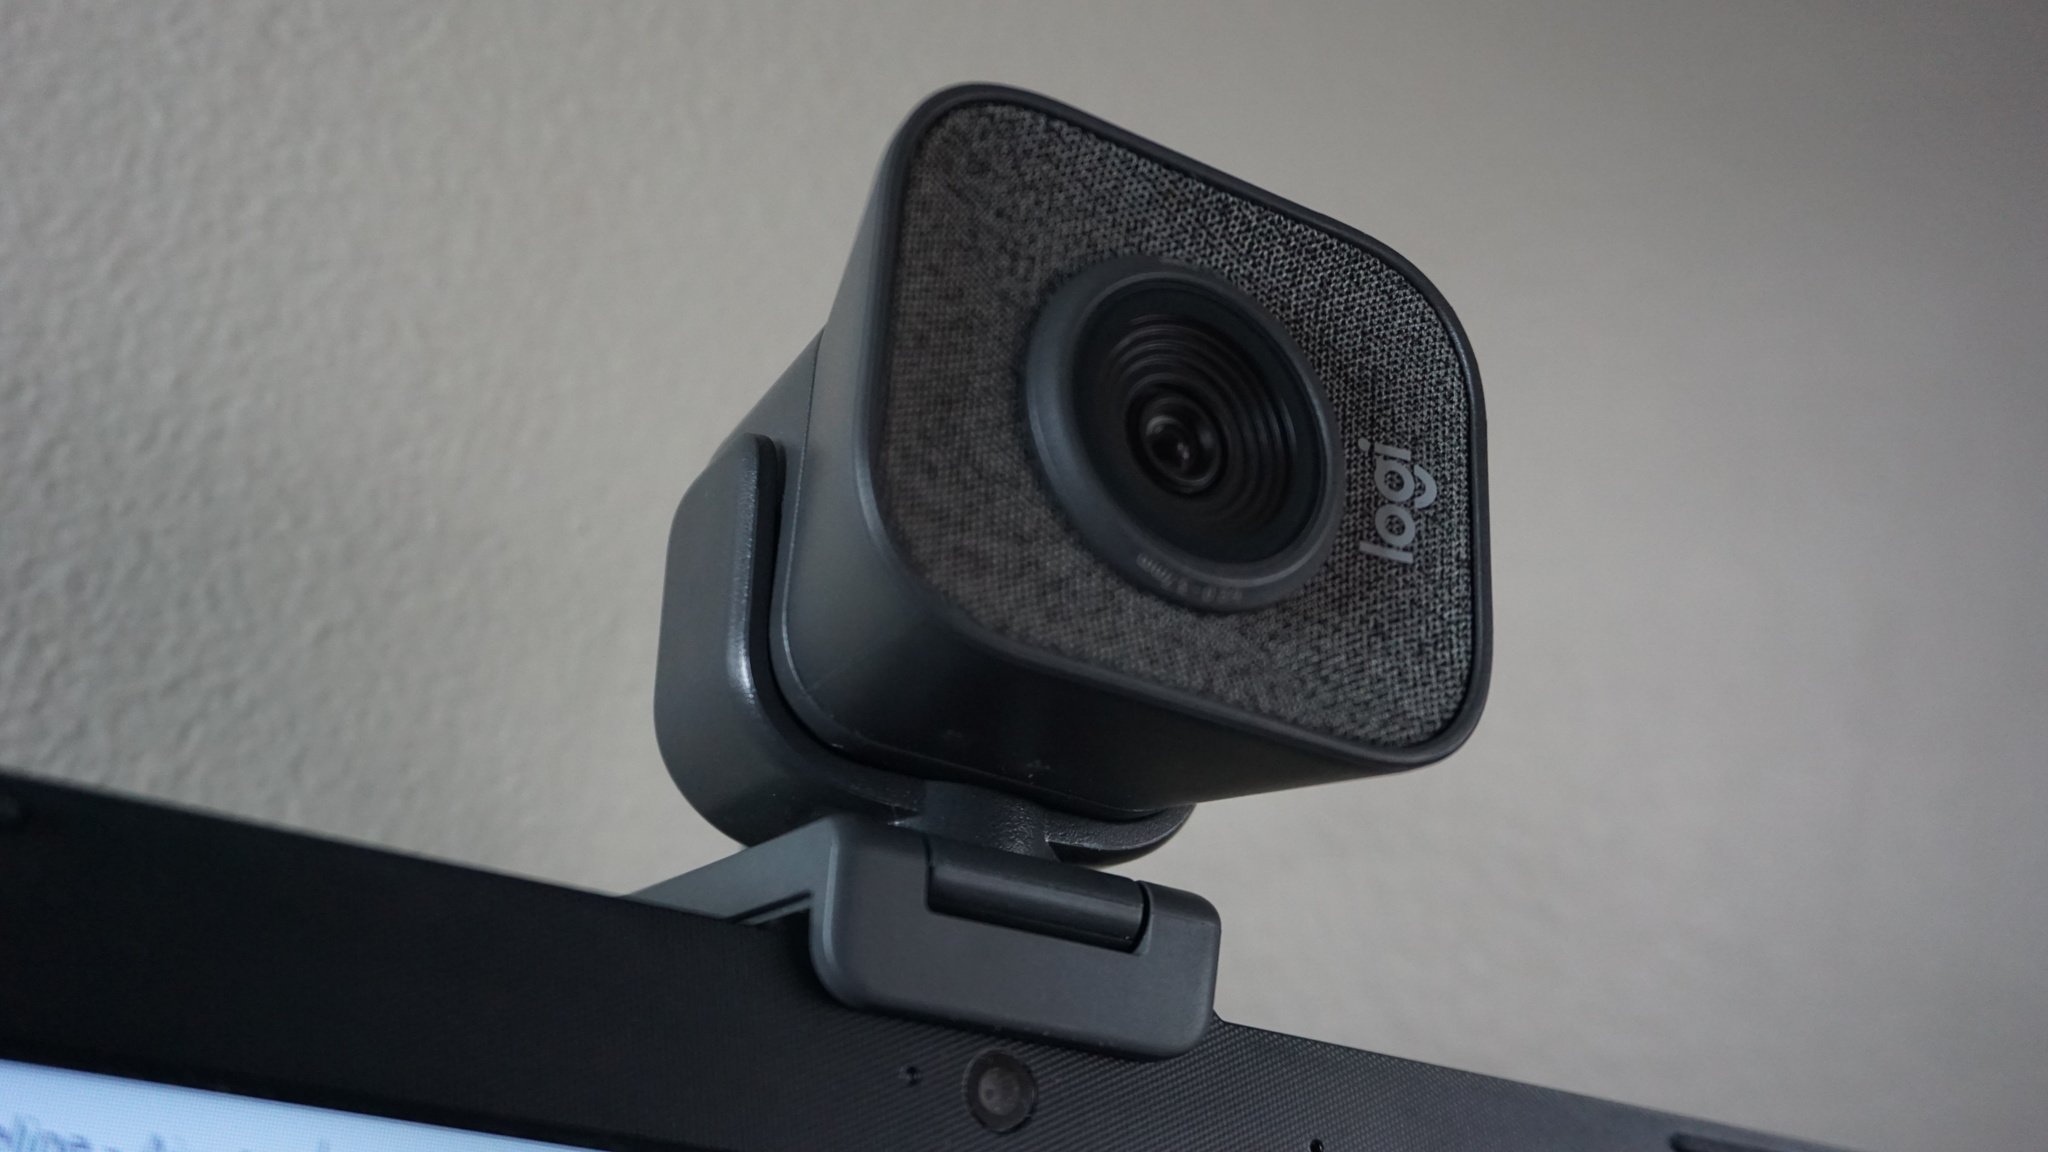
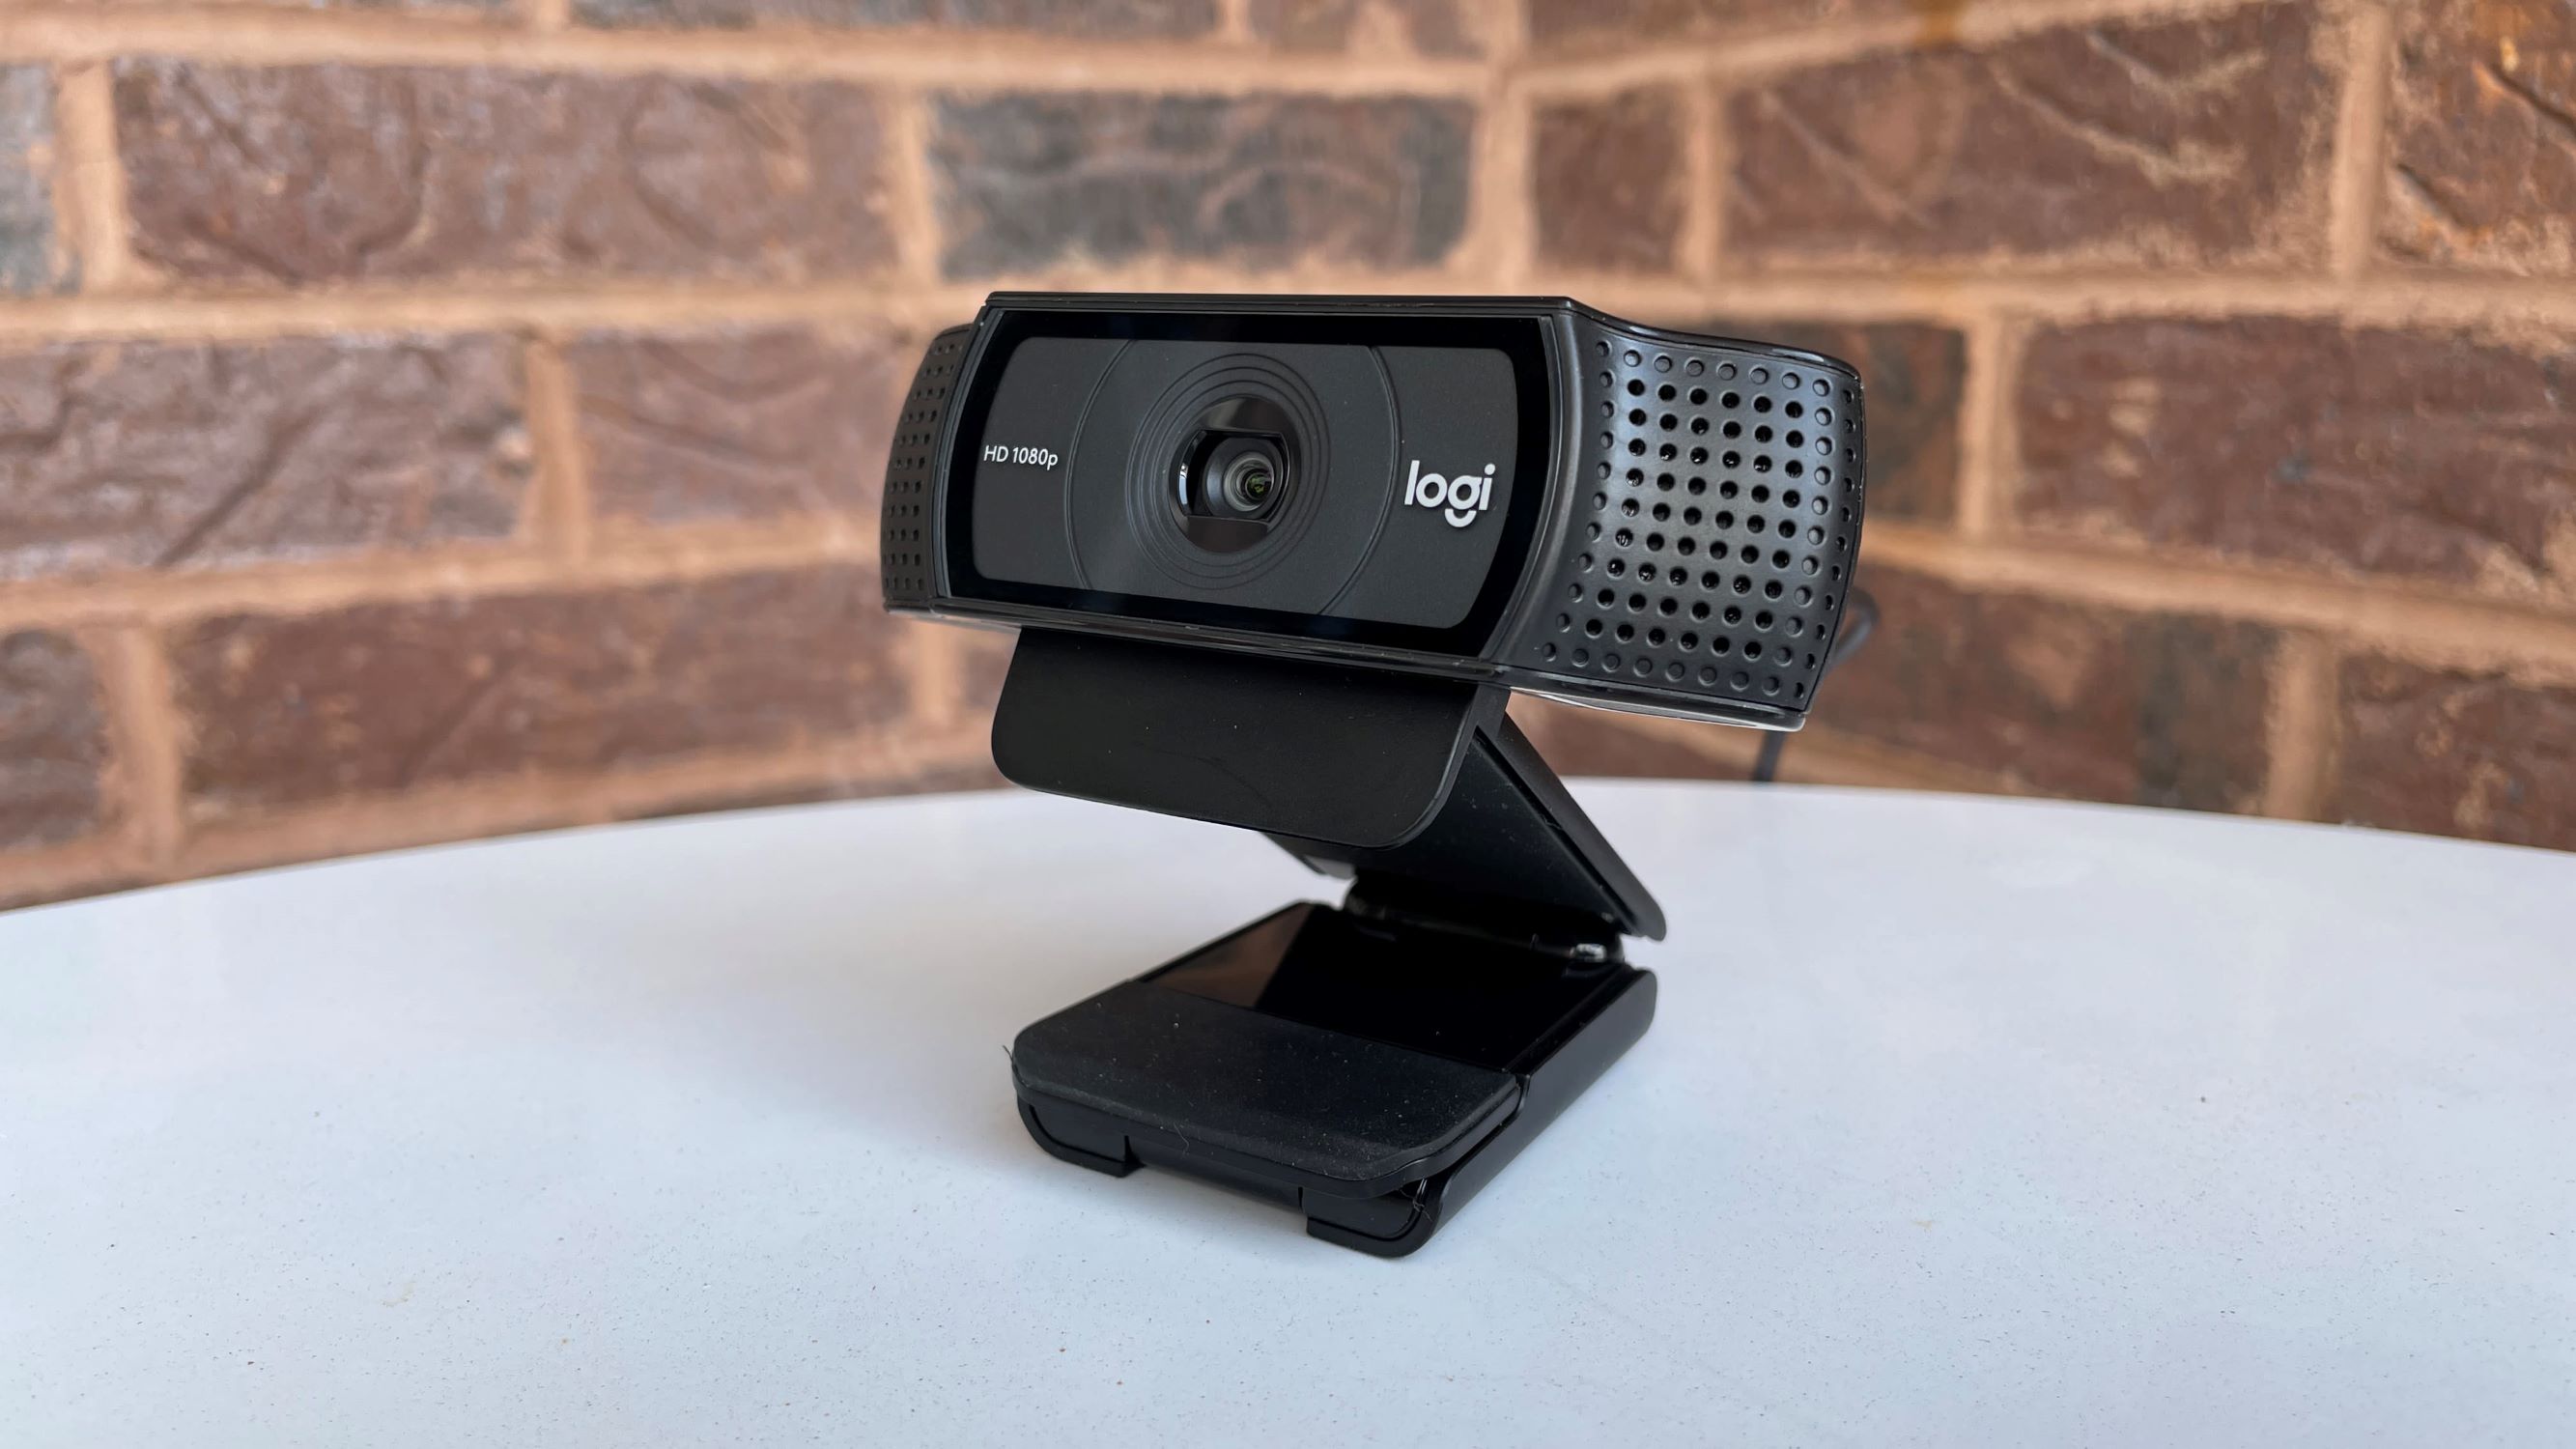
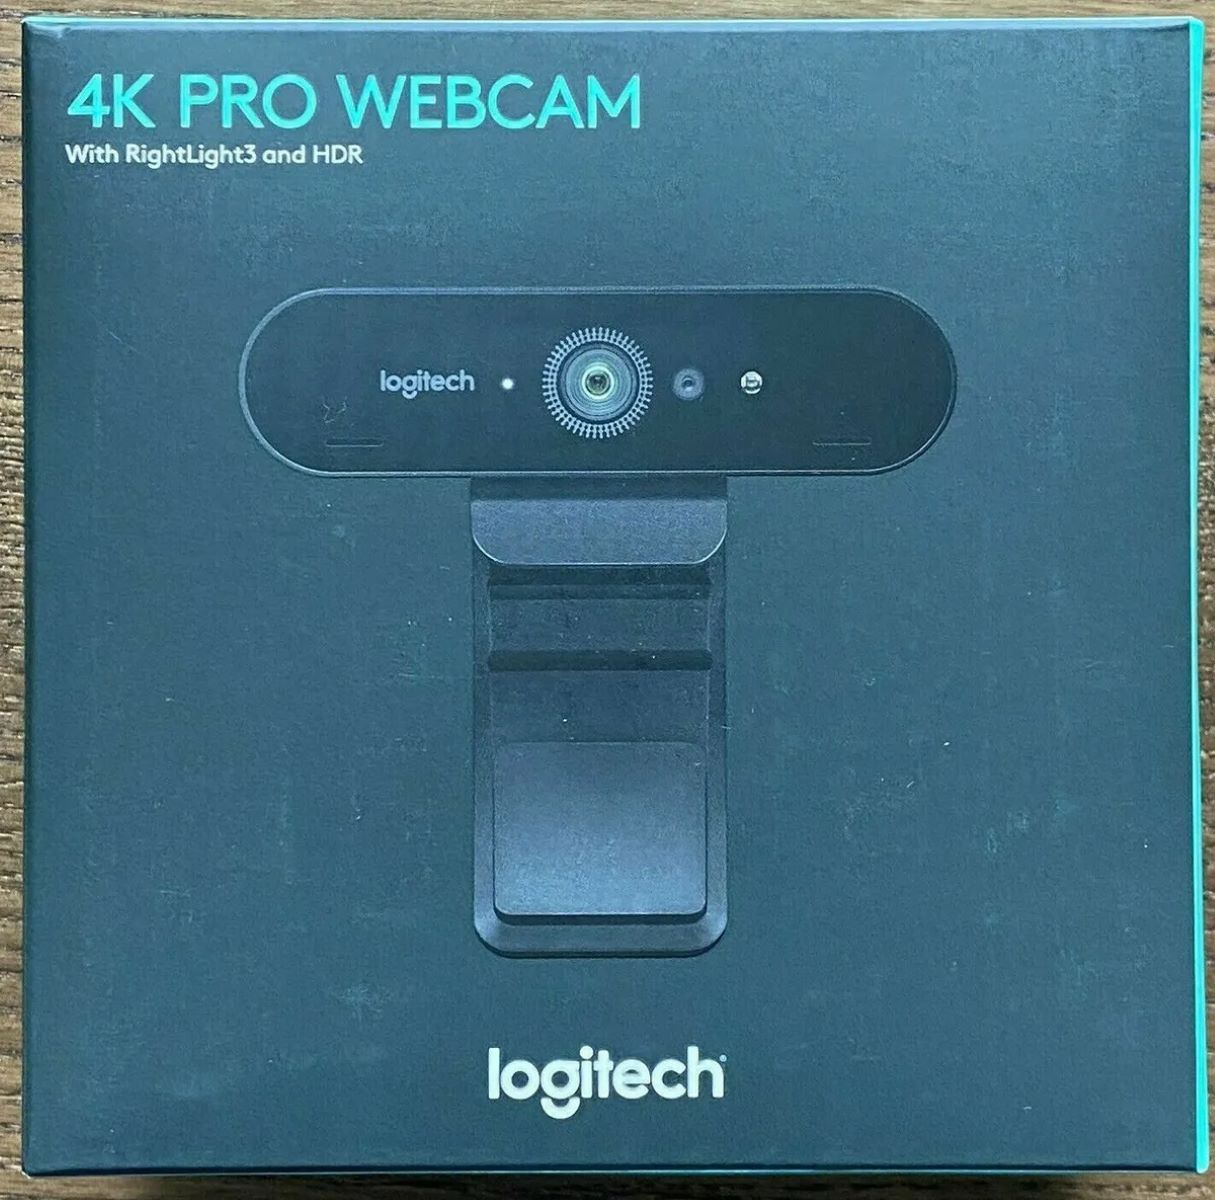
Welcome to this guide on how to turn on your Logitech webcam. Logitech is a well-known brand that offers a range of high-quality webcams for both personal and professional use. Whether you’re using it for video conferencing, live streaming, or keeping in touch with loved ones, a Logitech webcam is a reliable choice.
Having a webcam that turns on properly is essential for those moments when you need to be seen or need to capture a video. In this guide, we will walk you through the necessary steps to ensure that your Logitech webcam is up and running.
Before we dive into the steps, it’s important to note that the specific instructions may vary slightly depending on the model of your Logitech webcam and the operating system you’re using. However, the general principles we’ll discuss should apply to most Logitech webcams.
Now, let’s get started and turn on your Logitech webcam!
Step 1: Check Compatibility with Your Computer
Before you begin using your Logitech webcam, it’s important to ensure that it is compatible with your computer. This will save you time and frustration down the line. Here’s how you can check the compatibility:
- Verify the operating system requirements: Logitech webcams typically support popular operating systems such as Windows, macOS, and Chrome OS. Check the packaging or the product description to see if your operating system is listed.
- Check the USB port: Most Logitech webcams connect to your computer via a USB cable. Ensure that your computer has an available USB port that is compatible with the cable. USB 2.0 and USB 3.0 ports are commonly used for this purpose.
- Review the system specifications: Take a look at the minimum system requirements for the webcam. These specifications usually include information about the processor, RAM, and available storage space. Make sure your computer meets or exceeds these requirements.
If you find that your computer is not compatible with the Logitech webcam, you may need to consider alternative options. Logitech offers a variety of webcams with different features and compatibility, so you can find one that suits your needs and works seamlessly with your computer.
Remember to consult the user manual or the Logitech website for specific compatibility details related to your webcam model. Once you’ve confirmed that your computer is compatible, move on to the next step to connect your webcam to your computer.
Step 2: Connect the Webcam to Your Computer
Now that you’ve ensured compatibility between your Logitech webcam and computer, it’s time to connect the webcam. Here’s a step-by-step guide on how to do it:
- Locate the USB cable: Find the USB cable that came with your Logitech webcam. It usually has a standard USB connector on one end and a smaller USB connector on the other end.
- Connect the USB cable to the webcam: Plug the smaller USB connector into the corresponding port on your Logitech webcam. The port is typically located on the back or the side of the webcam.
- Plug the USB cable into your computer: Take the standard USB connector and insert it into an available USB port on your computer. Make sure to choose a port that is easily accessible for future use.
- Wait for the computer to detect the webcam: Once the webcam is connected, your computer should automatically detect it and begin installing the necessary drivers. This process might take a few moments. You can monitor the progress through pop-up notifications or by checking the system tray.
- Complete the driver installation (if required): In some cases, your operating system may prompt you to complete the driver installation manually. If this happens, follow the on-screen instructions to ensure that the webcam is set up properly.
After completing these steps, your Logitech webcam should be successfully connected to your computer. Remember to keep the USB cable securely connected for a stable connection. Now, let’s move on to the next step and install the Logitech Webcam Software.
Step 3: Install Logitech Webcam Software
Installing the Logitech Webcam Software is essential to fully utilize the features and functionalities of your Logitech webcam. Follow these steps to install the software:
- Visit the Logitech website: Open your preferred web browser and navigate to the official Logitech website (www.logitech.com).
- Navigate to the webcam support page: Use the search bar on the Logitech website to find the support page for your specific webcam model. Once you’ve found it, go to the Downloads section.
- Choose your operating system: Select your operating system from the available options. This ensures that you download the correct version of the Logitech Webcam Software that is compatible with your computer.
- Download the software: Click on the download link provided for the Logitech Webcam Software. The file will typically be saved in your computer’s default download location, such as the Downloads folder.
- Run the installation file: Locate the downloaded file and double-click on it to run the installation process. Follow the on-screen prompts to proceed with the installation.
- Complete the installation: Once the installation is complete, you may be prompted to restart your computer. It is recommended to do so, as it ensures that the Logitech Webcam Software is fully integrated into your system.
After following these steps, the Logitech Webcam Software should be successfully installed on your computer. This software provides you with various options for adjusting camera settings, capturing images and videos, and accessing advanced features specific to your Logitech webcam model.
With the Logitech Webcam Software installed, you’re ready to move on to the next step and adjust the settings of your webcam.
Step 4: Adjust Webcam Settings
Now that you have installed the Logitech Webcam Software, it’s time to adjust the settings of your webcam to ensure optimal performance. Follow these steps to adjust the webcam settings:
- Launch the Logitech Webcam Software: Open the Logitech Webcam Software on your computer. You can usually find it in the Start menu or the Applications folder, depending on your operating system.
- Select your webcam: If you have multiple webcams connected to your computer, choose the Logitech webcam you want to adjust from the list of available devices. This step may not be necessary if you only have one webcam connected.
- Access the settings: Look for the settings or options menu within the Logitech Webcam Software. It is typically represented by a gear or a settings icon. Click on it to access the webcam settings.
- Adjust video settings: Within the settings menu, you will find options to adjust the video settings. This includes parameters such as brightness, contrast, resolution, and frame rate. Experiment with these settings to achieve the desired video quality.
- Configure audio settings: If your Logitech webcam has a built-in microphone, you can also adjust the audio settings within the software. This includes controlling the microphone sensitivity, volume, and other audio-related options.
- Explore additional features: Logitech webcams often come with additional features such as face tracking, motion detection, and zoom capabilities. Take the time to explore these features and enable/disable them based on your preference.
By adjusting the webcam settings to suit your needs, you can enhance the image and audio quality during your video calls, conferences, or recordings. Remember to save the changes after adjusting the settings for them to take effect.
Now that you have customized the webcam settings, it’s time to move on to the final step and test your webcam to ensure everything is working correctly.
Step 5: Test Your Webcam
After adjusting the settings of your Logitech webcam, it’s crucial to test it to ensure that everything is functioning as expected. Follow these steps to test your webcam:
- Open your preferred video conferencing or recording application: Launch the application you typically use for video calls, such as Zoom, Skype, Microsoft Teams, or any other video conferencing software. If you don’t have one installed, you can use the built-in camera app on your computer or download a free recording software like OBS Studio.
- Select the webcam: In the settings or options menu of the application, locate the camera settings. Ensure that your Logitech webcam is selected as the default camera. If you can see a live preview from your webcam, it means that it is successfully connected and recognized by the application.
- Test the video: Start a video call or begin recording a video to test the functionality of your Logitech webcam. Check if the video feed displays properly and whether the image quality meets your expectations. If there are any issues, you can go back and adjust the settings of your webcam accordingly.
- Test the audio: If your Logitech webcam has a built-in microphone, test the audio quality by speaking into it. Ensure that your voice comes through clearly without any distortion or background noise. If necessary, adjust the audio settings within the webcam software to optimize the microphone’s performance.
- Verify compatibility with other applications: If you plan to use your Logitech webcam with multiple applications, it’s a good idea to test its compatibility with each one. Open different applications and check if the webcam functions correctly in each of them.
By thoroughly testing your Logitech webcam, you can identify and address any potential issues before important video calls or recordings. If you encounter any difficulties during the testing process, refer back to the previous steps to ensure that you have correctly installed and configured your webcam.
Once you have successfully tested your webcam and verified that it is functioning correctly, you are ready to enjoy your Logitech webcam for all your video communication needs!
Conclusion
Congratulations! You have successfully learned how to turn on and set up your Logitech webcam. By following the steps outlined in this guide, you have ensured compatibility with your computer, connected the webcam, installed the Logitech Webcam Software, adjusted the settings, and tested the webcam’s functionality.
Having a properly functioning Logitech webcam is essential for video conferencing, live streaming, online meetings, and staying connected with loved ones. With its reliable performance and advanced features, Logitech webcams have become a popular choice for both personal and professional use.
Remember that while the specific steps may vary slightly depending on your webcam model and operating system, the general principles remain the same. Always consult the user manual or the Logitech website for specific instructions related to your webcam.
If you encounter any difficulties during the setup process or while using your Logitech webcam, don’t hesitate to reach out to Logitech customer support for assistance. They will be able to provide you with further guidance and help resolve any issues you may be facing.
Now that you have successfully turned on your Logitech webcam and completed the setup, you can enjoy clear and crisp video quality during your video calls, recordings, and online interactions. Whether it’s for business or personal use, your Logitech webcam is ready to capture those precious moments and keep you connected with the world.
Thank you for choosing Logitech, and happy video chatting!