Introduction
Welcome to our guide on how to set up your Logitech webcam! Whether you need it for work, online meetings, or staying connected with loved ones, a Logitech webcam can enhance your video chatting experience. In this tutorial, we will walk you through the step-by-step process of setting up your Logitech webcam and getting it ready for use.
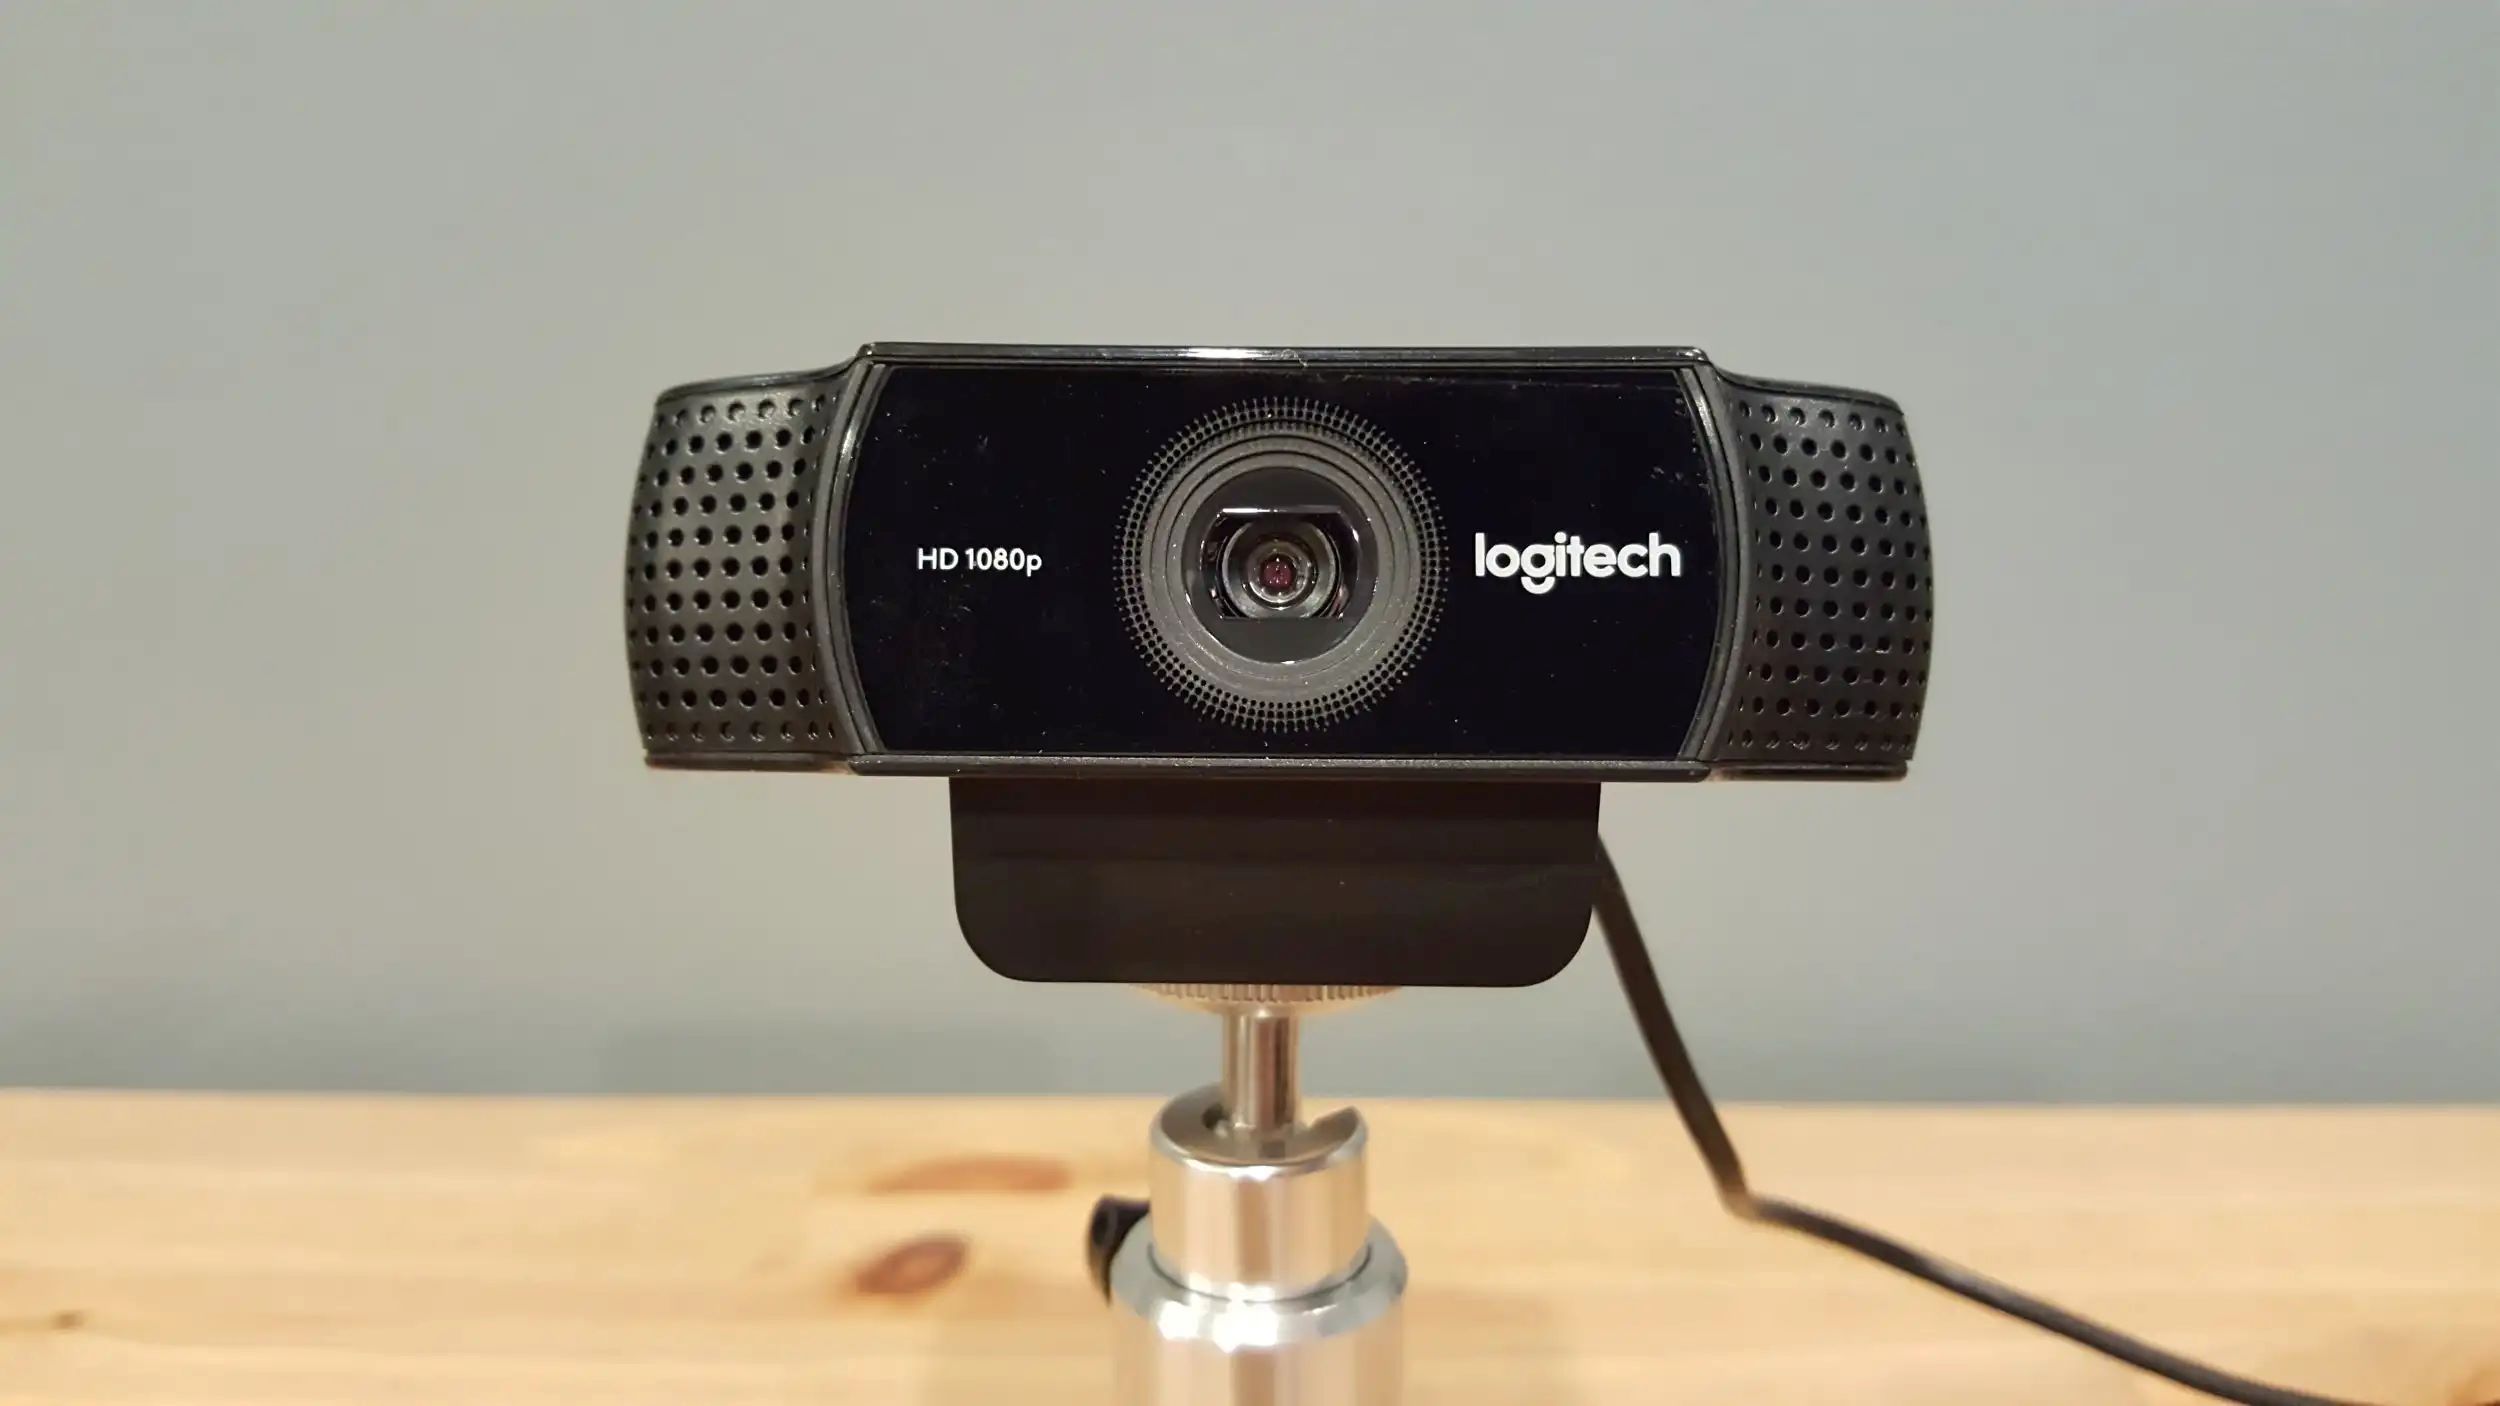
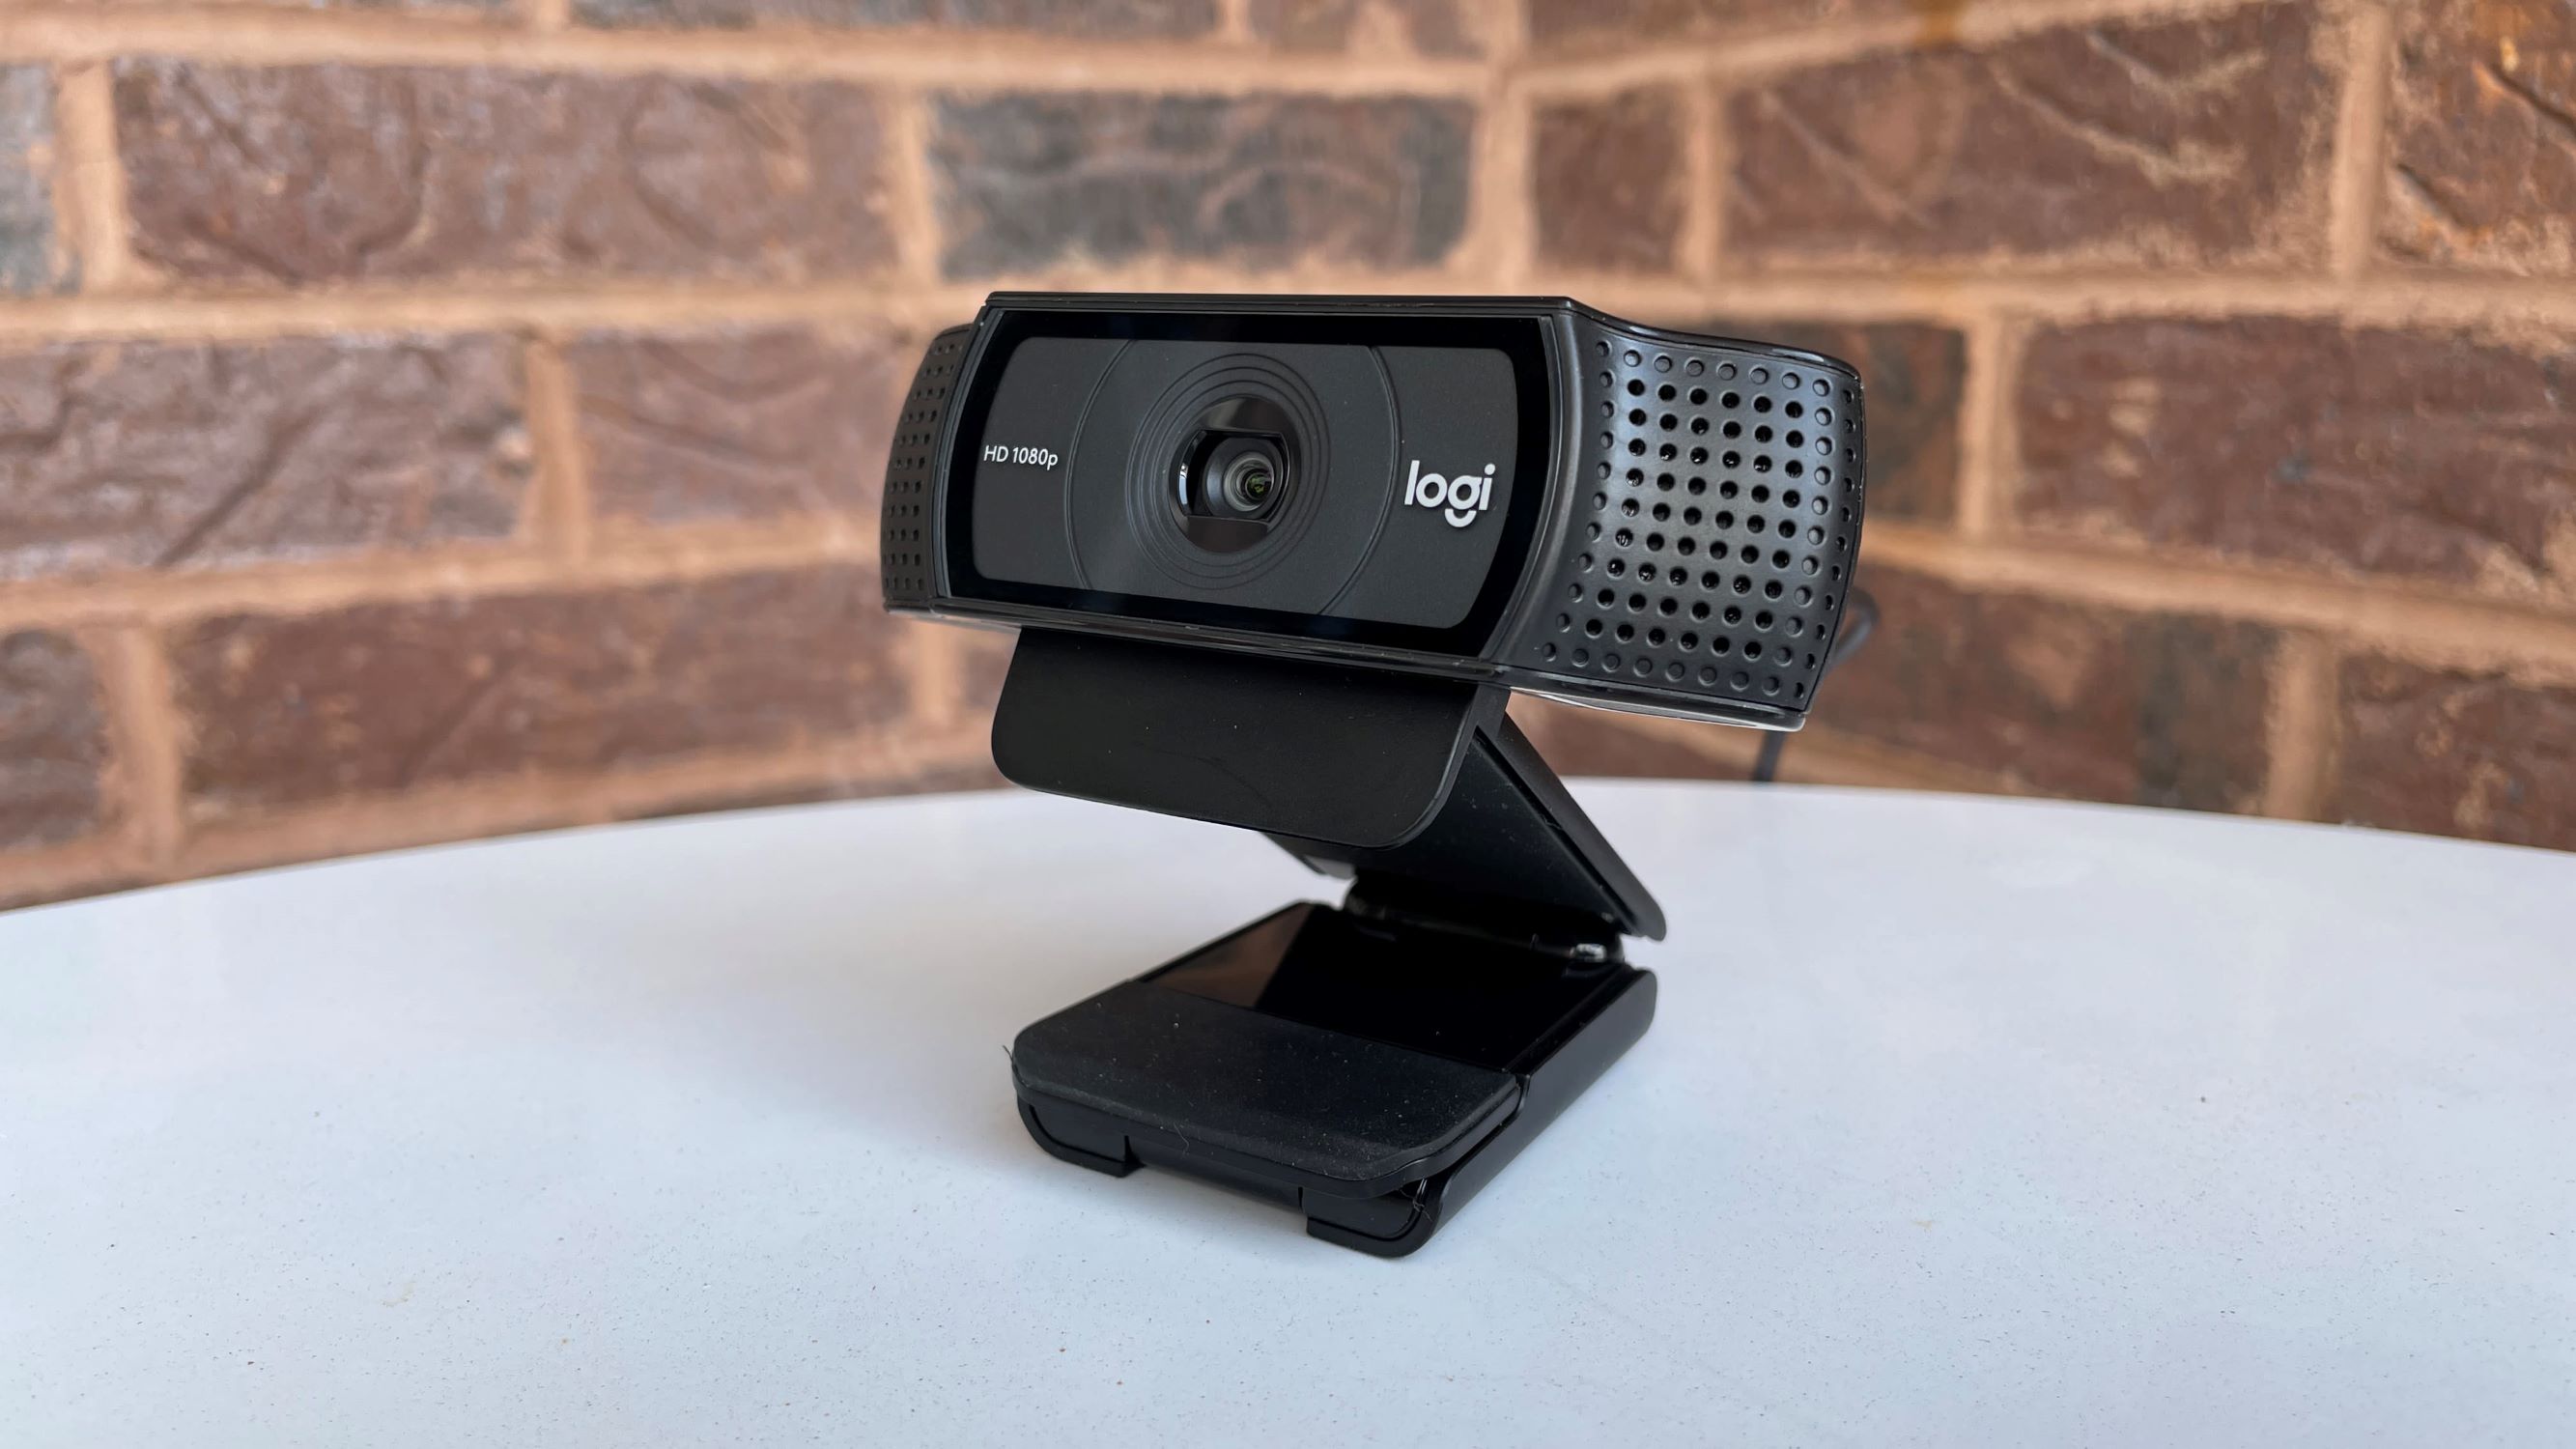
The Logitech webcam is a popular choice due to its high-quality video and audio capabilities, user-friendly software, and compatibility with various operating systems. Whether you are a Windows, Mac, or Linux user, Logitech provides software and drivers that make the setup process hassle-free.
In this guide, we will cover the basic steps to get your Logitech webcam up and running. We will start by checking the system requirements to ensure compatibility with your computer. Then, we will guide you through the process of connecting the webcam to your computer. Next, we will help you install the necessary webcam software and drivers. After that, we will show you how to adjust the webcam settings to optimize the video and audio quality. Finally, we will walk you through testing the webcam to ensure it is functioning properly.
Setting up your Logitech webcam is a straightforward process, even if you are not tech-savvy. With our step-by-step instructions, you will be able to have your webcam ready in no time. So, let’s dive in and get started with the first step: checking the system requirements.
Step 1: Checking System Requirements
Before setting up your Logitech webcam, it is important to ensure that your computer meets the necessary system requirements. Checking the compatibility will guarantee a smooth installation and optimal performance. Here are the key aspects to consider:
- Operating System: Logitech webcams are compatible with a variety of operating systems, including Windows, Mac, and Linux. Make sure to confirm that your system meets the minimum requirements for the specific Logitech webcam model you are using.
- Processor and Memory: Your computer’s CPU (Central Processing Unit) and RAM (Random Access Memory) play a crucial role in handling high-quality video streaming. Check the recommended processor and memory specifications provided by Logitech to ensure smooth operation.
- USB Port: Most Logitech webcams connect to your computer via a USB port. Ensure that your computer has an available USB port to connect the webcam. It is also recommended to have USB 2.0 or higher for optimal performance.
- Internet Connection: If you plan to use your webcam for online meetings or video chats, a stable internet connection is necessary. Ensure that your internet speed is sufficient to handle video streaming without interruptions.
Some Logitech webcams may have additional requirements, such as specific software or drivers. It is important to visit Logitech’s official website or refer to the user manual of your webcam to gather accurate information about the system requirements. This will ensure that you have everything you need to proceed with the setup process.
By verifying the system requirements, you can avoid any potential compatibility issues and enjoy a smooth and efficient setup experience. Once you have confirmed that your computer meets the necessary specifications, you can move on to the next step: connecting the webcam.
Step 2: Connecting the Webcam
Now that you have verified the system requirements, it’s time to connect your Logitech webcam to your computer. Follow the steps below to ensure a proper connection:
- Locate the USB Cable: Start by locating the USB cable that came with your Logitech webcam. It is usually a USB-A to USB-B cable.
- Find an Available USB Port: Look for an available USB port on your computer. The USB ports are typically located on the sides or back of the computer. Make sure to choose a USB port that is easily accessible.
- Connect the Webcam: Plug one end of the USB cable into the USB port on your computer and the other end into the corresponding USB port on the back of the webcam. Ensure that the connection is secure.
- Power On the Webcam: If your webcam has a separate power source, such as an AC adapter, make sure it is connected and turned on. Some webcams are powered through the USB connection and will turn on automatically when connected.
- Wait for the Computer to Recognize the Webcam: Once the webcam is connected, give your computer a moment to recognize the device. In most cases, the computer will automatically detect and install the necessary drivers. If prompted, follow the on-screen instructions to complete the driver installation process.
It’s important to note that the exact steps may vary depending on the model of your Logitech webcam and the operating system you are using. Consult the user manual or Logitech’s official website for specific instructions related to your webcam model.
Once the connection is established and the drivers are installed, you are ready to move on to the next step: installing the webcam software.
Step 3: Installing the Webcam Software
After successfully connecting your Logitech webcam to your computer, the next step is to install the webcam software. The software provided by Logitech offers additional features, customization options, and allows you to optimize the webcam settings. Follow the steps below to install the webcam software:
- Visit the Logitech Website: Open your preferred web browser and visit the official Logitech website. Navigate to the Support or Downloads section.
- Select Your Webcam Model: Locate the support page for your specific webcam model. Identify the correct software and drivers for your operating system.
- Download the Software: Click on the download link to start the software download. Follow any prompts or instructions provided on the website.
- Run the Installer: Once the download is complete, locate the downloaded file on your computer and run the installer. Follow the on-screen prompts to install the software.
- Complete the Installation: After the installation process is finished, you may be prompted to restart your computer. If prompted, save any open work and restart your computer to ensure the software is fully installed.
Keep in mind that the installation process may vary depending on the specific Logitech webcam model and the operating system you are using. It is recommended to consult the user manual or the support page of the Logitech website for detailed instructions that match your setup.
Once the software is successfully installed, you will have access to various features and settings to enhance your webcam experience. These options may include adjusting video resolution, frame rate, autofocus, exposure, and more. Take some time to explore the software and customize the settings according to your preferences.
With the webcam software installed and configured, you are now ready to move on to the next step: adjusting the webcam settings to optimize the video quality.
Step 4: Adjusting Webcam Settings
Once your Logitech webcam software is installed, it’s important to adjust the settings to optimize the video and audio quality. Follow the steps below to fine-tune your webcam settings:
- Launch the Webcam Software: Open the Logitech webcam software on your computer. You can usually find it in your Start Menu or Applications folder.
- Access the Settings: Look for the settings or options menu within the webcam software. It may be represented by a gear icon or identified as “Settings,” “Preferences,” or “Options.”
- Video Settings: Within the settings menu, locate the video settings tab. Here, you can adjust various aspects such as resolution, frame rate, brightness, contrast, and white balance.
- Audio Settings: If your Logitech webcam has a built-in microphone or supports audio input, locate the audio settings tab. Adjust the microphone volume, sensitivity, and any other relevant audio options.
- Test and Preview: Use the preview feature within the webcam software to observe the changes in real-time. Perform a test video call or recording to ensure the adjustments have improved the overall quality.
- Experiment and Refine: Don’t be afraid to experiment with different settings to find the optimal configuration for your needs. Take note of the changes you make and their impact on the video quality.
Keep in mind that the available settings and options may vary depending on your Logitech webcam model and the software version. It’s recommended to refer to the user manual or the support page on the Logitech website for specific instructions related to your setup.
By adjusting the webcam settings, you can improve image clarity, color accuracy, and audio performance. Take the time to explore the different options and find the settings that work best for your specific needs and preferences.
Now that your webcam settings have been fine-tuned, it’s time to move on to the final step: testing the webcam to ensure everything is functioning properly.
Step 5: Testing the Webcam
After setting up your Logitech webcam and adjusting the settings, it’s essential to run a test to ensure that everything is working correctly. Follow the steps below to perform a webcam test:
- Open a Video Chat Application: Launch a video chat application or any software that enables video calling on your computer. Popular options include Skype, Zoom, Microsoft Teams, or Google Meet.
- Select the Logitech Webcam: Within the video chat application’s settings, locate the camera settings or video options. Choose your Logitech webcam as the preferred camera device for both video input and output.
- Adjust the Audio Settings: If your Logitech webcam has a built-in microphone, ensure that it is selected as the audio input device. Adjust the microphone volume to your desired level.
- Make a Test Call: Connect with a friend or use the application’s test call feature to check the video and audio quality. Pay attention to factors such as video clarity, frame rate, audio synchronization, and overall performance.
- Check Device Compatibility: Ensure that the video chat application recognizes and supports your Logitech webcam. Update the application to the latest version if necessary.
- Troubleshoot if Necessary: If you encounter any issues during the test, such as poor video quality or microphone problems, revisit the webcam settings and make further adjustments. You can also refer to the Logitech support website or contact their customer support for assistance.
Performing a thorough test ensures that your Logitech webcam is functioning correctly and provides you with the best possible video and audio experience. It also allows you to address any potential issues or make additional adjustments if needed.
If the test is successful and you are satisfied with the webcam’s performance, congratulations! You have successfully set up and tested your Logitech webcam.
By following the steps outlined in this guide, you can confidently set up your Logitech webcam and enjoy seamless video communication with friends, family, or colleagues.
Conclusion
Setting up your Logitech webcam doesn’t have to be a daunting task. By following the step-by-step guide we provided, you can easily connect your webcam, install the necessary software, adjust the settings, and perform a successful test to ensure optimal performance.
Remember to check the system requirements before getting started to ensure compatibility with your computer’s operating system and hardware. Connecting the webcam is a straightforward process, and once it’s connected, you can proceed with installing the webcam software provided by Logitech.
Take some time to explore the software and customize the settings to your liking. Adjusting the video and audio settings will allow you to optimize the performance of your webcam and ensure clear and high-quality video calls and recordings.
After adjusting the settings, it’s crucial to run a test to ensure everything is working as expected. Use a video chat application to make a test call, check the video and audio quality, and troubleshoot any issues that may arise. This step will give you peace of mind and allow you to address any potential problems.
With your Logitech webcam successfully set up and tested, you can confidently enjoy video chats, online meetings, and other video-based activities. As technology continues to advance, Logitech webcams provide an excellent solution for staying connected with friends, family, and colleagues, whether it’s for personal or professional use.
If you encounter any difficulties during the setup or require further assistance, don’t hesitate to consult the user manual or visit the Logitech website for additional support. Their customer support team is always ready to help.
Now that you’re equipped with the knowledge to set up your Logitech webcam, go ahead and enjoy the benefits of clear and seamless video communication!