Introduction
Setting up a webcam on a Mac is a simple process that allows you to connect and use a camera for video calls, online meetings, live streaming, and much more. Whether you’re using a built-in webcam or an external one, this guide will walk you through the process step by step.
Webcams have become an essential tool for communication and content creation, especially in today’s digital age. Thanks to advancements in technology, Mac users can easily connect and use webcams to enhance their online experiences. Whether you want to have a video chat with friends and family, participate in virtual meetings, or create vlogs, setting up a webcam on your Mac is an important first step.
Mac computers come with a wide range of features and compatibility, ensuring that you can connect and use various webcam models. The process may differ depending on the type of webcam you have, whether it’s a USB or built-in camera. Nonetheless, with a few simple steps, you’ll be up and running in no time.
In this guide, we’ll take you through the step-by-step process of setting up your webcam on a Mac. From ensuring compatibility to installing necessary software and adjusting camera settings, we’ll cover everything you need to know. So grab your webcam, follow along, and get ready to unleash the full potential of your Mac for video communication and content creation.
Step 1: Check Compatibility
Before connecting and setting up your webcam on a Mac, it’s essential to check its compatibility with your computer’s operating system. While most webcams are designed to work with Mac, it’s always a good idea to verify this beforehand, especially if you’re using an older Mac model or a specific webcam brand.
To check compatibility, start by identifying the model and brand of your webcam. You can usually find this information on the packaging or the webcam itself. Then, visit the manufacturer’s website and look for a support or downloads section. Here, you can search for your webcam model and find detailed information about compatibility with different operating systems, including macOS versions.
If your webcam is compatible with your Mac’s operating system, you can proceed with the setup process. However, if it’s not compatible, you may need to consider purchasing a different webcam that is specifically designed for Mac or has good compatibility with macOS.
It’s worth noting that many popular webcam brands, such as Logitech, offer dedicated software and drivers for Mac users. These software packages often provide additional features and settings that can enhance your webcam experience on a Mac. So, if your webcam is compatible, be sure to download and install any recommended software or drivers provided by the manufacturer.
Additionally, if you’re using a built-in webcam on your Mac, compatibility is usually not a concern as the camera is designed to work seamlessly with your computer’s operating system. However, it’s still a good idea to ensure your macOS version supports the use of webcams and that you have the necessary software updates installed.
By checking compatibility before setting up your webcam on a Mac, you can avoid any potential compatibility issues or frustrations down the line. It ensures a smooth and hassle-free setup process, allowing you to make the most out of your webcam and enjoy high-quality video communication and content creation on your Mac.
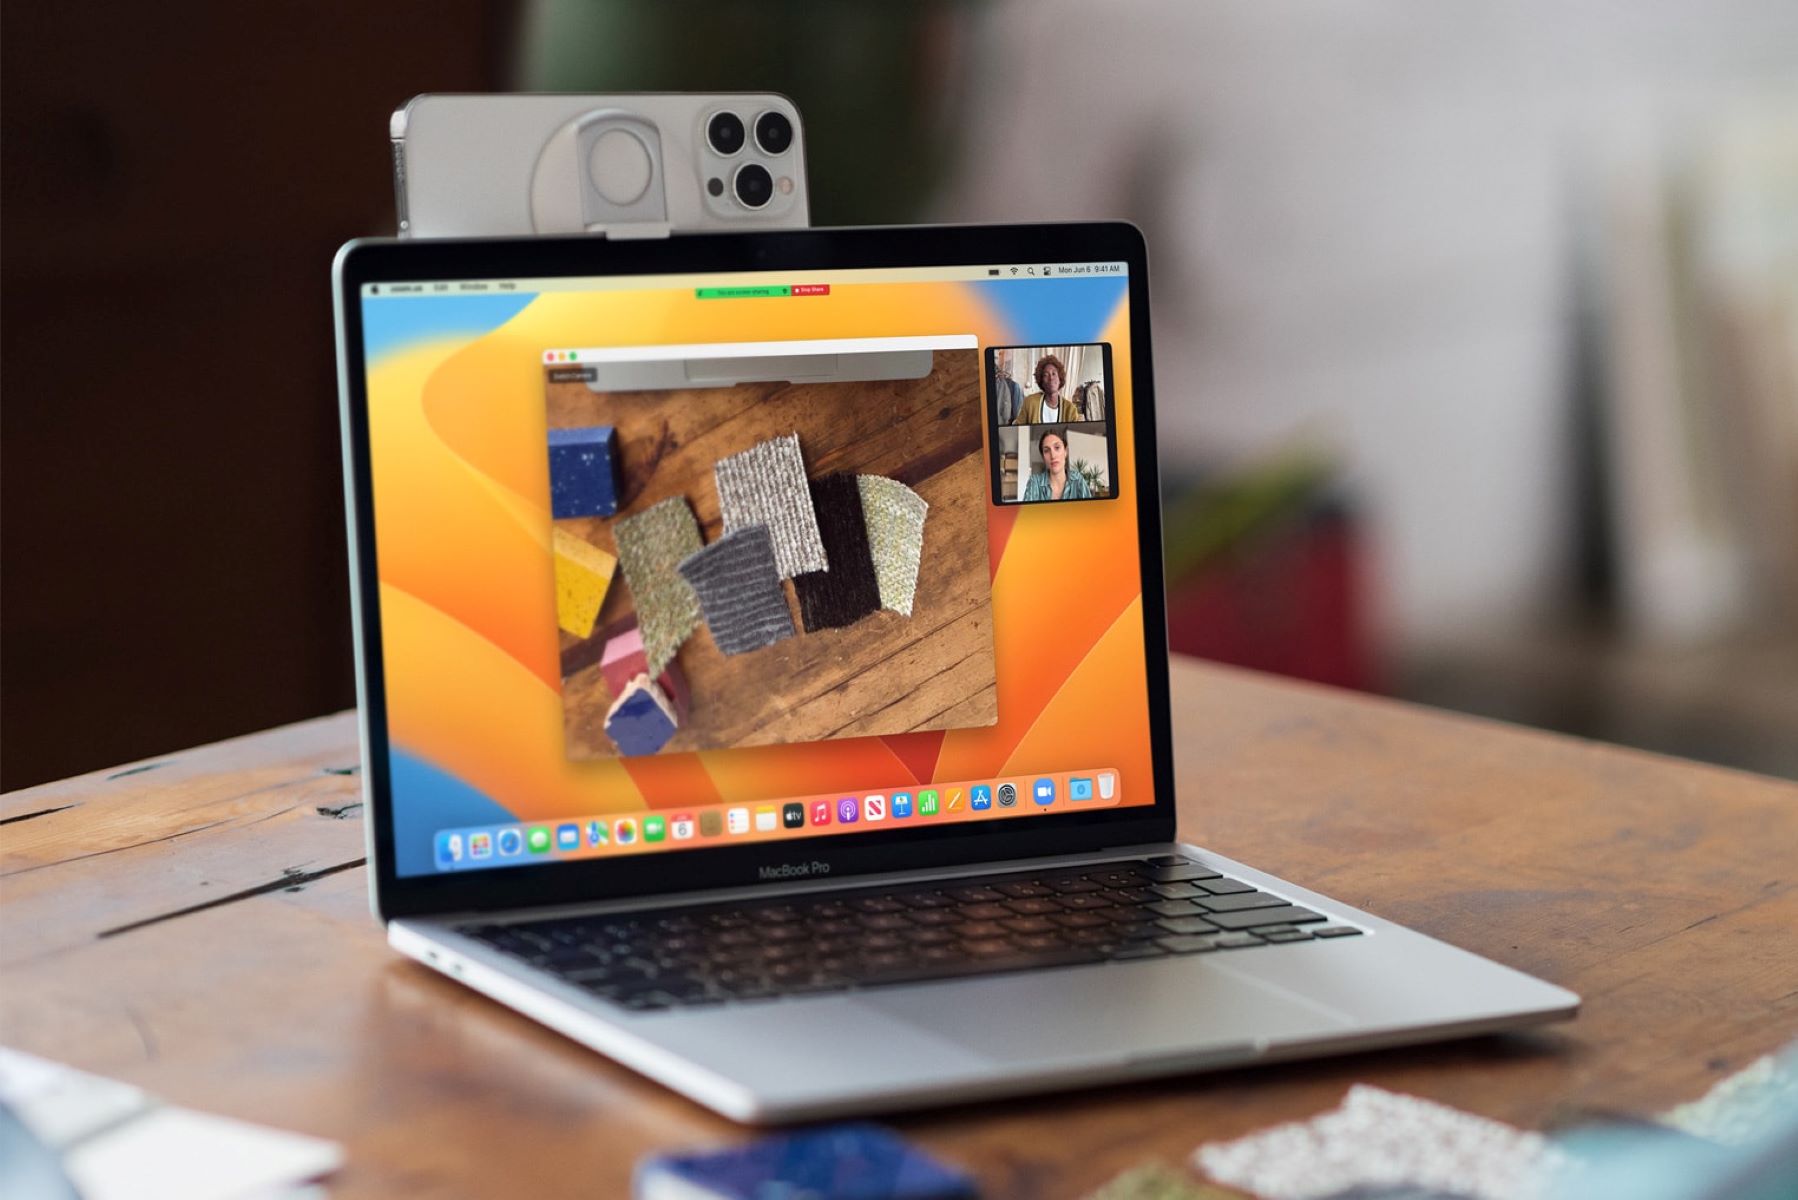
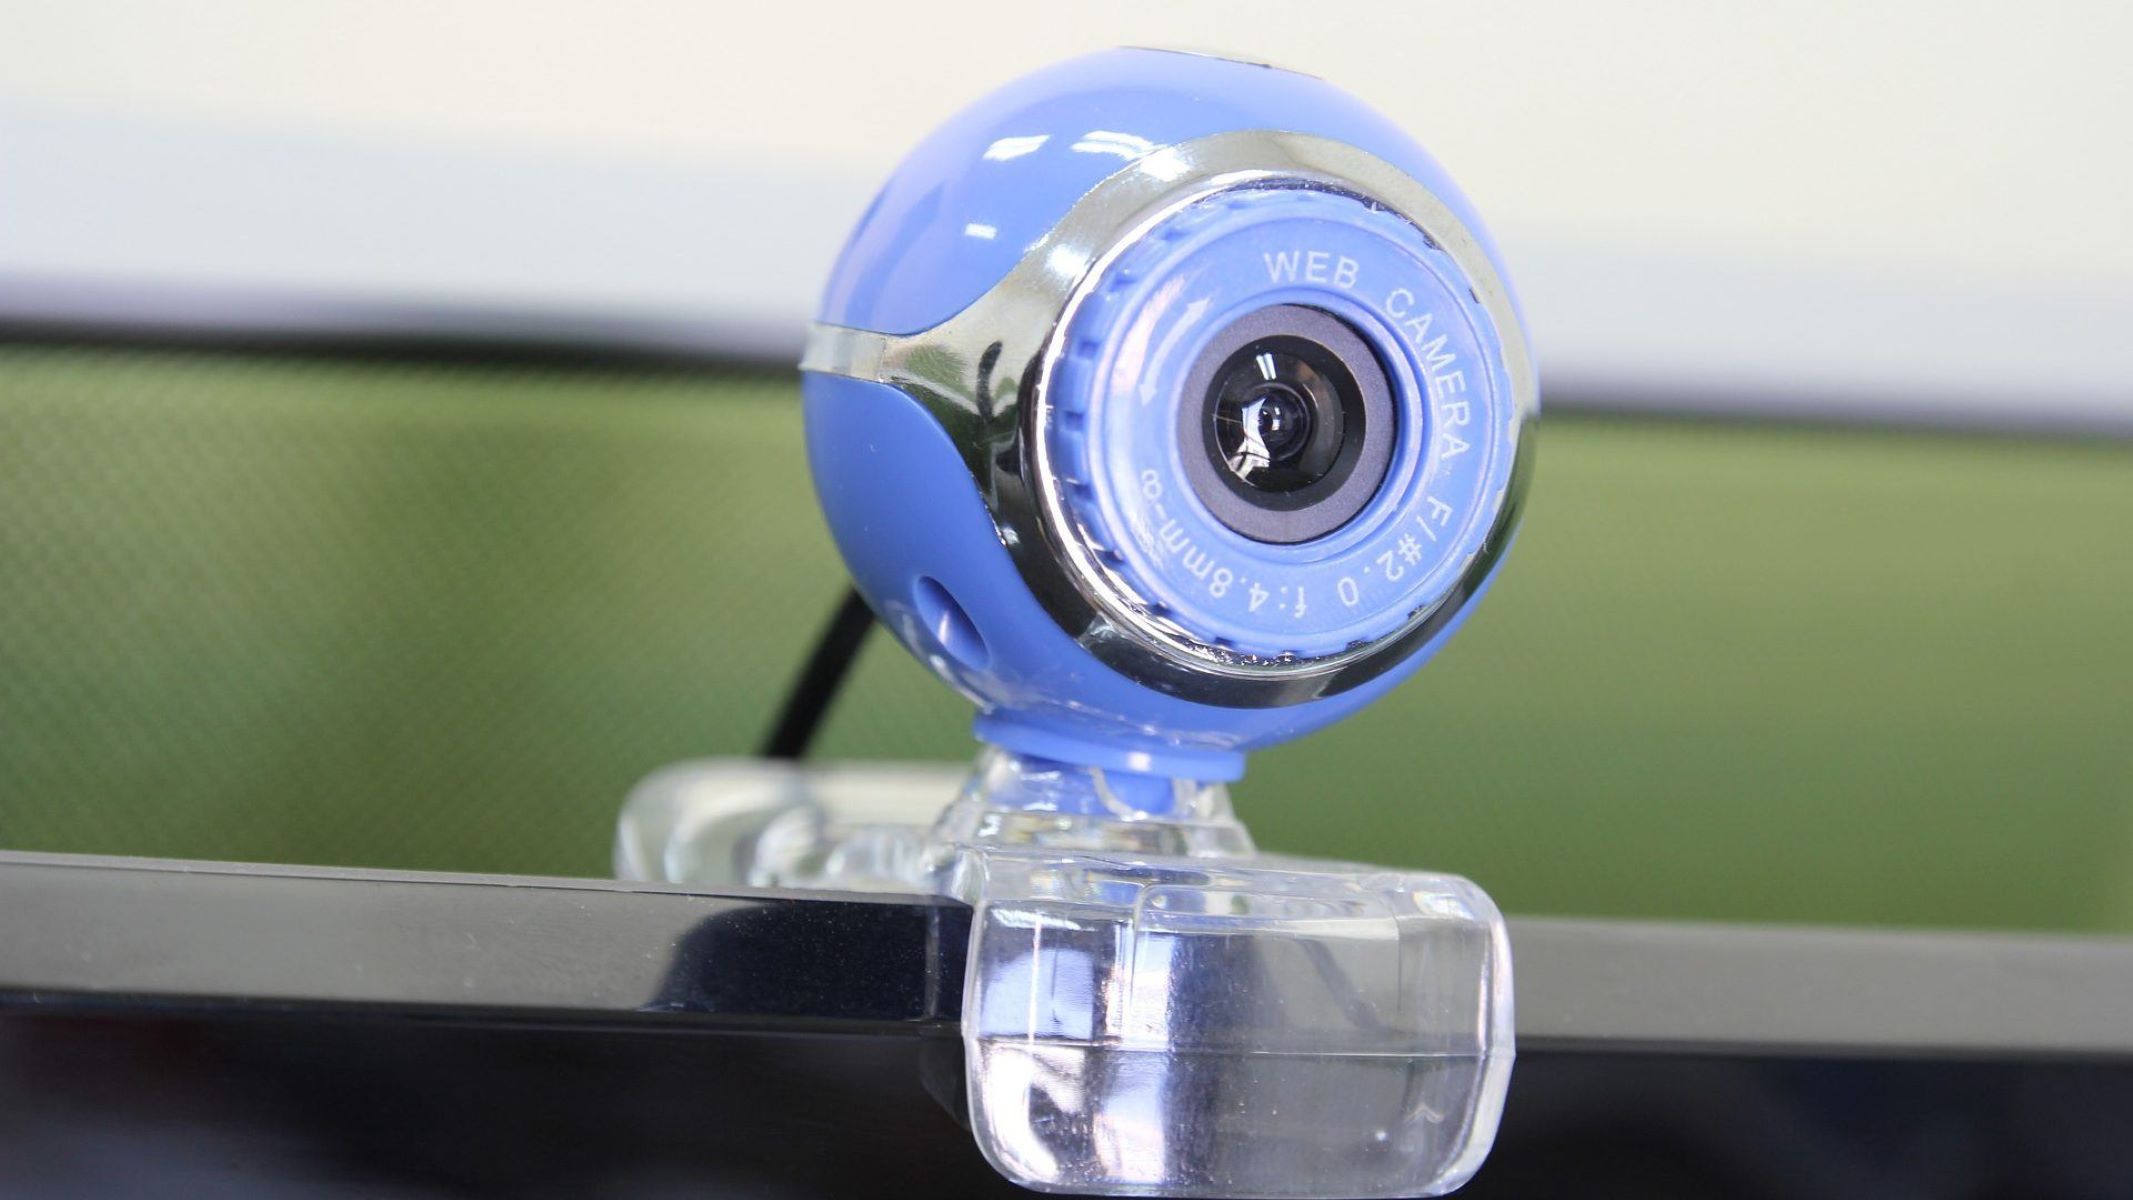
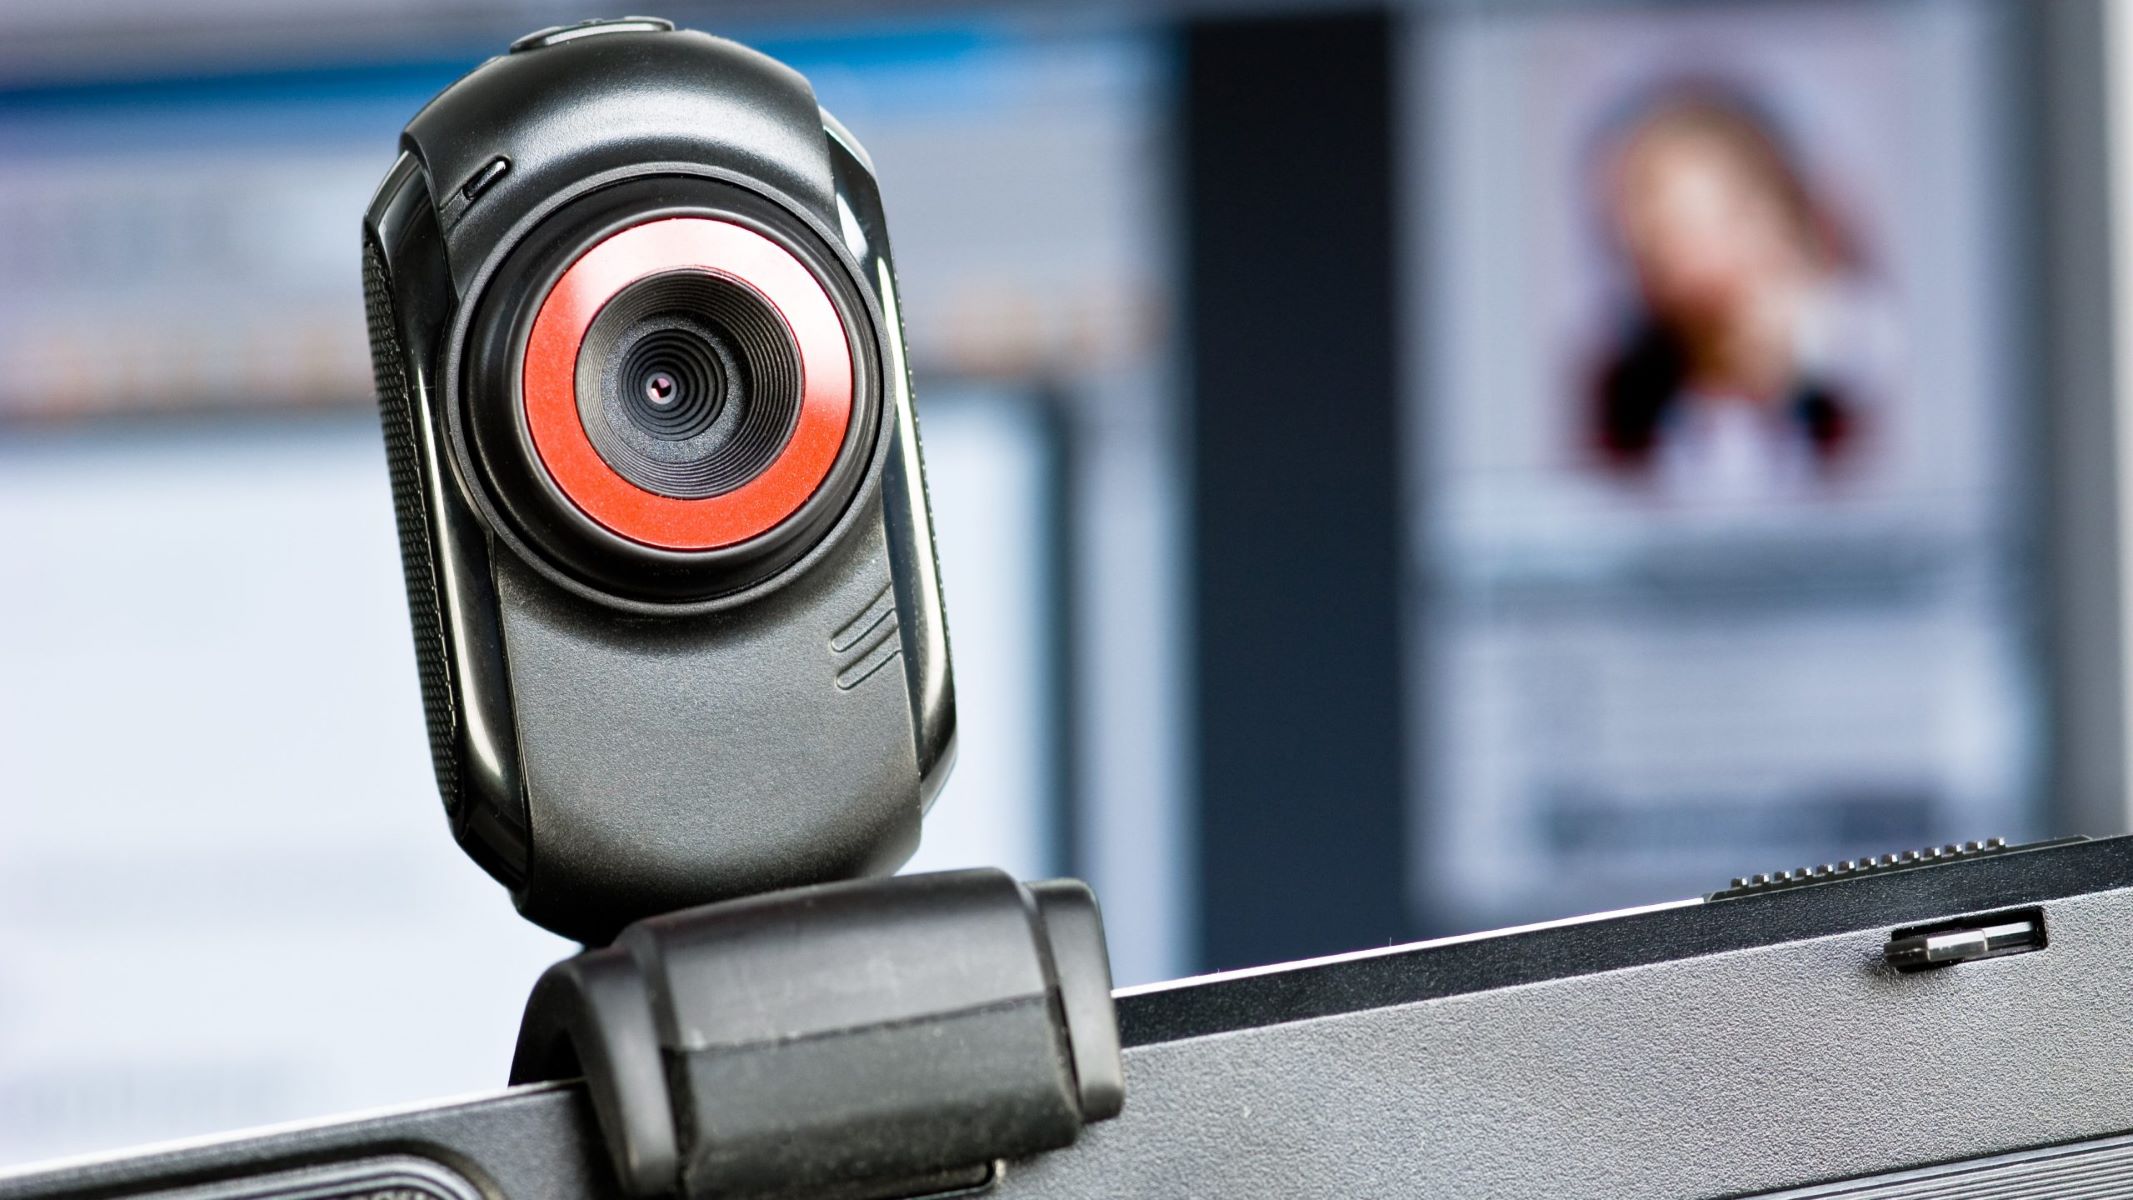
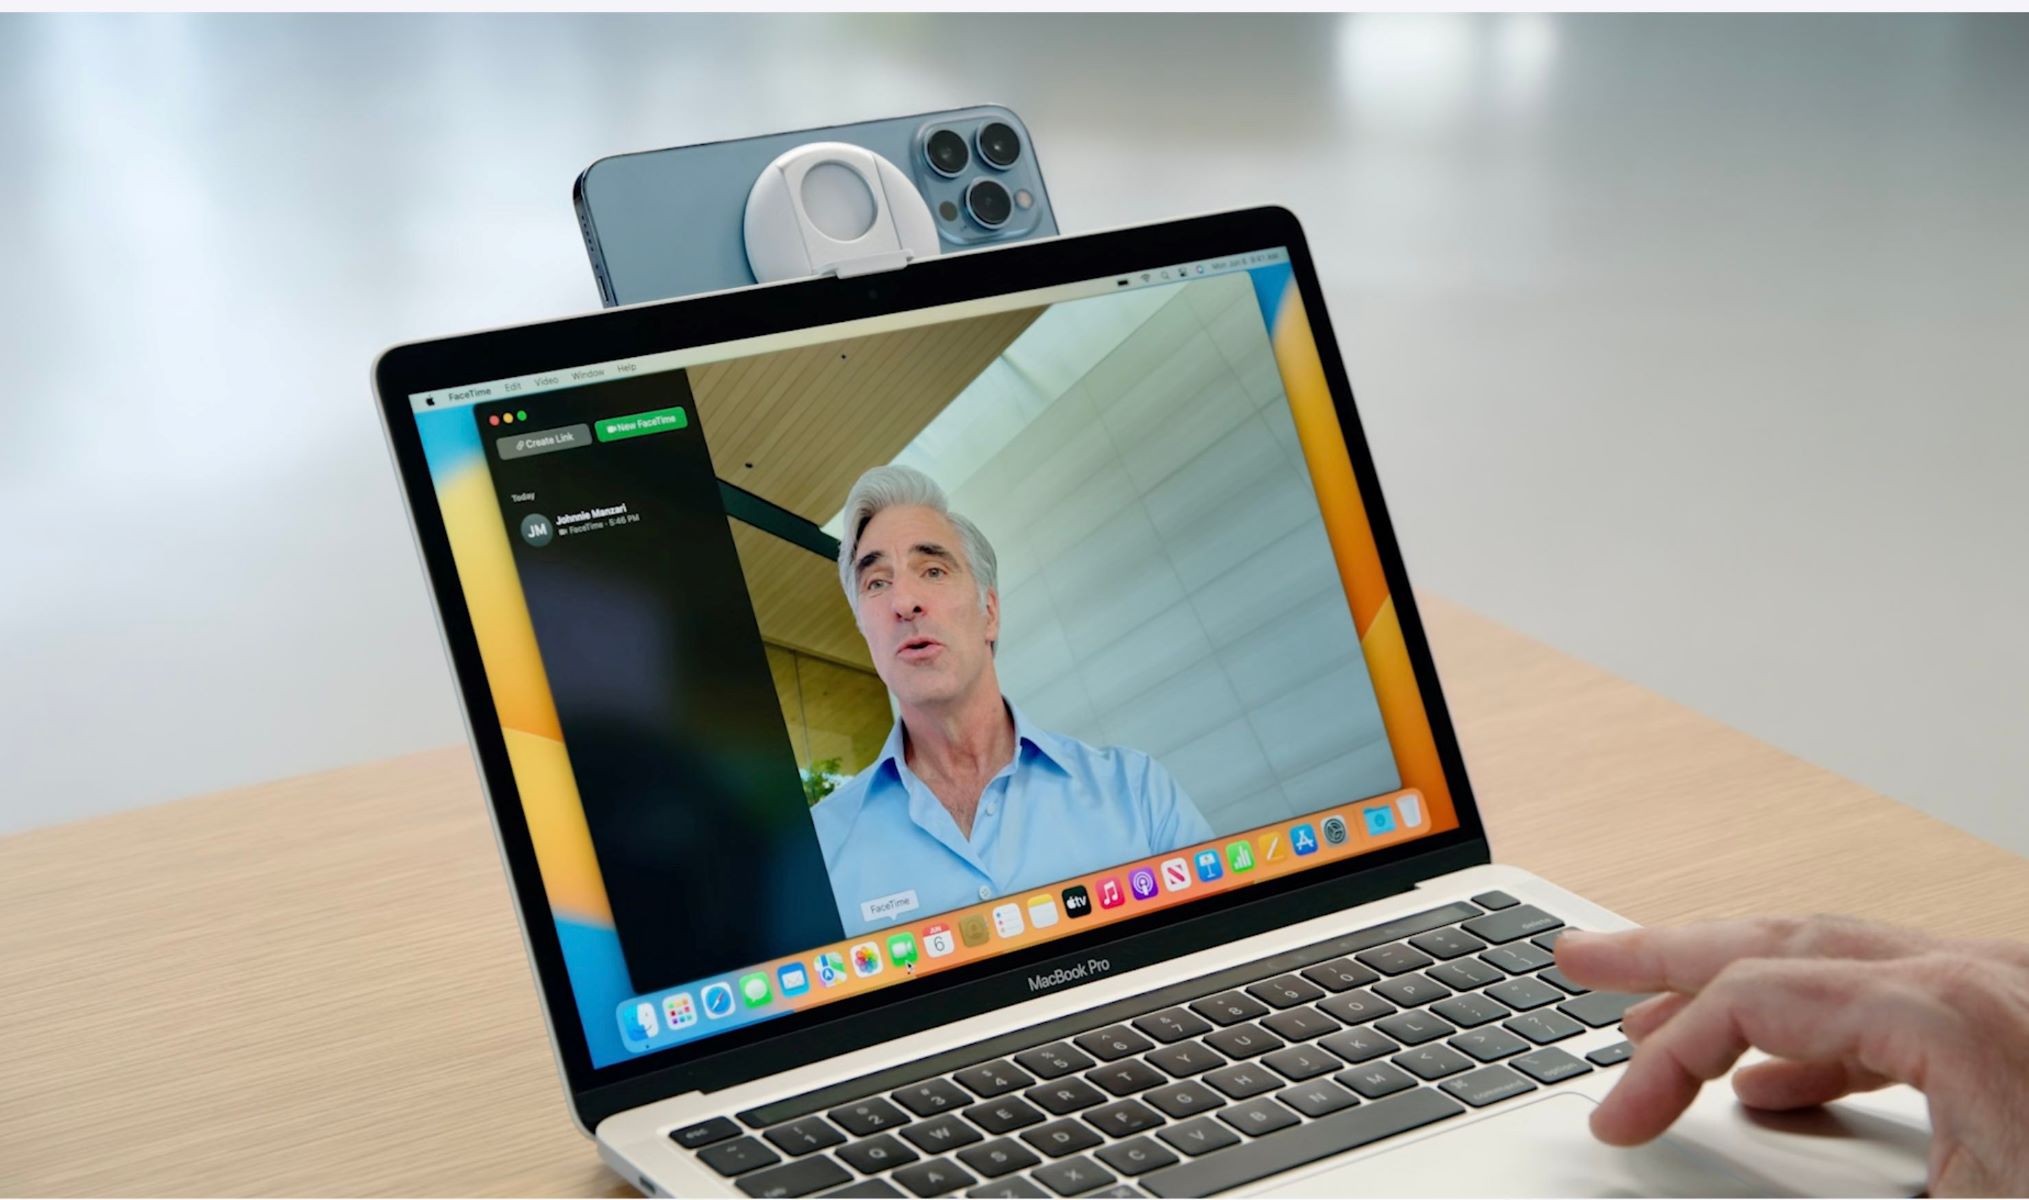
Step 2: Connect your Webcam to your Mac
Once you have ensured compatibility, the next step is to physically connect your webcam to your Mac. The method may vary depending on the type of webcam you have – whether it’s an external USB webcam or a built-in camera. Here’s how to do it:
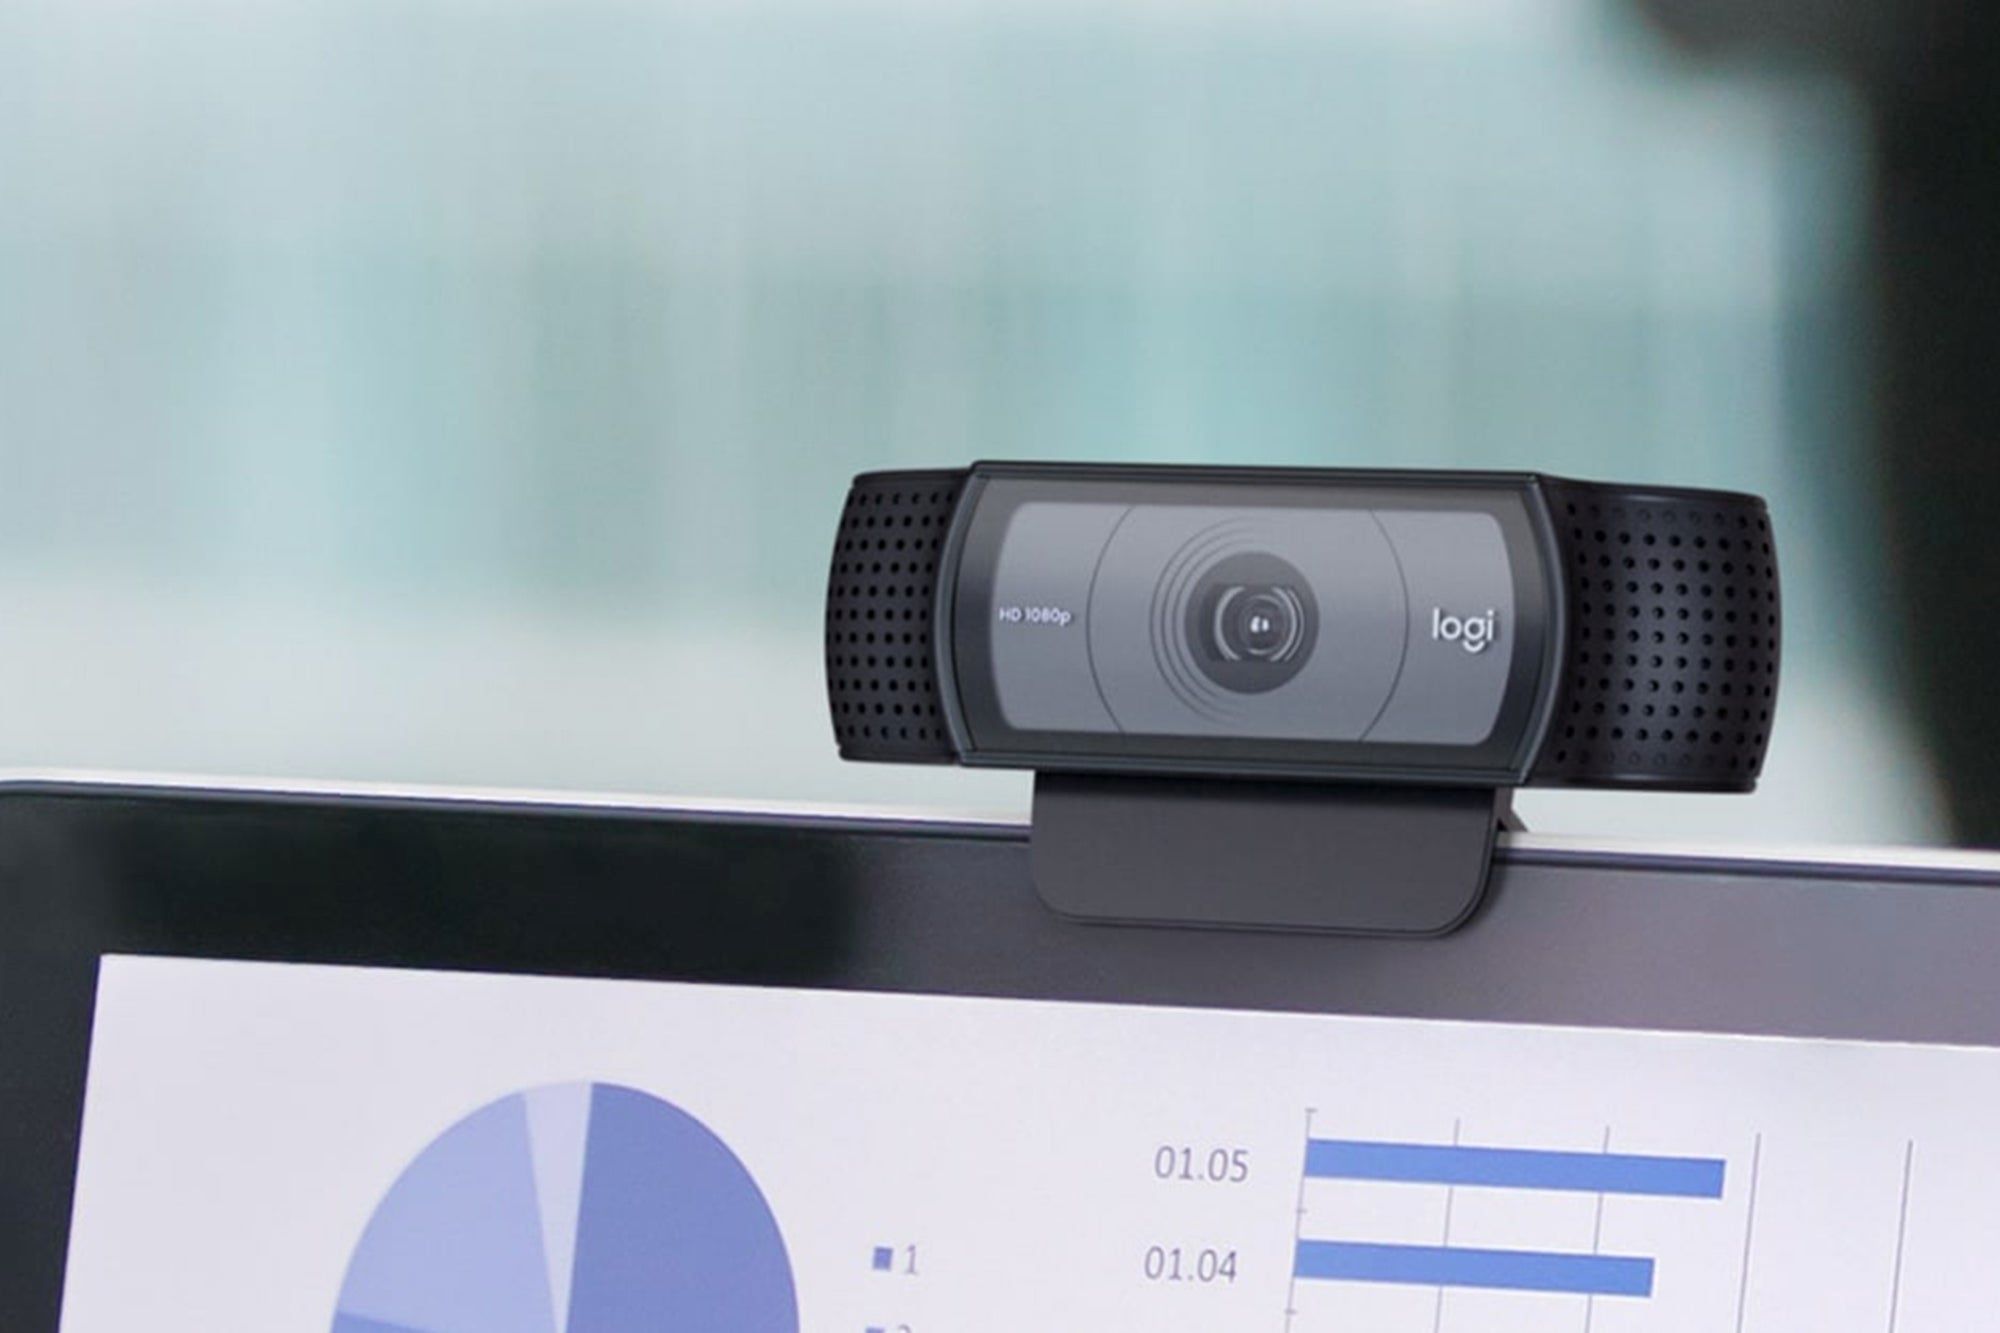
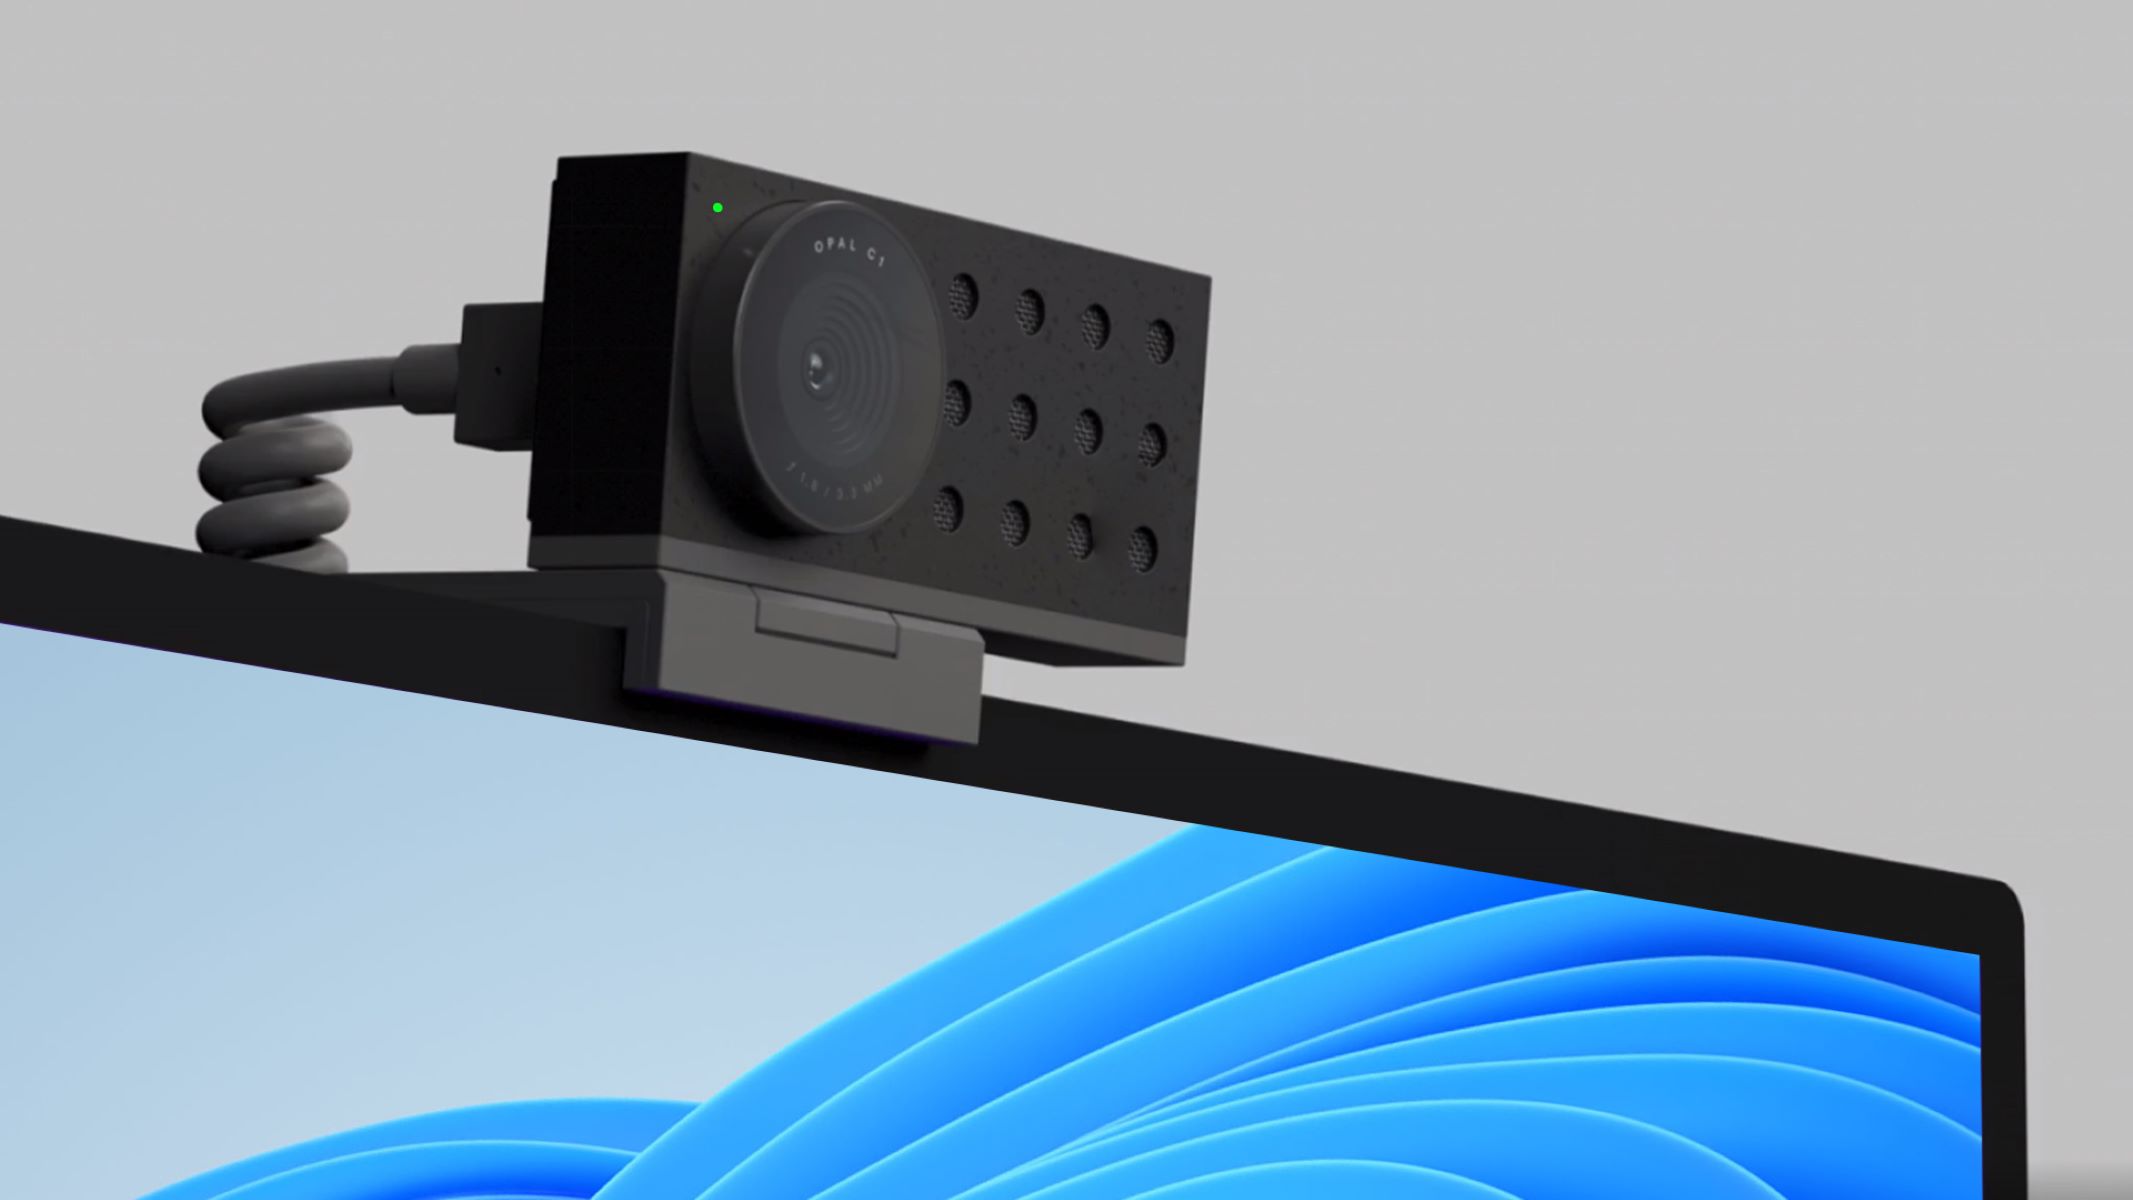
1. For External USB webcams:
- Locate an available USB port on your Mac.
- Take the USB cable that came with your webcam.
- Connect one end of the cable to the USB port on your Mac.
- Connect the other end of the cable to the USB port on your webcam.
2. For Built-in webcams:
- If your Mac has a built-in webcam, there is no need to physically connect anything. It is already integrated into your computer.
Once connected, your Mac should automatically recognize the webcam. In some cases, you may need to restart your Mac or follow on-screen instructions to ensure proper recognition.
It’s important to note that if you’re using an external webcam, it may need additional power. Ensure that the webcam is properly receiving power, either through the USB connection or through an external power source if required.
Additionally, if you’re using a USB hub to connect multiple devices, make sure the hub has sufficient power to support the webcam. Some low-powered hubs may not provide enough power for the webcam to function properly.
By connecting your webcam to your Mac correctly, you are now ready to proceed to the next step of the setup process. Whether you’re using an external USB webcam or a built-in camera, this step is crucial in establishing the connection between your Mac and the webcam, allowing you to utilize its features and functions effectively.
Step 3: Install the Webcam Software
After connecting your webcam to your Mac, the next step is to install any necessary software or drivers that accompany your webcam. This software ensures proper functionality and allows you to access additional features and settings for your webcam. Here’s how to install the webcam software on your Mac:
1. External USB webcams:
- Check the packaging or manufacturer’s website for any recommended software or drivers for your specific webcam model.
- Download the software or driver package compatible with your Mac’s operating system.
- Double-click the downloaded file to begin the installation process.
- Follow the on-screen instructions to complete the installation.
- Restart your Mac if prompted.
2. Built-in webcams:
- For built-in webcams, macOS usually includes the necessary software and drivers. Ensure that you have the latest macOS updates installed to ensure compatibility and optimal performance.
- If you’re experiencing any issues with your built-in webcam, you can check for software updates through the “System Preferences” on your Mac.
During the installation process, make sure to review and acknowledge any terms and conditions or prompts that appear. Some webcam software packages may offer additional settings and customization options, such as adjusting brightness, contrast, or resolution. Take the time to explore these options and personalize your webcam settings to suit your preferences.
Installing the webcam software is crucial for maximizing the functionality and performance of your webcam on your Mac. It ensures that your webcam is recognized and properly integrated into your computer’s system, allowing you to access all the features and settings you need for your video communication and content creation activities.
Step 4: Adjust Camera Settings
Once you have installed the webcam software on your Mac, it’s time to adjust the camera settings to ensure optimal performance and customization. Depending on the software and webcam model you have, the options and settings available may vary. However, here are some common camera settings you can adjust on your Mac:
1. Resolution and Frame Rate:
- Choose the desired resolution and frame rate for your webcam. Higher resolutions provide clearer and more detailed images, while higher frame rates result in smoother video playback. Consider your needs and the capabilities of your webcam when making these adjustments.
2. Zoom and Focus:
- Depending on your webcam, you may have the option to adjust zoom and focus settings. Zoom allows you to magnify or shrink the image, while focus controls the sharpness and clarity of the picture. Experiment with these settings to find the optimal balance for your needs.
3. Exposure and White Balance:
- Exposure and white balance settings help to manage lighting conditions and color accuracy. Adjust these settings to ensure that your webcam captures the best possible image in various lighting environments.
4. Audio Settings:
- If your webcam has built-in microphones, you can also adjust audio settings to ensure clear and balanced sound. Set the microphone sensitivity, volume levels, and noise cancellation options based on your preferences and requirements.
To access these camera settings, open the webcam software on your Mac and navigate to the settings or preferences section. Look for options related to camera, video, resolution, audio, or similar categories. The software should provide an intuitive interface where you can make adjustments and preview the changes in real-time.
Take your time to explore different settings and experiment with them to find the configuration that best suits your needs. Remember to save your settings after making adjustments to ensure they are applied whenever you use your webcam on your Mac.
Adjusting camera settings allows you to customize your webcam’s performance and capture the best possible video and audio quality. By finding the optimal configuration for your needs, you can enhance your video communication, online meetings, live streaming, and content creation experiences on your Mac.
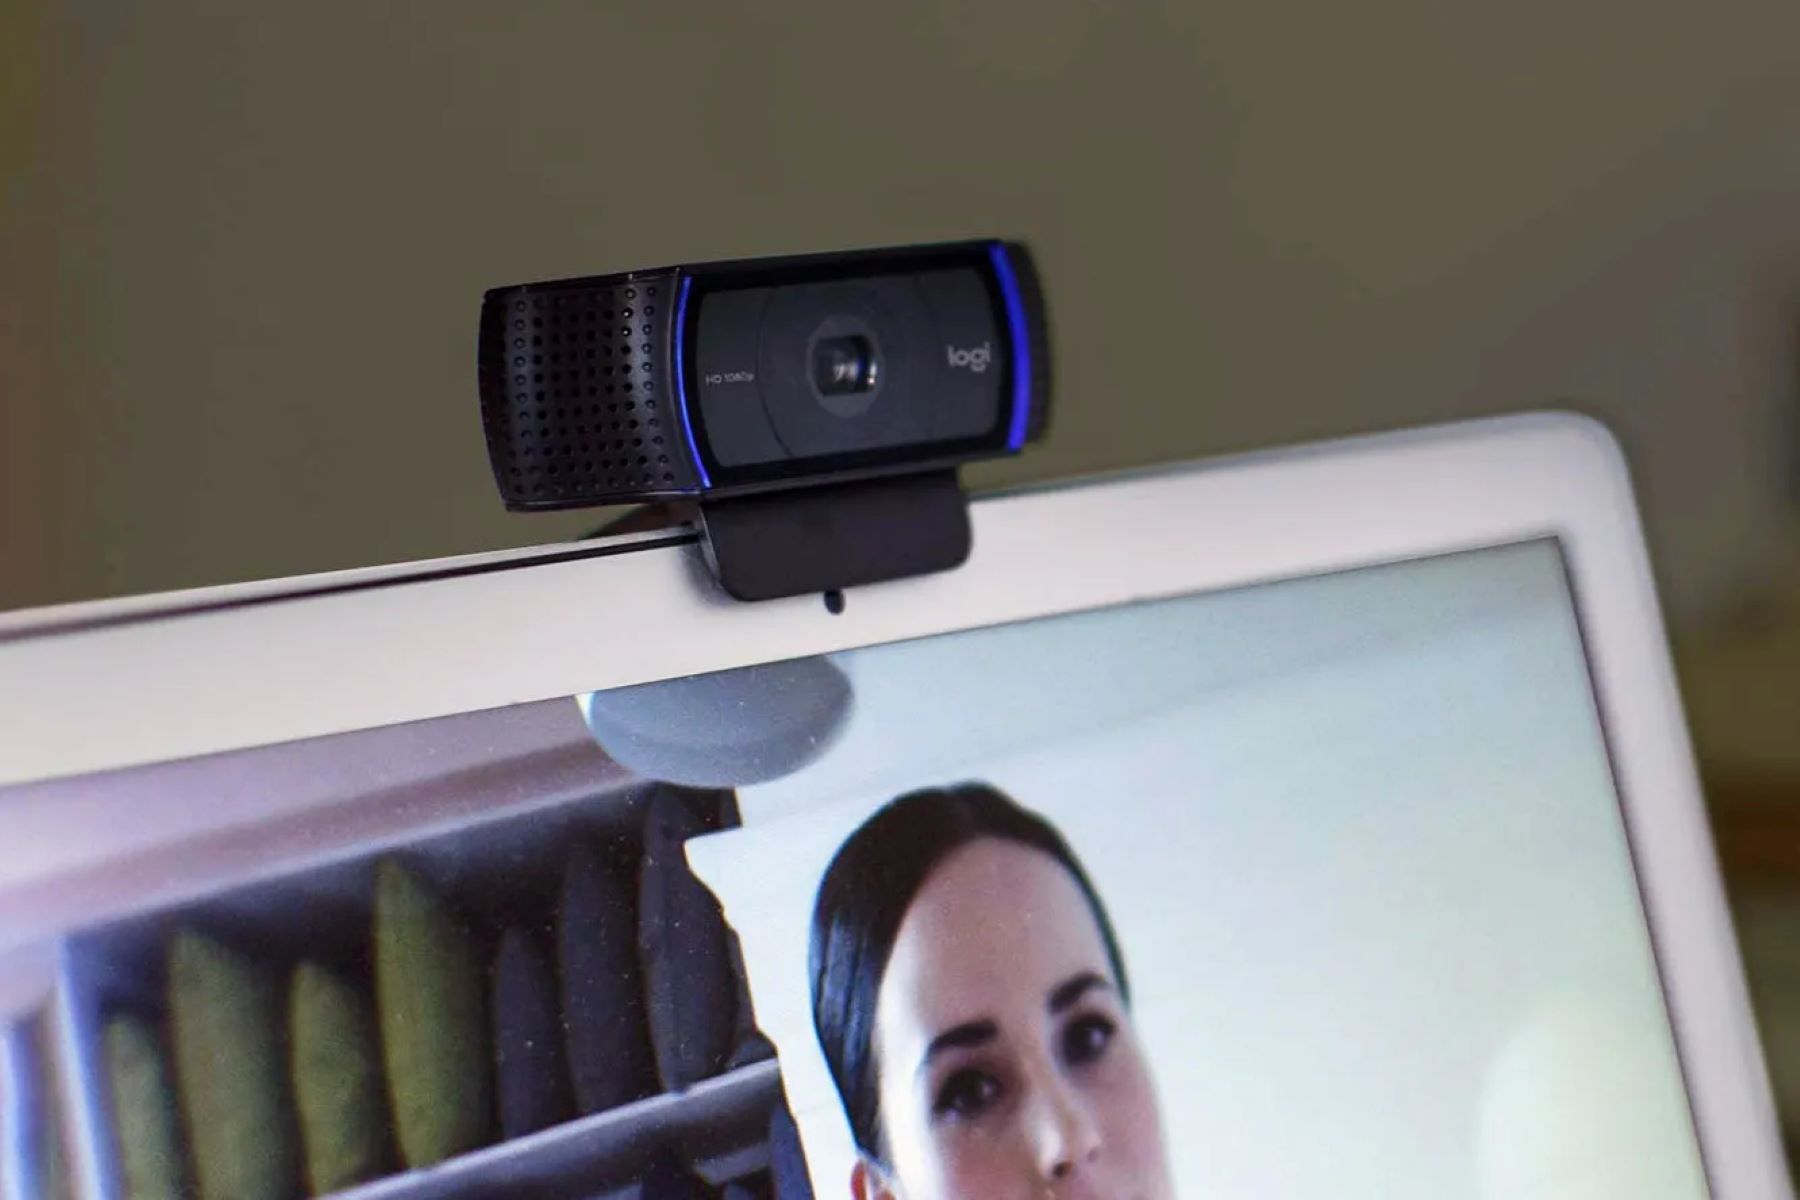
Step 5: Test your Webcam
After setting up and adjusting the camera settings, it’s important to test your webcam to ensure everything is working properly. Testing your webcam allows you to verify the image quality, audio clarity, and overall functionality. Here’s how to test your webcam on your Mac:
1. Launch the application or software that you intend to use your webcam with. This could be video conferencing apps like Zoom or Skype, or video recording software.
2. Look for the settings or preferences section within the application. Look for an option to select a camera or webcam source. Choose the name of your webcam from the available options.
3. Once you have selected your webcam, you should see a live video preview. Pay attention to the image quality, clarity, color accuracy, and focus. Ensure that the video feed matches your expectations and troubleshoot any issues, such as a grainy or blurry image.
4. Test the audio by speaking into the microphone that is integrated with your webcam. Confirm that the sound is clear, without any distortion or background noise. Adjust the microphone settings within the application if necessary.
5. Consider testing additional features of your webcam, such as pan, tilt, or zoom, if applicable. These features allow you to adjust the camera’s position or zoom in and out during your video calls or recordings.
Testing your webcam is crucial to ensure that it functions properly and delivers the expected quality. By doing a thorough test, you can identify any technical issues, adjust audio or video settings if needed, and address them before important video meetings or content creation sessions.
If you encounter any difficulties during the testing process, refer to the user manual or support documentation provided with your webcam. It may offer troubleshooting tips or additional instructions specific to your webcam model.
With your webcam successfully tested, you can now enjoy the benefits of high-quality video communication, online meetings, live streaming, and content creation on your Mac.
Conclusion
Setting up a webcam on your Mac is a relatively straightforward process that allows you to unlock a world of video communication and content creation possibilities. By following the steps outlined in this guide, you can connect your webcam, install the necessary software, adjust camera settings, and test your webcam to ensure optimal performance.
Checking compatibility is an important first step to ensure that your webcam is compatible with your Mac’s operating system. Connecting your webcam, whether it’s an external USB webcam or a built-in camera, is the next crucial step in establishing the physical connection between your webcam and your Mac.
Installing the webcam software is essential to ensure proper functionality and access to additional features and settings. Adjusting camera settings allows you to customize the image quality, audio clarity, and other aspects based on your preferences and requirements.
Finally, testing your webcam ensures that it is working properly and meets your expectations in terms of image quality, audio clarity, and functionality. By going through this testing process, you can address any technical issues and ensure that your webcam is ready for video communication, online meetings, live streaming, and content creation.
Remember, the settings and features discussed in this guide may vary depending on your webcam model and software. Always refer to the user manual and manufacturer’s instructions for specific guidance relevant to your device.
With your webcam successfully set up on your Mac, you can now fully enjoy the benefits of enhanced video communication and content creation experiences. Whether you’re keeping in touch with loved ones, collaborating with colleagues, or expressing your creativity through video, your webcam will enable you to connect and engage in a whole new way on your Mac.