Introduction
Welcome to our guide on how to transfer photos from your tablet to an SD card. Tablets have become a popular device for capturing photos due to their convenience and portability. However, the limited storage capacity of some tablets may require you to offload your photos onto an external storage device like an SD card.
Transferring photos to an SD card not only frees up space on your tablet but also provides a backup for your precious memories. Whether you want to transfer a few photos or a large collection, this step-by-step guide will walk you through the process.
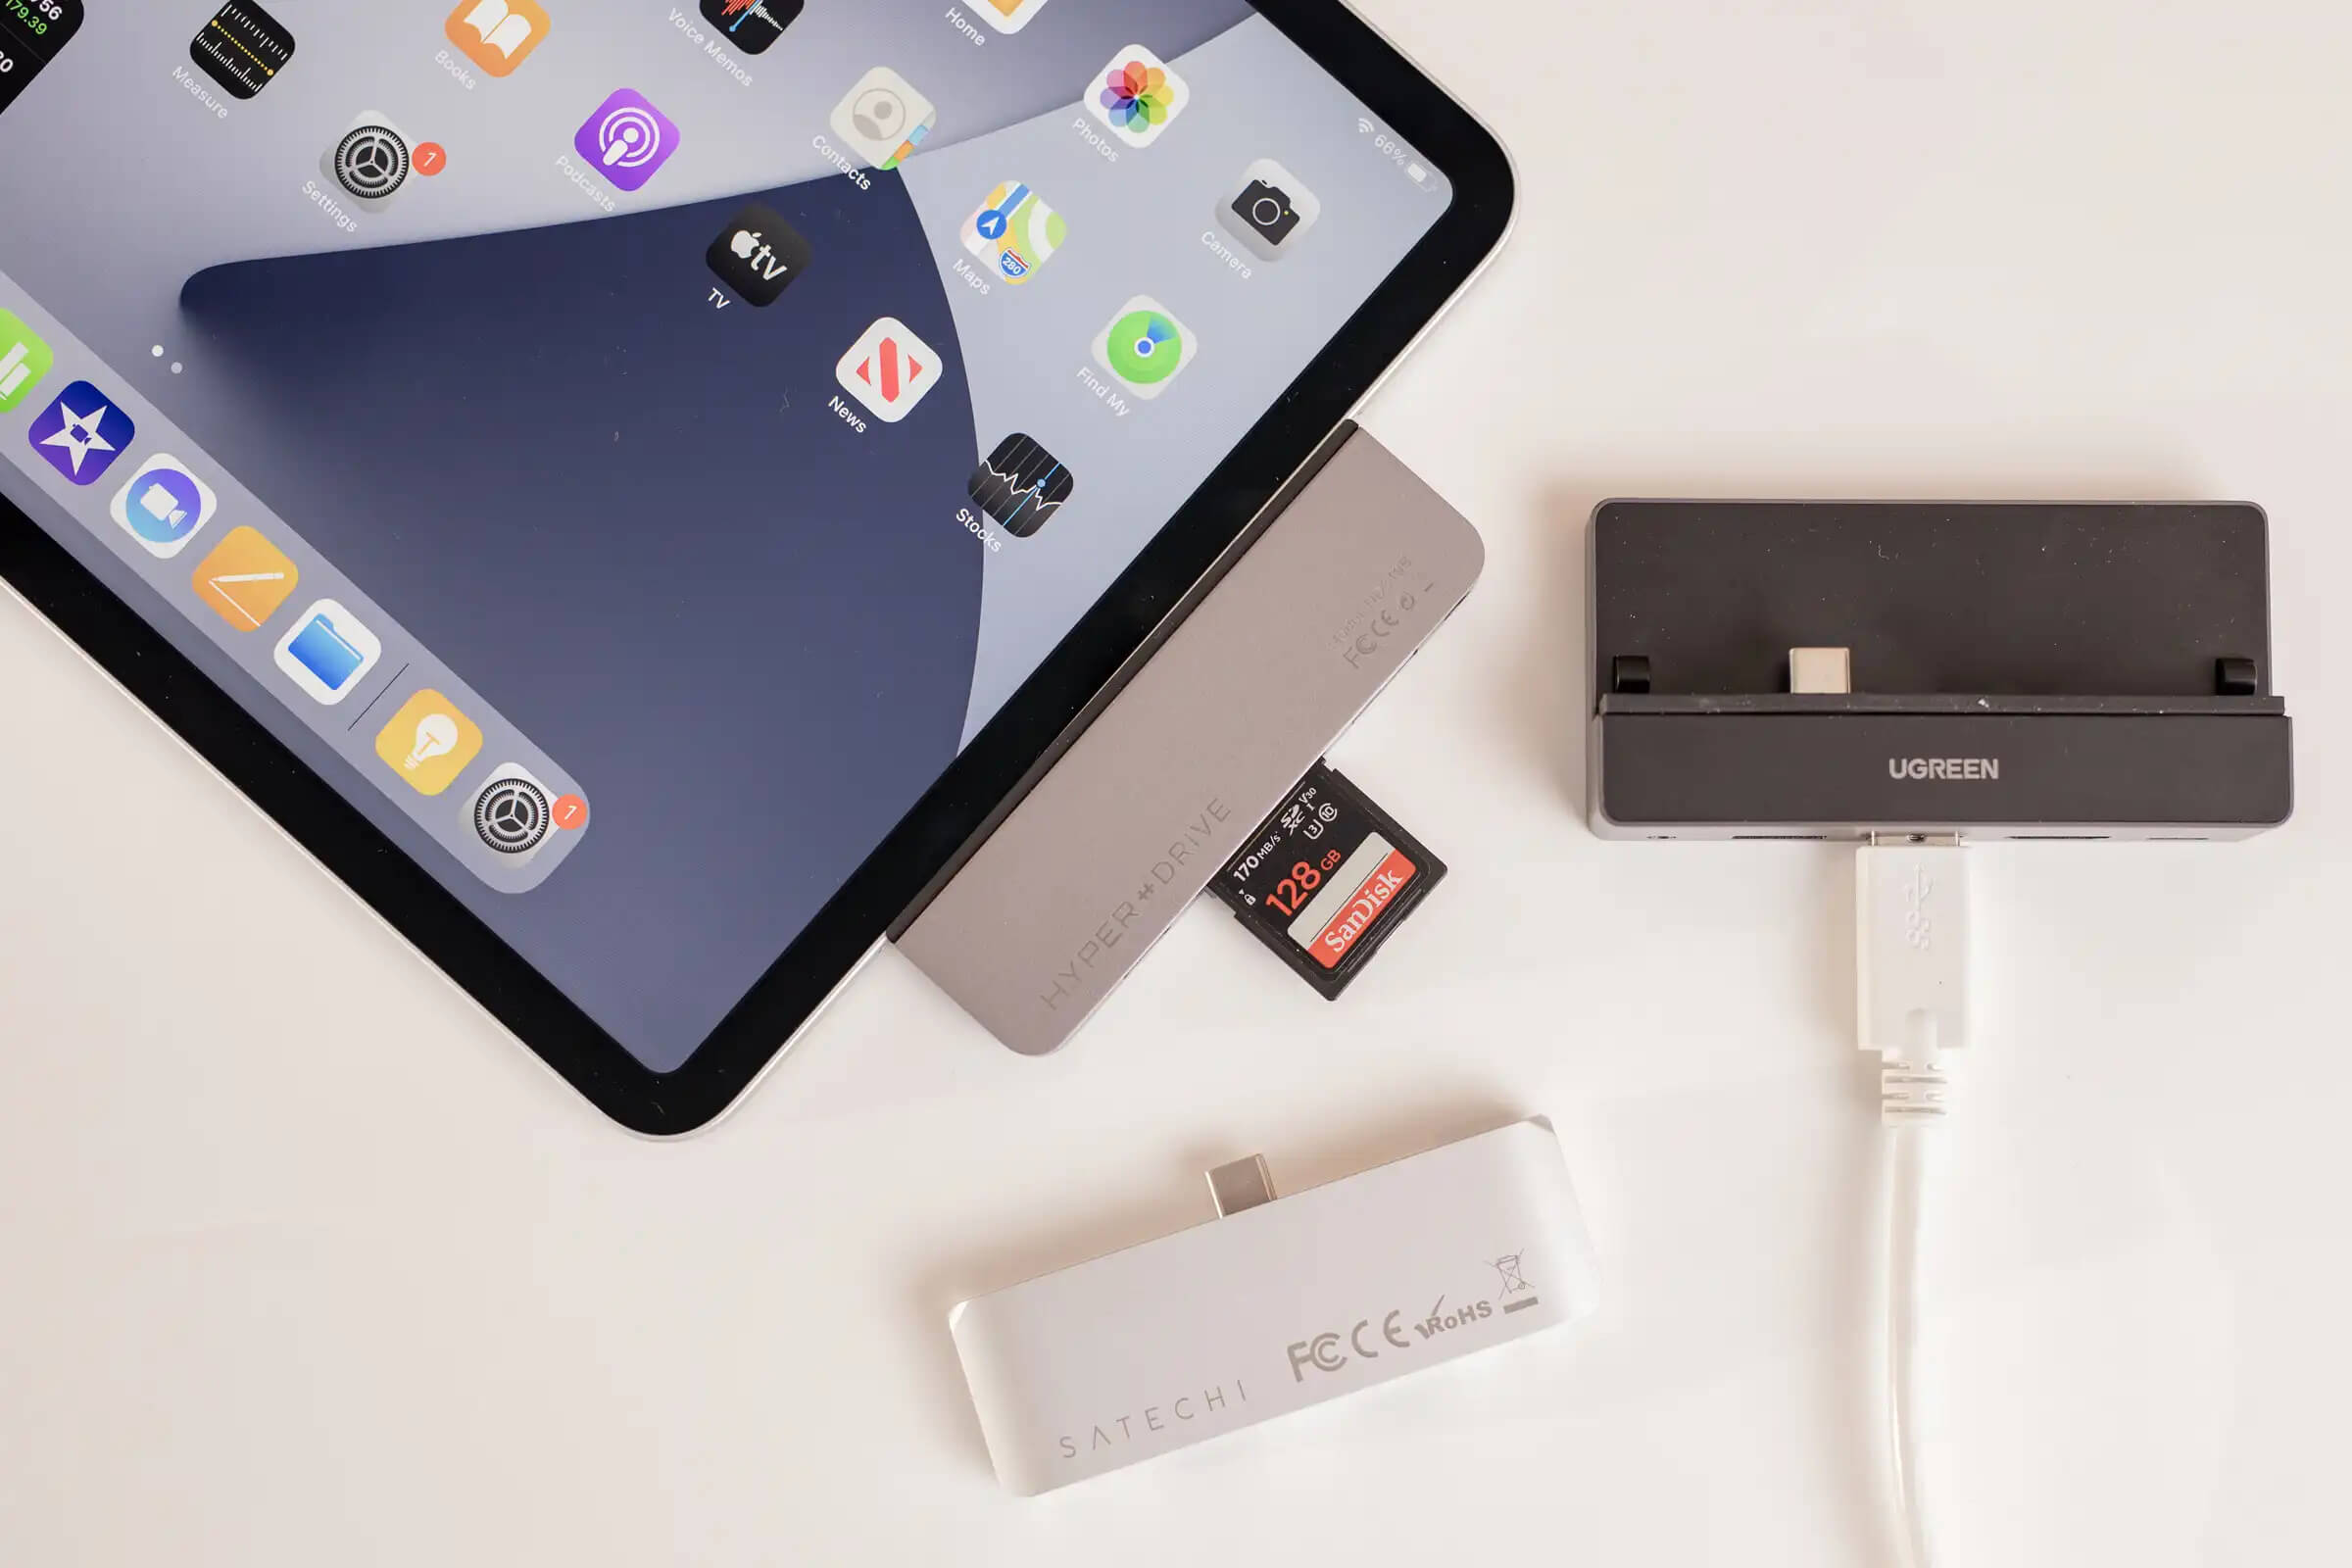
Before we begin, it’s essential to ensure that your tablet and SD card are compatible. Most tablets have a dedicated slot for an SD card, but some may require an adapter or a compatible connector. Refer to your tablet’s user manual or manufacturer’s website to determine the suitable storage options for your device.
Now that you are ready, let’s dive into the steps for transferring your photos from the tablet to an SD card.
Step 1: Inserting the SD card into the tablet
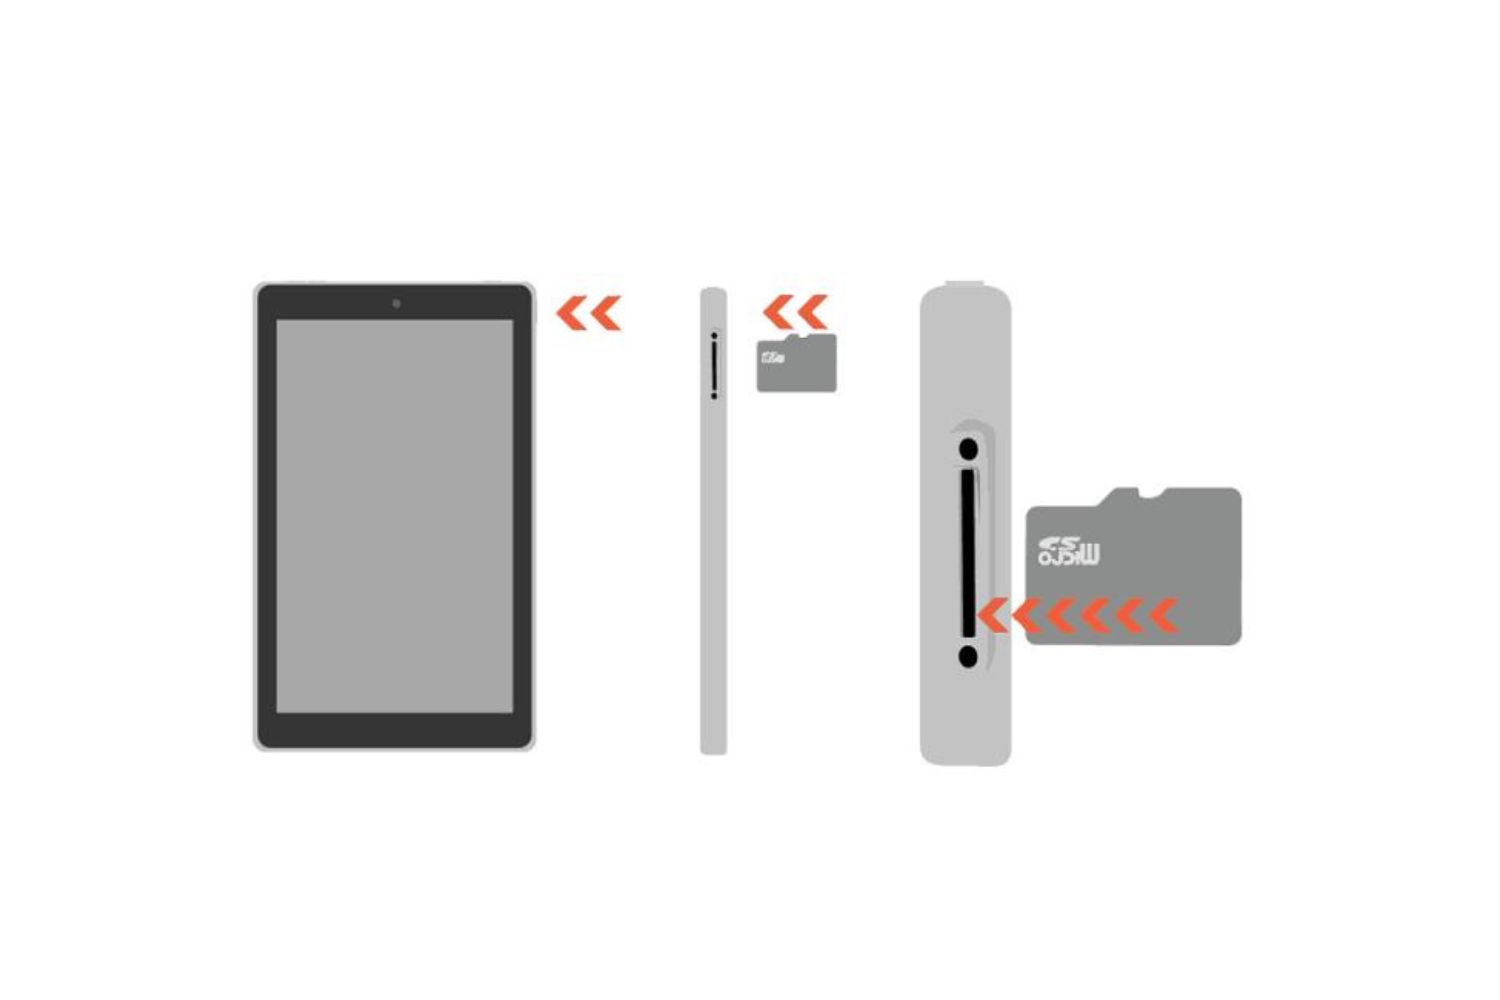
The first step in transferring your photos from your tablet to an SD card is to insert the SD card into the tablet. Locate the SD card slot on your tablet; it is usually on the side or at the back of the device.
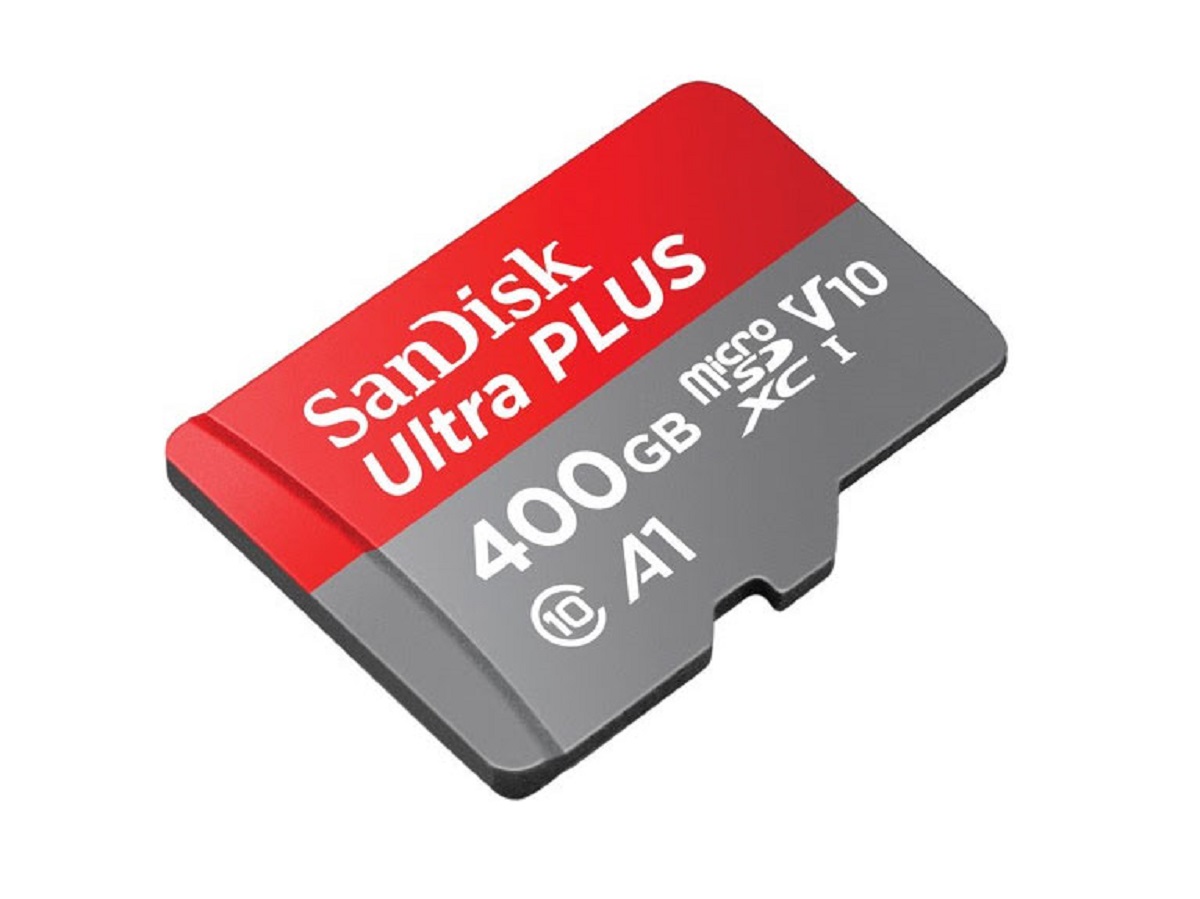
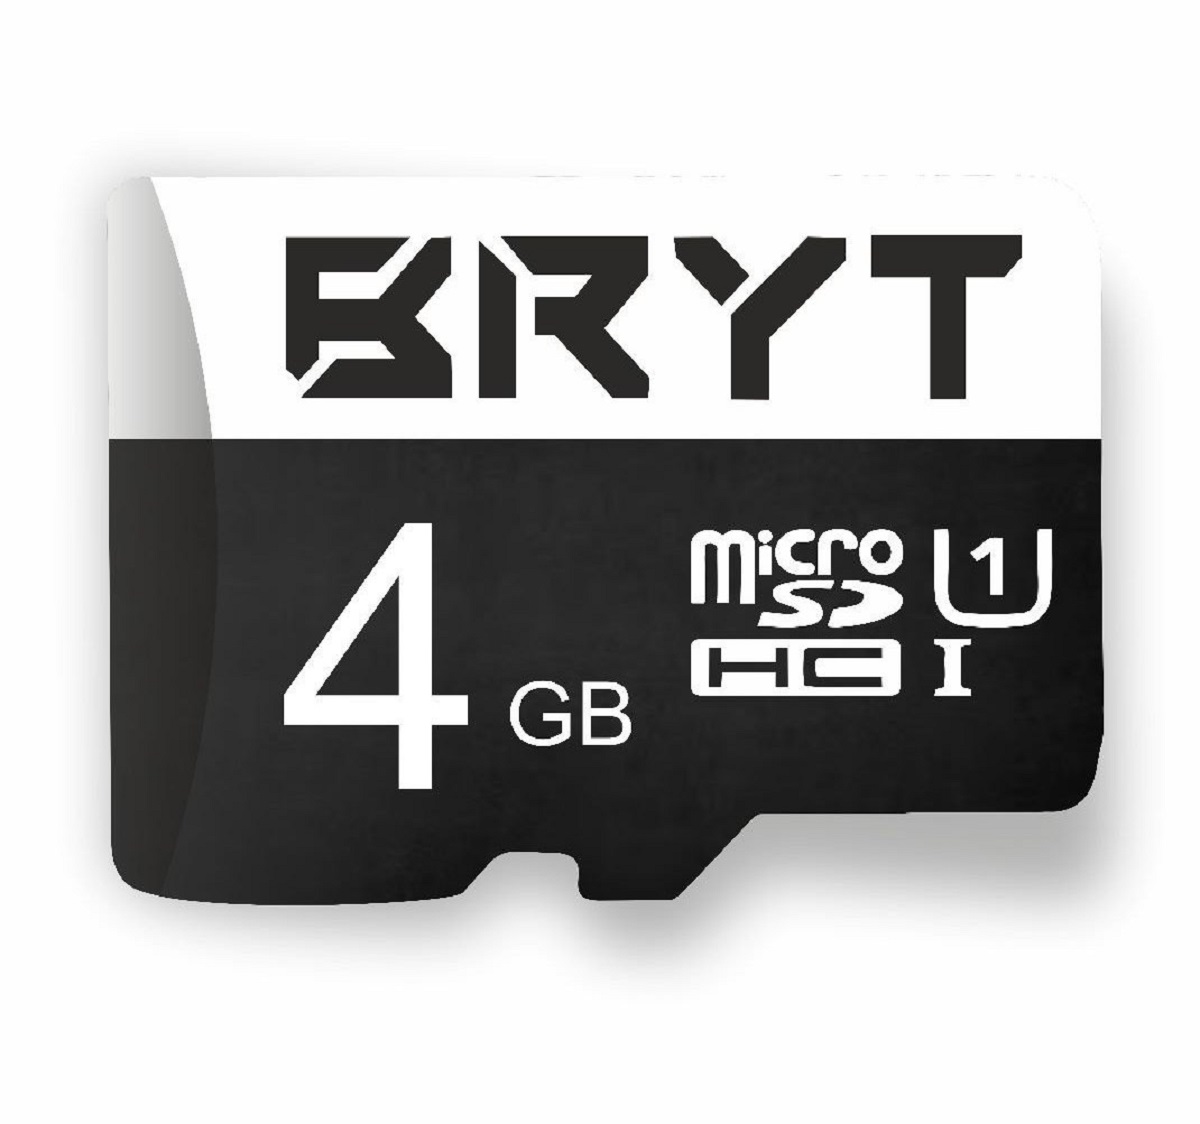
Take your SD card and align it correctly with the slot. The SD card has a notched corner that matches the slot on the tablet. Ensure that you insert it in the correct orientation to avoid any damage.
Gently push the SD card into the slot until it clicks or locks into place. Some tablets might have a spring-loaded mechanism that will secure the SD card automatically. If your tablet requires an adapter or a compatible connector, follow the manufacturer’s instructions to attach it properly.
Once the SD card is securely inserted, power on your tablet if it’s not already turned on. It may take a few seconds for the tablet to recognize the SD card and configure it for use.
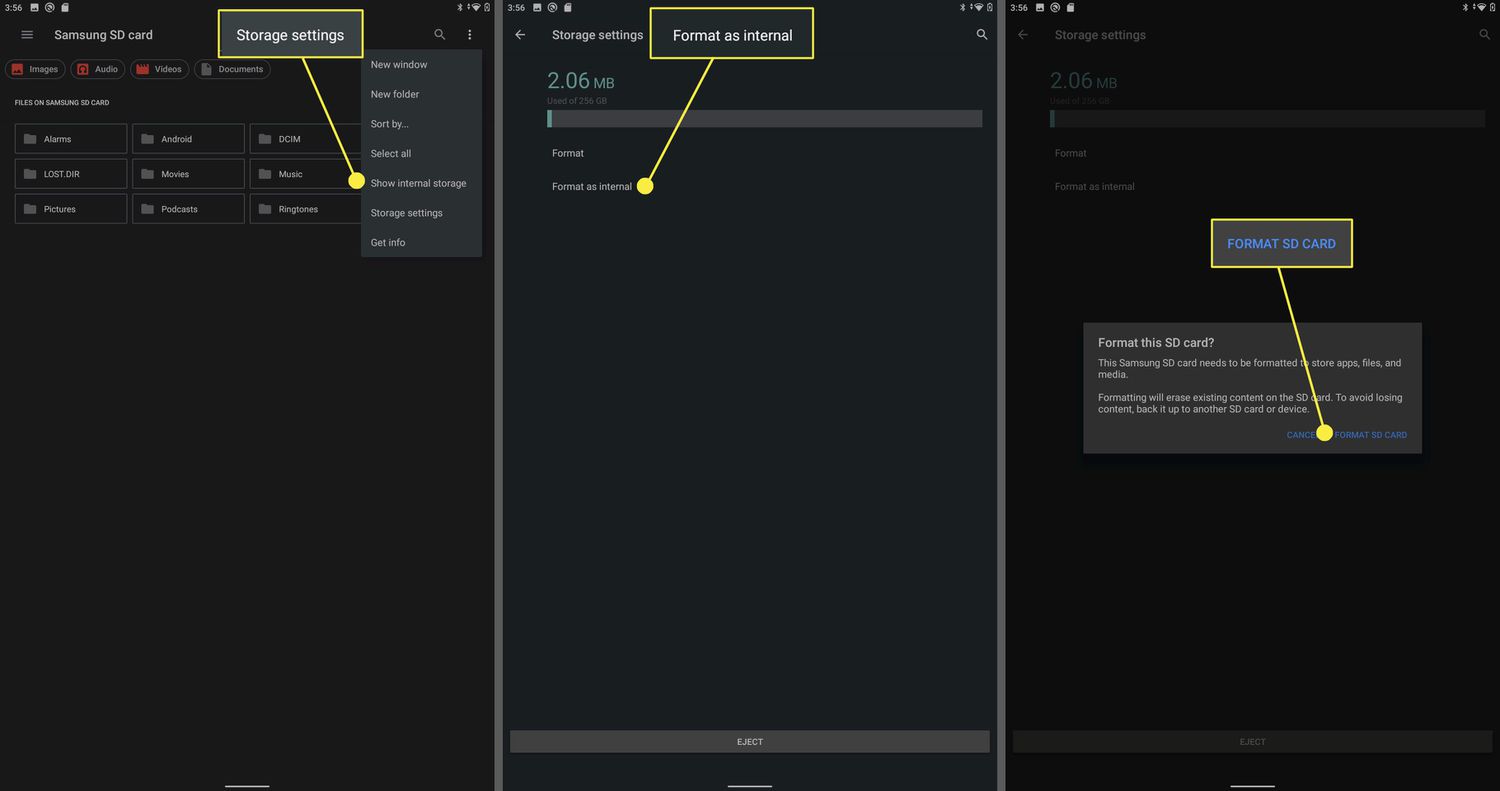
To verify that the SD card is successfully inserted and recognized, go to the settings menu of your tablet. Look for the “Storage” or “Device” section and find the option to view the storage details. It should display the available space on the SD card along with the internal storage of your tablet.
You have now completed the first step of inserting the SD card into your tablet successfully. In the next step, we will show you how to access the photos on your tablet.
Step 2: Accessing the photos on your tablet
Now that your SD card is inserted into your tablet, you need to access the photos you want to transfer. Depending on the make and model of your tablet, the steps to access the photos may vary slightly, but the overall process remains the same.
Start by unlocking your tablet and navigating to the home screen or app menu. Look for the gallery app, which is usually represented by an icon with a square grid or a camera. Tap on the gallery app to open it.
Once you’re in the gallery app, you’ll see a collection of all the photos and videos stored on your tablet. Browse through the different albums or folders to locate the specific photos you want to transfer.
If you have your photos organized into albums, tap on the album name to open it and view the photos inside. Alternatively, some gallery apps allow you to view all the photos in a grid or timeline view.
You can scroll through the photos to find the ones you want to transfer. If you’re having trouble locating the specific photos, you can use the search bar or filter options to narrow down your selection based on dates, locations, or tags.
Take your time to explore the gallery app and familiarize yourself with its features. Some apps offer additional editing options, such as cropping, filters, or enhancements, that you can apply to your photos before transferring them to the SD card.
Once you have identified the photos you wish to transfer, it’s time to move on to the next step, where you will learn how to select the photos and prepare them for the transfer process.
Step 3: Selecting the photos you want to transfer
Now that you have accessed the gallery app on your tablet and located the photos you want to transfer, it’s time to select them for the transfer process. The steps to select photos may vary depending on the gallery app you are using, but the general process remains similar.
To select a single photo, tap on it once, and you’ll typically see an indication that it has been selected. Some gallery apps may highlight the selected photo with a border or checkmark.
If you want to select multiple photos, you can either long-press on a photo and then tap on the additional photos you want to include, or you may find a “Select” or “Mark” option in the menu or toolbar that allows for multiple selections. Look for icons such as checkboxes or squares to indicate selection options.
As you select photos, you’ll notice that they are highlighted or marked in some way to indicate that they are chosen for transfer. Keep in mind that you can select as few or as many photos as you like, depending on the available space on your SD card and your personal preferences.
If you want to select all the photos in a particular album or folder, look for a “Select All” option. This will automatically mark all the photos in that album or folder for transfer.
Before proceeding to the next step, take a final look at your selected photos to ensure they are the ones you want to transfer. You can deselect any photos by tapping on them again or using the deselect option provided by the gallery app.
Now that you have successfully selected the photos you wish to transfer to the SD card, it’s time to move on to the next step, where you will learn how to copy the selected photos to the SD card.
Step 4: Copying the selected photos to the SD card
With the photos selected, you’re now ready to copy them to the SD card. The process may vary slightly depending on your tablet’s operating system or gallery app, but the general steps remain the same.
Start by tapping on the menu or toolbar icon that represents the available actions for the selected photos. Look for options such as “Copy,” “Move,” or “Share.”
In the menu that appears, choose the option to “Copy” or “Move” the selected photos. This action tells the tablet that you want to duplicate or transfer the selected photos from their current location to the SD card.
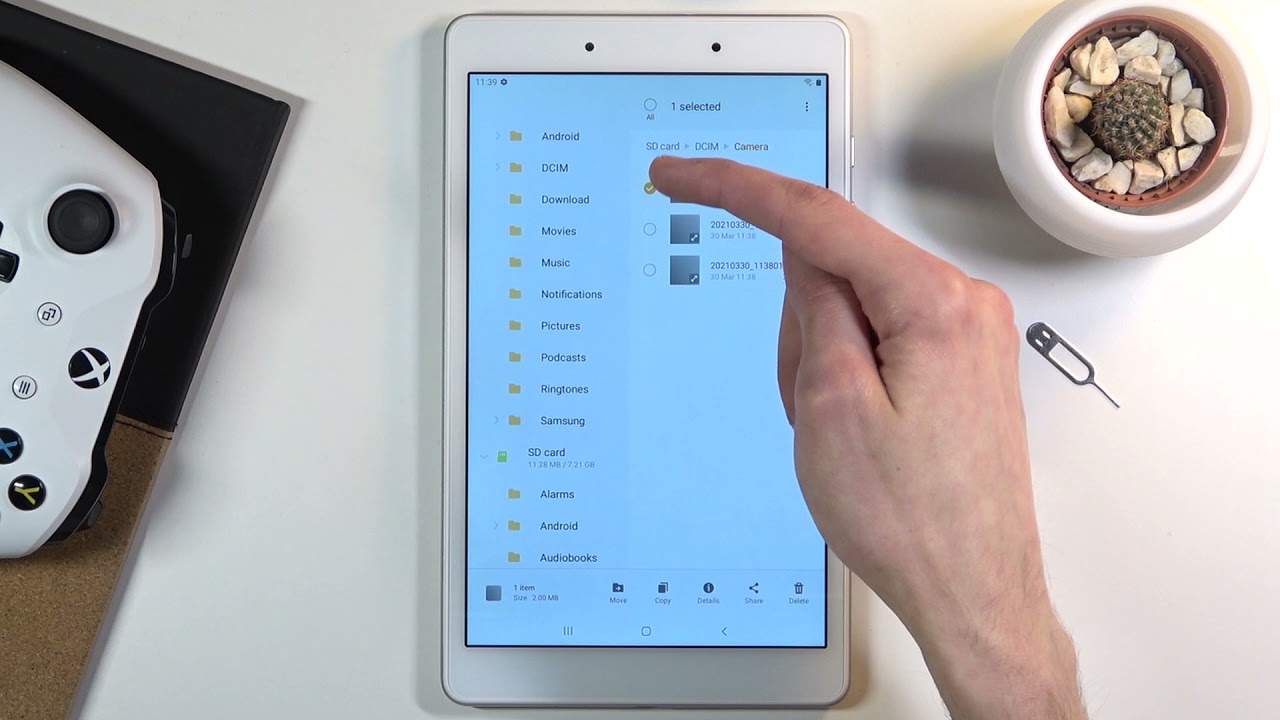
Next, you’ll need to choose the destination for the copied or moved photos. Select the SD card as the target location for the transfer. The gallery app may provide you with a list of available storage options, including the SD card and internal storage.
If you’re given a choice, select the SD card and navigate to the desired folder where you want to store the transferred photos. If the folder doesn’t exist, most gallery apps allow you to create a new folder on the SD card for organization.
Once you’ve selected the destination folder, confirm your selection and initiate the copying or moving process. Depending on the number and size of the selected photos, it may take a few moments for the transfer to complete. The gallery app may provide a progress bar or notification to keep you updated on the transfer process.
After the transfer is complete, you can verify the success of the operation by checking the destination folder on the SD card. The transferred photos should be present and accessible, ensuring that they have been copied successfully from your tablet.
Now that you have successfully copied the selected photos to the SD card, it’s time to move on to the final step, where you will confirm the successful transfer and ensure the photos are securely stored on the SD card.
Step 5: Confirming the successful transfer
After you have copied the selected photos to the SD card, it’s important to confirm that the transfer was successful and ensure that your photos are securely stored on the SD card. Follow these steps to confirm the successful transfer:
First, open the file manager or gallery app on your tablet and navigate to the destination folder on the SD card where you copied the photos. The folder should contain the transferred photos, indicating that the transfer was successful.
To double-check, open a few of the transferred photos to make sure they are intact and visible without any issues. Ensure that the quality and resolution of the photos remain the same as the original versions on your tablet.
If you encounter any issues, such as missing photos or corrupted files, it’s possible that the transfer process was not successful. In such cases, you may need to repeat the transfer steps or troubleshoot any potential issues that could have caused the problem.
Once you have confirmed the successful transfer of the photos, it’s recommended to safely eject the SD card from your tablet. To do this, go to the storage settings on your tablet, locate the SD card, and select the option to eject or unmount it. This ensures that all data is written and the card can be safely removed.
When the SD card is safely ejected, remove it from your tablet by carefully pulling it out of the slot. Remember not to remove the SD card when the tablet is still powered on or writing data, as it may cause data corruption or other issues.
With the SD card containing your transferred photos safely in hand, you can now use it in any other device that supports SD cards, such as a computer, digital photo frame, or camera, to view or share your photos.
You have successfully completed the process of transferring your photos from your tablet to an SD card. By doing so, you have freed up space on your tablet and ensured the security and backup of your precious memories.
Remember, whenever you need to transfer more photos or manage the contents of your SD card, you can follow these steps again to safely copy or move your files. Enjoy the convenience and flexibility of having your photos stored on the SD card!
Conclusion
Transferring photos from your tablet to an SD card is a straightforward process that allows you to free up storage space on your tablet and securely store your precious memories. By following the step-by-step guide outlined in this article, you can easily transfer your photos and ensure their accessibility and backup.
Starting with the insertion of the SD card into your tablet, you then accessed the photos through the gallery app. You selected the desired photos and copied them to the SD card, confirming the successful transfer. Finally, you verified the transferred photos on the SD card, ensuring their integrity.
Remember to always select the photos you want to transfer carefully and double-check that the transfer was successful. Additionally, safely eject the SD card from your tablet before removing it to avoid any data loss or corruption.
An SD card provides a portable and versatile solution for storing and accessing your photos. You can now utilize the transferred photos on various devices that support SD cards, such as computers, digital photo frames, or cameras.
We hope this guide has been helpful in assisting you with transferring your photos from your tablet to an SD card. Make the most out of your tablet’s storage capacity by offloading your photos to an external storage device, ensuring that you always have enough space for new memories.
Remember to consult your tablet’s user manual or the manufacturer’s website for specific instructions related to your device. Each tablet may have slight variations in the process, so it’s vital to adapt the steps accordingly.
Enjoy the convenience and peace of mind that come with having your photos securely stored on an SD card. Preserve your cherished moments and keep capturing new memories with the knowledge that you can easily manage and transfer your photos whenever needed.


