Introduction
When it comes to upgrading to a new tablet, one of the biggest concerns is transferring all your valuable data from your old tablet to the new one. Whether it’s photos, videos, contacts, or documents, ensuring a smooth data transfer is essential to avoid losing any important information.
In this guide, we will walk you through the step-by-step process of transferring data from your old tablet to your new one. We will explore various methods, including using a computer, cloud storage services, external storage devices, and mobile apps. No matter which method you choose, rest assured that the process is simple and straightforward.
Before diving into the different methods, it is important to ensure that your new tablet is compatible with the data transfer process. Most modern tablets support various data transfer methods, but it’s always a good idea to confirm this beforehand.
So, are you ready to unlock the power of your new tablet without leaving any of your precious data behind? Let’s get started!
Step 1: Check the compatibility of both tablets
Before transferring your data, it’s important to ensure that both your old and new tablets are compatible with the transfer process. Different tablets may have different operating systems or software versions, which can affect how the transfer is conducted. Here are a few key things to consider:
- Software Compatibility: Check if both tablets have the same or compatible operating systems. For example, if your old tablet runs on Android, ensure that your new tablet also uses Android.
- Software Versions: Verify whether the software versions on both tablets are compatible. If your new tablet has a more recent software version, it should generally be compatible with the older version on your old tablet.
- Connectivity Options: Consider the available connectivity options on both tablets. This includes USB ports, Wi-Fi capabilities, Bluetooth, and NFC. Having compatible connectivity options will make the data transfer process much more convenient.
- Storage Capacity: Take note of the storage capacity on both tablets. Ensure that your new tablet has adequate storage space to accommodate all the data from your old tablet. If necessary, consider expanding the storage capacity or freeing up space on your new tablet before proceeding with the transfer.
Once you’ve verified the compatibility of both tablets, you can proceed with confidence to the next step. If you have any doubts about the compatibility, refer to the user manuals of both tablets or contact the manufacturers for further guidance.
By ensuring compatibility, you set a solid foundation for a successful data transfer process. Now that you’re ready, let’s move on to step 2 and learn how to backup your old tablet.
Step 2: Backup your old tablet
Before transferring data from your old tablet to the new one, it’s crucial to create a backup of all your important files and information. This ensures that even if something goes wrong during the transfer process, your data remains safe and accessible. Here’s how you can backup your old tablet:
1. Use the built-in backup feature: Most tablets come with a built-in backup feature that allows you to create a backup of your device data. This feature typically includes options to backup your contacts, photos, videos, settings, and app data. Access the backup feature in the settings of your old tablet and follow the prompts to create a backup.
2. Sync your data with cloud services: Take advantage of cloud storage services like Google Drive, Dropbox, or iCloud to sync and save your data. Upload your photos, videos, documents, and other important files to the cloud, ensuring they are securely stored. Install the respective cloud storage app on your old tablet and follow the instructions to sync your data.
3. Transfer files to a computer: Connect your old tablet to a computer using a USB cable and transfer the files manually. Open the file explorer on your computer, locate the connected tablet, and explore its contents. Select and copy the files you want to backup, then paste them into a folder on your computer’s hard drive.
4. Use third-party backup apps: If your tablet does not have a built-in backup feature or you want more customization options, consider using third-party backup apps. These apps offer advanced features and allow you to backup specific files, apps, and data with ease. Download a reputable backup app from the app store on your old tablet and follow the app’s instructions to create a backup.
Creating a backup of your old tablet ensures that your data is securely stored and readily available for transfer to your new tablet. Once you have completed the backup process, you’re ready to move on to the next step and connect both tablets to a computer.
Step 3: Connect both tablets to a computer
In order to transfer data from your old tablet to the new one, you’ll need to connect both tablets to a computer. This allows for a direct and efficient transfer process. Follow these steps to establish the connection:
1. Use a USB cable: Most tablets come with a USB cable that can be used to connect them to a computer. Ensure that both tablets are powered on and unlocked. Connect one end of the USB cable to your old tablet’s charging port, and the other end to an available USB port on your computer.
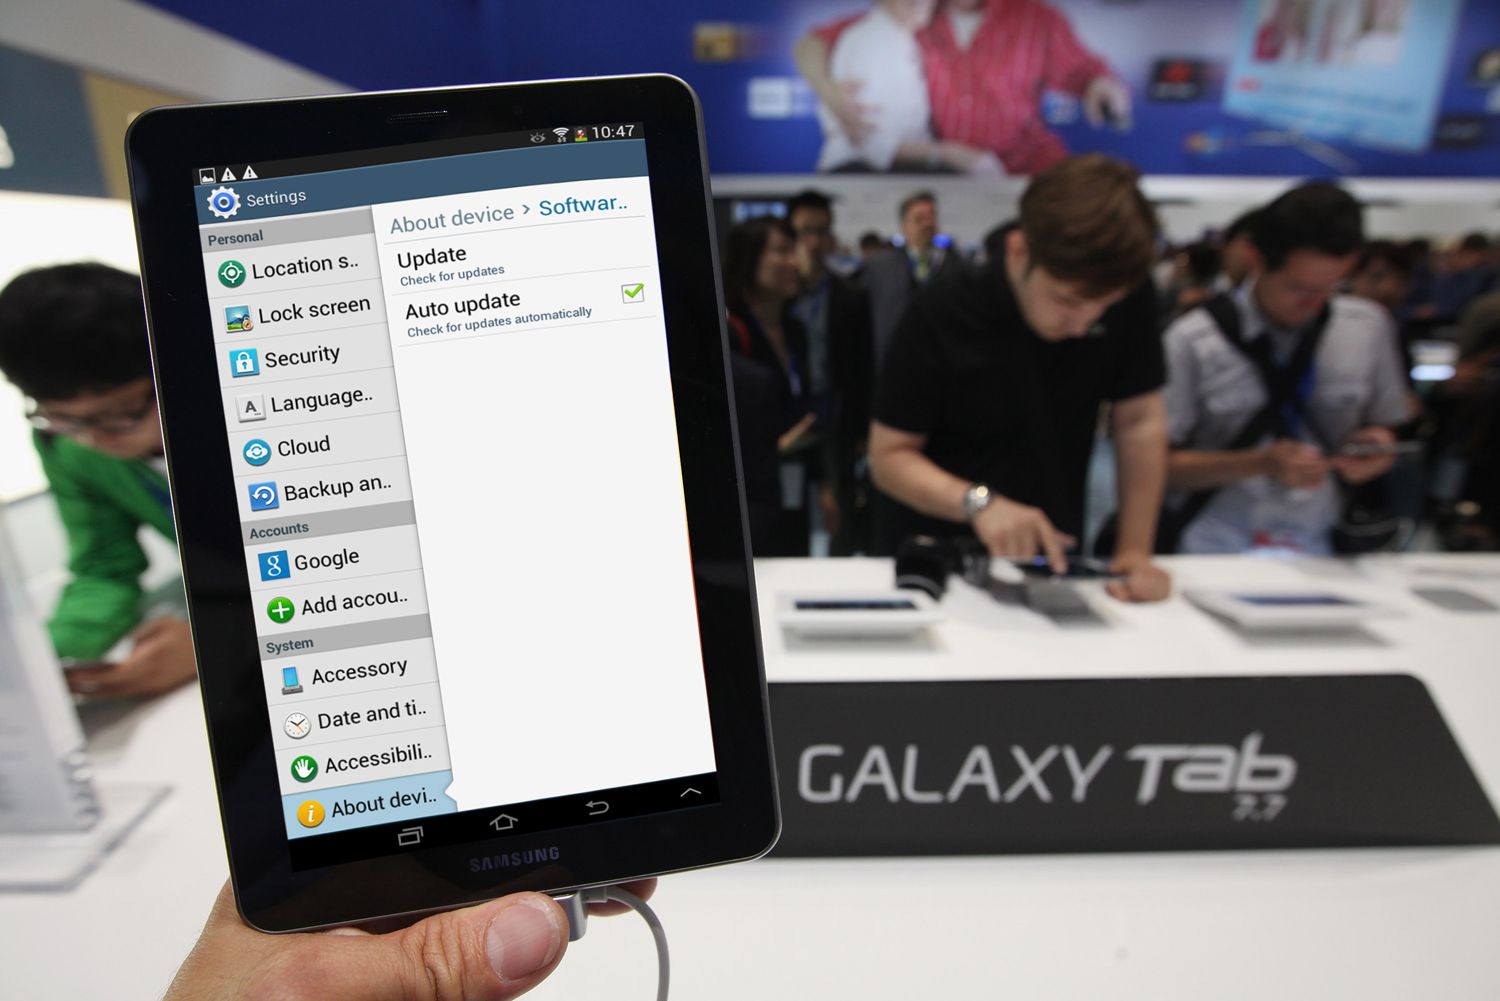
2. Enable USB Debugging: On your old tablet, go to the Settings menu and locate the Developer Options (may vary depending on the device). Within the Developer Options, enable USB Debugging. This allows your tablet to communicate with the computer and facilitates the data transfer process.
3. Trust the computer: When you connect your tablet to the computer for the first time, you may need to authorize the computer to access your tablet’s data. A pop-up message should appear on your tablet’s screen, prompting you to trust the connected computer. Tap “Trust” to establish the connection.
4. Recognize the tablets on the computer: Once the tablets are connected, your computer should recognize them as external devices. Open the file explorer on your computer and locate the connected tablets. They should appear as separate drives or devices.
5. Install necessary drivers: In some cases, you may need to install specific drivers for your tablets to ensure proper communication between the devices and the computer. Visit the official websites of the tablet manufacturers to download and install any required drivers.
By connecting both tablets to your computer, you establish a direct link between them, allowing for seamless data transfer. Once the tablets are successfully connected, you can proceed to the next step and begin transferring data using the computer.
Step 4: Transfer data using the computer
With your old and new tablets connected to the computer, you can now transfer data from the old tablet to the new one. There are several methods you can use, depending on your preferences and the options available. Here are a few common methods:
1. File Explorer: Open the file explorer on your computer and locate the connected tablets. You should see them listed as separate drives or devices. Open the folders on your old tablet and navigate to the files you want to transfer. Select the files and copy them. Then, navigate to the folder on your new tablet where you want to transfer the files and paste them.
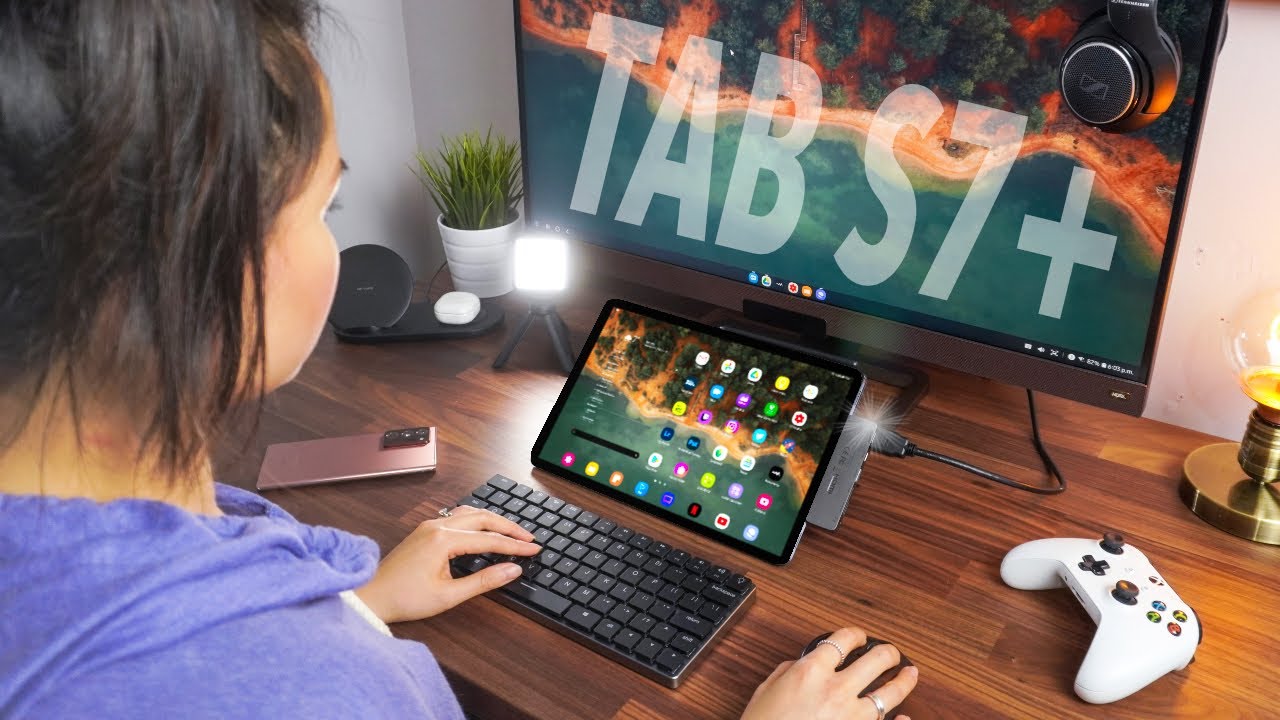
2. Syncing Apps: Some tablets come with syncing apps pre-installed, such as Samsung Smart Switch or iTunes for Apple devices. These apps allow you to easily transfer various types of data, such as contacts, photos, videos, and apps, from your old tablet to your new one. Follow the instructions provided by the specific app to initiate the transfer.
3. Backup and Restore: If you created a backup of your old tablet in Step 2, you can restore that backup onto your new tablet. Connect your new tablet to the computer and follow the instructions for the backup and restore process. This method ensures that all your data, settings, and apps are transferred exactly as they were on your old tablet.
4. Data Transfer Software: There are various data transfer software available that can simplify the process of transferring data between tablets. These software tools often provide a user-friendly interface and guide you through the transfer process step by step. Look for reputable software solutions and follow the instructions provided by the specific software.
Whichever method you choose, ensure that you are selecting and transferring the files or data you want accurately. Take your time to review the transfer process and double-check that nothing is left behind. Once the transfer is complete, disconnect both tablets from the computer and move on to the next step.
Step 5: Transfer data using cloud storage services
If you prefer a wireless and convenient method to transfer data from your old tablet to the new one, utilizing cloud storage services is an excellent option. By leveraging the power of the cloud, you can seamlessly transfer your files and data without the need for a physical connection between the tablets. Here’s how you can transfer data using cloud storage services:
1. Choose a cloud storage service: Select a reputable cloud storage service that suits your needs. Popular options include Google Drive, Dropbox, and OneDrive. Sign up for an account if you don’t already have one.
2. Upload your data to the cloud: On your old tablet, install the cloud storage app for the service you selected. Open the app and login with your credentials. Then, select the files, photos, videos, or documents you want to transfer and upload them to the cloud storage service.
3. Access the cloud on your new tablet: On your new tablet, install the same cloud storage app and sign in with the same account credentials. Once logged in, you should see all your uploaded data in the cloud storage app. You can then download the files directly to your new tablet.
4. Sync your data: Depending on the cloud storage service you’re using, you can set up automatic synchronization between your old and new tablets. This ensures that any changes made to the files on one tablet are reflected on the other. You can enable sync options within the app’s settings.
5. Organize your data on the new tablet: After downloading your files from the cloud storage service, organize them into the appropriate folders or categories on your new tablet. This will help you easily locate and access your data on the new device.
Transferring data using cloud storage services offers a convenient and efficient way to migrate your files and data from your old tablet to the new one. It eliminates the need for physical connections and allows you to access your data from anywhere, at any time. Once you have successfully transferred your data, you can move on to the next step and explore other transfer options.
Step 6: Transfer data using an external storage device
If you prefer a more traditional method of transferring data or if your tablets do not support other transfer options, using an external storage device is a reliable solution. With an external storage device, such as a USB flash drive or an external hard drive, you can easily move your files and data between tablets. Follow these steps to transfer data using an external storage device:
1. Connect the external storage device: Insert your external storage device, such as a USB flash drive, into the USB port on your old tablet. Ensure that the tablet recognizes the device and mounts it as external storage.
2. Transfer files to the external storage device: Open the file manager or gallery app on your old tablet. Select the files, photos, videos, or documents you want to transfer and copy them to the external storage device. Wait for the transfer process to complete.
3. Disconnect the external storage device: Safely eject the external storage device from your old tablet. This ensures that no data is corrupted or lost during the removal process. Remove the device from the USB port.
4. Connect the external storage device to the new tablet: Insert the external storage device into the USB port on your new tablet. Allow the tablet to recognize the device and mount it as external storage.
5. Transfer files to the new tablet: Use the file manager or gallery app on your new tablet to navigate to the external storage device. Select the files you want to transfer and copy them to the internal storage of your new tablet. Wait for the transfer process to complete.
6. Organize your data on the new tablet: Once the files are transferred to the new tablet, organize them into appropriate folders or categories. This will help you easily locate and access your data on the new device.
Transferring data using an external storage device provides a straightforward and reliable method to migrate your files and data between tablets. It is especially useful when other transfer options are not available or when you prefer a physical method of transfer. Once you have successfully transferred your data, you can proceed to the next step and explore additional transfer options if needed.
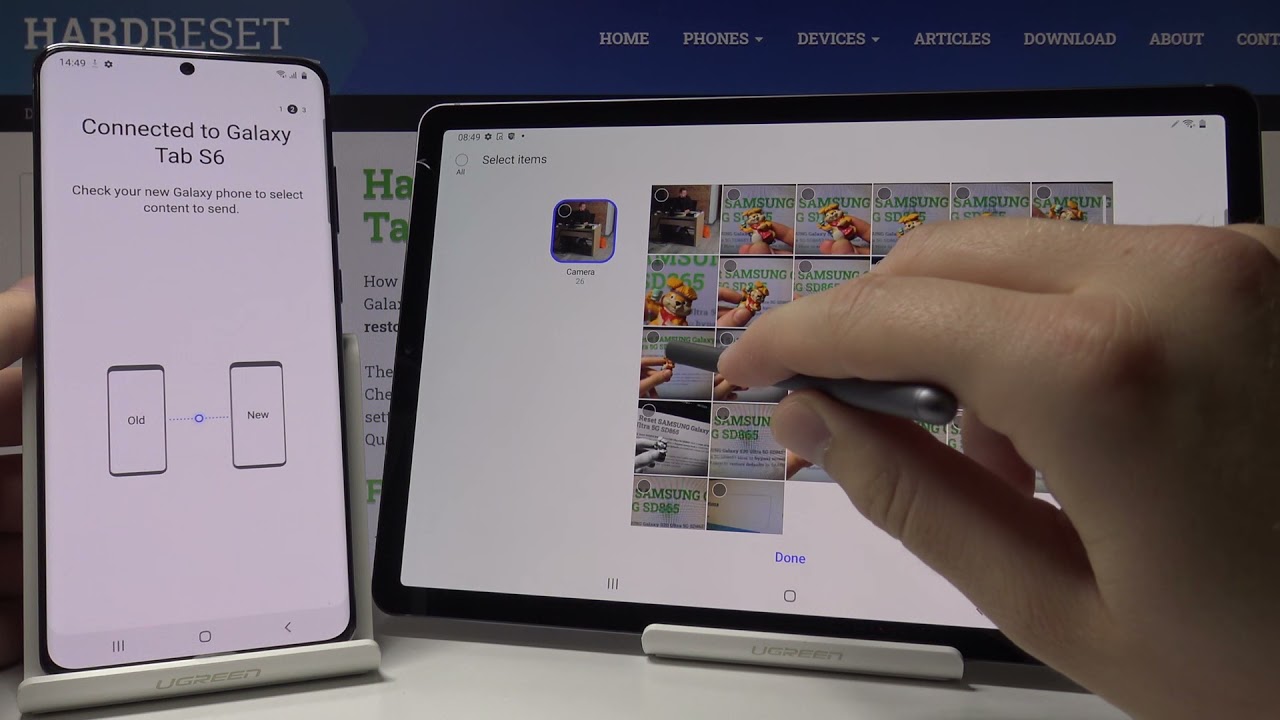
Step 7: Transfer data using a mobile app
If you’re looking for a convenient and user-friendly method to transfer data between your old and new tablets, using a mobile app specifically designed for data transfer is an excellent choice. These apps provide a straightforward way to move your files, contacts, messages, and other data from one tablet to another. Here’s how you can transfer data using a mobile app:
1. Research and select a data transfer app: Explore the app store on your old tablet and search for reliable data transfer apps. Look for well-rated apps with positive reviews and a good track record of user satisfaction. Some popular options include SHAREit, Xender, and Send Anywhere.
2. Install the app on both tablets: Download and install the selected data transfer app on both your old and new tablets. Follow the app installation instructions provided by the app store.
3. Open the app on both tablets: Launch the data transfer app on both tablets, ensuring they are both connected to the same Wi-Fi network. Some apps may require you to create an account or provide certain permissions before proceeding.
4. Select the files and initiate the transfer: On your old tablet, select the files, photos, videos, or documents you want to transfer to the new tablet. Use the app’s interface to initiate the transfer process. The app will then establish a connection between the two tablets.
5. Follow the prompts and complete the transfer: Follow the on-screen prompts provided by the data transfer app to complete the transfer process. Depending on the app, you may need to accept or confirm the transfer on both tablets to ensure the data is successfully transferred.
6. Verify the transferred data: Once the transfer is complete, verify that the transferred data appears correctly on your new tablet. Open the respective apps or file managers to access and view the transferred files, contacts, messages, and other data.
Data transfer apps offer a quick and efficient way to move your files and data between tablets without the need for external devices or complicated setup processes. They are designed to simplify the transfer process and ensure that your data is securely transferred. Once the transfer is successful, you can enjoy your new tablet with all your precious data intact!
Conclusion
Transferring data from your old tablet to a new one can feel daunting, but with the right approach, it can be a seamless and hassle-free process. In this guide, we’ve explored various methods to transfer data, including using a computer, cloud storage services, external storage devices, and mobile apps. Each method offers its own advantages and can be chosen based on your preferences and the available options.
Before proceeding with the transfer, it’s important to ensure the compatibility of both tablets and create a backup of your old tablet to safeguard your data. Connecting both tablets to a computer provides a direct and reliable transfer method, while cloud storage services offer a wireless and convenient option. An external storage device can be handy when other transfer options are not available, and mobile apps designed for data transfer simplify the process with a user-friendly interface.
Regardless of the method you choose, be sure to carefully review each step of the process and verify that your data is successfully transferred. Organizing your files and data on the new tablet after the transfer is complete will help you easily locate and access your information on the new device.
Remember to stay patient and take your time during the data transfer process. It’s always a good idea to double-check everything to ensure nothing is left behind. In case you encounter any issues or have specific questions, consult the user manual of your tablets or reach out to the manufacturers for assistance.
Now that you have all the necessary knowledge and steps, you can confidently embark on the journey of transferring your data from your old tablet to your new one. Enjoy the enhanced capabilities and features of your new tablet with all your valuable data at your fingertips!