Introduction
Welcome to the world of tablets! Whether you’ve just purchased a brand new tablet or received one as a gift, activating it is the first step towards unlocking its full potential. Activating a tablet involves setting up the necessary configurations and connecting it to the internet, allowing you to access a wealth of information and entertainment at your fingertips.
In this guide, we will walk you through the step-by-step process of activating your tablet, regardless of whether you’re using an Android device or an Apple iPad. By following these instructions, you’ll be able to start using your tablet in no time and enjoy all the features and functionalities it has to offer.
Before we dive into the activation process, it’s important to familiarize yourself with the components of your tablet. Inside the box, you’ll typically find the tablet itself, a charging cable, and a power adapter. Some tablets may also include additional accessories like a stylus or a protective case. Take a moment to unbox and examine your tablet, ensuring that all the components are present and in good condition.
Once you’re ready, let’s move on to the next steps to get your tablet up and running.
Step 1: Unboxing and preparing your tablet
The first step in activating your tablet is to unbox and prepare it for use. Follow these simple instructions to ensure that your tablet is ready for activation:
- Unbox your tablet: Carefully remove the tablet from its packaging. Check for any protective films or covers and remove them as necessary.
- Inspect the tablet: Take a moment to visually inspect the tablet for any physical damage. Look for any cracks, dents, or scratches on the screen or body of the device. If you notice any issues, contact the retailer or manufacturer for assistance.
- Locate the power button: Find the power button on your tablet. It is usually located along the top or side edge of the device. Refer to the user manual or the manufacturer’s website if you’re having trouble locating it.
- Insert the SIM card (if applicable): If your tablet requires a SIM card for cellular connectivity, locate the SIM card slot. This slot is usually located on the side or back of the device. Carefully insert the SIM card according to the instructions provided by your cellular service provider.
- Charge the tablet: Before proceeding with the activation process, ensure that your tablet has sufficient battery power. Connect the charging cable to the tablet and plug the other end into a power outlet. Allow the tablet to charge until the battery is at least 50% full.
Once you have completed these steps, your tablet is now unboxed and prepared for the activation process. In the next step, we will guide you through charging the tablet.
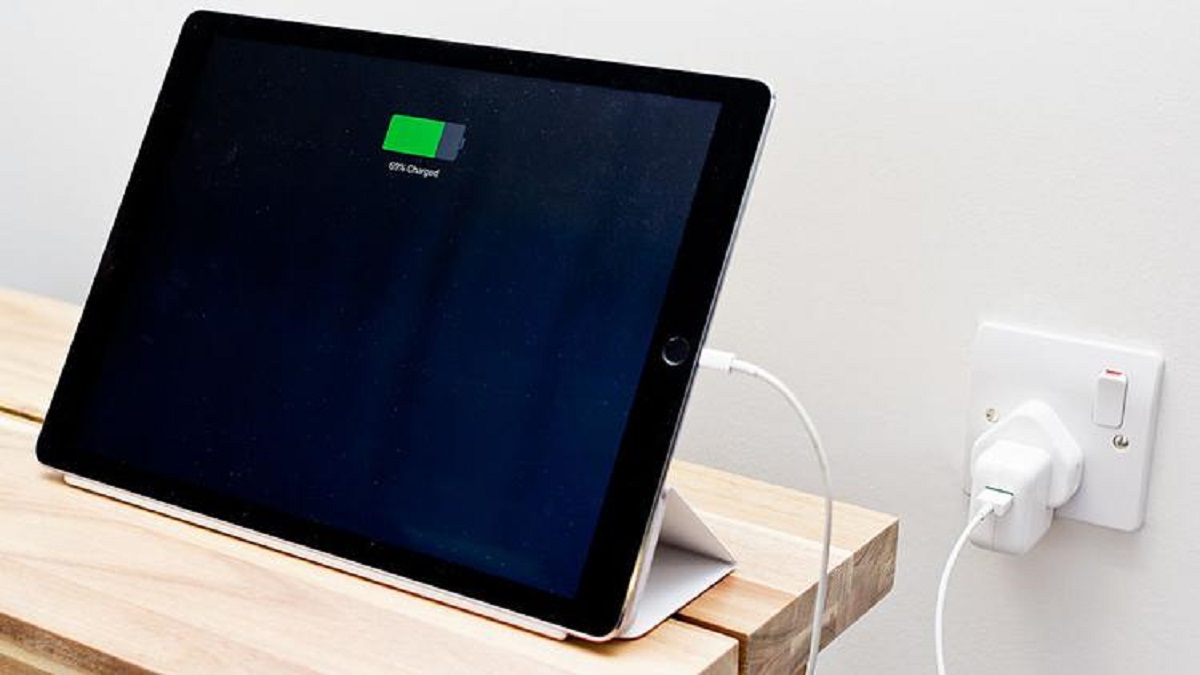
Step 2: Charging the tablet
After unboxing and preparing your tablet, the next step in the activation process is to charge it. Charging your tablet ensures that it has enough power to complete the activation and setup process without any interruptions. Here’s how you can charge your tablet:
- Connect the charging cable: Take the charging cable that came with your tablet and plug one end into the charging port on the tablet.
- Plug in the power adapter: Take the other end of the charging cable and plug it into the power adapter. Then, plug the power adapter into a wall outlet or a suitable power source.
- Verify the charging status: Look for a battery icon or indicator on the screen of your tablet. This icon will indicate that the tablet is charging. Some tablets may also display the charging progress as a percentage.
- Allow the tablet to charge: Leave the tablet connected to the charger and let it charge until the battery is at least 50% full. The charging time may vary depending on the tablet model and the battery capacity.
- Disconnect the charger: Once your tablet is sufficiently charged, unplug the charging cable from the power source and disconnect it from the tablet.
It is recommended to fully charge your tablet before proceeding to the next step of the activation process. This will ensure that you have enough battery power to complete the setup and configuration without any interruptions.
Now that your tablet is charged and ready to go, let’s move on to the next step, which is powering on the tablet.
Step 3: Powering on the tablet
Now that your tablet is charged, it’s time to power it on and bring it to life. Here are the steps to follow:
- Locate the power button: On most tablets, the power button is located either on the top, side, or bottom edge of the device. Take a moment to locate the power button if you’re not sure where it is located.
- Press and hold the power button: Press and hold the power button for a few seconds until you see the device’s logo or the screen lights up. This indicates that the tablet is powering on.
- Wait for the startup process: Your tablet will now go through the startup process, which may take a few minutes. During this time, you may see the manufacturer’s logo or a loading symbol on the screen.
- Follow the on-screen instructions: Once the tablet has started up, you may be prompted to select your language, region, or other basic settings. Follow the on-screen instructions to configure these settings according to your preferences.
- Set up Wi-Fi connection: To proceed with the activation process, you will need to connect your tablet to a Wi-Fi network. Select the Wi-Fi network you want to connect to and enter the password if required.
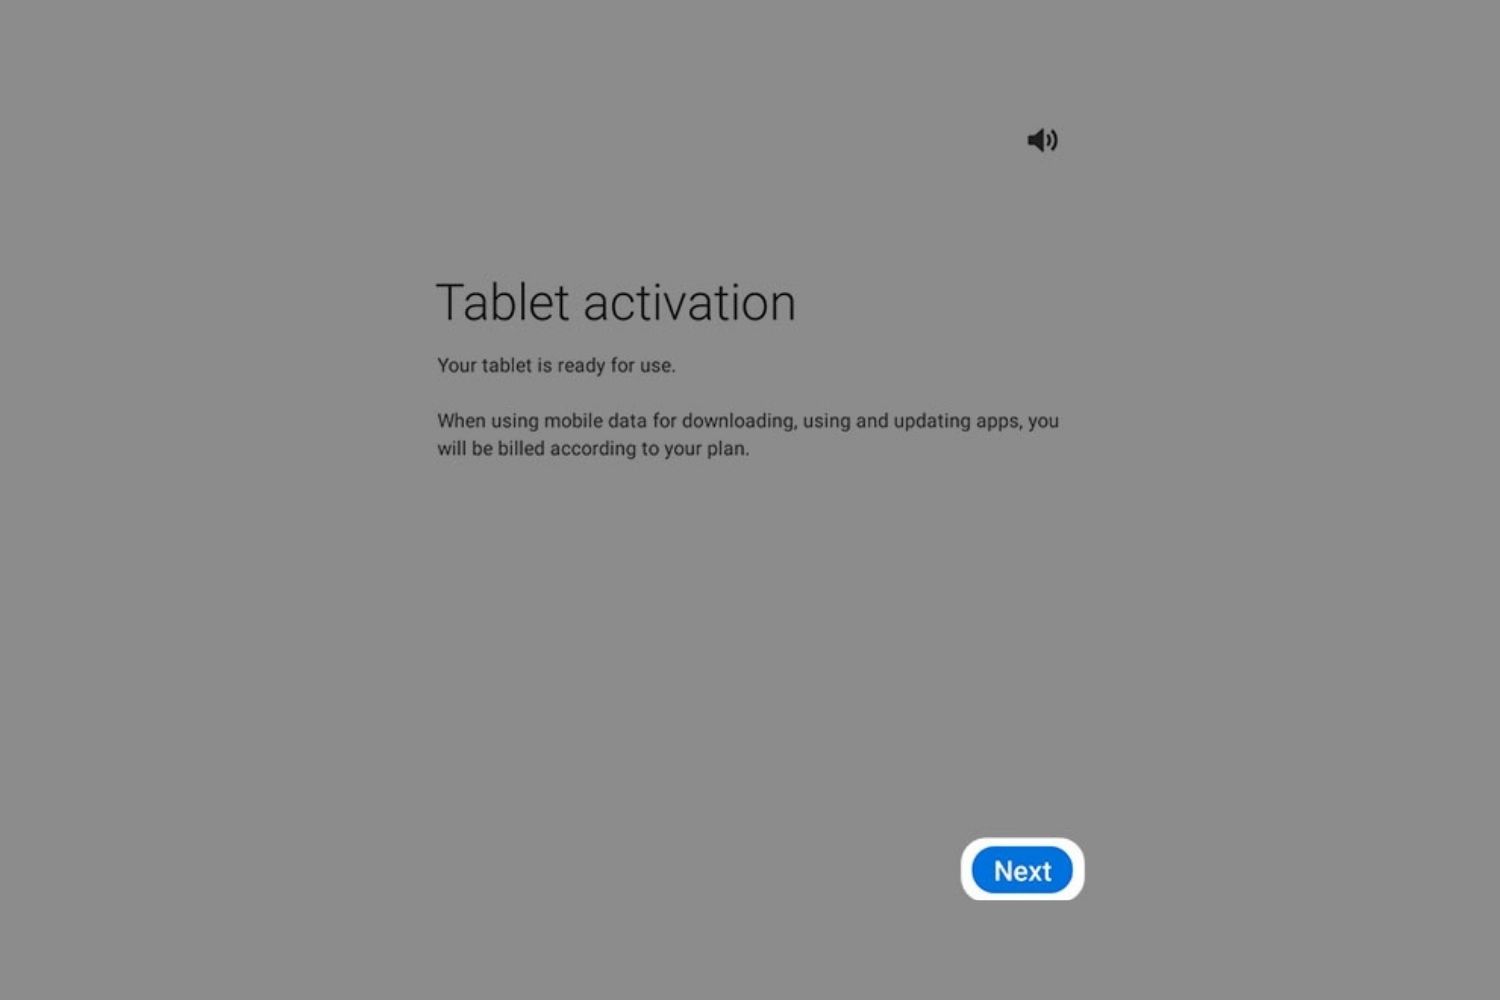
- Finish the setup process: Depending on your tablet’s operating system, you may be prompted to sign in with your Google or Apple account, set up a new account, or skip this step for now. Follow the prompts to complete the setup process.
Once you have completed these steps, your tablet is now powered on and ready for the next phase of the activation process, which involves connecting to a Wi-Fi network. We will cover this in the next step.
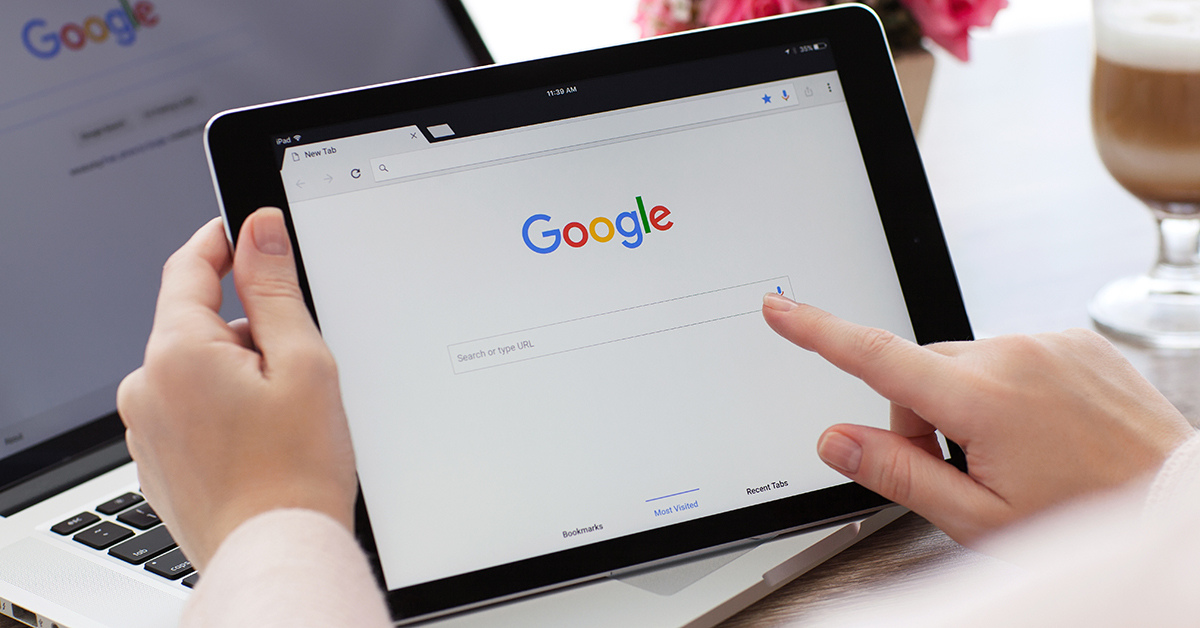
Step 4: Connecting to a Wi-Fi network
Now that your tablet is powered on, the next step in the activation process is to connect it to a Wi-Fi network. Establishing a Wi-Fi connection will allow your tablet to access the internet and download any necessary updates or apps. Follow these steps to connect to a Wi-Fi network:
- Open the Settings menu: Locate the Settings icon on your tablet’s home screen or in the app drawer. Tap on it to open the Settings menu.
- Select Wi-Fi: In the Settings menu, look for the Wi-Fi option and tap on it. This will display a list of available Wi-Fi networks in your vicinity.
- Choose a Wi-Fi network: From the list of available networks, select the Wi-Fi network you want to connect to. If the network is secured, you may be prompted to enter the network password.
- Enter the Wi-Fi password: If the selected Wi-Fi network is password-protected, a pop-up window will appear asking you to enter the password. Use the on-screen keyboard to enter the password correctly and tap Connect.
- Wait for connection: Your tablet will now attempt to connect to the selected Wi-Fi network. Wait for a few seconds while the connection is established. Once connected, you will see a connected status or Wi-Fi symbol in the notification bar.
Connecting to a Wi-Fi network is essential for the activation process, as it allows your tablet to connect to the internet and complete the necessary setup and configurations. Make sure you have a stable and reliable Wi-Fi connection before moving on to the next step.
Now that your tablet is connected to a Wi-Fi network, it’s time to proceed with setting up your Google or Apple account in order to fully activate your tablet. This will be covered in the next step.
Step 5: Setting up your Google or Apple Account
At this stage of the activation process, it’s time to set up your Google or Apple account, depending on whether you are using an Android tablet or an Apple iPad. Your Google or Apple account provides access to essential services such as app downloads, cloud storage, email, and more. Follow these steps to set up your account:
- Open the Settings menu: Locate the Settings icon on your tablet’s home screen or in the app drawer. Tap on it to open the Settings menu.
- Select Accounts: In the Settings menu, look for the Accounts or Users option and tap on it. This will display a list of account-related settings.
- Add an account: Tap on the option to add an account. You will be presented with a list of account types to choose from.
- Select Google or Apple: Depending on your tablet’s operating system, choose either the Google or Apple option. If you already have a Google or Apple account, you can sign in with your existing credentials. Otherwise, select the option to create a new account.
- Follow the on-screen prompts: Follow the on-screen prompts to either sign in with your existing account or create a new account. Provide the necessary information, such as your email address, password, and any additional verification steps required.
- Agree to terms and conditions: Review and accept the terms and conditions presented to you. These terms outline the use and privacy policies of your Google or Apple account.
- Complete the setup: Once you have successfully set up your Google or Apple account, you may be prompted to configure additional settings, such as backup options, security features, and data syncing. Follow the on-screen prompts to complete the setup process.
Setting up your Google or Apple account is crucial for accessing the full range of features and services available on your tablet. It allows you to download apps, sync data across devices, and enjoy a seamless user experience. Once you have completed this step, you are one step closer to fully activating your tablet.
Next, we will move on to the next step, which involves configuring basic settings on your tablet to customize it according to your preferences.
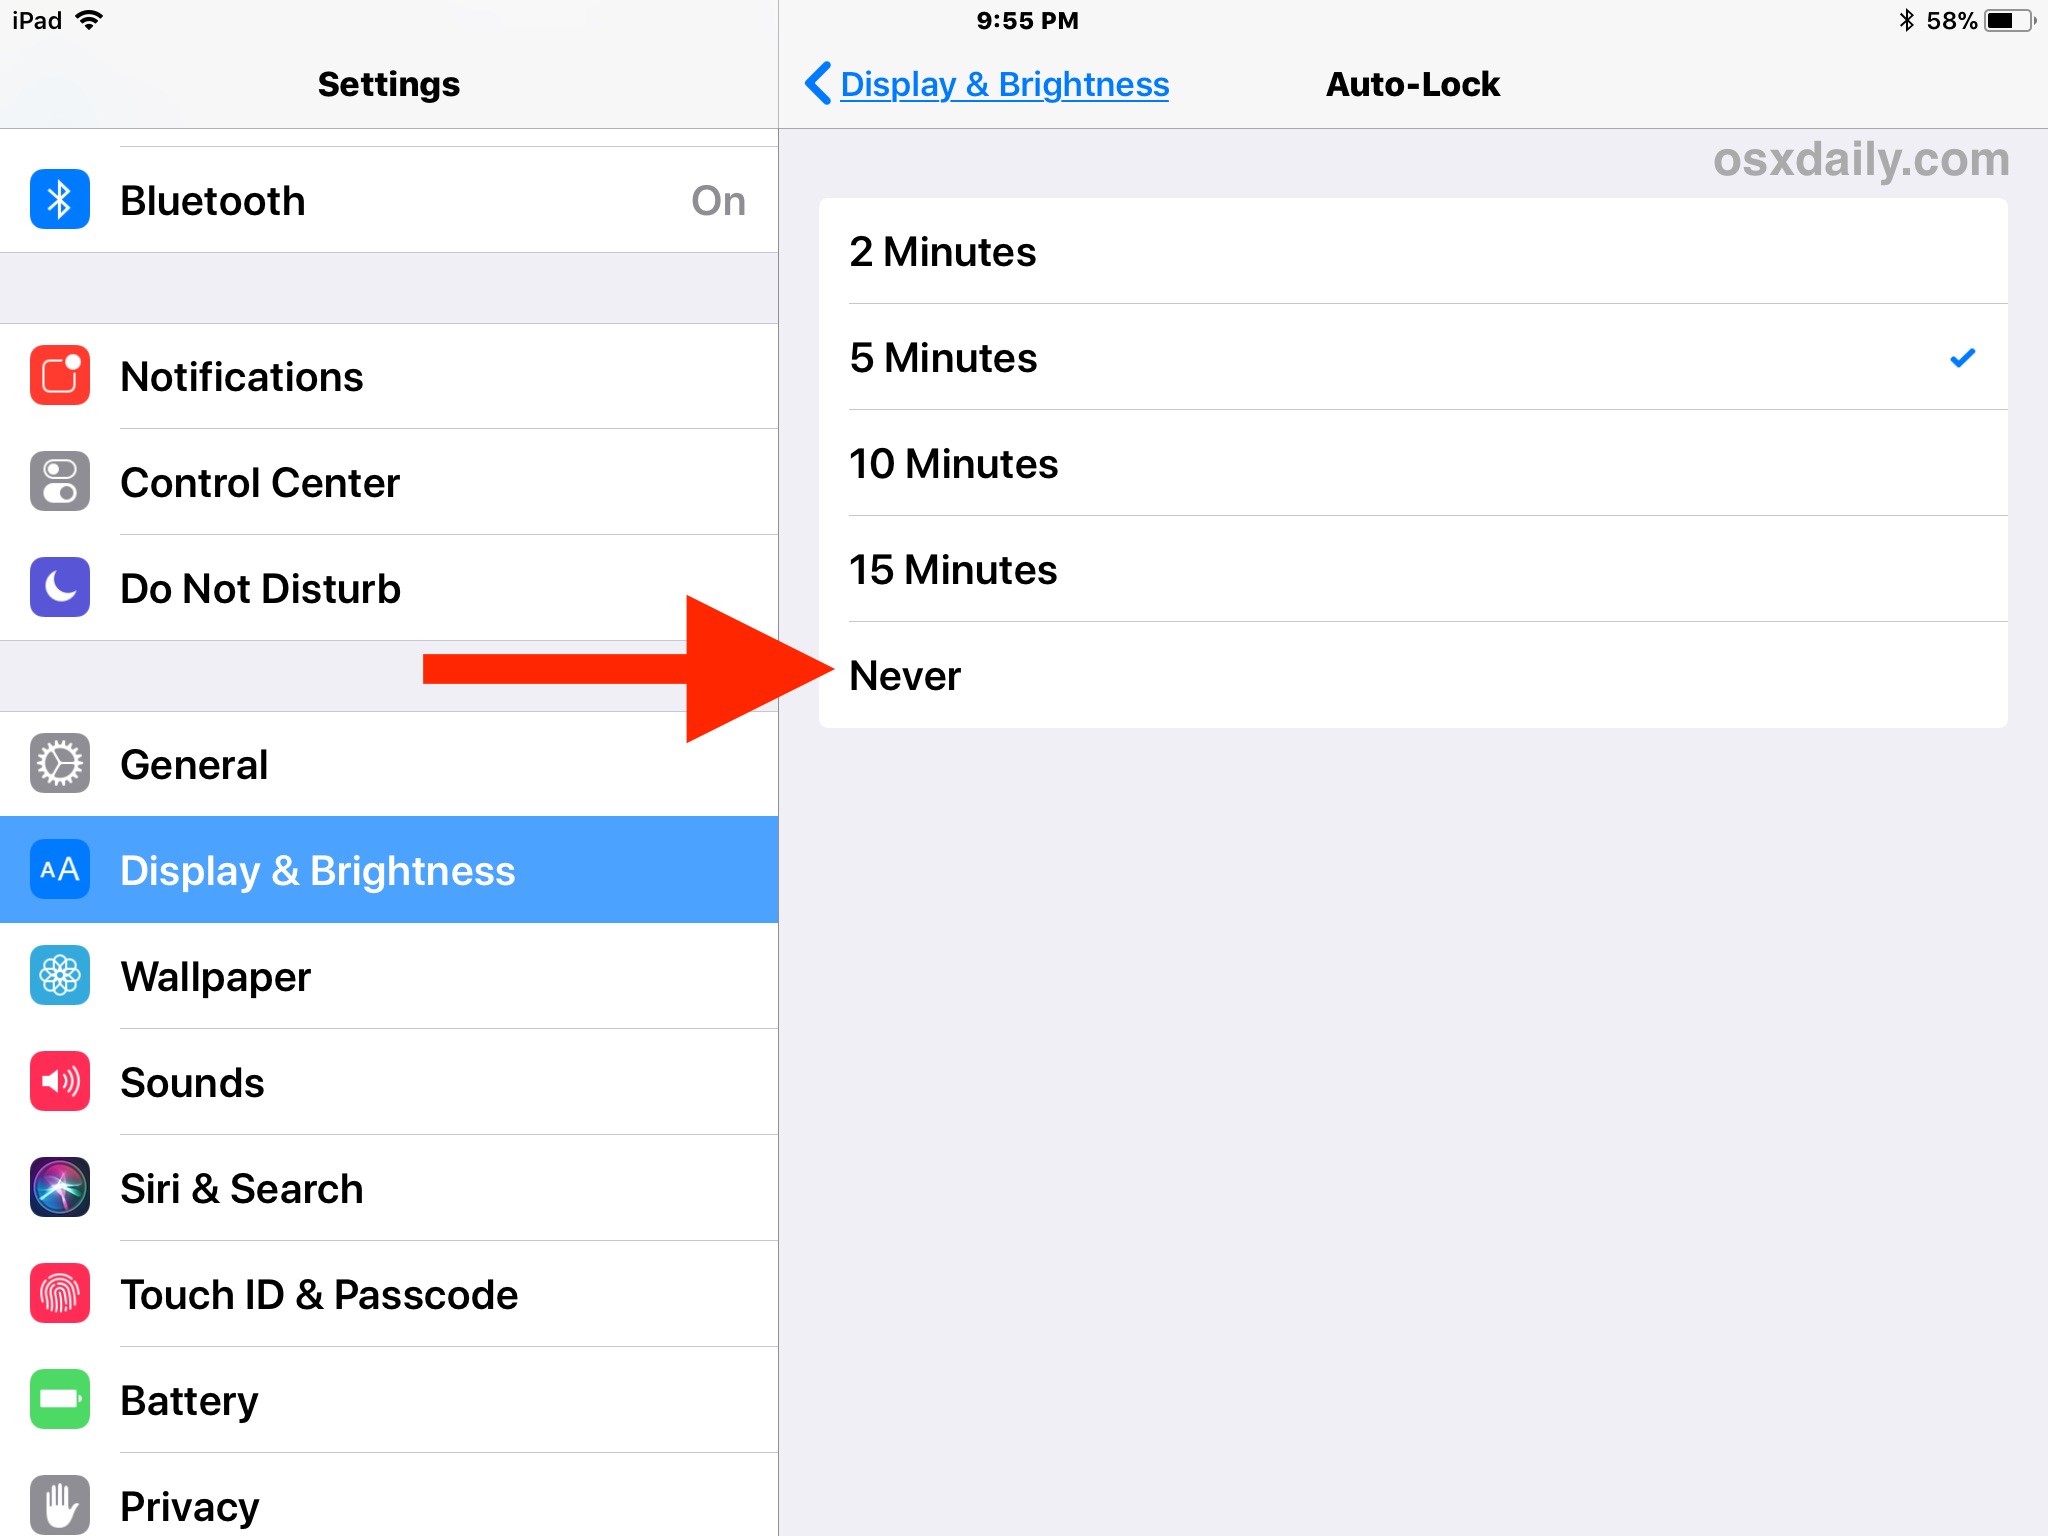
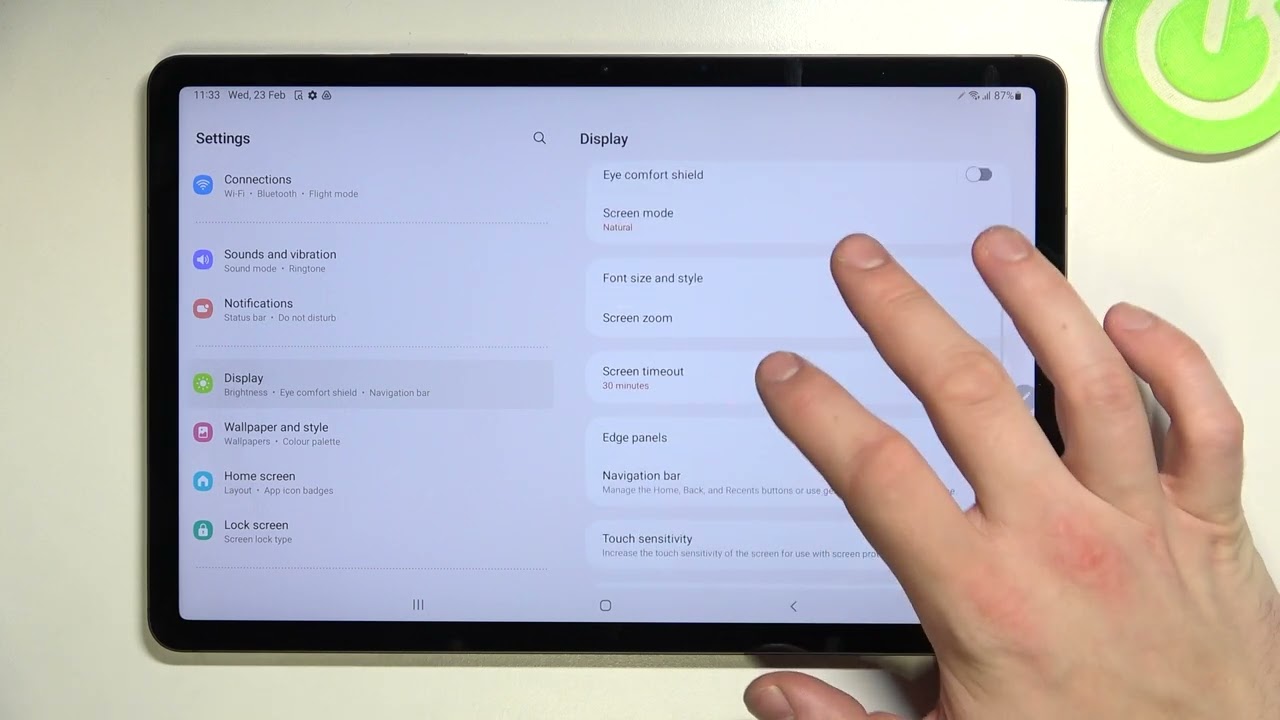
Step 6: Configuring Basic Settings
Now that you have set up your Google or Apple account, it’s time to configure some basic settings on your tablet to personalize it and optimize it according to your preferences. Follow these steps to configure the basic settings:
- Open the Settings menu: Locate the Settings icon on your tablet’s home screen or in the app drawer. Tap on it to open the Settings menu.
- Explore the settings options: In the Settings menu, you will find various options related to the display, sound, notifications, battery, security, and more. Take a moment to explore these options and familiarize yourself with the available settings.
- Adjust display settings: Tap on the Display or Screen option to adjust settings such as brightness, screen timeout, wallpaper, and font size. Customize these settings to suit your preferences for optimal viewing comfort.
- Configure sound and notification settings: Access the Sound or Notifications option to adjust settings for ringtones, notifications, volume levels, and vibration. Customize these settings to ensure that you receive alerts and notifications in a way that suits your needs.
- Set up security features: Access the Security or Privacy option to manage settings related to device security, such as screen lock type (pin, pattern, or fingerprint), app permissions, and location services. Configure these settings to enhance the security and privacy of your tablet.
- Explore additional settings: Depending on your tablet’s operating system, you may find additional settings options such as battery, storage, accessibility, and more. Take the time to explore these settings and customize them based on your requirements.
By configuring these basic settings, you can tailor your tablet to your preferences and ensure that it functions in a way that suits your needs. Take the time to explore the available options and make adjustments as necessary.
Now that you have configured the basic settings on your tablet, it’s time to proceed to the next step, which involves installing essential apps to enhance your tablet’s functionality. We will cover this in the next step.
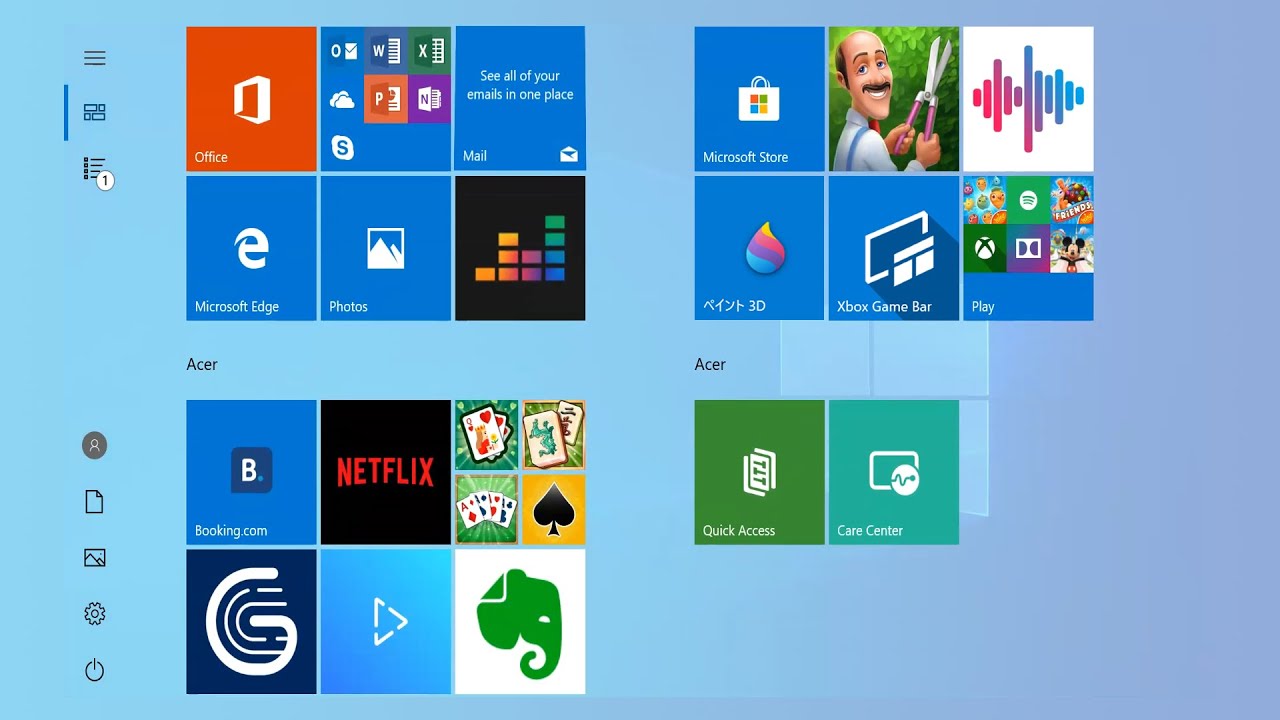
Step 7: Installing Essential Apps
Now that you have configured the basic settings on your tablet, it’s time to install essential apps that will enhance its functionality and provide you with a range of features and services. Here’s how you can install apps on your tablet:
- Open the App Store: Depending on your tablet’s operating system, open either the Google Play Store (for Android) or the App Store (for Apple).
- Search for apps: Use the search bar within the app store to look for the apps you want to install. You can search for specific app names or browse through different categories to discover new apps.
- Select an app: When you find an app you want to install, tap on it to open its app page. Here, you can read more details about the app, check user reviews, and view screenshots or demo videos.
- Install the app: Tap on the “Install” or “Get” button to initiate the app installation process. If the app is paid, you may be prompted to enter your payment details or use alternative payment options like in-app purchases.
- Wait for the installation: Once you tap the install button, the app will begin to download and install on your tablet. The time taken for installation may vary based on the app’s size and your internet connection speed.
- Launch and configure the app: After the installation is complete, locate the app on your tablet’s home screen or in the app drawer. Tap on it to launch the app and follow any on-screen instructions to configure its settings.
- Repeat for other essential apps: Repeat the above steps to install any other essential apps that you want to have on your tablet. This may include productivity apps, social media apps, entertainment apps, and more.
Installing essential apps allows you to customize your tablet with the tools and services you need for various tasks and activities. Take the time to explore the app stores, discover new apps, and install those that align with your interests and requirements.
Now that you have installed essential apps on your tablet, you can personalize it even further in the next step, where we will guide you through the process of customizing the tablet according to your preferences.
Step 8: Personalizing Your Tablet
One of the great things about owning a tablet is the ability to personalize it and make it uniquely yours. By customizing the appearance and settings of your tablet, you can create a user experience that suits your preferences and reflects your personality. Follow these steps to personalize your tablet:
- Change the wallpaper: Customize the background of your tablet’s home screen and lock screen by changing the wallpaper. You can choose from pre-installed wallpapers or use your own photos.
- Organize your apps: Arrange your apps in a way that makes sense to you. You can create folders to group similar apps together and move them around your home screen for easy access.
- Set up widgets: Widgets are interactive elements that provide quick access to information or perform specific functions. Customize your home screen by adding widgets such as weather, calendar, news, or music player.
- Adjust the display settings: Fine-tune the display settings on your tablet to match your preferences. You can change the screen brightness, adjust color temperature, enable dark mode, or adjust font sizes for better readability.
- Configure notification settings: Customize how your tablet notifies you about incoming calls, messages, or app notifications. You can choose between different notification sounds or vibration patterns, and control which apps can send you notifications.
- Change the theme or visual style: Some tablets allow you to change the overall theme or visual style. Explore the options available and select a theme that appeals to you, whether it’s a sleek and minimalist look or a vibrant and colorful theme.
- Set up a unique lock screen: Add an extra layer of security and personalization by setting up a unique lock screen. You can choose to use a PIN, pattern, fingerprint, or facial recognition as your preferred method of unlocking the tablet.
- Explore additional customization options: Depending on your tablet’s operating system, there may be additional customization options available. These may include changing the app icons, selecting different fonts, or even installing custom launcher apps for a more personalized home screen experience.
Taking the time to personalize your tablet can enhance your overall user experience and make using your device more enjoyable. Experiment with different settings and features, and don’t be afraid to add your personal touch to make your tablet truly yours.
With your tablet now personalized to meet your preferences, it’s time to consider transferring data from another device to ensure a seamless transition. We will cover this in the next step.
Step 9: Transferring Data from Another Device
If you’re switching to a new tablet or upgrading from an old device, you may want to transfer your data, such as contacts, photos, apps, and other files, to your new device. Transferring data allows you to seamlessly continue where you left off and ensures that you have everything you need on your new tablet. Here’s how you can transfer data from another device:
- Backup your old device: Before transferring data, it’s crucial to back up your old device to avoid any data loss. You can backup your device using cloud storage services, such as Google Drive or iCloud, or by connecting it to a computer and creating a backup using the appropriate software.
- Connect your new tablet: Depending on your device and operating system, there are different methods to transfer data. One common method is to use a USB cable to connect your old device to your new tablet. Another option is to use wireless transfer methods, such as Wi-Fi Direct or Bluetooth.
- Follow the prompts: Once your devices are connected, follow the on-screen prompts on your new tablet to initiate the data transfer process. This may involve granting permissions, selecting the types of data you want to transfer, and confirming the transfer.
- Wait for the data transfer: The time taken for the data transfer process may vary based on the amount of data being transferred and the speed of your connection. It’s important to be patient and let the transfer complete without interruption.
- Verify the transferred data: Once the transfer is complete, go through the transferred data on your new tablet to ensure that everything has been transferred correctly. Check your contacts, photos, apps, and other files to make sure nothing is missing or corrupted.
- Synchronize your accounts: After transferring data, sign in to your Google or Apple account on your new tablet to sync your contacts, calendars, app data, and other settings. This will ensure that you have the most up-to-date information on your new device.
Transferring data from your old device to your new tablet eliminates the hassle of manually setting up everything from scratch. It allows you to seamlessly transition to your new device and continue using it with minimal disruption.
With your data transferred to your new tablet, it’s time to address any common activation issues that you may encounter. The next step will provide troubleshooting tips to help you overcome any challenges along the way.
Step 10: Troubleshooting Common Activation Issues
While activating your tablet, you may encounter some common issues that can hinder the process. Don’t worry, as these issues can usually be resolved with a few troubleshooting steps. Here are some common activation issues and their solutions:
- Wi-Fi connection problems: If you’re unable to connect to a Wi-Fi network during the activation process, try restarting your router and tablet. Ensure that you’re entering the correct Wi-Fi password and that you’re within range of the Wi-Fi signal.
- Account sign-in issues: If you’re encountering problems signing in with your Google or Apple account, double-check your credentials and ensure you have a stable internet connection. You can also try signing in on a different device or resetting your account password if necessary.
- Activation errors: In some cases, you may encounter activation errors or messages indicating that the activation process cannot be completed. Restart your tablet and try again. If the issue persists, consult the manufacturer’s support website or contact customer support for further assistance.
- App installation failures: If you’re experiencing issues with app installation, ensure that you have a stable internet connection. Clear the cache of the app store or try reinstalling the app store itself. You can also check for available software updates for your device, as outdated software can sometimes cause installation issues.
- Insufficient storage: If your tablet has limited storage and you’re unable to install apps or download additional content, consider removing unused apps and files. You can also expand your storage by using a microSD card or by utilizing cloud storage services to free up space.
If you’re still encountering issues with activating your tablet despite trying these troubleshooting steps, it’s recommended to consult the user manual that came with your device or visit the manufacturer’s support website for specific guidance related to your tablet model.
By addressing and overcoming these common activation issues, you can ensure a smooth and successful activation process for your tablet.
Conclusion
Congratulations! You have successfully activated your tablet and embarked on an exciting journey of exploration and productivity. By following these steps, you have unboxed and prepared your tablet, charged it, powered it on, connected it to a Wi-Fi network, set up your Google or Apple account, configured basic settings, installed essential apps, personalized the tablet, transferred data from another device, and troubleshooted common activation issues. Your tablet is now ready to be fully utilized.
Remember, the activation process may vary slightly depending on the specific make and model of your tablet, as well as the operating system it runs on. Consulting the user manual or the manufacturer’s support website can provide additional guidance tailored to your device.
As you begin to explore your tablet, don’t be afraid to experiment with different features, settings, and apps to find what works best for you. Customizing your tablet to suit your preferences will enhance your user experience and make your tablet truly your own.
Whether you use your tablet for work, entertainment, or connecting with loved ones, enjoy the versatility and convenience it brings to your life. Stay up to date with app updates, periodically back up your data, and keep your tablet’s software updated for optimal performance and security.
Now that you’ve completed the activation process, it’s time to fully embrace all the possibilities that your tablet holds. Explore new apps, create memorable moments, and enrich your digital life. Enjoy the journey with your newly activated tablet!