Introduction
Welcome to the world of tablets, where everything we do leaves a digital trace. Whether it’s browsing the web, using apps, or watching videos, our tablets store a history of our online activities. While it may seem harmless, a cluttered tablet history can lead to privacy concerns and slow down your device. In this article, we’ll explore the importance of cleaning your tablet history and guide you through the step-by-step process on different operating systems.
Clearing your tablet’s history not only helps maintain your privacy but also frees up space on your device, leading to improved performance. It removes temporary files, cookies, and caches accumulated over time from your browsing habits and app usage. Additionally, deleting your tablet history can prevent others from accessing your personal information, such as usernames, passwords, and websites you have visited.
We’ll walk you through the process of clearing your tablet history on popular operating systems like iOS, Android, Windows, and Kindle Fire. Keep in mind that the steps might vary slightly depending on the version of the operating system you’re using.
So, whether you want to safeguard your privacy, optimize your tablet’s performance, or simply start fresh, it’s time to dig in and learn how to clean your tablet history on different platforms. Let’s get started with iOS.
Why Clean Your Tablet History?
Cleaning your tablet history is essential for several reasons. Let’s explore why you should make this a regular practice:
1. Privacy Protection: Your tablet history contains a wealth of personal information, including websites visited, searches made, and login credentials. Clearing this data ensures that your sensitive information remains private and secure. It helps safeguard against potential identity theft and unauthorized access to your accounts.
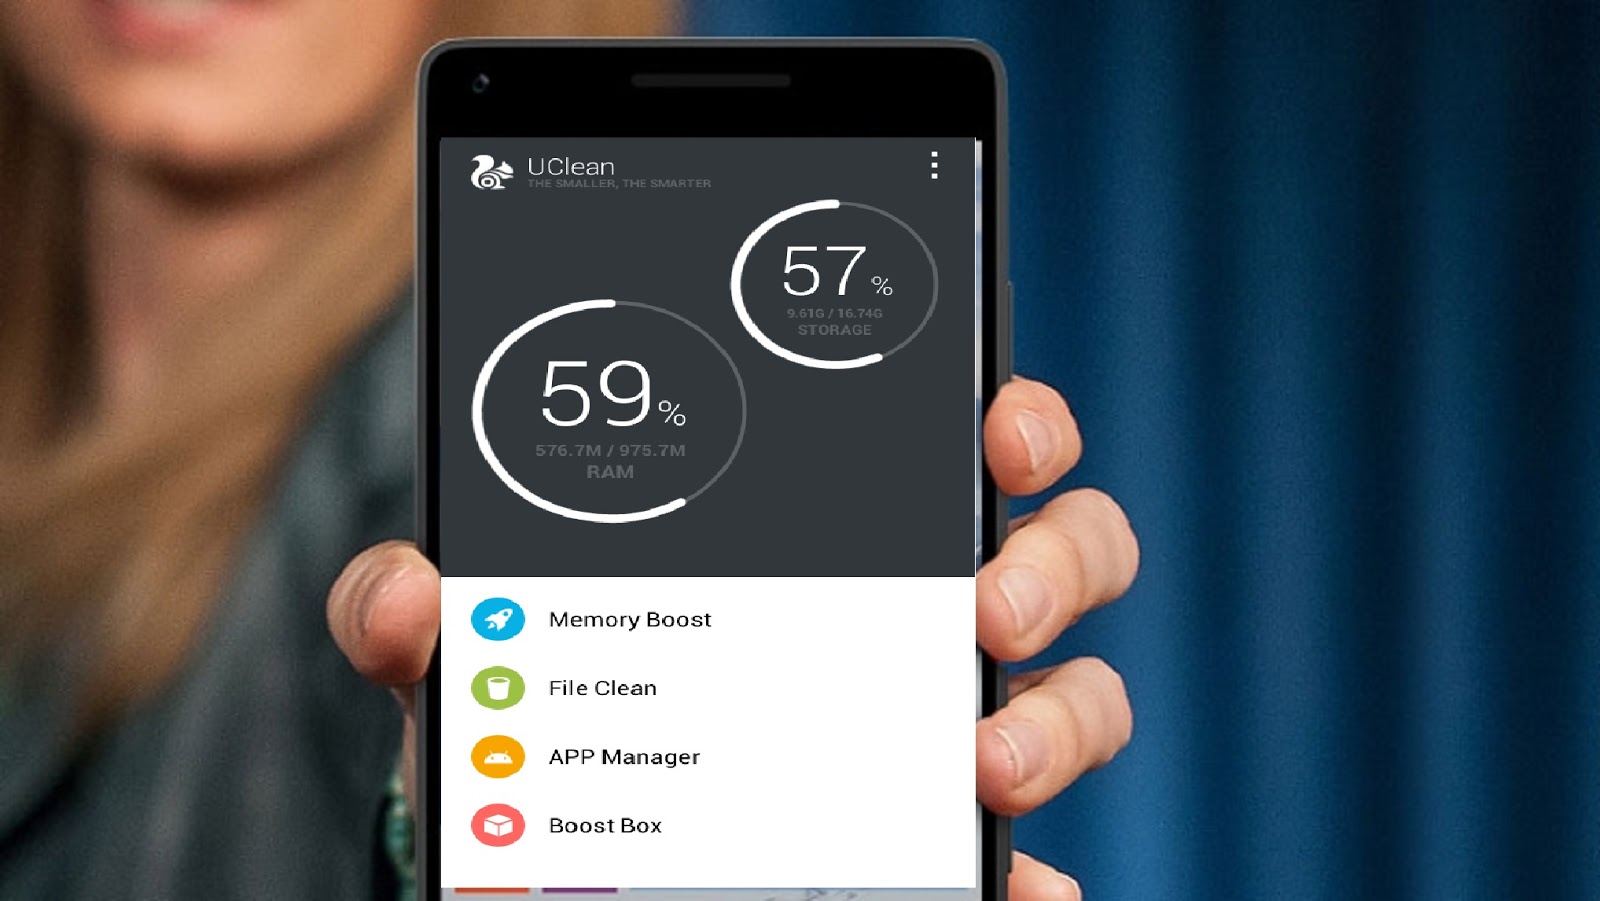
2. Improved Performance: Over time, your tablet’s history can accumulate a significant amount of temporary files, cookies, and cached data. These files can take up valuable storage space and slow down your device. By clearing your tablet history, you free up storage and help optimize your device’s performance.
3. Efficient Browsing Experience: Clearing your tablet history can enhance your browsing experience. It eliminates the clutter of previously visited websites, making it easier to find what you need. It also ensures that you receive accurate search results and recommendations based on your current interests rather than past activities.
4. Prevent Auto-Fill Errors: When your tablet history remains unchecked, it can result in auto-fill errors. For example, if you’ve mistyped a website or entered incorrect information in the past, your tablet’s auto-fill feature may inadvertently use that incorrect data in the future. Clearing your history helps avoid such errors and ensures accurate auto-fill suggestions.
5. Parental Control and Restricted Access: If you share your tablet with children or other family members, clearing the history helps maintain parental controls and restricts access to inappropriate content. It provides peace of mind knowing that your tablet is safe for all users.
Now that we understand the importance of cleaning your tablet history, let’s dive into the step-by-step process on different operating systems.
How to Clean Your Tablet History on iOS
If you’re using an iOS device, whether it’s an iPhone or an iPad, follow these simple steps to clear your tablet history:
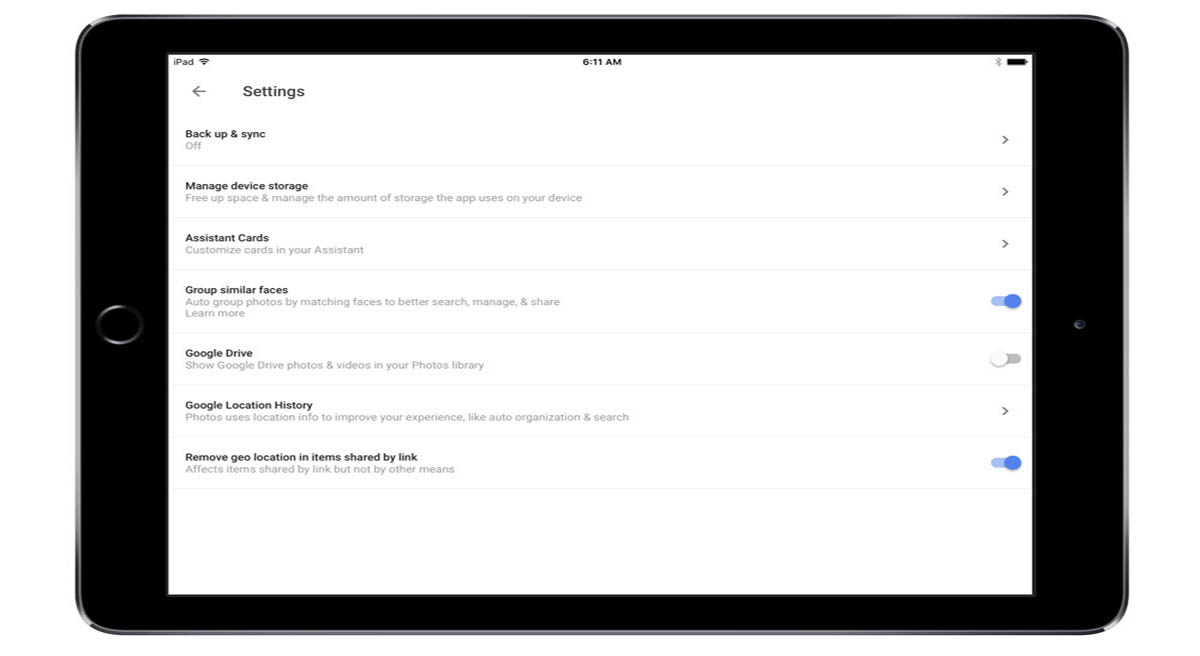
1. Open the Settings app: Locate the Settings app on your home screen and tap on it to open.
2. Scroll down and tap on Safari: In the Settings menu, scroll down until you find the Safari option. Tap on it to access the Safari settings.
3. Tap on “Clear History and Website Data”: Under the Privacy & Security section, you will find the “Clear History and Website Data” option. Tap on it to proceed.
4. Confirm your choice: A prompt will appear asking you to confirm the action. Select “Clear History and Data” to delete your browsing history, cookies, and cached data.
5. Optional: Disable History: If you want to prevent your device from recording your browsing history in the future, you can enable the “Private Browsing” mode. Go back to the main Safari settings menu and toggle on the “Private Browsing” option.
That’s it! Your tablet history on iOS has been cleared, ensuring your privacy and improving your device’s performance. Remember that clearing your history will also log you out of any websites and online accounts you were previously signed into.
It’s essential to repeat this process periodically to keep your tablet history clean. Additionally, you can use third-party browser apps available in the App Store, such as Chrome or Firefox, which have their own clearing mechanisms.
Now that you’ve learned how to clear your tablet history on iOS, let’s explore how to do it on Android devices.
How to Clean Your Tablet History on Android
If you’re using an Android tablet, you can follow these steps to clear your tablet history:
1. Open the Chrome browser: Locate the Chrome icon on your home screen or app drawer and tap on it to open the browser.
2. Access the browser settings: Tap on the three-dot menu icon in the top-right corner of the screen to open the Chrome menu. From there, select “Settings.”
3. Navigate to “Privacy”: In the Chrome settings menu, scroll down and tap on “Privacy” to access the privacy settings.
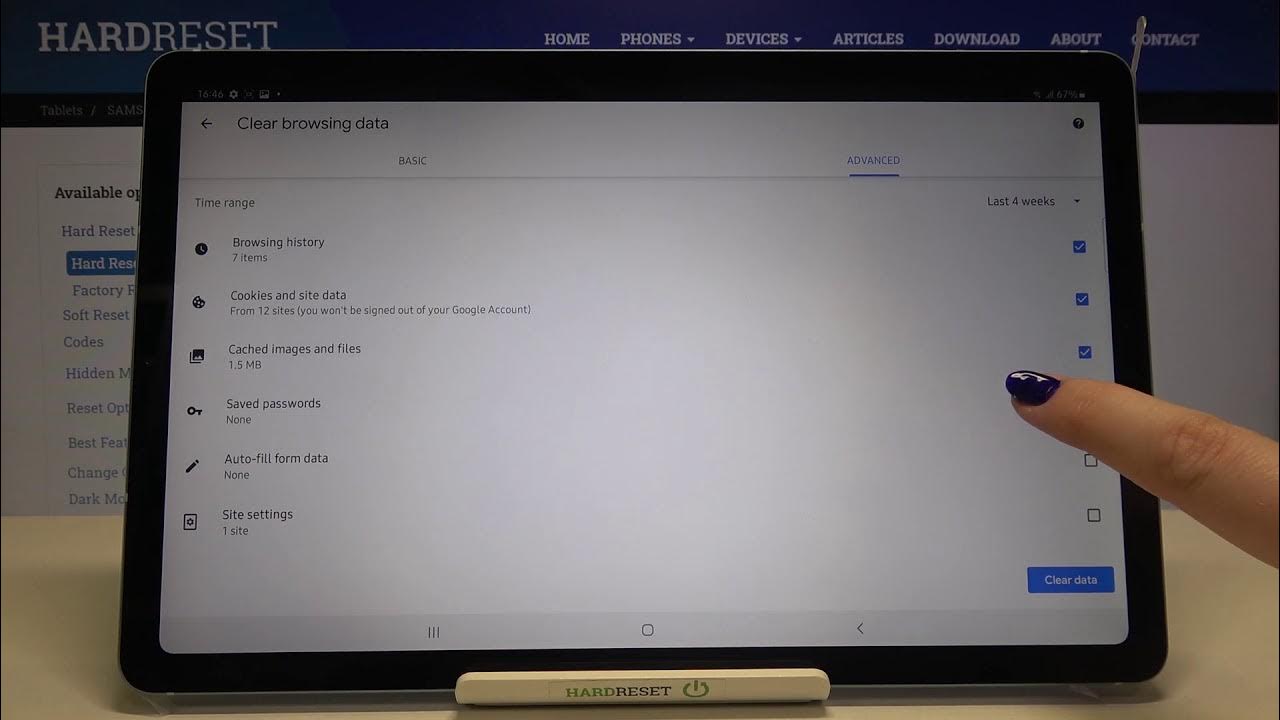
4. Tap on “Clear browsing data”: Under the “Privacy” section, select the “Clear browsing data” option. This will allow you to choose what types of data you want to clear.
5. Select the data to clear: In the “Clear browsing data” menu, you can choose to clear different types of data such as browsing history, cookies, and cached images and files. Select the appropriate options based on what you want to clear from your tablet’s history.
6. Choose the time range: You can also choose the time range for which you want to clear the data. The options include “Last hour,” “Last 24 hours,” “Last 7 days,” “Last 4 weeks,” and “All time.” Select the time range that suits your needs.
7. Tap on “Clear data”: Once you’ve selected the data types and time range, tap on the “Clear data” button. This will initiate the clearing process.
8. Confirm your choice: A confirmation prompt will appear asking you to verify your selection. Tap on “Clear” to proceed with clearing your tablet history.
That’s it! Your tablet history on Android has been successfully cleared. Note that this process may vary slightly depending on the version of Android and the browser you are using.
Remember to repeat this process periodically to keep your tablet history clean and maintain your privacy. Additionally, you can explore other browsers available on the Google Play Store that offer similar clearing options.
Now that you know how to clear your tablet history on Android, let’s move on to clearing it on Windows devices.
How to Clean Your Tablet History on Windows
If you’re using a Windows tablet, such as a Microsoft Surface, you can follow these steps to clear your tablet history:
1. Open the Settings app: Click on the Start button and then click on the “Settings” gear icon to open the Settings app.
2. Select “Privacy”: In the Settings menu, locate and click on the “Privacy” option.
3. Navigate to “Activity history”: In the left sidebar of the Privacy settings, click on the “Activity history” option.
4. Click on “Clear” under “Clear activity history”: In the Activity history settings, you’ll see an option to “Clear” your activity history. Click on it to continue.
5. Confirm your choice: A confirmation window will appear asking if you want to clear your activity history. Click on the “Clear” button to proceed.
6. Optional: Disable activity history: To prevent your tablet from recording your future activity history, go back to the Activity history settings and toggle off the “Let Windows collect my activities from this tablet” option.
7. Clear browsing history from Microsoft Edge: If you use the Microsoft Edge browser on your Windows tablet, you can clear your browsing history separately. Open Microsoft Edge, click on the three-dot menu icon in the top-right corner, go to “Settings,” select “Privacy, search, and services,” and click on “Choose what to clear” under the “Clear browsing data” section.
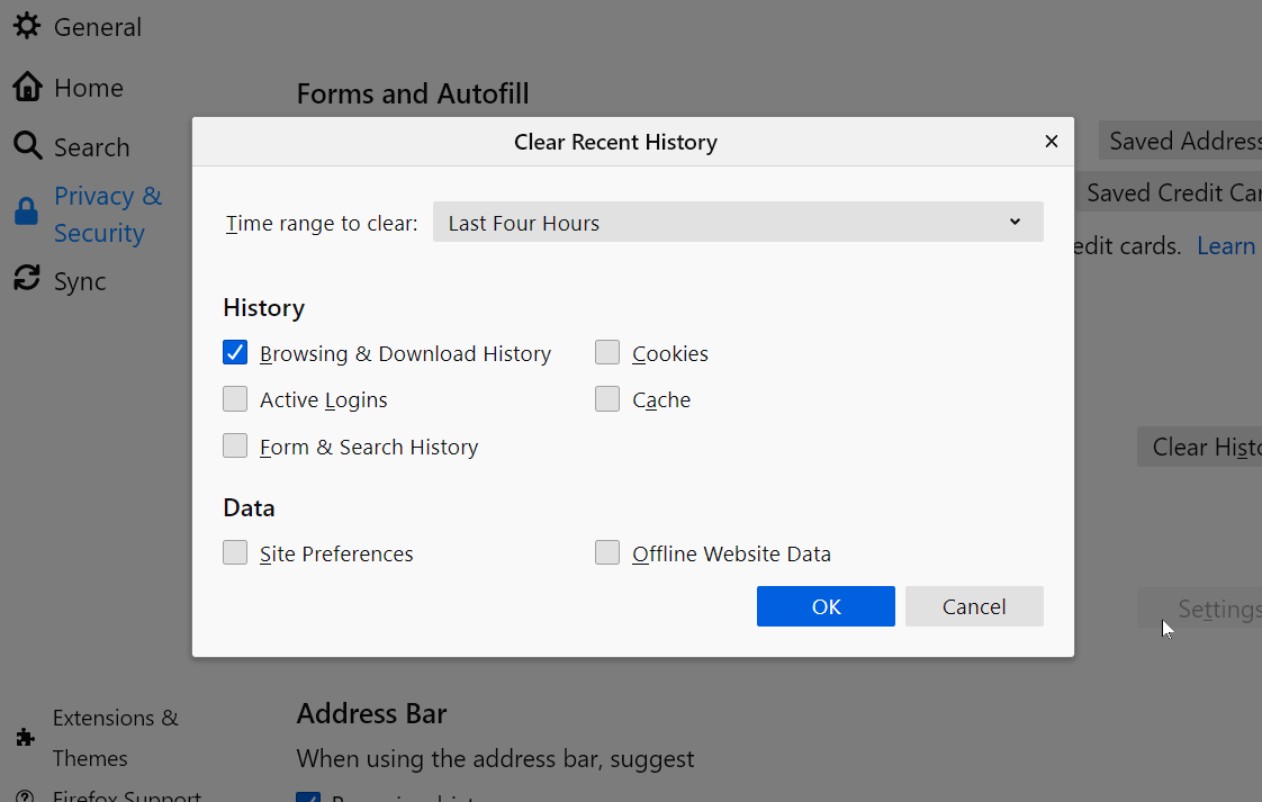
8. Select the browsing data to clear: In the Clear browsing data settings, you can choose to clear browsing history, cookies, cached data, and more. Select the appropriate options based on what you want to clear.
9. Click on “Clear”: Once you’ve made your selections, click on the “Clear” button to clear your browsing data.
By following these steps, you can effectively clear your tablet history on Windows devices. Remember to repeat this process periodically to maintain your privacy and optimize your tablet’s performance.
Now that you’ve learned how to clean your tablet history on Windows, let’s move on to clearing it on Kindle Fire tablets.
How to Clean Your Tablet History on Kindle Fire
If you’re using a Kindle Fire tablet, you can follow these steps to clear your tablet history:
1. Open the Silk browser: Locate the Silk browser icon on your home screen or app drawer and tap on it to open the browser.
2. Access the browser menu: Tap on the three-dot menu icon in the bottom-right corner of the screen to open the Silk browser menu.
3. Tap on “History”: In the Silk browser menu, tap on the “History” option to access your browsing history.
4. Clear your browsing history: In the History section, you’ll see a list of all your visited websites. To clear your browsing history, tap on the “Clear browsing history” button.
5. Confirm your choice: A confirmation prompt will appear asking if you want to clear your browsing history. Tap on “Clear” to proceed.
6. Clear your cache and other data: To clear your cache, cookies, and other browsing data, go back to the Silk browser menu and tap on “Settings.” From there, select “Privacy,” and you’ll find options to clear your cache, cookies, and other browsing data.
7. Customize your settings: Take this opportunity to customize your privacy settings by adjusting options such as “Remember passwords” and “Block pop-ups” to further enhance your browsing experience.
By following these steps, you can successfully clear your tablet history on Kindle Fire. It’s a good practice to repeat this process regularly to maintain your privacy and ensure optimal performance of your device.
As an alternative, you can also explore using third-party browsers available in the Amazon Appstore, such as Firefox or Chrome, which offer their own clearing mechanisms and enhanced privacy features.
Now that you know how to clear your tablet history on Kindle Fire, let’s move on to some additional tips for keeping your tablet history clean.
Additional Tips for Keeping Your Tablet History Clean
In addition to regularly clearing your tablet history, here are some extra tips to help you maintain a clean and secure browsing experience:
1. Use Private Browsing: Most modern browsers offer a private or incognito mode that prevents your browsing history from being recorded. Enable this mode when you want to browse without leaving any traces behind.
2. Manage App Permissions: Review the permissions granted to the apps on your tablet. Some apps may access your browsing history or other personal data unnecessarily. Restrict permissions to protect your privacy.
3. Use Virtual Private Networks (VPNs): Consider using a VPN to encrypt your internet connection and mask your online activities. This adds an extra layer of security and anonymity, keeping your tablet history private.
4. Regularly Update Your Operating System: Keep your tablet’s operating system up to date. Updates often include security patches and bug fixes that help protect your device and data.
5. Manage Saved Passwords: Periodically review and delete saved passwords on your tablet. This will prevent unauthorized access to your accounts if your device falls into the wrong hands.
6. Be Mindful of Public Networks: When using public Wi-Fi networks, exercise caution. Public networks may be less secure, making it easier for others to intercept your data. Avoid accessing sensitive information or performing financial transactions on these networks.
7. Clear Clipboard History: Clear your tablet’s clipboard history, as it may store sensitive information that you have copied and shared. Remove any unnecessary or sensitive items from the clipboard.
8. Install Anti-Malware and Anti-Virus Software: Protect your tablet from malware and viruses by installing reliable security software. Regularly update and run scans to detect and remove any potential threats.
Remember, maintaining a clean tablet history is essential for protecting your privacy and optimizing your device’s performance. By implementing these additional tips, you can enhance your overall security and browsing experience.
With all these measures in place, you can confidently enjoy using your tablet without worrying about your online activities being tracked or compromised.
Now that you’ve learned some extra tips for keeping your tablet history clean, let’s wrap up this article.
Conclusion
Keeping your tablet history clean is vital for maintaining your privacy, optimizing device performance, and ensuring a safe browsing experience. Whether you’re using iOS, Android, Windows, or Kindle Fire, the process of clearing your tablet history is relatively straightforward.
By regularly clearing your tablet history, you protect your personal information from unauthorized access, prevent auto-fill errors, and enjoy a clutter-free browsing experience. Additionally, implementing the extra tips mentioned, such as using private browsing, managing app permissions, and installing security software, further enhances your privacy and security.
Remember to repeat the clearing process periodically and customize your privacy settings based on your preferences. It’s also essential to stay vigilant when using public networks and update your tablet’s operating system and security software regularly.
By following these guidelines, you can confidently enjoy the convenience and benefits of using your tablet without compromising your privacy or device performance.
So, take the time to clean your tablet history today and enjoy a safer and more efficient browsing experience tomorrow. Your privacy and peace of mind are worth the effort.
Thank you for reading and happy browsing!