Introduction
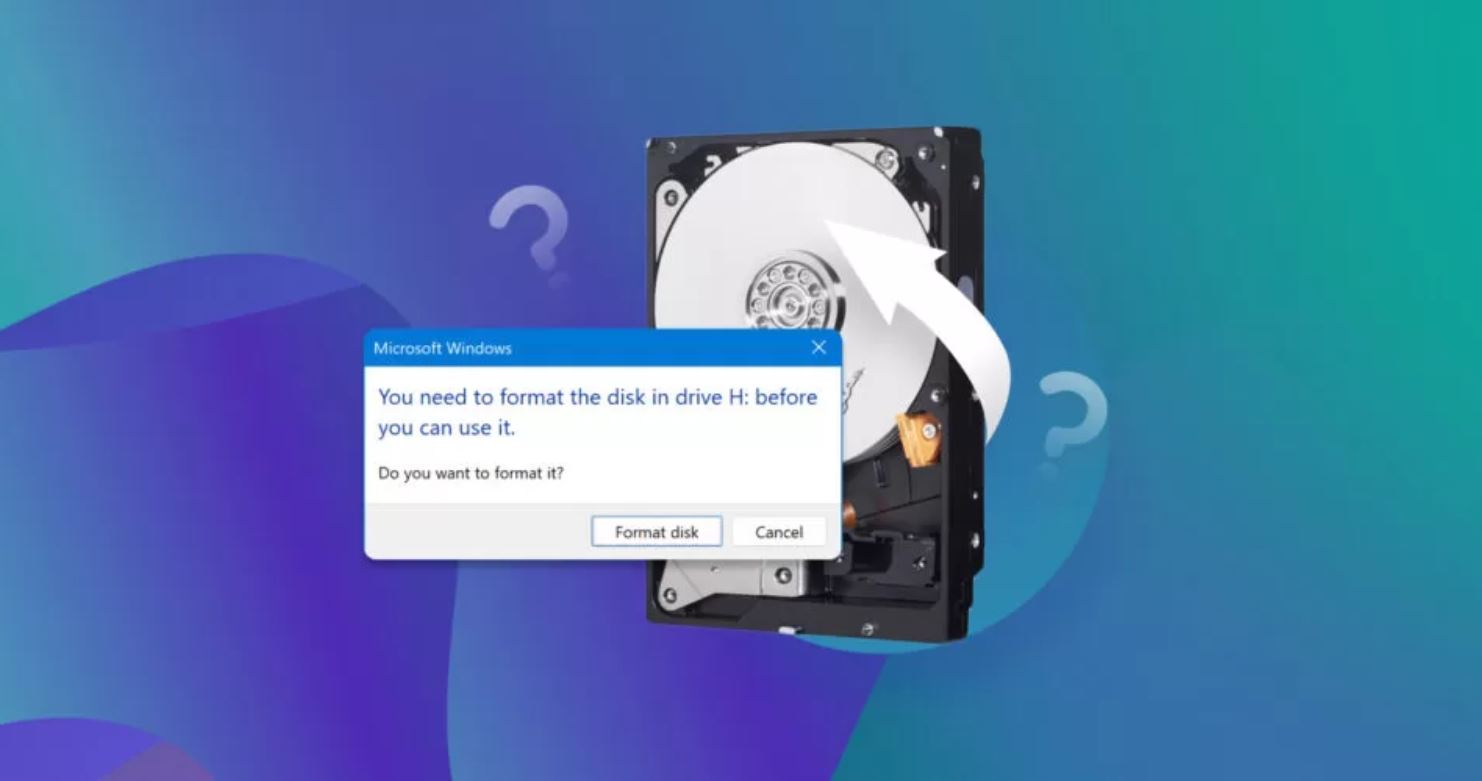
Transferring files from your Mac to an external hard drive is incredibly useful for several reasons. It allows you to free up space on your Mac’s internal drive, create a backup of important files, or transfer large files between different devices. However, many people are concerned about the potential need to format the external hard drive before transferring files, which can result in data loss.
The good news is that you can transfer files from your Mac to an external hard drive without formatting it. This means you won’t have to worry about erasing any existing data on the drive. In this article, we will guide you through the process of transferring files from your Mac to an external hard drive without the need for formatting.
Before proceeding, it’s important to understand the basics of external hard drives. These devices are portable storage units that connect to your computer via a USB, Thunderbolt, or FireWire connection. They offer large storage capacities and are commonly used to store multimedia files, documents, backups, and more.
When transferring files from your Mac to an external hard drive, it’s essential to ensure compatibility between the two devices. Most external hard drives are compatible with both Mac and Windows operating systems. However, it’s always a good idea to check the specifications, especially if you plan to use the drive on multiple devices.
Now that you know the importance of transferring files without formatting and the basics of external hard drives, let’s move on to the steps involved in transferring files from your Mac to an external hard drive.
Understanding External Hard Drives
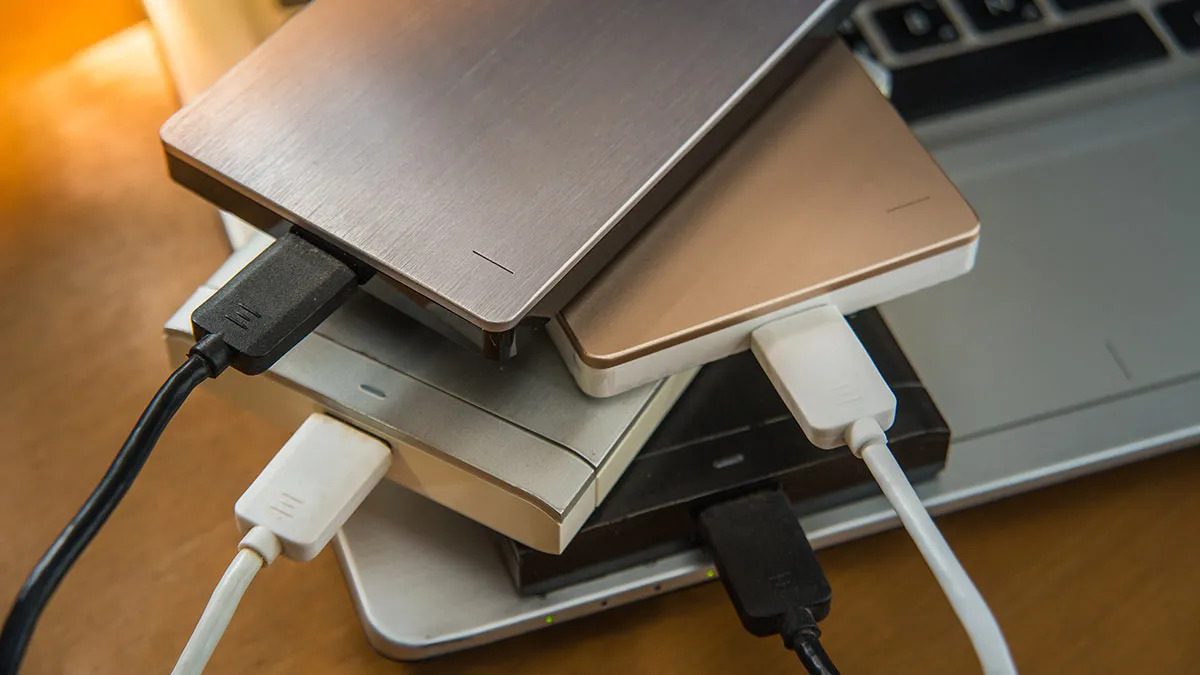
External hard drives are essential storage devices that provide additional space and flexibility for storing and accessing files. They offer several advantages for Mac users, including increased storage capacity, portability, and the ability to transfer files between different devices.
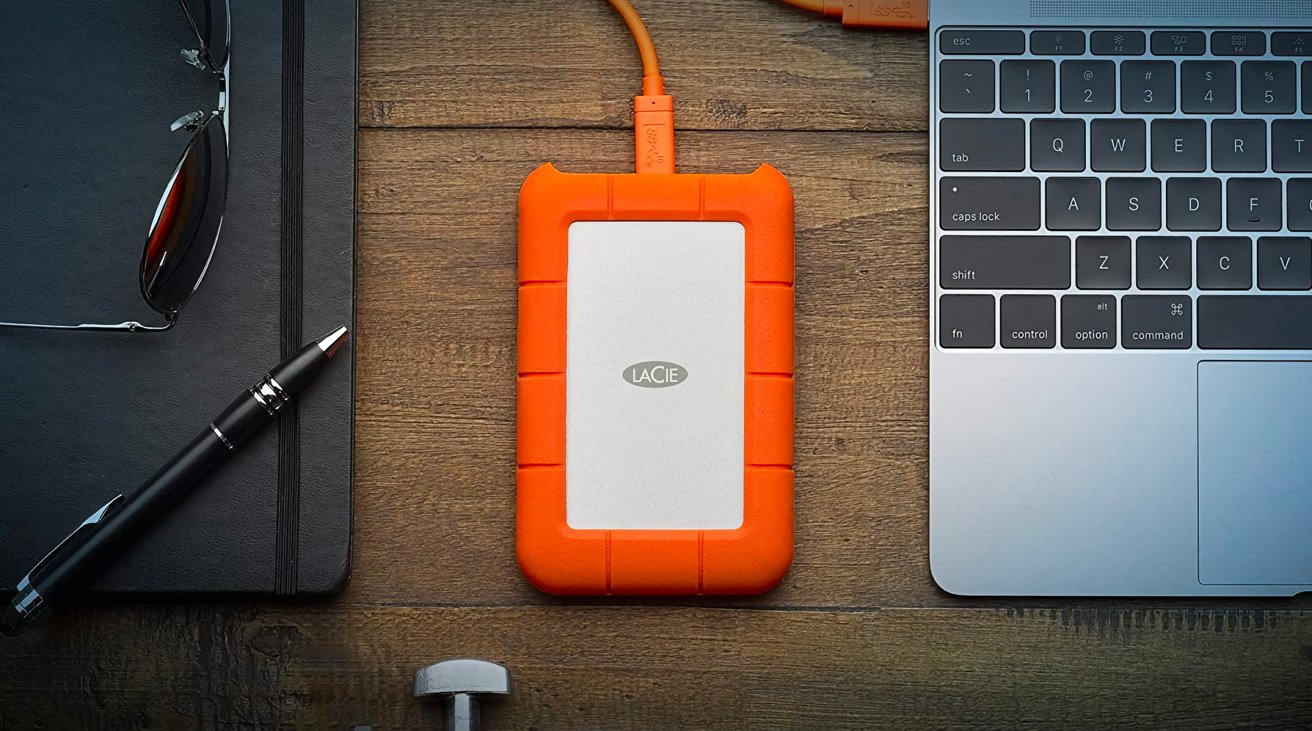
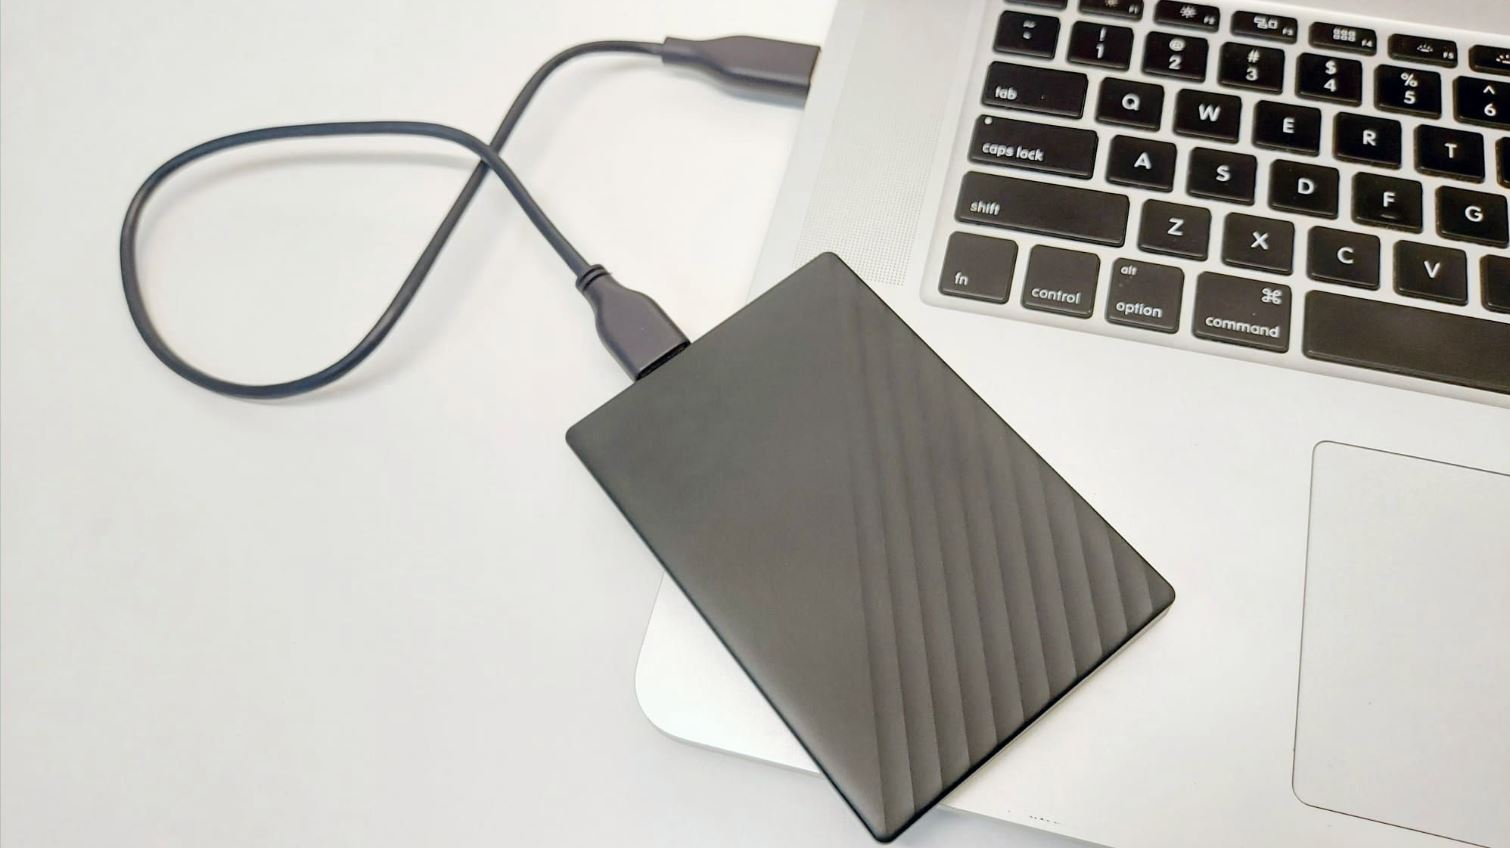
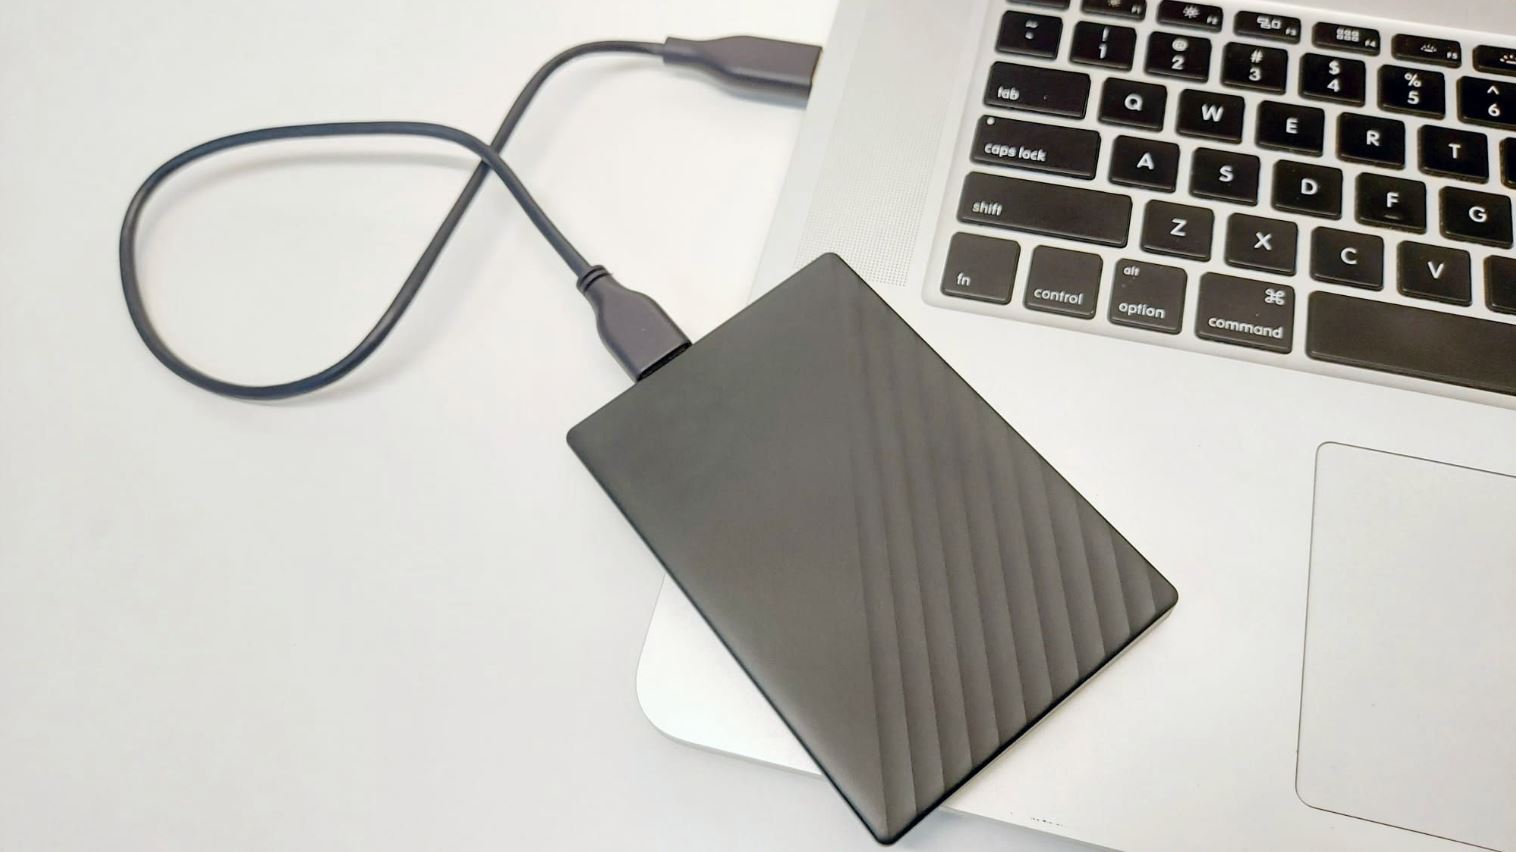
External hard drives come in various sizes and are typically connected to your Mac using a USB, Thunderbolt, or FireWire connection. These drives are designed to be plug-and-play, meaning you can simply connect them to your Mac without the need for any additional software installation. Once connected, they appear as a separate drive on your Mac, just like your internal hard drive.
One of the main reasons people use external hard drives is to free up space on their Mac. As you use your Mac for various tasks, such as downloading files, installing applications, and saving documents, the available storage on your internal hard drive gradually decreases. This can lead to reduced performance and the inability to save new files.
By transferring files from your Mac to an external hard drive, you can create more space on your internal drive, allowing it to run more efficiently. This is particularly useful if you work with large multimedia files, such as videos or high-resolution images, which can quickly consume significant amounts of storage space.
Another benefit of using external hard drives is their portability. Unlike internal hard drives, which are fixed within your Mac, external drives can be easily disconnected and carried around. This makes them an ideal solution for backing up important files and carrying your data with you wherever you go.
Additionally, external hard drives offer the flexibility to transfer files between different devices. For example, if you have files stored on your Mac that you need to access on another computer, you can simply transfer them to an external drive and connect it to the other device.
Understanding the capabilities and advantages of external hard drives is crucial before embarking on the process of transferring files from your Mac. It ensures that you make the most of your external drive and choose the right method for transferring files without formatting it, which we will discuss in the following sections.
Checking Compatibility
When it comes to transferring files from your Mac to an external hard drive, ensuring compatibility between the two devices is crucial. While most external hard drives are compatible with both Mac and Windows operating systems, it’s recommended to verify compatibility before proceeding. This is especially important if you intend to use the drive on multiple devices.
The compatibility of an external hard drive with your Mac depends on various factors, such as the type of connection, the file system format, and the operating system version. Let’s take a closer look at these factors:
- Connection Type: External hard drives typically use one of three connection types – USB, Thunderbolt, or FireWire. Before purchasing an external drive, ensure that your Mac has the necessary ports to support the drive’s connection type. Most modern Macs have USB and Thunderbolt ports, but older models may only have USB or FireWire.
- File System Format: Different operating systems use different file system formats to organize and store data on a hard drive. Macs typically use HFS+ or APFS file systems, while Windows computers use NTFS or exFAT. Fortunately, most external hard drives come pre-formatted in a compatible format for both Mac and Windows, such as exFAT. However, it’s crucial to double-check the file system format to ensure compatibility.
- Operating System Version: The operating system version on your Mac can also impact compatibility with an external hard drive. Ensure that your Mac’s operating system is compatible with the external drive. Most modern external drives are designed to work seamlessly with the latest macOS versions, but it’s always wise to check the manufacturer’s specifications.
To check the compatibility of an external hard drive with your Mac, refer to the manufacturer’s documentation or visit their website for detailed specifications. You can also consult Apple’s support website or forums for additional information and guidance.
By verifying compatibility before transferring files, you can avoid any potential issues or data corruption. It allows for a smooth and hassle-free file transfer process, ensuring that your Mac and external hard drive work seamlessly together.
Connecting the External Hard Drive
Before you can transfer files from your Mac to an external hard drive, you need to properly connect the two devices. The process is straightforward and involves a few simple steps:
- Start by ensuring that your Mac and the external hard drive are powered off or in sleep mode.
- Locate the appropriate port on your Mac to connect the external hard drive. This could be a USB, Thunderbolt, or FireWire port, depending on the type of drive you have.
- Take the cable that came with your external hard drive and connect one end to the corresponding port on your Mac.
- Take the other end of the cable and connect it to the port on the external hard drive. Make sure the connection is secure.
- Once the external hard drive is connected, power it on if it has a separate power source. Some external drives draw power from the Mac itself and do not require a separate power source.
- Wait a few seconds for your Mac to recognize the external hard drive. You should see a notification or the drive appearing on your desktop.
It’s important to note that some external hard drives may require additional steps for proper connection. For example, if your drive has its power switch, make sure to turn it on, or if it has a separate power adapter, ensure it’s properly connected and powered on.
Once the external hard drive is successfully connected to your Mac, it will be ready for file transfer. You can now proceed to the next steps, where we will discuss how to prepare your Mac for the file transfer process.
Preparing Your Mac for File Transfer
Before you start transferring files from your Mac to an external hard drive, it’s important to ensure that your Mac is prepared for the process. This involves a few simple steps to optimize the file transfer and ensure the safety of your data:
- Organize and Clean Up Your Files: Before transferring files, it’s a good idea to organize and clean up your files on the Mac. This includes deleting unnecessary files, organizing files into folders, and removing any temporary files or duplicates. By decluttering your files, you can make the file transfer process more efficient and save space on both your Mac and the external hard drive.
- Scan for Malware and Viruses: Running a thorough scan for malware and viruses on your Mac is essential to protect your files and ensure the integrity of the transfer process. Use reliable antivirus software to scan your system and remove any potential threats. This step is particularly important if you’re transferring important or sensitive data.
- Update Your Operating System and Applications: Before transferring files, make sure your Mac’s operating system and relevant applications are up to date. Software updates often include bug fixes, performance improvements, and enhanced compatibility. Updating your system and applications reduces the chances of encountering issues during the file transfer process.
- Backup Important Data: It’s always a good practice to create a backup of your important data before any file transfer. This is an additional precautionary measure to ensure the safety of your files in case of any unforeseen circumstances. Consider using a reliable backup solution, such as Time Machine, to create a backup of your Mac’s important files.
By following these preparation steps, you can optimize the file transfer process and minimize the risk of data loss or transfer errors. Once you have organized and cleaned up your files, scanned for malware, updated your system and applications, and backed up your data, you’re ready to proceed with transferring files from your Mac to the external hard drive.
Choosing the Right File Transfer Method
When it comes to transferring files from your Mac to an external hard drive, there are multiple methods you can choose from. The right method depends on the size and number of files you want to transfer, the speed you desire, and the level of convenience you prefer. Here are two commonly-used file transfer methods:
- Using the Finder: The Finder is the default file manager on macOS and offers a simple and user-friendly way to transfer files to an external hard drive. This method is ideal for transferring smaller files or a limited number of files.
- Using Terminal: Terminal is a command-line interface on macOS that allows for more advanced file transfer options. This method is suitable for transferring large files or a large number of files, as it provides greater control and allows for faster transfers.
If you prefer using the Finder to transfer files, follow these steps:
- Connect the external hard drive to your Mac as we discussed earlier.
- Open a Finder window by clicking on the Finder icon in the Dock.
- In the Finder window, locate the files you want to transfer. You can navigate through folders or search for specific files using the search bar at the top-right corner of the window.
- Select the files you want to transfer by clicking on them while holding down the Command key. You can also select multiple files by clicking and dragging over a group of files.
- Once you have selected the files, drag and drop them onto the external hard drive icon on the desktop or in the sidebar of the Finder window.
- The file transfer will begin, and you can monitor the progress by checking the progress bar or status indicator.
- Once the transfer is complete, you can safely eject the external hard drive by right-clicking on the drive icon and selecting “Eject” or by dragging the drive icon to the Trash.
If you’re comfortable using Terminal and prefer a more advanced file transfer method, follow these steps:
- Connect the external hard drive to your Mac as we discussed earlier.
- Open the Terminal application by going to Applications > Utilities > Terminal.
- In the Terminal window, navigate to the location of the files you want to transfer using the ‘cd’ command. For example, if your files are on the desktop, you can use the command “cd Desktop” to navigate to the desktop directory.
- Use the ‘cp’ command to copy the files to the external hard drive. For example, the command “cp file.txt /Volumes/ExternalDrive” will copy a file named ‘file.txt’ to the external drive.
- Press Enter to execute the command and start the file transfer. You can monitor the progress in the Terminal window.
- Once the transfer is complete, you can safely eject the external hard drive by using the ‘diskutil’ command. For example, the command “diskutil eject /Volumes/ExternalDrive” will eject the external drive.
Choose the file transfer method that best suits your needs and preferences. Both methods are effective and reliable, allowing you to transfer files from your Mac to an external hard drive without formatting.
Using the Finder to Transfer Files
Transferring files from your Mac to an external hard drive using the Finder is a straightforward and user-friendly method. It is ideal for transferring smaller files or a limited number of files. Follow these steps to transfer files using the Finder:
- Connect the external hard drive to your Mac using the appropriate cable or connection method.
- Once connected, the external hard drive should appear as an icon on your desktop or in the sidebar of a Finder window.
- Open a new Finder window by clicking on the Finder icon in the Dock, or by selecting “New Finder Window” from the File menu.
- In the Finder window, navigate to the files you want to transfer. You can browse through different folders or use the search bar at the top-right corner to locate specific files.
- Select the files you want to transfer by clicking on them while holding down the Command key. You can also select multiple files by clicking and dragging over a group of files.
- Once you have selected the files, drag and drop them onto the external hard drive icon on your desktop or in the sidebar of the Finder window.
- The file transfer will begin, and you can monitor the progress by checking the progress bar or status indicator.
- Once the transfer is complete, you can safely eject the external hard drive by right-clicking on the drive icon and selecting “Eject” or by dragging the drive icon to the Trash.
It’s important to note that during the file transfer, it’s best to avoid disconnecting the external hard drive or shutting down your Mac to ensure the process completes successfully without any data corruption.
The Finder method offers a simple and intuitive way to transfer files, making it suitable for users who prefer a more visual approach. It’s ideal for transferring smaller files or a limited number of files. However, if you need to transfer large files or a significant amount of data, you may consider using the Terminal method, which provides more control and faster transfers.
Now that you know how to transfer files using the Finder, you can easily and efficiently move your files from your Mac to an external hard drive without the need for formatting.
Using Terminal to Transfer Files
If you’re comfortable with command-line interfaces and prefer a more advanced method for transferring files, you can use Terminal on your Mac. Using Terminal allows for more control and faster transfers, making it suitable for transferring large files or a significant amount of data. Follow these steps to transfer files using Terminal:
- Connect the external hard drive to your Mac using the appropriate cable or connection method.
- Open the Terminal application on your Mac. You can find it in the Utilities folder within the Applications folder, or use Spotlight to search for “Terminal”.
- In the Terminal window, navigate to the location of the files you want to transfer. You can use the ‘cd’ command followed by the file path to navigate to the desired directory. For example, to navigate to the Desktop directory, you can use the command:
cd Desktop. - Use the ‘cp’ command to copy the files from your Mac to the external hard drive. The ‘cp’ command stands for “copy” and is followed by the source file or directory path, followed by the destination path. For example, to copy a file named “file.txt” from your Mac’s Desktop to the external hard drive, you can use the command:
cp file.txt /Volumes/ExternalDrive. - Press Enter to execute the command and start the file transfer. You can monitor the progress in the Terminal window, where it will display the progress of each file being transferred.
- Once the transfer is complete, you can safely disconnect the external hard drive using the ‘diskutil’ command. For example, to eject an external drive named “ExternalDrive”, you can use the command:
diskutil eject /Volumes/ExternalDrive.
Using Terminal for file transfer provides a more advanced and efficient method, especially when dealing with large files or a significant number of files. However, it requires familiarity with command-line interfaces and precise command input. Make sure to double-check the paths and commands to avoid any unintended file operations.
By utilizing Terminal, you can take full advantage of its flexibility and control over file transfers, allowing you to transfer files quickly and efficiently from your Mac to an external hard drive without the need to format.
Troubleshooting Tips
While transferring files from your Mac to an external hard drive is usually a straightforward process, you may encounter some common issues along the way. Here are some troubleshooting tips to help you overcome any potential challenges:
- Check the Connection: Ensure that the external hard drive is properly connected to your Mac. Try disconnecting and reconnecting the cable, ensuring a secure connection on both ends.
- Restart Your Mac: Sometimes, a simple restart can resolve connectivity issues or any temporary glitches. Restart your Mac and try the file transfer again.
- Use a Different USB Port or Cable: If you’re using a USB connection, try using a different USB port on your Mac or a different USB cable. This can help identify if the issue is related to a specific port or cable.
- Check Drive Format Compatibility: Ensure that the external hard drive is formatted in a compatible format for your Mac’s operating system. If necessary, reformat the drive to a compatible format before attempting the file transfer.
- Update Firmware or Drivers: If the external hard drive has its firmware or drivers, visit the manufacturer’s website to check for any available updates. Updating the firmware or drivers can address compatibility issues and improve performance.
- Check for Sufficient Space: Verify that both your Mac’s internal drive and the external hard drive have enough free space to accommodate the file transfer. If either drive is running low on space, delete unnecessary files or consider transferring files in smaller batches.
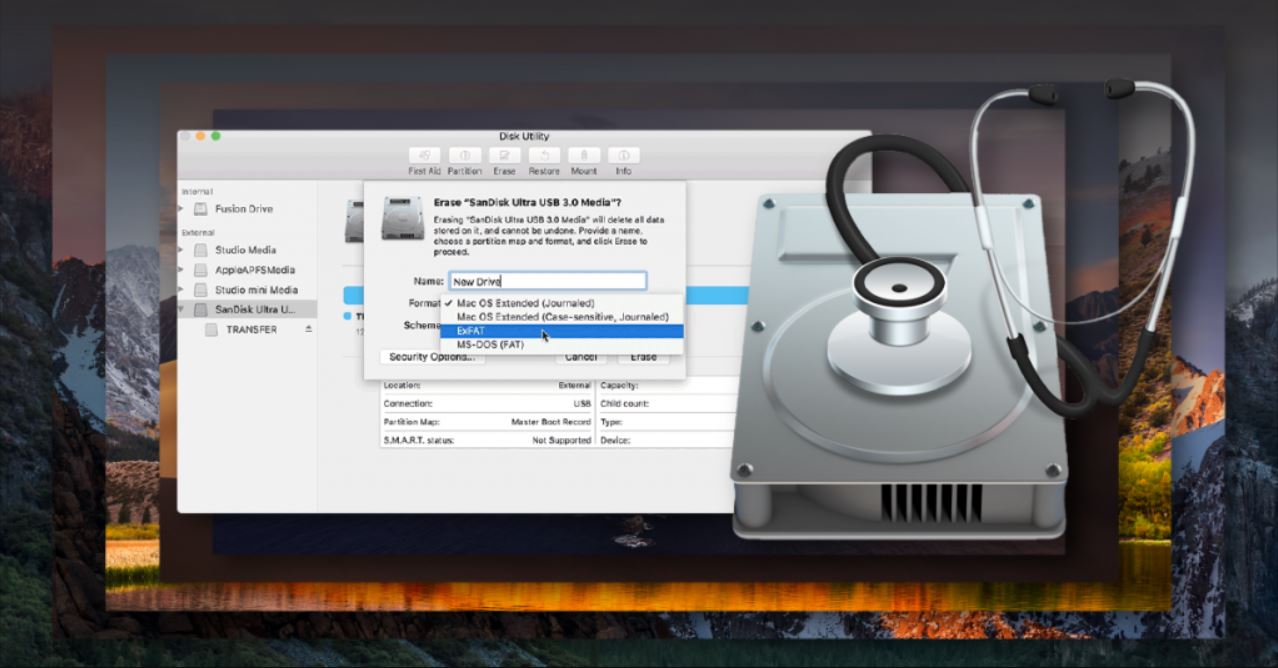
- Run Disk Utility: Use the Disk Utility tool on your Mac to check the health and integrity of both your internal drive and the external hard drive. Repair any errors or issues that are detected before proceeding with the file transfer.
- Try a Different File Transfer Method: If you’re experiencing persistent issues with one file transfer method, switch to an alternative method. For example, if you’ve been using the Finder, try using Terminal or vice versa.
- Seek Technical Support: If you’ve exhausted all troubleshooting options and are still unable to transfer files, contacting technical support for your Mac or the external hard drive manufacturer can provide further assistance and guidance.
By following these troubleshooting tips, you increase the chances of successfully transferring files from your Mac to an external hard drive without any major issues. Remember to be patient and methodical in your approach, and most issues can be resolved with some simple troubleshooting steps.
Conclusion
Transferring files from your Mac to an external hard drive is a valuable process that allows you to free up space, create backups, and transfer large files between devices. The good news is that you can perform this task without formatting the external hard drive, ensuring that your data remains intact.
In this article, we have explored various aspects of transferring files to an external hard drive. We began by understanding the importance of external hard drives and checked for compatibility between your Mac and the drive. We then discussed the process of connecting the external hard drive to your Mac and preparing your Mac for file transfer.
Furthermore, we explored two common file transfer methods: using the Finder and using Terminal. The Finder provides a user-friendly interface for transferring smaller files, while Terminal offers a more advanced method for transferring large files or numerous files. The choice of method depends on your preferences and the size of the files you want to transfer.
We also provided troubleshooting tips to overcome common issues during the file transfer process. By following these tips, you can ensure a smooth and successful transfer of your files without any major setbacks.
Remember to always be cautious during the file transfer process, and take necessary precautions such as backing up important data and ensuring sufficient storage space. By following the steps and tips outlined in this article, you can confidently transfer files from your Mac to an external hard drive, organize your data, and create backups without the need for formatting.
Now that you have the knowledge and tools, it’s time to unleash the full potential of your Mac and external hard drive. Enjoy the benefits of increased storage, efficient file management, and the peace of mind that comes with having your files securely backed up!


