Introduction
Welcome to our guide on how to take a screenshot on a Tablet Apple! Whether you’re using an iPad, iPad Pro, or iPad Mini, capturing your screen can be useful for a variety of reasons, from capturing important moments to sharing information. Taking a screenshot on a Tablet Apple is a straightforward process, and there are multiple methods you can use depending on the model you have and your personal preferences.
In this guide, we will walk you through three common methods for capturing screenshots on your Tablet Apple, along with some troubleshooting tips to help if you encounter any issues. Whether you’re a seasoned Tablet Apple user or new to the world of iOS devices, we’ve got you covered.
Please keep in mind that the specific steps may vary slightly depending on the model and version of iOS you are using. However, the general principles and methods we will discuss should apply to most Tablet Apple devices.
So, without further ado, let’s jump into the different methods you can use to capture screenshots on your Tablet Apple!
Methods for Taking a Screenshot on Tablet Apple
There are several ways you can capture a screenshot on your Tablet Apple, depending on the model you are using and your personal preferences. In this section, we will guide you through three common methods that you can try.
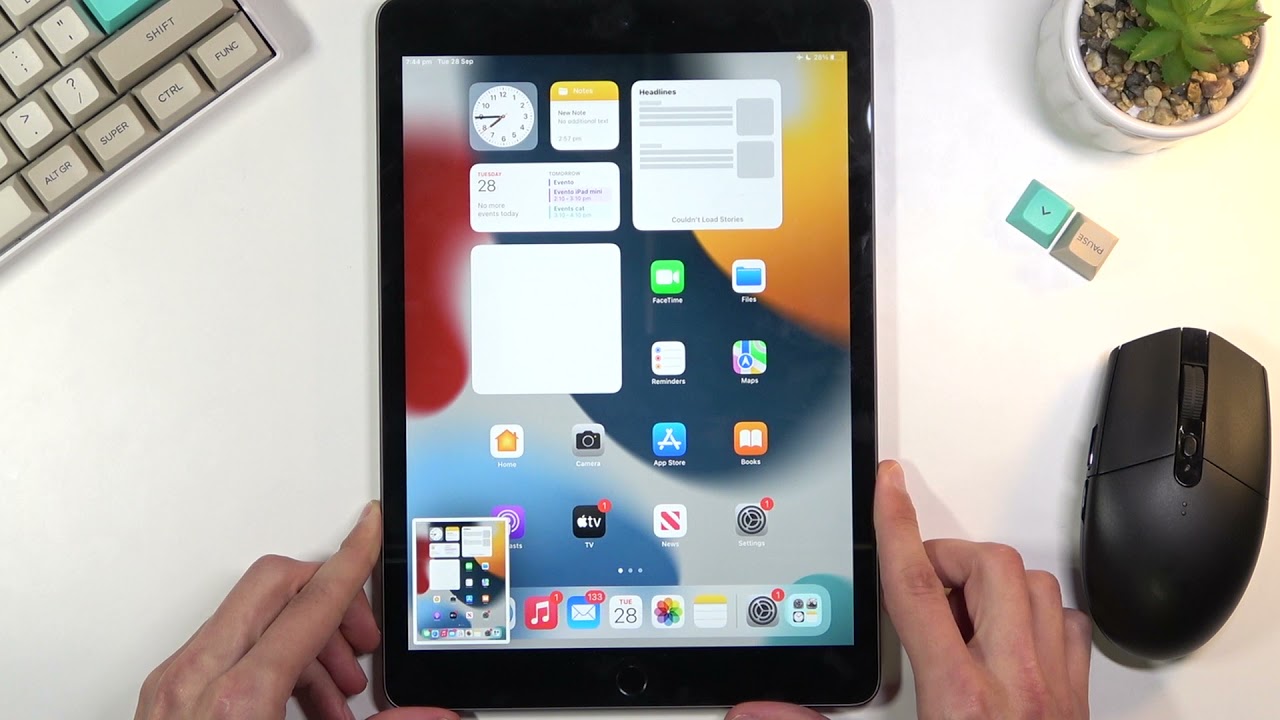
Method 1: Using the Physical Buttons
The easiest and most common way to take a screenshot on a Tablet Apple is by using the physical buttons on the device. Here’s how you can do it:
- Open the screen or app that you want to capture.
- Simultaneously press and hold the Power button located on the top or side of your Tablet Apple.
- While still holding the Power button, quickly press and release the Home button located on the front of your device.
- You’ll see a flash on the screen and hear a camera shutter sound indicating that the screenshot has been captured.
- The screenshot will be saved in your Photos app, and you can access it by going to the Photos app > Albums > Screenshots.
Method 2: Using AssistiveTouch
If your device has AssistiveTouch enabled, you can use it as an alternative method for taking screenshots. AssistiveTouch is a feature that creates a virtual button overlay on your screen. Follow these steps:
- Go to Settings > Accessibility > Touch > AssistiveTouch.
- Enable the AssistiveTouch toggle switch to activate the feature.
- A floating button will appear on your screen. Tap on it to open the AssistiveTouch menu.
- In the AssistiveTouch menu, tap on Device > More.
- From the options, select Screenshot.
- A flash and camera shutter sound will indicate that the screenshot has been captured.
The screenshot will be saved in the same location as mentioned in the previous method.
Method 3: Utilizing Apple Pencil
If you have an Apple Pencil, you can use it to capture screenshots on your Tablet Apple. This method is especially convenient for artists, designers, and note-takers who frequently use the Apple Pencil. Follow these steps:
- Open the screen or app you want to capture.
- Hold the Apple Pencil in your hand and place the tip on any part of the screen.
- With a gentle pressure, drag the Apple Pencil across the screen to select the area you want to capture.
- Release the pressure to capture the screenshot, and it will be saved in the same location as the other methods.
These are the three main methods for taking screenshots on your Tablet Apple. Experiment with each method and see which one works best for you.
Method 1: Using the Physical Buttons
The easiest and most common way to take a screenshot on a Tablet Apple is by using the physical buttons on the device. This method works on most Tablet Apple models and is quick and straightforward to use.
Here are the step-by-step instructions for capturing a screenshot using the physical buttons:
- Open the screen or app that you want to capture on your Tablet Apple.
- Simultaneously press and hold the Power button located on the top or side of your device.
- While still holding the Power button, quickly press and release the Home button located on the front of your Tablet Apple.
- You will see a flash on the screen, and you may also hear a camera shutter sound, indicating that the screenshot has been successfully captured.
- The screenshot will be saved in the Photos app on your Tablet Apple.
- To access the captured screenshot, go to the Photos app and navigate to the Albums tab.
- Scroll down until you find the Screenshots album, where your captured screenshot will be stored.
- Tap on the screenshot to view, edit, or share it as needed.
Using the physical buttons to capture a screenshot on your Tablet Apple is a simple and efficient method that can be used in various situations. Whether you want to capture a memorable moment, save important information, or share something with others, this method allows you to do so effortlessly.
Now that you know how to capture a screenshot using the physical buttons on your Tablet Apple, you can easily capture and save whatever is on your screen with just a few simple button presses.
Method 2: Using AssistiveTouch
If you prefer a more convenient and accessible way to take screenshots on your Tablet Apple, you can utilize the AssistiveTouch feature. AssistiveTouch creates a virtual button overlay on your screen, allowing you to perform various functions, including capturing screenshots.
Here’s how you can use AssistiveTouch to capture a screenshot on your Tablet Apple:
- Go to the Settings app on your Tablet Apple.
- Scroll down and tap on Accessibility.
- In the Accessibility menu, tap on Touch.
- Under the Touch menu, tap on AssistiveTouch.
- In the AssistiveTouch settings, toggle the switch to enable AssistiveTouch.
- A floating button will appear on your screen. You can tap and drag it to reposition it according to your preference.
- Tap on the AssistiveTouch button to open the AssistiveTouch menu. You will see a variety of options.
- In the AssistiveTouch menu, tap on Device.
- Then, tap on Screenshot.
- A flash will appear on the screen, indicating that the screenshot has been successfully captured.
Once you have captured the screenshot using AssistiveTouch, it will be saved in the same location as screenshots taken with the physical buttons.
The AssistiveTouch method is particularly useful if you have difficulty pressing the physical buttons on your Tablet Apple or prefer a more accessible way to capture screenshots. With AssistiveTouch, you can easily capture screenshots with just a few taps on the virtual overlay button.
Remember that you can always disable the AssistiveTouch feature by following the same steps mentioned above and toggling the AssistiveTouch switch to the off position.
Now that you know how to use AssistiveTouch to capture screenshots on your Tablet Apple, you can take advantage of this convenient feature whenever you need to capture and save important information or share something with others.
Method 3: Utilizing Apple Pencil
If you have an Apple Pencil, you can take advantage of its functionality to capture screenshots on your Tablet Apple. This method is especially useful for artists, designers, and note-takers who frequently use the Apple Pencil for various tasks on their Tablet Apple.
Here’s how you can utilize the Apple Pencil to capture screenshots on your Tablet Apple:
- Open the screen or app from which you want to capture a screenshot on your Tablet Apple.
- Hold the Apple Pencil in your hand.
- Place the tip of the Apple Pencil on any part of the screen that you want to capture.
- Using a gentle pressure, drag the Apple Pencil smoothly across the screen to select the desired area.
- Release the pressure on the Apple Pencil to capture the screenshot.
- The captured screenshot will be saved in the same location as screenshots captured with the physical buttons or AssistiveTouch.
Using the Apple Pencil to capture screenshots offers precise control and is especially beneficial for those who frequently annotate or draw on their Tablet Apple. With the Apple Pencil, you can select a specific area with precision, ensuring that you capture exactly what you need.
After capturing the screenshot, you can access it by going to the Photos app and navigating to the Screenshots album.
Remember to keep your Apple Pencil charged and connected to your Tablet Apple for this method to work effectively.
Now that you know how to utilize the Apple Pencil to capture screenshots on your Tablet Apple, you can easily capture and save important information or create artistic snapshots with ease.
Troubleshooting Tips for Screen Capture Issues
While capturing screenshots on your Tablet Apple is usually a smooth process, you may encounter some issues along the way. Here are some troubleshooting tips to help you overcome common screen capture issues:
Issue 1: Screen Not Capturing
If you press the physical buttons or use AssistiveTouch or Apple Pencil to capture a screenshot, but nothing happens, try the following solutions:
- Restart your Tablet Apple: Sometimes, a simple restart can resolve temporary software glitches that may be preventing the screen capture.
- Check if screenshot restrictions are enabled: Go to Settings > Screen Time > Content & Privacy Restrictions > Allowed Apps and make sure the Screenshot option is enabled.
- Update your device: Ensure that your Tablet Apple is running the latest version of iOS. Check for updates by going to Settings > General > Software Update.
Issue 2: Partially Captured Screenshots
If you notice that your screenshots are only capturing a portion of the screen, follow these potential solutions:
- Ensure you are pressing the correct buttons: Make sure you are pressing and releasing the Power button and Home button simultaneously when using the physical button method.
- Adjust your Apple Pencil pressure: When using the Apple Pencil, make sure to apply enough pressure and smoothly drag it across the screen to capture the desired area.
Issue 3: Screenshot Not Saving
If you are unable to find the captured screenshots in the Photos app, try these solutions:
- Check the Screenshots album: Open the Photos app and go to the Albums tab. Look for the Screenshots album, where your captured screenshots should be stored.
- Restart your device: Sometimes, a simple restart can refresh your device’s storage and ensure that the screenshots are properly saved.
- Verify your storage space: If your device has low storage space, it may have trouble saving screenshots. Consider deleting unnecessary files or apps to free up space.
If you continue to experience issues with capturing screenshots on your Tablet Apple after trying these troubleshooting tips, it may be helpful to reach out to Apple Support for further assistance.
By following these troubleshooting tips, you can overcome common screen capture issues and ensure that you are able to capture and save important information on your Tablet Apple.
Conclusion
Capturing screenshots on your Tablet Apple is a simple and useful feature that allows you to save and share important information, memorable moments, or create artistic snapshots. In this guide, we explored three common methods for taking screenshots on your Tablet Apple:
- Using the physical buttons: By simultaneously pressing and holding the Power button and quickly pressing the Home button, you can easily capture a screenshot.
- Utilizing AssistiveTouch: The virtual button overlay on your screen, along with the Screenshot option, provides a convenient alternative for capturing screenshots.
- Utilizing Apple Pencil: If you have an Apple Pencil, you can capture precise screenshots by placing its tip on the screen and smoothly dragging it across.
We also provided troubleshooting tips to help you overcome common issues you may encounter while capturing screenshots. By following these tips, you can ensure a smooth and successful screenshot capturing process.
Remember that the specific steps may vary slightly depending on your Tablet Apple model and the version of iOS you are using. However, the general principles and methods discussed in this guide should apply to most Tablet Apple devices.
Now that you have learned how to take screenshots on your Tablet Apple and troubleshoot common issues, you can easily capture and save important information, capture memorable moments, or express your creativity through digital snapshots. Whether you are a seasoned Tablet Apple user or new to the world of iOS devices, capturing screenshots will undoubtedly enhance your overall user experience.
Feel free to explore and experiment with the different methods discussed and choose the one that works best for you. With your newfound knowledge, you can confidently capture screenshots on your Tablet Apple and make the most out of this powerful feature.