Introduction
Welcome to the world of Android tablets! While they offer a multitude of features and functionalities, one common task that many users find themselves needing to do is taking a screenshot. Whether you want to capture a funny conversation, save an important image, or share a noteworthy moment from your favorite app, knowing how to take a screenshot on your Android tablet is a valuable skill.
Fortunately, there are a few different methods you can use to accomplish this task. In this guide, we will walk you through the various ways you can take a screenshot on your Android tablet, so you can choose the method that works best for you.
Before we dive into the different methods, it’s important to note that the specific steps may vary slightly depending on the make and model of your Android tablet. However, the basic principles and techniques we will discuss apply to most Android devices.
So, whether you own a Samsung Galaxy Tab, an Amazon Fire tablet, or any other Android tablet, grab your device and let’s get started on the journey to becoming a screenshot-taking pro!
Choose the Right Method for Taking a Screenshot on Your Android Tablet
When it comes to taking a screenshot on your Android tablet, you have a few options to choose from. The method you select will depend on your device’s specific features and your personal preferences. Let’s explore the different methods available:
- Using the Hardware Buttons: This is the most straightforward method and works on most Android tablets. To take a screenshot using the hardware buttons, simply press and hold the Power button and the Volume Down button simultaneously for a few seconds. You will usually see a visual notification or hear a sound indicating that the screenshot has been captured. This method is convenient because it doesn’t require any additional apps or settings adjustments.
- Using a Combination of the Power and Volume Down Buttons: Some Android tablets have a slight variation in the button combination required to take a screenshot. Instead of pressing the Power and Volume Down buttons simultaneously, you may need to press the Power and Home buttons at the same time. Refer to your device’s user manual or search online for the specific button combination for your tablet model.
- Using Third-Party Apps: If the hardware button methods don’t work for your tablet or if you prefer more advanced features, you can consider using third-party screenshot apps. These apps often offer additional customization options, such as capturing scrolling screenshots or annotating screenshots with text and drawings. Simply search for “screenshot app” in the Google Play Store, read reviews, and choose one that suits your needs.
Now that you know the different methods available, it’s time to put them into practice. Choose the method that aligns with your device’s specifications and your personal preferences, and follow the specific steps for that method. Don’t worry if you can’t get it right on the first try – it may take a bit of practice to become comfortable with the process. Remember, taking screenshots on your Android tablet is a useful skill that can come in handy in a variety of situations, so it’s worth the effort to master.
Method 1: Using the Hardware Buttons
One of the most common and straightforward ways to take a screenshot on your Android tablet is by using the hardware buttons. This method works on most Android devices and doesn’t require any additional apps or settings adjustments. Here’s how you can do it:
- Locate the Power button and the Volume Down button on your tablet. These buttons are usually positioned on the side or along the edge of the device.
- Open the screen or app that you want to capture in the screenshot.
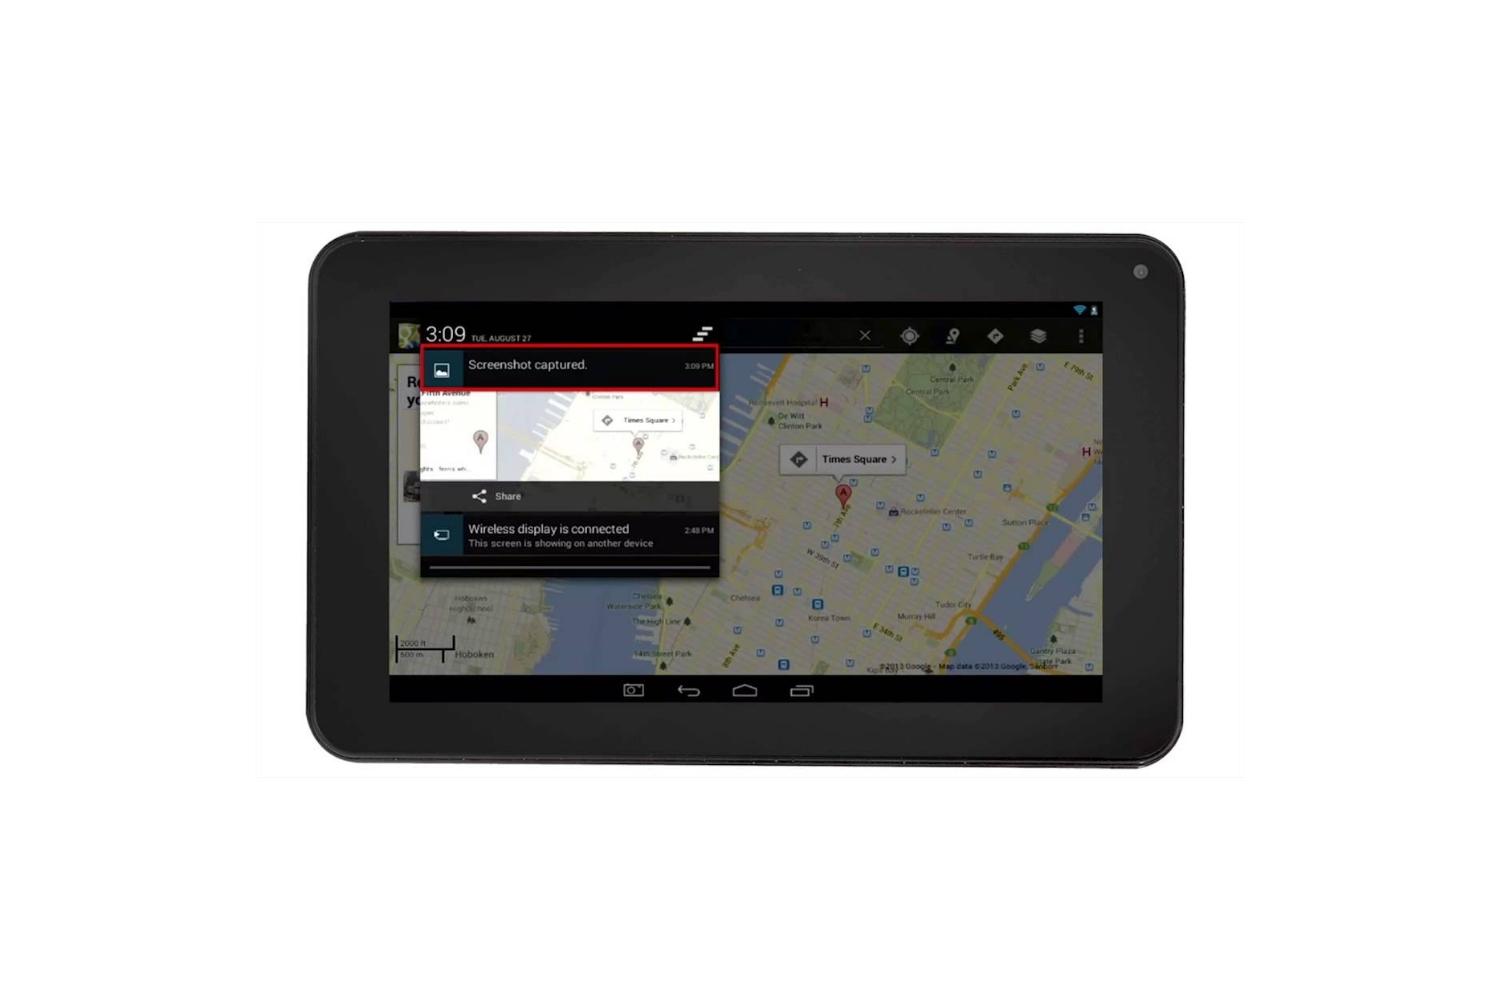
- Press and hold the Power button and the Volume Down button simultaneously for a few seconds. Be sure to press and hold both buttons at the same time, and continue holding them until you see a visual notification or hear a sound indicating that the screenshot has been captured.
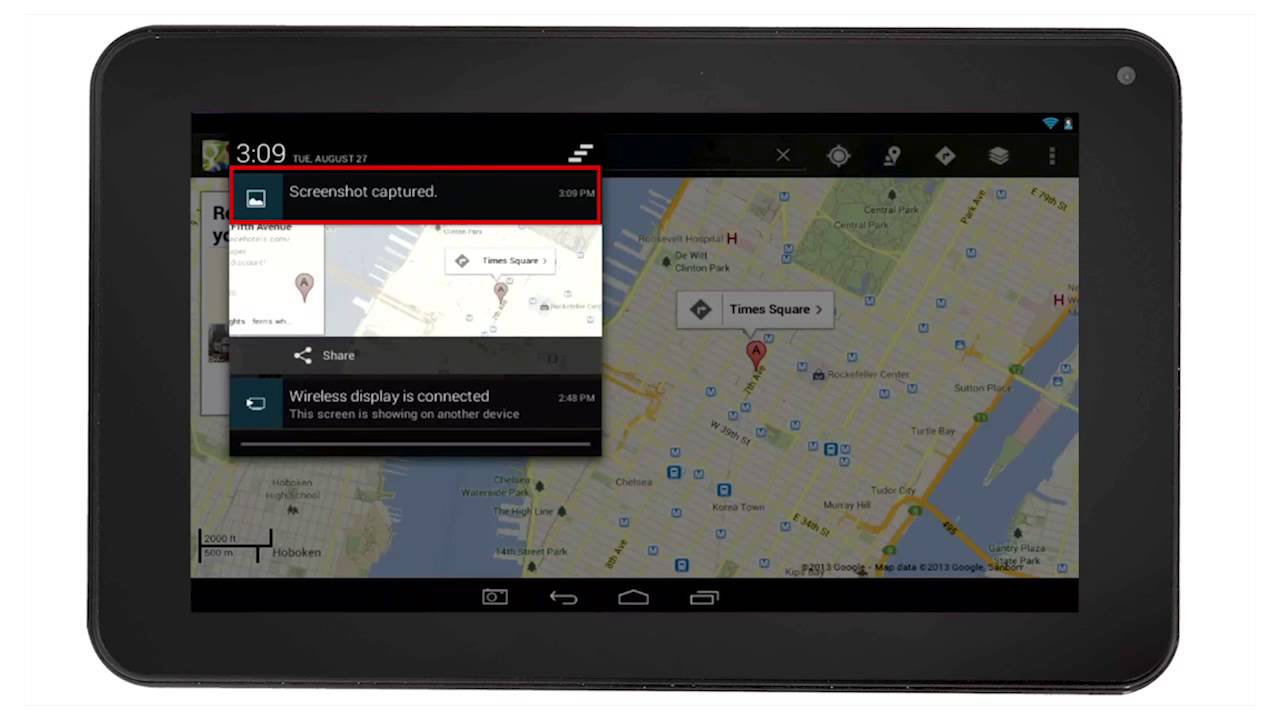
- Once the screenshot is taken, you can find it in the Notifications panel or the Gallery app, depending on your device’s settings. From there, you can view, edit, or share the screenshot as needed.
This method is straightforward and convenient, as it allows you to capture a screenshot with just a few button presses. It’s a great option to quickly capture something on your Android tablet without any hassle.
If, for some reason, this method doesn’t work on your tablet, don’t worry. There are alternative methods available that you can try. Continue reading to explore another way to take a screenshot on your Android tablet.
Method 2: Using a Combination of the Power and Volume Down Buttons
If the standard method of using the Power and Volume Down buttons to take a screenshot doesn’t work on your Android tablet, you may need to try an alternative button combination. Some tablets have a slightly different configuration, requiring you to press the Power and Home buttons simultaneously. Here’s how you can take a screenshot using this method:
- Locate the Power button and the Home button on your tablet. The Power button is usually located on the side or top of the device, while the Home button is typically located at the bottom center of the screen.
- Open the screen or app that you want to capture in the screenshot.
- Press and hold the Power button and the Home button simultaneously for a few seconds. Be sure to press and hold both buttons at the same time, and continue holding them until you see a visual notification or hear a sound indicating that the screenshot has been captured.
- Once the screenshot is taken, you can find it in the Notifications panel or the Gallery app, depending on your device’s settings. From there, you can view, edit, or share the screenshot as needed.
It’s important to note that not all Android tablets require the Power and Home button combination. Some may still use the Power and Volume Down buttons, while others may have a different button configuration altogether. Refer to your tablet’s user manual or search online for the specific button combination required for your device.
If both the method using the Power and Volume Down buttons and the combination of the Power and Home buttons don’t work on your tablet, don’t worry. There’s still one more method you can try, which involves using third-party apps. Continue reading to explore this alternative method.
Method 3: Using Third-Party Apps
If the hardware button methods for taking screenshots on your Android tablet don’t work or you want more advanced features, you can turn to third-party apps. These apps provide additional options and customization settings to enhance your screenshot-taking experience. Here’s how you can use third-party apps to capture screenshots on your tablet:
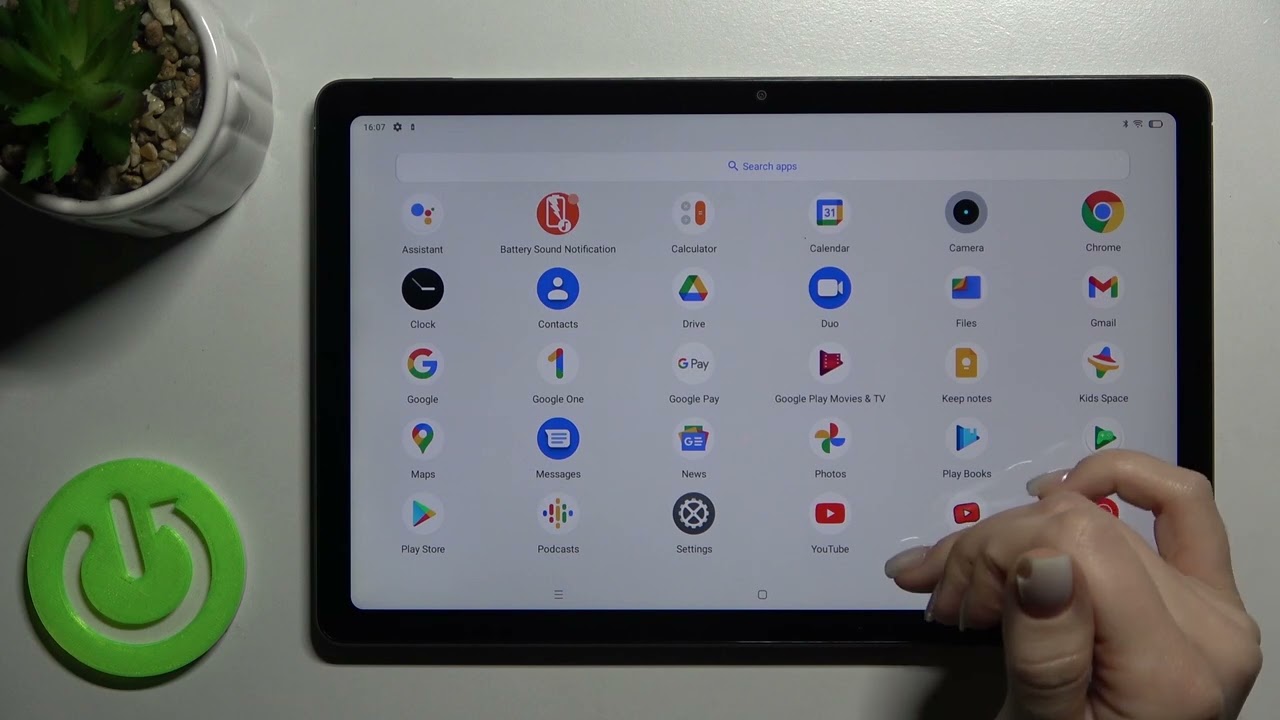
- Open the Google Play Store on your Android tablet.
- Search for “screenshot app” in the search bar. You will find a variety of apps that specialize in capturing screenshots.
- Select a screenshot app from the search results that meets your requirements and has positive reviews from other users. You can read the app descriptions, check out the screenshots, and read user reviews to make an informed decision.
- Once you have chosen an app, tap the “Install” button to download and install it on your tablet.
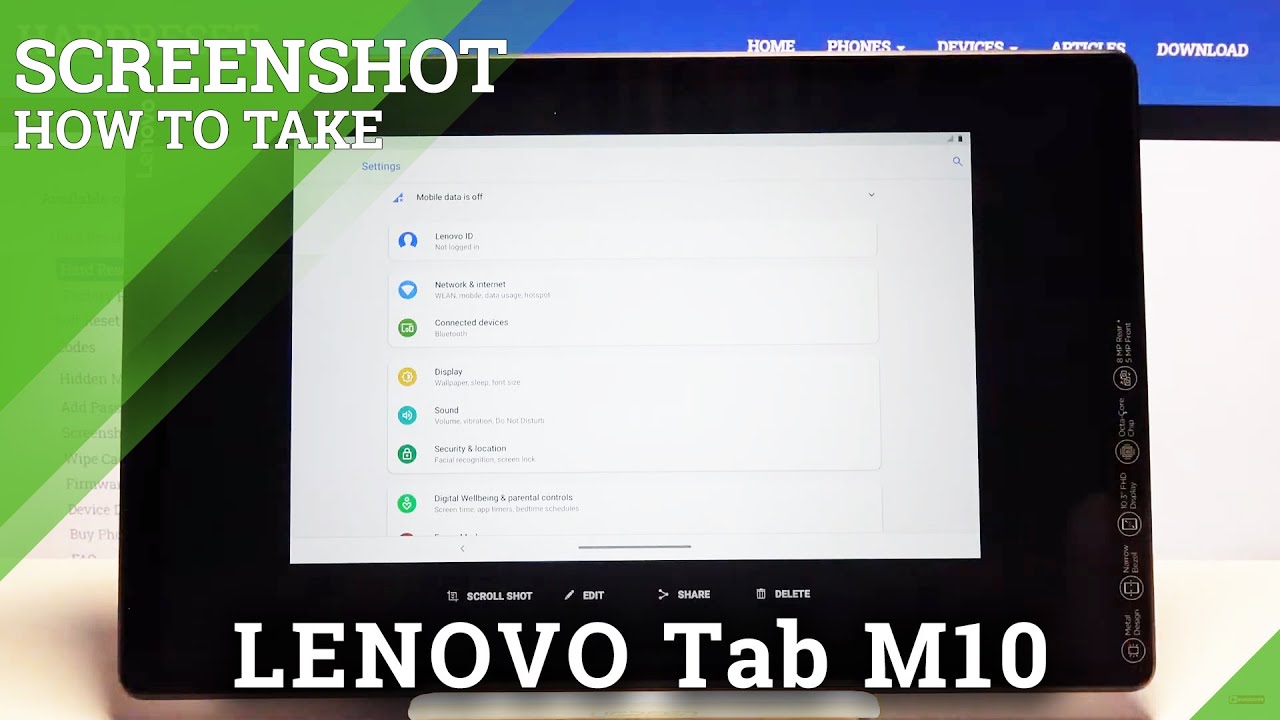
- Follow the app’s instructions for taking screenshots. Typically, these apps offer a floating button or a quick access icon that you can use to capture screenshots. Some apps may also provide additional features like capturing scrolling screenshots, annotating the screenshots with text or drawings, or automatically saving the screenshots to a specific folder.
- After taking a screenshot using the third-party app, you can usually find the captured screenshots within the app itself or in the Gallery app on your tablet.
Using third-party apps allows you to have more control over your screenshot-taking experience. You can explore different apps, experiment with various features, and find the one that best suits your needs. Additionally, these apps often provide additional functionality beyond the standard screenshot-taking capabilities, making them a versatile tool for capturing and editing screenshots on your Android tablet.
Remember to check the app’s compatibility with your specific tablet model and read the permissions it requires before installing it. Always download apps from trusted sources to ensure the safety and security of your device.
Now that you’re aware of the different methods available for taking screenshots on your Android tablet, you can choose the one that best fits your tablet’s specifications and your personal preferences. Take some time to practice and get comfortable with the method you’ve selected. Soon enough, you’ll be capturing screenshots effortlessly and sharing your favorite moments, images, and conversations with others.
Conclusion
Learning how to take a screenshot on your Android tablet is a valuable skill that can come in handy in a variety of situations. Whether you want to capture funny conversations, save important images, or share noteworthy moments from your favorite apps, knowing the different methods available can make the process quick and effortless.
In this guide, we explored three methods for taking screenshots on your Android tablet. The first method involved using the hardware buttons, such as the Power and Volume Down buttons, to capture screenshots. This method is straightforward and works on most Android devices.
If the hardware button method didn’t work on your tablet, we discussed a second method using a combination of the Power and Home buttons. Some tablets may have a slightly different button configuration, requiring you to press the Power and Home buttons simultaneously.
For those who desire more advanced features and customization options, we explored the third method using third-party apps. These apps allow you to capture screenshots with additional functionality, such as scrolling screenshots, annotation tools, and automatic saving options.
Remember, the specific steps may vary slightly depending on your tablet model. It’s always a good idea to refer to your tablet’s user manual or search online for the exact button combinations and instructions tailored to your device.
Now that you’re equipped with the knowledge of how to take screenshots on your Android tablet, don’t hesitate to capture and share your favorite moments, important information, or amusing conversations with others. Whether you’re a casual user or a power user, mastering the art of screenshot-taking will undoubtedly enhance your Android tablet experience.