Introduction
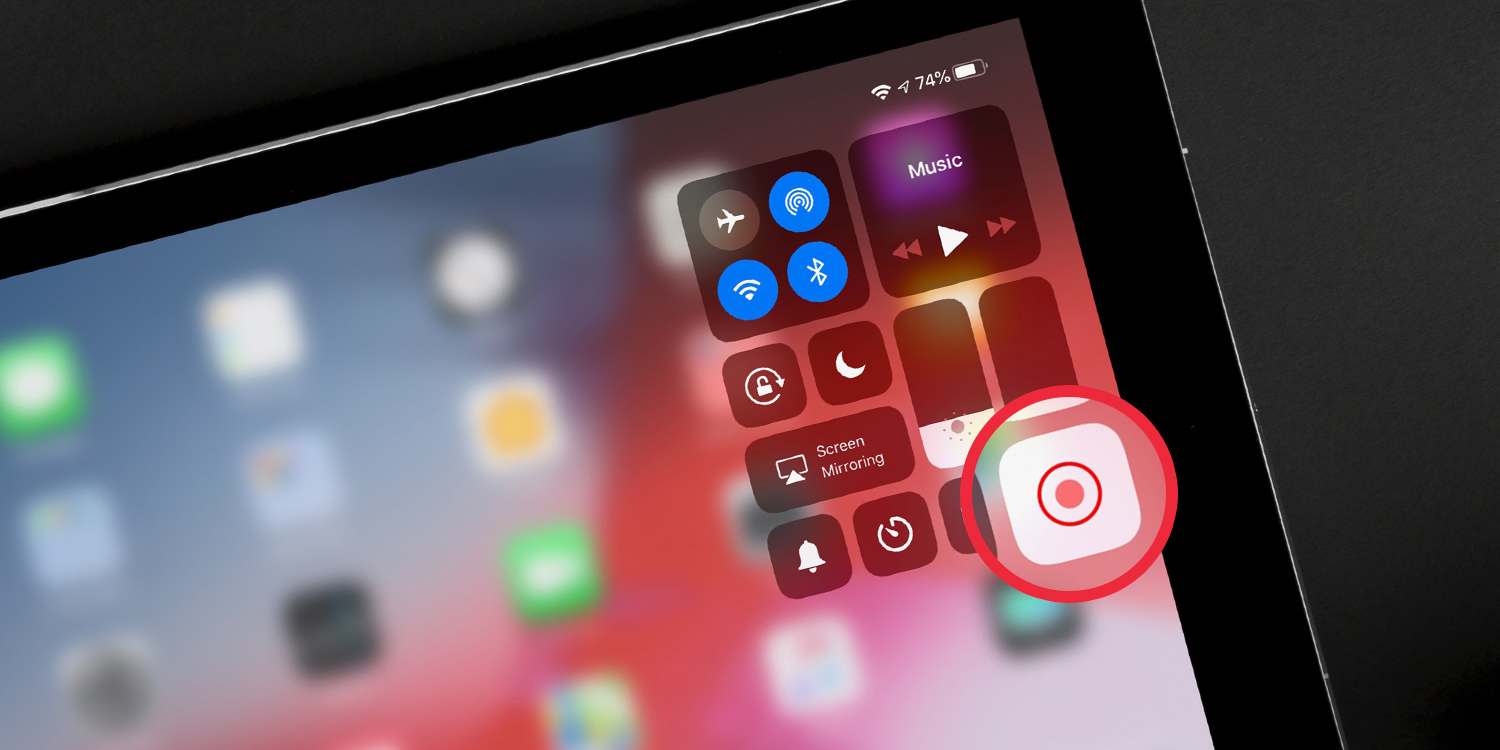
Welcome to the world of tablet recording! With the advancements in technology, tablets have become powerful tools not just for browsing the web or playing games, but also for creating multimedia content. Whether you want to record a tutorial, capture a special moment, or create engaging videos for your social media channels, your tablet can be a versatile recording device.
In this article, we will guide you through the process of recording on a tablet. We will cover everything from choosing the right recording app to adjusting settings, positioning your tablet for an optimal setup, testing the microphone, setting up video recording, and tips for achieving high-quality recordings. Additionally, we’ll touch on how to edit and enhance your recordings to take them to the next level.
Recording on a tablet offers several advantages. First, tablets are portable and lightweight, making them easy to carry around and use in different locations. Second, they often have built-in cameras and microphones that are capable of capturing decent quality audio and video. Third, tablets typically have user-friendly interfaces and various apps available that simplify the recording process, making it accessible to users of all skill levels.
Whether you are a content creator, an educator, or simply someone looking to document precious moments, learning how to record on your tablet can open up a world of possibilities. So, let’s dive in and explore the steps involved in tablet recording, and unleash your creativity!
Choosing the Right App for Recording
When it comes to recording on your tablet, selecting the right app is crucial. The app you choose will determine the features, quality, and versatility of your recordings. Here are some factors to consider when choosing a recording app for your tablet:
- Compatibility: Ensure that the app you choose is compatible with your tablet’s operating system. Check the app’s requirements to make sure it will work seamlessly with your device.
- Features: Look for apps that offer the features you need for your recording purposes. Consider whether you require options like screen recording, multiple camera angles, audio effects, or the ability to edit and enhance your recordings within the app.
- User-Friendly Interface: Opt for an app with an intuitive and user-friendly interface. This will make the recording process smoother and more enjoyable, especially if you are a beginner.
- Reviews and Ratings: Take the time to read reviews and check the ratings of different recording apps. Look for apps that have positive feedback from users and high ratings, as this indicates a reliable and well-regarded app.
- Trial Versions: If possible, try out free trial versions of apps before making a purchase or committing to a subscription. This will allow you to test the app’s functionality and determine if it meets your requirements.
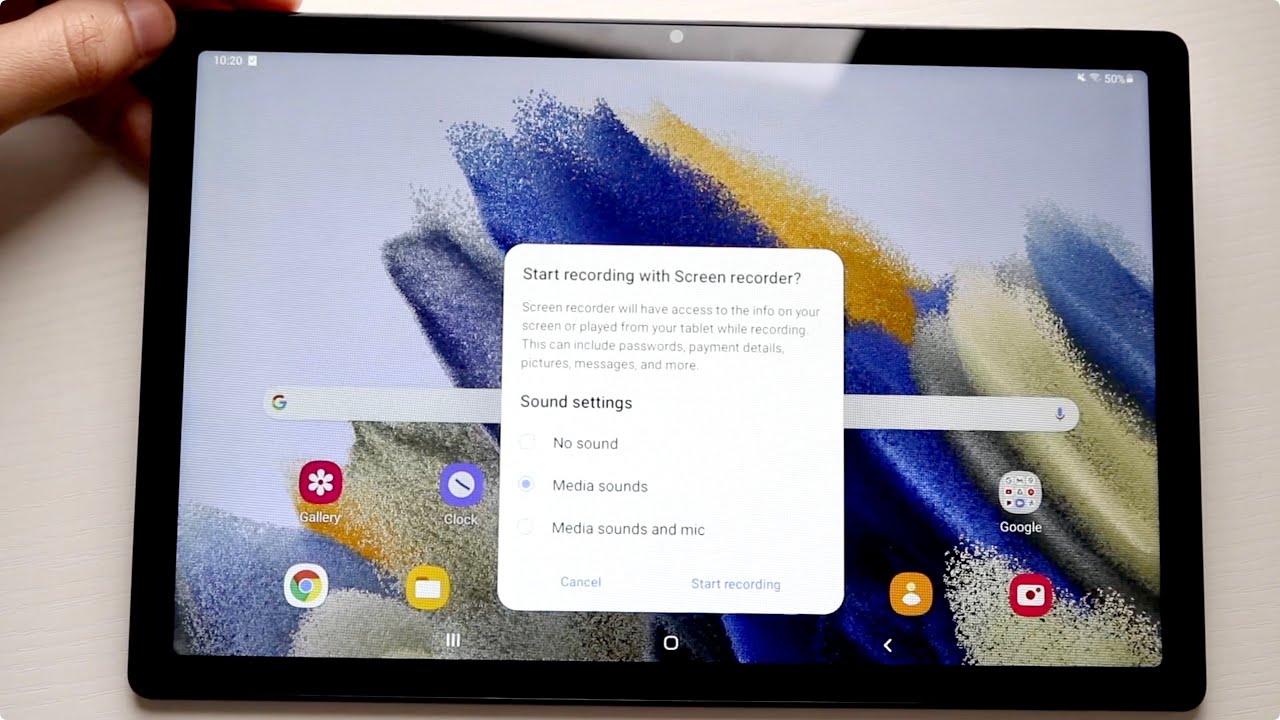
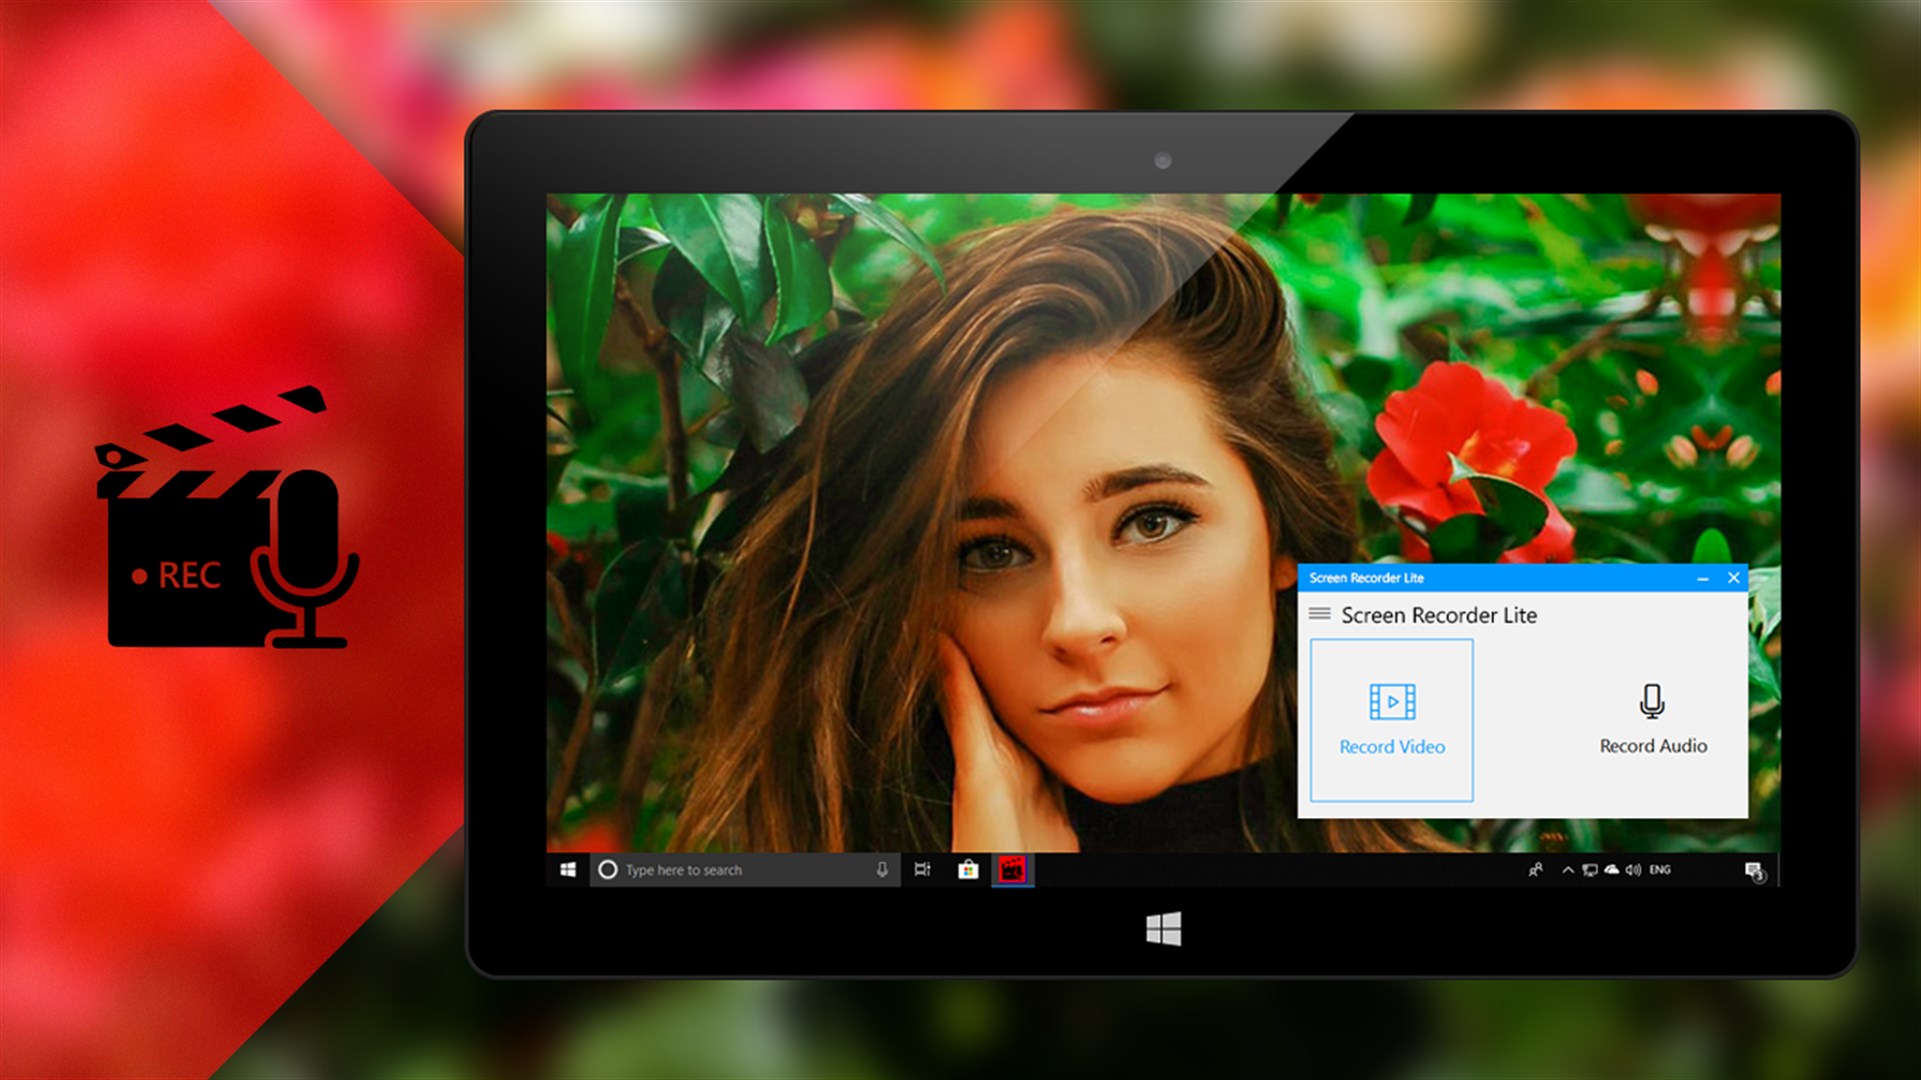
There are several popular recording apps available for tablets, such as “AZ Screen Recorder,” “DU Recorder,” and “Camtasia.” These apps offer a range of features and capabilities, including screen recording, video editing options, and the ability to add overlays and annotations to your recordings.
Remember that the app you choose will largely depend on your specific needs and preferences. Take your time to research and experiment with different apps to find the one that best suits your recording goals. With the right app, you’ll have the tools necessary to capture and create incredible content on your tablet.
Adjusting Recording Settings
Once you have chosen the recording app that suits your needs, it’s time to adjust the settings for optimal recording. This step is essential to ensure that your audio and video quality are at their best. Here are some important settings to consider when adjusting your recording settings on a tablet:
- Resolution: Choose the appropriate resolution for your recording. Higher resolutions result in higher-quality videos but may also require more storage space. Consider your desired output and the capabilities of your tablet before selecting a resolution.
- Frame Rate: Determine the frame rate at which you want to record. The standard frame rate for videos is 30 frames per second (fps), but you may also have the option to record at 60 fps for smoother motion.
- Audio Quality: Check the audio settings and ensure that the microphone sensitivity is adjusted correctly. You can also experiment with different audio formats such as WAV or MP3, depending on the options available in your recording app.
- File Format: Choose the appropriate file format for your recordings. Common formats include MP4, AVI, or MOV. Consider the compatibility of the file format with your editing software or platforms where you intend to share your recordings.
- Storage Space: Keep an eye on the storage space available on your tablet, particularly if you plan to record lengthy videos. Clear unnecessary files or consider using external storage options if your device supports it.
It’s important to note that the settings and options available may vary depending on the recording app you are using. Refer to the app’s documentation or settings menu for specific instructions on adjusting these settings.
Once you have customized your recording settings, it’s a good idea to do a test recording to ensure everything is working as expected. Review the audio and video quality to make any necessary adjustments before proceeding with your actual recording.
Taking the time to adjust the recording settings on your tablet will ensure that your recordings are of the highest quality and meet your specific requirements. Now that you have set the stage, you are ready to position your tablet for an optimal recording setup.
Positioning the Tablet for an Optimal Recording Setup
Once you have adjusted the recording settings on your tablet, it’s important to consider how you position the tablet for an optimal recording setup. The positioning of the tablet plays a significant role in capturing clear and steady footage. Here are some tips to help you position your tablet for the best recording experience:
- Stability: Find a stable surface to place your tablet on during recording. This could be a tripod, a table, or any other stable platform. Avoid holding the tablet in your hand as it can result in shaky footage.
- Angle: Position the tablet at an angle that best captures the subject you are recording. Experiment with different angles to find the most flattering and visually appealing perspective.
- Lighting: Consider the lighting conditions in your recording area. Natural lighting is often the best choice, so position yourself or your subject in a well-lit area. Avoid harsh shadows or direct sunlight, as they can affect the quality of your recording.
- Background: Pay attention to the background of your recording. Choose a background that is visually appealing and relevant to the content you are recording. Ensure there are no distractions or clutter that may divert the viewer’s attention.
- Distance: Determine the optimal distance between the tablet and the subject you are recording. The distance will depend on factors such as the size of the subject and the desired framing. Experiment with different distances to find the perfect balance.
Consider using additional equipment to enhance your tablet’s recording capabilities. External microphones can help improve audio quality, while external lights or light diffusers can enhance the lighting conditions for better visual results.
Keep in mind that the positioning of your tablet will vary depending on the type of recording you are doing. For example, if you are recording a tutorial, you may want to position your tablet directly above your workspace for an overhead view. If you are recording a vlog or a personal video, position the tablet at eye level or at a slight angle for a natural perspective.
By paying attention to stability, angles, lighting, background, and distance, you can ensure that your tablet is optimally positioned for your recording needs. With the tablet in place, it’s time to test the microphone and audio levels to ensure clear and crisp sound in your recordings.
Testing the Microphone and Audio Levels
When recording on your tablet, audio quality is just as important as video quality. Testing the microphone and adjusting the audio levels is crucial to ensure clear and crisp sound in your recordings. Here are some steps to help you test the microphone and set the audio levels on your tablet:
- Environment: Choose a quiet environment for testing the microphone. Avoid places with background noise or echoes that can affect the audio quality.
- Microphone Settings: Open the recording app on your tablet and navigate to the microphone settings. Ensure that the microphone is selected as the audio input device.
- Microphone Placement: Position yourself or the subject you are recording at a reasonable distance from the tablet’s microphone. Avoid covering the microphone with your hand or obstructing its path with clothing or other objects.
- Audio Check: Record a short sample audio clip to test the microphone’s sensitivity and capture any ambient sounds. Speak clearly and at a suitable volume to assess the audio levels.
- Adjusting the Levels: Use the audio settings in your recording app to adjust the audio levels. Avoid setting the levels too high, as it can result in distortion, or too low, risking inaudible recordings. Aim for a balanced and natural sound.
- Test Playback: After adjusting the audio levels, play back the recorded clip to assess the sound quality. Pay attention to clarity, volume, and any background noises or distortions. Make additional adjustments if necessary.
If you find that the tablet’s built-in microphone does not meet your requirements, consider using an external microphone. There are numerous options available, including lavalier microphones for voice recordings, shotgun microphones for outdoor shooting, and USB microphones for studio-like audio quality.
Remember to monitor the audio levels during your actual recording. Keep an eye on the audio meter in your recording app to ensure that the audio stays within acceptable levels. Adjust the distance between the microphone and the subject or use a pop filter if you experience audio distortion or unnatural sounds.
By testing the microphone and adjusting the audio levels, you can ensure that the sound quality in your tablet recordings is top-notch. With both the video and audio aspects in check, it’s time to move on to setting up a video recording on your tablet.
Setting Up a Video Recording on Your Tablet
Now that you have adjusted the microphone and audio levels, it’s time to set up a video recording on your tablet. Whether you’re capturing a tutorial, documenting an event, or recording a vlog, here are the steps to follow:
- Orientation: Decide on the orientation of your video – landscape or portrait. Landscape mode is typically preferred for most recordings as it provides a wider frame and better compatibility across different platforms.
- Aspect Ratio: Select the appropriate aspect ratio for your video. The standard aspect ratio is 16:9, but depending on your project’s requirements, you may choose a different ratio, such as 4:3 for certain types of media.
- Framing: Position yourself or the subject within the frame of the tablet’s screen. Use the guidelines provided by the recording app to ensure proper framing, while leaving a bit of space around the edges.
- Focus and Exposure: Tap on the screen to set the focus and exposure of the video. Some apps also offer manual controls for customization. Adjust the focus and exposure to ensure a clear and well-lit image.
- Steadiness: Ensure that the tablet is stable during the recording to avoid shaky footage. Use a tripod or a stable surface to keep the tablet steady. Alternatively, you can use a gimbal or handheld stabilizer to maintain smooth motion while moving.
- Recording Controls: Familiarize yourself with the recording controls in your app. Some apps provide options for starting and stopping the recording, pausing, or adding markers. Explore these options to make the recording process more efficient.
- Duration: Determine the desired duration of your video recording. If your app allows, set a timer or schedule to automatically stop recording after a certain amount of time to avoid running out of storage or prolonging the recording unnecessarily.
Additionally, consider using the gridlines provided by the app to help you with composition and alignment. These gridlines can be useful in positioning objects or people within the frame.
Once you have set up your video recording, take a moment to double-check the settings, framing, and stability of the tablet. Then, press the record button and start capturing your desired content.
Remember to periodically check the recording to ensure everything is working as expected. Monitor the battery level of your tablet and the available storage space to prevent interruptions during longer recordings.
With the video recording set up on your tablet, it’s time to explore some tips for achieving high-quality recordings that will truly captivate your audience.
Tips for a High-Quality Recording
Capturing high-quality recordings on your tablet is essential to engage your audience and deliver professional-looking content. Here are some tips to help you achieve outstanding results:
- Lighting: Find well-lit areas to ensure clear and vibrant videos. If natural light is limited, consider using external or adjustable LED lights to enhance the lighting conditions.
- Composition: Pay attention to the composition of your shots. Use the rule of thirds, leading lines, and interesting angles to create visually appealing and dynamic footage.
- Audio: Good audio is just as important as video. Consider using external microphones for better sound quality, especially in environments with background noise or echoes.
- Stabilization: Keep your tablet steady during recording to avoid jerky or shaky footage. Use a tripod, stabilizer, or hold the tablet with both hands to maintain stability.
- Panning and Movement: When capturing movement, pan the camera smoothly and avoid sudden or jerky motions. Gradual and controlled movements will result in more professional-looking footage.
- Background Noise: Minimize background noise as much as possible. Choose a quiet location for recording and use a windscreen or pop filter to reduce unwanted noise from the wind or breaths.
- Visuals: Experiment with visual effects and features offered by your recording app, such as filters, overlays, and text. However, use these effects sparingly to maintain a visually appealing and cohesive look.
- Camera Settings: Explore the settings options in your recording app to adjust parameters such as white balance, exposure, and focus. Customizing these settings can fine-tune the visual quality of your recordings.
- Engage with the Camera: If you’re recording yourself, make direct eye contact with the camera to create a more engaging connection with your audience.
- Practice and Experiment: Take the time to practice and experiment with different techniques, angles, and styles. Find what works best for your content and develop your unique recording style.
Remember to review and analyze your recordings to identify areas for improvement. Continuously learning and refining your recording skills will help you produce high-quality videos that make a lasting impact.
By implementing these tips, you’ll be well on your way to creating polished and impressive recordings on your tablet. But the journey doesn’t end here – next, we’ll delve into the post-recording stage and explore how to edit and enhance your recordings to make them even more professional-looking and engaging.
Editing and Enhancing Your Recording
Editing and enhancing your recordings is a crucial step to elevate the quality and impact of your videos. With the right editing techniques, you can refine your footage, add visual effects, and create a polished final product. Here are some tips to help you edit and enhance your recordings on your tablet:
- Trimming and Cutting: Start by removing any unnecessary footage at the beginning or end of your recording. Trim out any mistakes, pauses, or irrelevant content to create a more concise and engaging video.
- Transitions: Use transitions to smoothen the flow between different clips or scenes. Experiment with various transition effects such as fade, dissolve, or slide to add a professional touch to your video.
- Adding Music and Sound Effects: Enhance the mood and atmosphere of your video by adding background music and sound effects. Choose music that complements the content and use sound effects to accentuate specific moments.
- Titles and Captions: Include titles, captions, or subtitles to provide context, highlight important information, or add visual interest. Use different font styles, colors, and effects to make them visually appealing and easy to read.
- Color Correction: Adjust the colors and tones of your footage to enhance the visual aesthetics. Use color correction tools to correct any white balance issues, enhance contrast, and make your video more visually appealing.
- Adding Filters and Effects: Apply filters, effects, or overlays to enhance the overall look and feel of your video. Experiment with various options offered by your editing app to create a desired style or atmosphere.
- Transitions: Use transitions to smoothen the flow between different clips or scenes. Experiment with various transition effects such as fade, dissolve, or slide to add a professional touch to your video.
- Annotations and Callouts: Add annotations or callouts to draw attention to specific elements in your video. Use these tools to highlight important features, provide explanations or make your content more engaging.
- Export and Sharing: Once you are satisfied with your edits, export your video in a suitable format and resolution. Depending on your requirements, you can save it to your tablet, upload it to a video hosting platform, or share it directly on social media.
There are various video editing apps available for tablets, such as Adobe Premiere Rush, iMovie, or PowerDirector. These apps offer a range of tools and features to help you edit and enhance your recordings efficiently.
Remember, practice makes perfect. Don’t be afraid to experiment with different editing techniques, styles, and effects to find your unique editing style. Continuously refine your skills and learn new editing techniques to make your videos more compelling and professional.
Now that you have learned how to edit and enhance your recordings on your tablet, it’s time to wrap up our guide. With the right app, recording techniques, and editing skills, you can unleash your creativity and create remarkable content that stands out from the crowd. Happy recording and editing!
Conclusion
Recording on a tablet offers a convenient and accessible way to capture high-quality videos with ease. By following the steps outlined in this guide, you can make the most of your tablet’s capabilities and create engaging content that leaves a lasting impression on your audience.
We began by highlighting the importance of choosing the right recording app for your tablet, ensuring compatibility, and considering the features that align with your recording needs. We then discussed the process of adjusting recording settings, including resolution, frame rate, audio quality, and file format, to optimize the quality of your recordings.
Proper positioning of the tablet is essential for obtaining optimal framing and stability in your recordings. We provided tips on finding stability, determining the right angles, utilizing proper lighting, and considering the background for a visually appealing setup.
Testing the microphone and adjusting audio levels are crucial steps to ensure clear and crisp sound in your recordings. We emphasized the importance of a quiet environment, microphone placement, audio check, and adjusting levels, as well as the option to use external microphones for enhanced audio quality.
Next, we discussed the process of setting up a video recording on your tablet, including considerations on orientation, aspect ratio, framing, focus, and exposure. We highlighted the need for stability during recording, and we advised using tripods or stabilizers to prevent shaky footage.
To enhance the quality and impact of your videos, we offered tips for editing and enhancing your recordings. These tips included trimming, adding music and sound effects, incorporating titles and captions, correcting colors, applying filters and effects, and adding annotations and callouts.
By following these guidelines and continuously refining your skills, you can create exceptional and captivating content using your tablet. Remember to always practice, experiment, and explore new techniques and features to keep improving your recording and editing abilities.
With the knowledge gained from this guide, you are now equipped to unlock the potential of your tablet and produce professional-quality recordings. So, grab your tablet, unleash your creativity, and start recording your next masterpiece.


