Introduction
Welcome to this comprehensive guide on how to record screen video on your Android tablet. Whether you need to create a tutorial, showcase an app or game, or simply capture a memorable moment on your device, screen recording can be an invaluable feature. With the right tools and settings, you can easily capture high-quality videos of your Android tablet’s screen and share them with others.
In this guide, we will walk you through the step-by-step process of recording screen video on your Android tablet. We will cover the preparation you need to do, the selection and installation of a screen recording app, adjusting the app’s settings for optimal recording, the process of recording your screen, editing the recorded video, and finally, saving and sharing your masterpiece.
Screen recording on an Android tablet can open up a world of possibilities. Whether you’re a content creator looking to share your expertise, a gamer who wants to showcase their skills, or someone who simply wants to capture and share memorable moments, this guide will equip you with the knowledge and tools you need to get started.
So, let’s dive in and explore the exciting world of screen recording on your Android tablet. Get ready to unleash your creativity and share your screen videos with the world!
Preparing Your Android Tablet
Before you start recording screen video on your Android tablet, there are a few steps you need to take to ensure a smooth and hassle-free experience:
- Update your tablet: Make sure that your Android tablet is running the latest version of the operating system. This will ensure that you have access to the latest features and improvements.
- Clear up space: Screen recording can consume a significant amount of storage, so it’s a good idea to free up some space on your tablet. Delete any unnecessary apps, files, or media to make room for your screen recordings.
- Charge your tablet: To avoid interruptions during the recording process, ensure that your tablet is fully charged or connected to a power source.
- Close unnecessary apps: Close any apps running in the background to free up system resources and reduce the chance of notifications or interruptions during your screen recording session.
- Enable Developer Options: On some Android devices, you may need to enable Developer Options to access certain screen recording features. To do this, go to Settings > About tablet and tap on the Build Number seven times. This will unlock Developer Options in the settings menu.
By following these simple steps, you will ensure that your Android tablet is ready for screen recording. Once you have completed these preparatory tasks, you can move on to the next section, where we will guide you through the process of choosing and installing a screen recording app on your tablet.
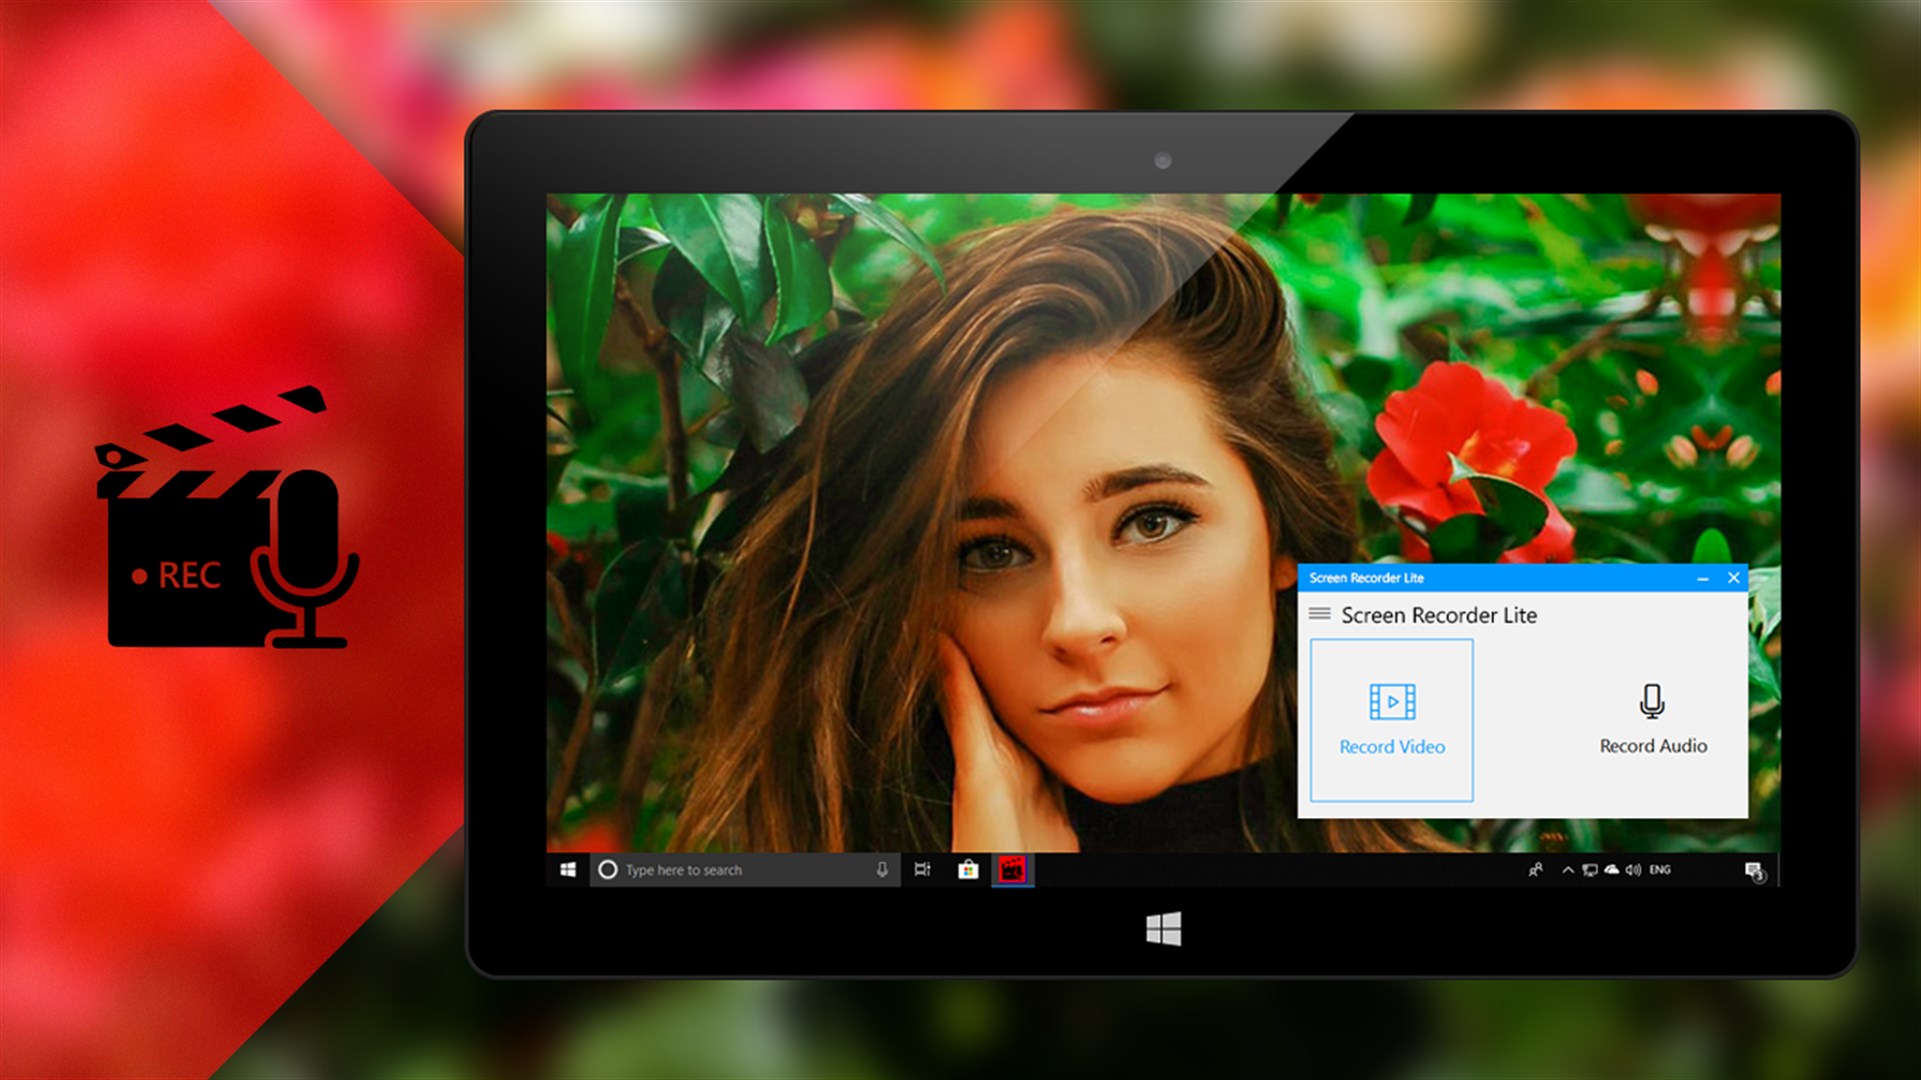
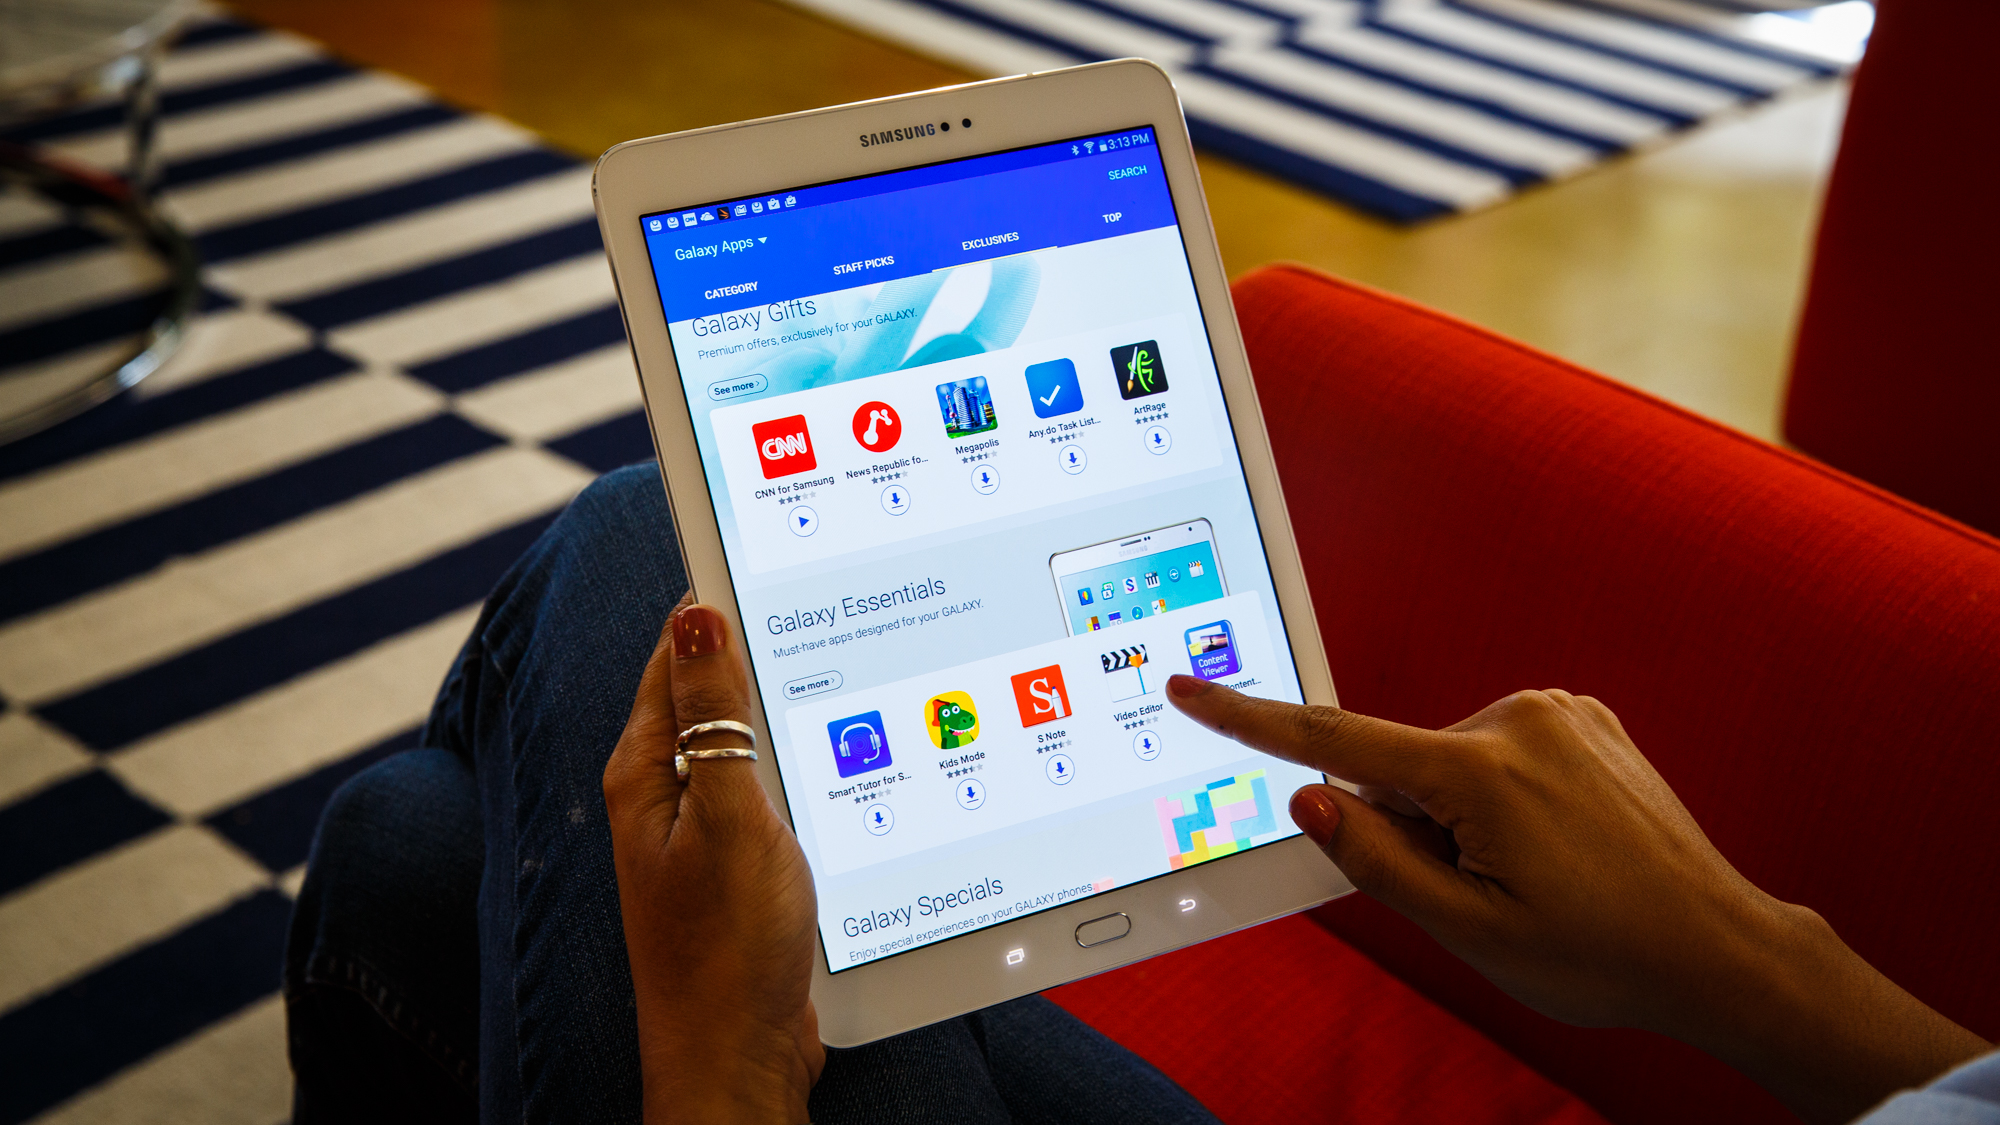
Choosing a Screen Recording App
When it comes to choosing a screen recording app for your Android tablet, there are several options available in the Google Play Store. Here are a few factors to consider when making your decision:
- Features: Look for a screen recording app that offers the features you need. Some apps may allow you to add audio commentary, capture touches on the screen, or even draw on the screen while recording.
- User Interface: Consider the usability and user interface of the app. Look for an app that is intuitive and easy to navigate, with clear instructions and settings.
- Reviews and Ratings: Check out the reviews and ratings of different screen recording apps to get an idea of other users’ experiences. Look for apps with positive feedback and high ratings.
- Compatibility: Ensure that the screen recording app is compatible with your specific Android tablet model and operating system version.
- Price: Some screen recording apps may offer free versions with limited features, while others may require a one-time purchase or a subscription. Consider your budget and choose an app that aligns with your needs.
Some popular screen recording apps for Android tablets include AZ Screen Recorder, Screen Recorder, and ADV Screen Recorder. These apps are highly rated and offer a range of features for capturing and editing screen videos.
Take your time to explore and compare different screen recording apps, considering the factors mentioned above. Once you have decided on the app that suits your requirements, proceed to the next section, where we will guide you through the installation process.
Installing the Screen Recording App
After choosing the ideal screen recording app for your Android tablet, it’s time to proceed with the installation process. Follow these steps to install the app:
- Go to the Google Play Store: Open the Google Play Store app on your Android tablet.
- Search for the app: Type the name of the screen recording app you selected in the search bar at the top of the screen.
- Select the app: From the search results, choose the screen recording app you want to install. Look for the app’s icon and name to ensure you select the correct one.
- Install the app: Tap on the “Install” button on the app’s page. Review the required permissions and then confirm the installation by tapping “Accept” or “Install.”
- Wait for the installation to complete: The app will begin downloading and installing on your Android tablet. The installation time may vary depending on your internet connection speed and the size of the app.
- Open the app: Once the installation is complete, tap on the “Open” button to launch the screen recording app.
By following these steps, you will successfully install the screen recording app on your Android tablet. Now that you have the app installed, it’s time to move on to the next section, where we will guide you through the process of launching the app and adjusting the settings for screen recording.
Launching the Screen Recording App
Now that you have installed the screen recording app on your Android tablet, it’s time to launch the app and familiarize yourself with its user interface. Follow these steps to get started:
- Locate the app: Go to your home screen or app drawer and look for the screen recording app’s icon. It is usually represented by a camera or video camera icon.
- Tap on the app icon: Once you locate the app, simply tap on its icon to launch it. The app will open and display its main screen or dashboard.
- Explore the app: Take a moment to explore the different options and settings available in the screen recording app. Familiarize yourself with the various features, such as the recording controls, settings menu, and editing tools.
- Review app instructions or tutorials: Some screen recording apps may provide instructions or tutorials to help you understand how to use their features effectively. Look for any guides or tutorials within the app and take advantage of them to learn more.
Once you have launched the screen recording app and familiarized yourself with its interface, you are now ready to adjust the settings for screen recording. In the next section, we will guide you through the process of customizing the app’s settings to ensure optimal screen recording on your Android tablet.
Adjusting Settings for Screen Recording
To ensure the best screen recording experience on your Android tablet, it’s important to adjust the settings of your chosen screen recording app. Follow these steps to customize the app’s settings:
- Open the app’s settings: Locate the settings menu within the screen recording app. It is usually accessible through an icon or a menu option on the app’s main screen.
- Video resolution: Choose the desired video resolution for your screen recordings. Higher resolutions will result in better video quality but may also require more storage space.
- Frame rate: Adjust the frame rate setting to determine the number of frames per second in your recordings. Higher frame rates will result in smoother playback, but it may also increase the file size.
- Audio source: Depending on the app, you may have options to record audio from the device’s internal microphone, external microphone, or both. Select the desired audio source according to your recording needs.
- Screen orientation: Some screen recording apps allow you to choose the screen orientation for your recordings. You can select either portrait or landscape mode based on your preference.
- Recording controls: Familiarize yourself with the recording controls provided by the app. Take note of the buttons or gestures to start, pause, and stop the screen recording process.
- Other settings: Explore any additional settings or options available in the app, such as video bitrate, file format, or storage location. Customize these settings based on your preferences.
By adjusting the settings of your screen recording app, you can tailor the recording experience to your specific needs and preferences. Experiment with different settings to find the optimal configuration for your Android tablet and desired recording outcome.
Now that you have customized the settings for screen recording, you are ready to move on to the next section, where we will guide you through the process of recording your screen video on your Android tablet.
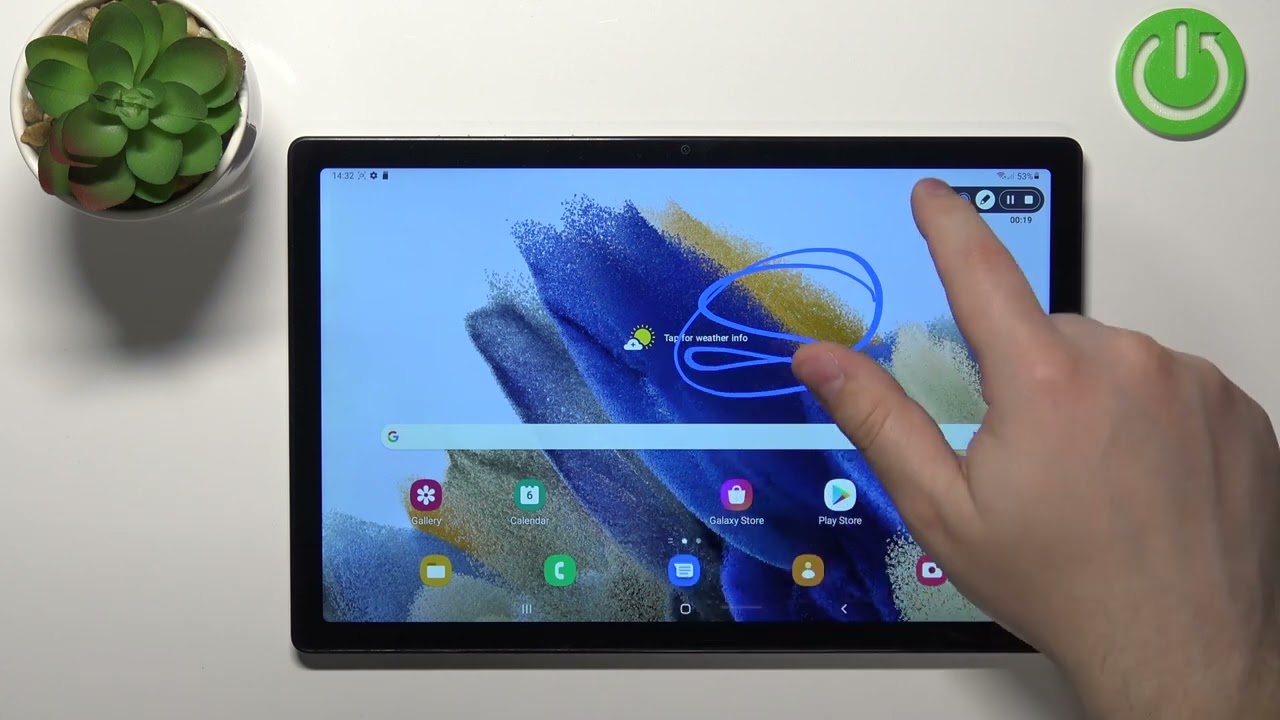
Recording Your Screen Video
Now that you have adjusted the settings of your screen recording app, it’s time to start recording your screen video on your Android tablet. Follow these steps to begin the recording process:
- Open the screen recording app: Launch the screen recording app on your Android tablet by tapping on its icon in your app drawer or home screen.
- Select the recording area: Choose the area of the screen you want to record. You can typically select the full screen or specific regions within the app or game you want to capture.
- Start the recording: Once you have selected the recording area, use the designated recording controls, such as a button or gesture, to start the screen recording process.
- Perform your actions: Perform the actions or demonstrate the content you want to capture in your screen video. Whether it’s showcasing an app, navigating through menus, or playing a game, make sure to record the desired content.
- Pause or stop the recording: Depending on the app, you may have the option to pause the recording if you need to take a break or make adjustments. When you are finished recording, use the appropriate controls to stop the recording.
During the recording process, it’s important to stay focused and ensure that you capture the desired content accurately. Avoid any interruptions or distractions that may adversely affect the quality of your screen video.
Once you have successfully recorded your screen video, you can move on to the next section where we will guide you through the process of editing your recorded video to enhance its quality and make any necessary modifications.
Editing Your Recorded Video
After you have finished recording your screen video on your Android tablet, you may want to make some edits to enhance its quality or add a personal touch. Follow these steps to edit your recorded video:
- Open the screen recording app: Launch the screen recording app on your Android tablet that you used to capture the video.
- Access the recorded video: Locate the recorded video within the app’s library or gallery. It may be displayed as the most recent recording or organized based on date and time.
- Select the video: Tap on the recorded video to select it for editing. This will open the video in the editing interface of the app.
- Trim and cut: If there are any unwanted parts at the beginning or end of the video, use the trimming feature to remove them. Drag the handles on the timeline to select the desired portion of the video.
- Add effects and filters: Some screen recording apps may offer options to enhance your video with effects, filters, or transitions. Explore the available editing tools and apply effects that suit your video’s style and content.
- Add annotations or text: To provide additional context or highlight specific areas of your video, consider adding annotations or text overlays. This can be helpful for tutorials, demonstrations, or commentary.
- Adjust audio: If your video has an audio track, you can adjust the volume or apply filters to enhance the sound quality. Ensure that the audio is synchronized with the visuals and adjust it accordingly.
Once you have finished editing your recorded video, review the changes and ensure that it meets your expectations. Pay attention to the timeline, transitions, and overall flow of the video. Once you are satisfied with the edits, you can move on to the next section where we will guide you through the process of saving and sharing your screen video.
Saving and Sharing Your Screen Video
After you have recorded and edited your screen video on your Android tablet, it’s time to save and share your creation with others. Follow these steps to save and share your screen video:
- Save the video: In the screen recording app, look for the save or export option. Tap on it to save the edited video to your Android tablet’s internal storage or an external storage device.
- Choose the video format and quality: Some screen recording apps may offer options to select the video format and quality for exporting. Choose the appropriate settings based on your intended use and the platform or device you plan to share the video on.
- Share the video: Once the video is saved, you can proceed to share it with others. Most Android tablets provide various sharing options, such as sharing through social media platforms, messaging apps, or file-sharing services.
- Upload to video hosting platforms: Consider uploading your screen video to popular video hosting platforms, such as YouTube or Vimeo. This allows you to reach a wider audience and provides a convenient way to share your video with others.
- Embed the video: If you have a website or blog, you can embed the video within your content. This allows visitors to view the video directly on your website without requiring them to visit an external platform.
- Share with a direct link: If you prefer, you can generate a direct link to the video and share it with specific individuals or groups. This gives you more control over who can access and view your screen video.
Before sharing your screen video, it’s a good practice to preview it one last time to ensure that everything looks and sounds as intended. Check for any potential issues such as blurry visuals, distorted audio, or skipped frames.
By following these steps, you can easily save and share your screen video with others, whether it’s for educational purposes, entertainment, or simply for capturing and sharing memorable moments on your Android tablet.
Conclusion
Screen recording on your Android tablet opens up a world of possibilities, allowing you to capture and share your screen activities with others. With the right screen recording app and proper settings, you can create high-quality videos of app demonstrations, tutorials, gaming sessions, or any other content you want to showcase.
In this guide, we discussed the steps involved in recording screen video on your Android tablet. We began by preparing the tablet, ensuring it is updated, has sufficient storage space, and is fully charged. We then explored the process of choosing and installing a screen recording app that suits your needs.
After installing the app, we covered the steps of launching it and adjusting the settings to optimize the screen recording experience. We also discussed the process of recording the screen video, providing tips on staying focused and avoiding interruptions.
Once the recording was complete, we delved into the editing process, exploring the various editing features available in screen recording apps. Trimming the video, adding effects and annotations, and adjusting the audio were some of the editing techniques we discussed.
Finally, we covered the essential steps of saving and sharing your screen video. Whether you choose to save it locally, share it through social media platforms, upload it to video hosting sites, or embed it on your website, you now have the tools and knowledge to showcase your screen recordings to the world.
Screen recording on your Android tablet is a powerful tool for content creators, educators, gamers, and anyone who wants to capture and share their screen activities. By following the steps outlined in this guide, you can unlock the potential of screen recording and convey your message effectively.
So, grab your Android tablet, follow the steps outlined in this guide, and let your creativity soar as you record and share engaging screen videos with others!