Introduction
Screen recording on a tablet is a valuable tool for capturing and sharing your device’s screen activity. Whether you want to create a tutorial, record a gameplay session, demonstrate an app, or showcase a presentation, screen recording allows you to capture every detail and share it with others. With the right screen recording app and a few simple steps, you can easily record your tablet’s screen and create professional-quality videos.
In this article, we will guide you through the process of screen recording on your tablet. We will cover everything from choosing the right screen recording app to editing and sharing your recordings. By the end of this article, you’ll be equipped with the knowledge you need to become a pro at screen recording on your tablet.
Before we dive into the details, it’s important to note that different tablets may have variations in their screen recording features and settings. However, the general process we’ll outline here should be applicable to most tablets running the Android operating system.
So, if you’re ready to start capturing your tablet’s screen activity, let’s get started with the first step: choosing the right screen recording app.
Choosing the Right Screen Recording App
When it comes to screen recording on your tablet, the first thing you need is a reliable screen recording app. There are several options available in the app stores, so it’s essential to choose one that meets your requirements and offers the features you need.
Here are a few factors to consider when selecting a screen recording app for your tablet:
- Compatibility: Ensure that the app is compatible with your tablet’s operating system. Most screen recording apps are designed for Android devices, but double-check to make sure it supports your specific tablet model.
- Ease of Use: Look for an app that has a user-friendly interface and straightforward navigation. You want the recording process to be intuitive and hassle-free.
- Features: Consider your specific recording needs and choose an app that offers the necessary features. Some common features to look for include the ability to record audio, adjust video quality, add annotations or captions, and edit recordings.
- Reviews and Ratings: Read user reviews and check the app’s ratings to gauge its reliability and performance. Pay attention to feedback regarding stability, recording quality, and customer support.
- Price: While there are free screen recording apps available, they may come with limitations or ads. If you require more advanced features or a commercial-quality recording, investing in a paid app could be worthwhile.
Some popular screen recording apps for tablets include AZ Screen Recorder, DU Recorder, and Mobizen Screen Recorder. Take the time to explore these options and compare their features before making a decision.
Remember, the right screen recording app can make a significant difference in the quality of your recordings and the overall user experience. Once you’ve chosen the app that suits your needs, the next step is to install it on your tablet, which we’ll cover in the next section.
Installing a Screen Recording App on Your Tablet
Now that you’ve chosen the screen recording app for your tablet, it’s time to install it and get ready to capture your screen. Here’s a step-by-step guide on how to install a screen recording app:
- Open the Google Play Store on your tablet. It’s usually pre-installed, so you can find it in your app drawer or on your home screen.
- Tap on the search bar at the top and enter the name of the screen recording app you want to install. Alternatively, you can browse through the “Video Players & Editors” or “Tools” categories to find screen recording apps.
- From the search results, select the screen recording app you have chosen.
- Tap on the “Install” button to start the installation process.
- Once the installation is complete, you can either open the app directly from the installation screen or find it in your app drawer or on your home screen.
It’s important to note that some screen recording apps may require certain permissions to function properly. When prompted, grant the necessary permissions to ensure the app can access your device’s screen and audio.
If you encounter any issues during the installation process, make sure your tablet is connected to a stable internet connection and has enough storage space available. You may also want to check for any system updates that need to be installed, as they can sometimes interfere with the app installation process.
Once you have successfully installed your chosen screen recording app, you’re ready to move on to the next step: setting up the app and configuring the recording settings, which we’ll explore in the following section.
Setting Up Your Screen Recording App
After installing the screen recording app on your tablet, it’s time to set it up and configure the necessary settings before you start recording. Here are the steps to set up your screen recording app:
- Open the screen recording app from your app drawer or home screen.
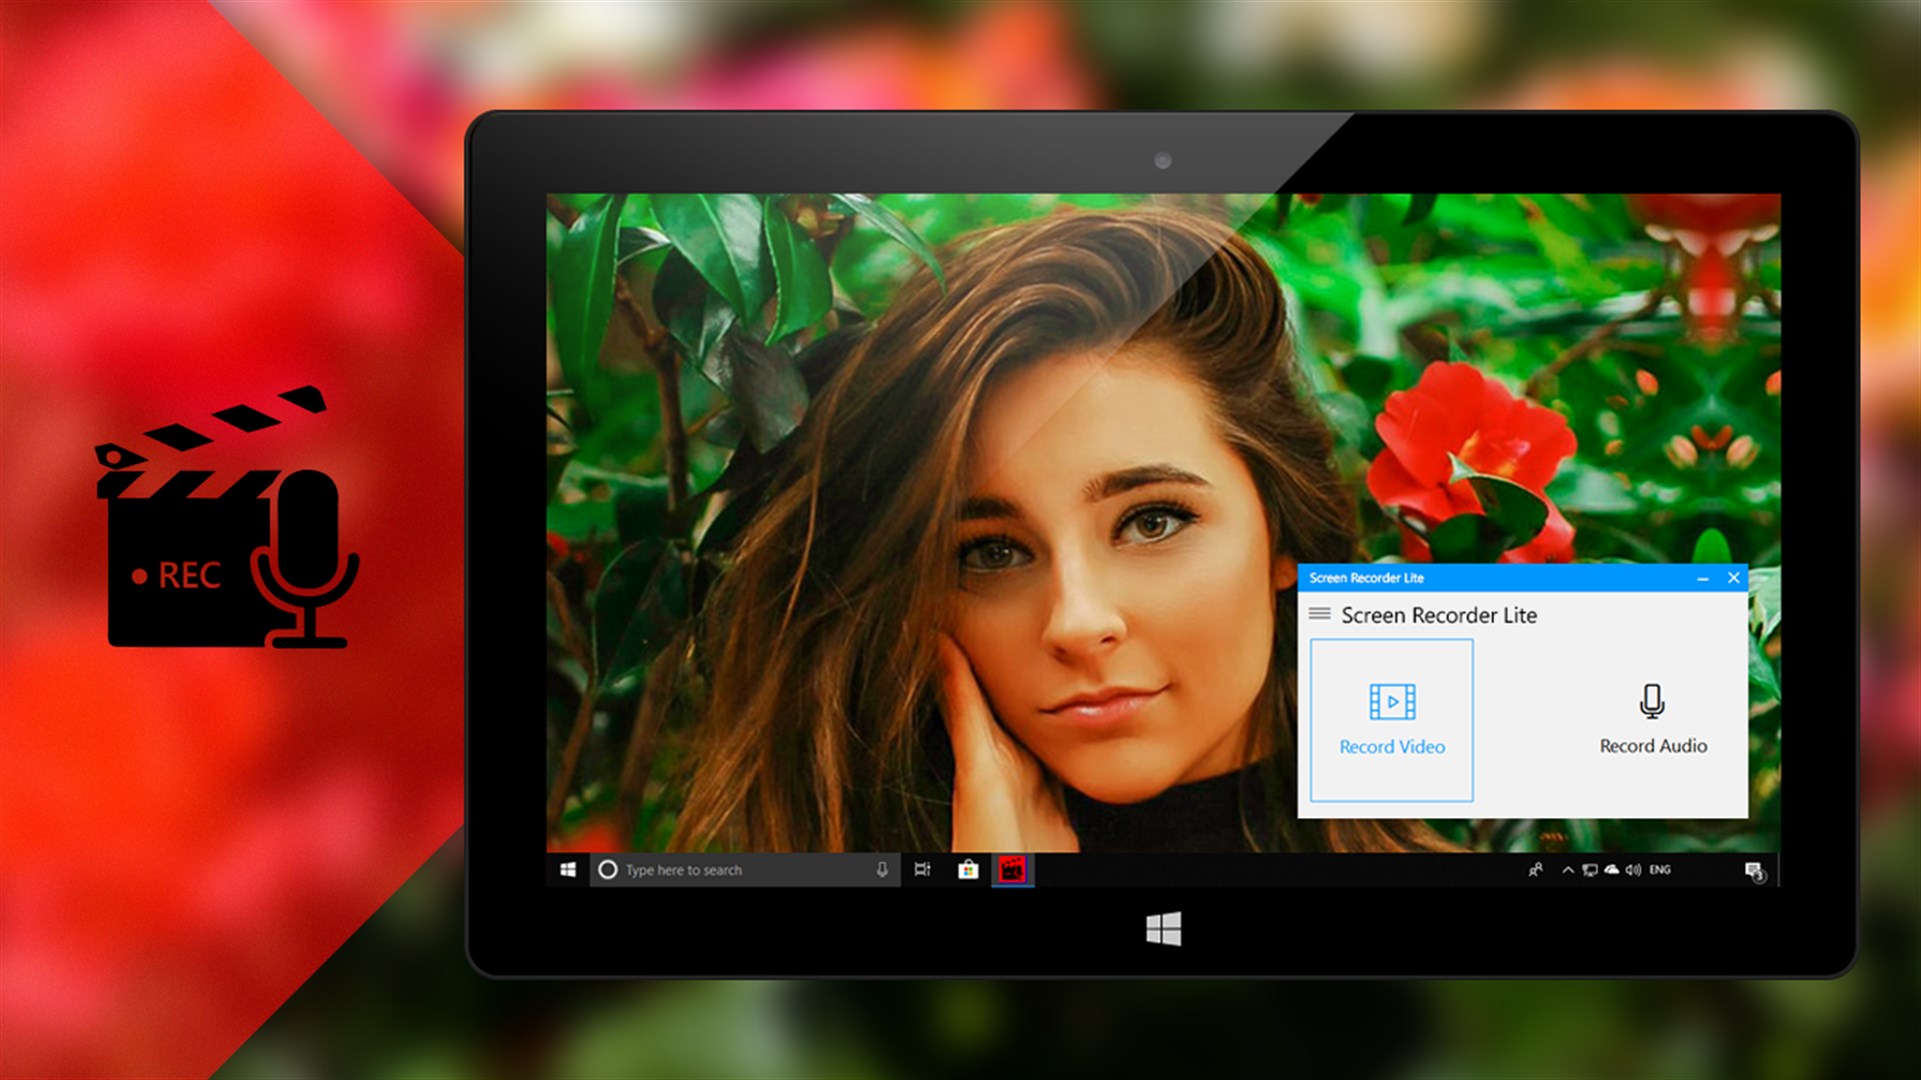
- Upon launching the app, you’ll typically see a pop-up or a toolbar that provides quick access to the app’s settings and recording options.
- Take a few moments to explore the app’s settings menu. Here, you can customize various recording parameters like video quality, frame rate, audio source, and storage location.
- Adjust the settings according to your preferences and requirements. Keep in mind that higher video quality and frame rates may result in larger file sizes, so consider the available storage space on your tablet.
- If there’s an option to enable or disable recording audio, choose accordingly. This allows you to include or exclude any accompanying audio during the screen recording.
- Ensure that the app is set to record the tablet’s screen and not just a specific app or window. This way, you can capture your screen activity regardless of which app or feature you are using.
- Some screen recording apps may offer additional features like screen touches, front camera recording, or drawing on the screen. If these features are available and desired, enable them as well.
- Once you have finished configuring the settings, exit the settings menu and return to the main screen recording interface.
With your screen recording app now set up, you’re ready to start capturing your tablet’s screen activity. In the next section, we’ll guide you through the steps of starting and stopping a screen recording.
Adjusting the Recording Settings
Before you begin recording your tablet’s screen, it’s important to make sure that the recording settings are optimized for your needs. Here are the key recording settings you should consider adjusting:
- Video Quality: Most screen recording apps allow you to choose the video quality for your recordings. Higher quality settings will result in clearer and more detailed videos, but keep in mind that higher quality recordings may also result in larger file sizes. Strike a balance between video quality and available storage space on your tablet.
- Frame Rate: The frame rate determines how many frames per second are recorded in the video. Higher frame rates provide smoother recordings but can also increase file size. Consider the nature of your screen activity; if you’re recording fast-paced action, a higher frame rate (e.g., 30 or 60 frames per second) may be beneficial. For simple tasks or tutorials, a lower frame rate (e.g., 15 frames per second) might suffice.
- Orientation Lock: Some screen recording apps allow you to lock the screen orientation during recording. If you want to ensure that your recording remains in a specific orientation (portrait or landscape), enable the orientation lock to avoid accidental changes in orientation while recording.
- Audio Source: If you want to include audio in your screen recording, ensure that the correct audio source is selected. You can typically choose between recording the system sound, microphone sound, or both. Consider whether you need to narrate your recording or capture any app/game audio.
- Countdown Timer: Certain screen recording apps offer a countdown timer that starts a few seconds after you tap the record button. This feature allows you to prepare your tablet’s screen for recording. If available, enable the countdown timer to have a brief delay before recording starts.
- Watermark: Some screen recording apps add a watermark to the recorded videos, especially in their free versions. If you want to remove or customize the watermark, check if the app provides an option to disable it or upgrade to a premium version.
Take the time to adjust these settings according to your preferences and the specific requirements of your recording. Experimenting with different settings can help you find the optimal configuration for your screen recordings.
Now that your recording settings are adjusted, we’re ready to move on to the next section: starting and stopping a screen recording.
Starting and Stopping a Screen Recording
Now that you have set up the recording settings, it’s time to start capturing your tablet’s screen. Here are the steps to start and stop a screen recording using a screen recording app:
- Open the screen recording app on your tablet.
- On the app’s main interface, you should see a record button. Tap on the record button to start the screen recording.
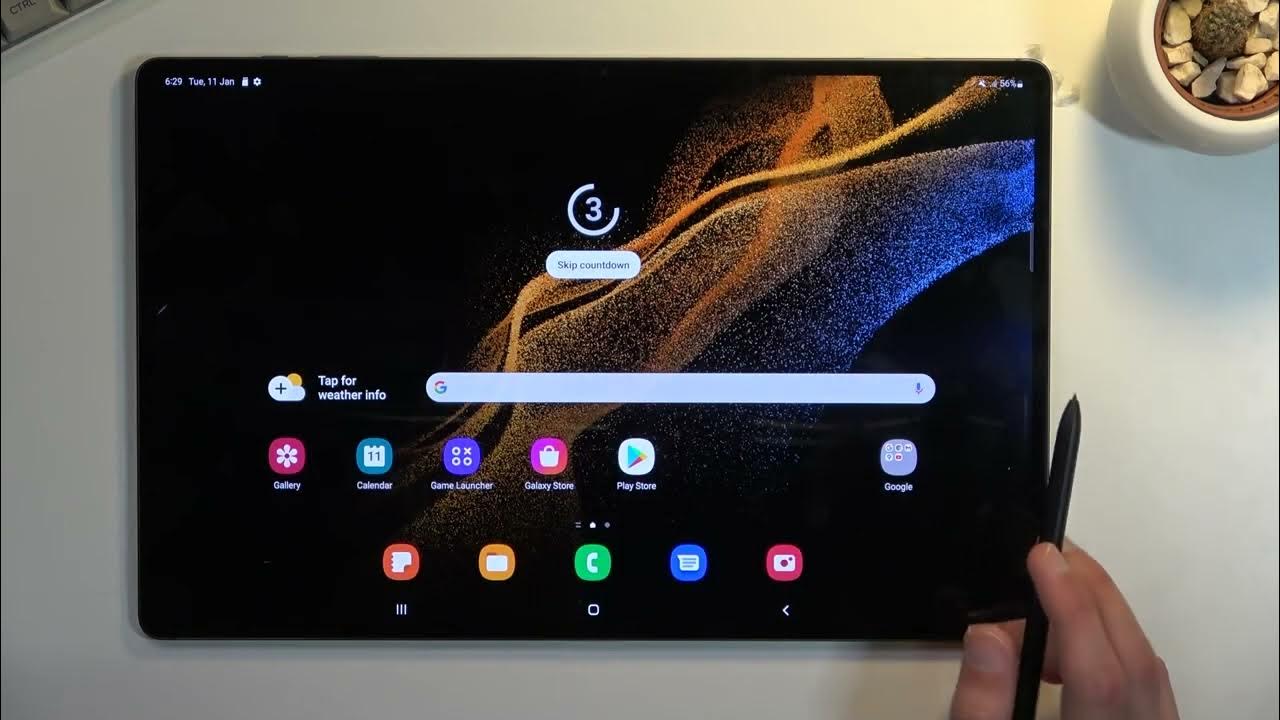
- Once you tap the record button, a countdown timer may appear, giving you a few seconds to prepare your screen for recording. Take this time to navigate to the desired screen or app that you want to capture.
- As soon as the countdown timer ends, the screen recording will begin, capturing everything that happens on your tablet’s screen.
- Perform the actions or demonstrate the content that you want to record. The app will continue recording until you manually stop it.
- To stop the screen recording, open the notification panel or access the recording control overlay provided by the app. Look for the stop or pause button and tap on it.
- After stopping the recording, the app will likely prompt you to save the recorded video. Choose a location on your tablet to save the recording, and give it a descriptive name if desired.
It’s important to note that the process of starting and stopping a screen recording may vary slightly depending on the screen recording app you’re using. Some apps may also offer additional features like screen touches, front camera recording, or the ability to draw on the screen while recording. Familiarize yourself with the specific features and user interface of your chosen screen recording app.
Once you have successfully stopped and saved your screen recording, you can view it in your gallery or the designated location on your tablet. In the next section, we’ll explore how you can edit your screen recordings to polish them further.
Editing Your Screen Recording
After recording your tablet’s screen, you may want to make some edits to enhance the final video. Editing allows you to trim unnecessary parts, add annotations or captions, include transitions, and more. Here are the steps to edit your screen recording:
- Open the screen recording app on your tablet. Most screen recording apps offer built-in editing features, while others may recommend dedicated video editing apps.
- Locate the recorded video in your app’s gallery or the designated location where it was saved. Tap on the video to select it and open it in the editing interface.
- Depending on the app, you may see a timeline or a series of editing tools. Explore these options to access the editing features available.
- To trim the video, drag the handles on the timeline or use the trimming tools to select the desired start and end points of the recording. This allows you to remove any unnecessary parts or mistakes.
- If you want to add annotations, text, or captions to the video, look for the respective tools within the app’s editing interface. This feature enables you to enhance the clarity and understanding of the recorded content.
- Some screen recording apps offer options to add transitions between different clips or apply visual effects. Experiment with these features to create a more engaging and seamless video.
- If you need to adjust the video’s brightness, contrast, or color settings, some apps provide basic editing tools for these adjustments. Use them sparingly to ensure the final video looks visually appealing.
- Preview the edited video to check for any additional modifications or improvements you may want to make. Play it back to ensure the flow and quality of the recording meet your expectations.
- Once you’re satisfied with the edits, save the final version of the video. The app will prompt you to choose a location and name for the edited video.
Remember, the editing capabilities and features available may vary depending on the screen recording app you’re using. Some apps may have more advanced editing options, while others may provide simpler tools for basic edits.
By taking the time to edit your screen recording, you can refine the content, improve its visual appeal, and ensure it effectively communicates the information to your intended audience.
After editing your screen recording, you’re ready to save and share it with others. In the next section, we’ll discuss how you can save and share your screen recordings.
Saving and Sharing Your Screen Recording
Once you have finished editing your screen recording, it’s time to save and share it with others. Here’s how you can save and share your screen recording on your tablet:
- After finalizing your edits, navigate to the save or export option within the screen recording app. This option may be located in the editing interface or accessible from the main screen of the app.
- When prompted, choose the desired video format and resolution for your screen recording. Consider the platform on which you intend to share the recording and select the appropriate format accordingly.
- Select the location on your tablet where you want to save the final video. Make sure you have enough storage space available for the file.
- Depending on the app and its features, you may have the option to choose a video title or add metadata to the recording. Provide a descriptive title that accurately represents the content of your screen recording.
- Tap on the “Save” or “Export” button to start the saving process. This may take some time, depending on the length and complexity of your screen recording. Be patient and avoid interrupting the process.
- Once the screen recording is successfully saved, you can access it in your tablet’s gallery or the designated location where it was saved. Confirm that the file exists and plays back correctly.
- To share your screen recording, open the app or platform through which you want to share it. This can be a messaging app, email, social media platform, cloud storage service, or any other method of sharing files.
- Find the option to attach or upload a file and navigate to the location where your screen recording is saved. Select the video file and confirm that it is successfully attached or uploaded.
- Depending on the platform or app you’re using to share the screen recording, you may have the option to add a caption, description, or tags to provide context and make it more discoverable to your audience.
- Complete the sharing process by sending the screen recording to the desired recipient or posting it on the selected platform. Double-check that everything is correctly set up before proceeding.
Remember to respect any copyright or privacy laws when sharing your screen recordings. It’s important to have necessary permissions and ensure that the content you’re sharing is appropriate and within legal boundaries.
By saving and sharing your screen recordings, you can showcase your work, provide tutorials, demonstrate software features, or simply share your tablet usage experiences with others.
Now that you know how to save and share your screen recording, let’s move on to the next section for some additional tips to make your tablet screen recording successful.
Tips for Successful Tablet Screen Recording
To ensure that your tablet screen recordings turn out well and effectively convey the desired information, consider these helpful tips:
- Plan ahead: Before you start recording, outline the key points or actions you want to capture. Having a plan in mind will help you stay focused and deliver a more organized recording.
- Clear clutter: Declutter your tablet’s home screen and remove any unnecessary icons or notifications. A clean and organized screen will make your recordings appear more professional.
- Record in a quiet environment: Find a quiet location or use a microphone to eliminate any background noise. This will ensure that your voice or any accompanying audio is clearly audible.
- Enable Do Not Disturb: Before you start recording, activate the “Do Not Disturb” mode on your tablet to prevent incoming calls, notifications, or pop-ups from interrupting your recording.
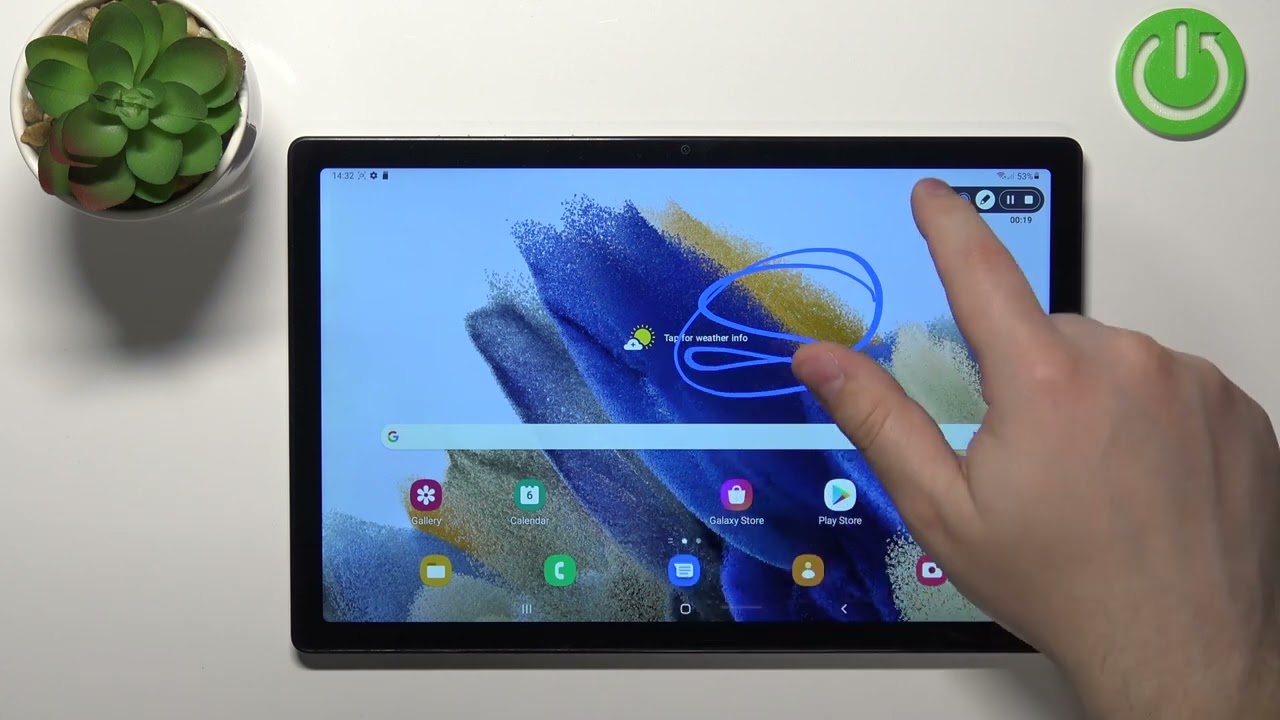
- Use a stylus (if available): If your tablet supports a stylus pen, consider using it during screen recording. A stylus can help you highlight important elements, draw attention, or make annotations with precision.
- Practice your movements: If you need to interact with your tablet’s screen during the recording, practice your movements beforehand to ensure smooth and deliberate actions. This will make your demonstrations or interactions appear more seamless.
- Speak clearly and audibly: When providing verbal explanations or narrating your screen recording, speak clearly and at an appropriate volume. Ensure that your voice is well-captured by the recording app.
- Use visual cues: If possible, incorporate visual cues like arrows, circles, or highlights to draw attention to specific areas or actions on the screen. This enhances the clarity and understanding of the recorded content.
- Review and edit: After recording, take the time to review your screen recording. Trim any unnecessary parts, edit out mistakes, and make sure the final video flows smoothly.
- Test playback: Before sharing your screen recording, test the playback on different devices to ensure compatibility and quality across various platforms and screen sizes.
- Seek feedback: If you’re creating screen recordings for instructional or tutorial purposes, consider seeking feedback from others to identify areas for improvement. This can help you refine your recording techniques and provide a better learning experience for your audience.
By following these tips, you can enhance the quality and effectiveness of your tablet screen recordings. Practice, experimentation, and continuous improvement are essential for becoming proficient in creating engaging and informative screen recordings.
Now that you’re equipped with these helpful tips, go ahead and create impressive screen recordings on your tablet!
Conclusion
Screen recording on a tablet opens up a world of possibilities for capturing and sharing your device’s screen activity. By choosing the right screen recording app, installing it on your tablet, and setting up the recording options, you can create professional-quality videos with ease.
With the ability to adjust recording settings, start and stop recordings, edit the captured footage, and save and share your screen recordings, you have the power to create engaging content, tutorials, presentations, and more.
Remember to consider factors like compatibility, ease of use, features, reviews, and pricing when selecting a screen recording app. Once you’ve installed one that suits your needs, take the time to set it up according to your preferences and requirements.
When it comes to actual screen recording, plan ahead, clear clutter, and record in a quiet environment. Utilize tools like stylus pens, speak clearly and audibly, and incorporate visual cues to enhance the quality of your recordings.
After recording, don’t forget to review and edit your screen recordings to ensure a smooth final video. Test the playback on different devices and seek feedback to continually improve your skills.
With these tips and techniques, you’re well on your way to becoming a proficient tablet screen recorder. So, grab your tablet, select the right app, and start capturing and sharing your screen like a pro!