Introduction
Welcome to the world of Apple Pencil and the amazing functionality it offers. If you’re an Apple user, chances are you’re already familiar with this fantastic tool. The Apple Pencil is a stylus pen designed specifically for use with the iPad Pro, iPadOS, and iOS devices. Its precise precision and intuitive design make it the perfect companion for digital artists, note-takers, and professionals alike.
One of the many features of the Apple Pencil is the ability to take screenshots effortlessly. Whether you want to capture a moment in a game, save an important document for future reference, or simply share a funny conversation with friends, the Apple Pencil makes it quick and easy to snap a screenshot.
In this article, we’ll explore different methods you can use to take a screenshot with your Apple Pencil. We’ll cover the steps for both the iPad Pro and the iPadOS, as well as for iOS devices. So, if you’re ready to learn how to harness the power of the Apple Pencil and capture those important moments, let’s get started!
What is Apple Pencil?
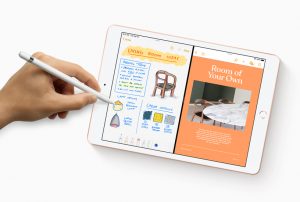
The Apple Pencil is a revolutionary tool that brings a whole new level of versatility to the iPad Pro, iPadOS, and iOS devices. It was introduced by Apple as a premium stylus pen designed to provide a natural and seamless drawing and writing experience on the touchscreen.
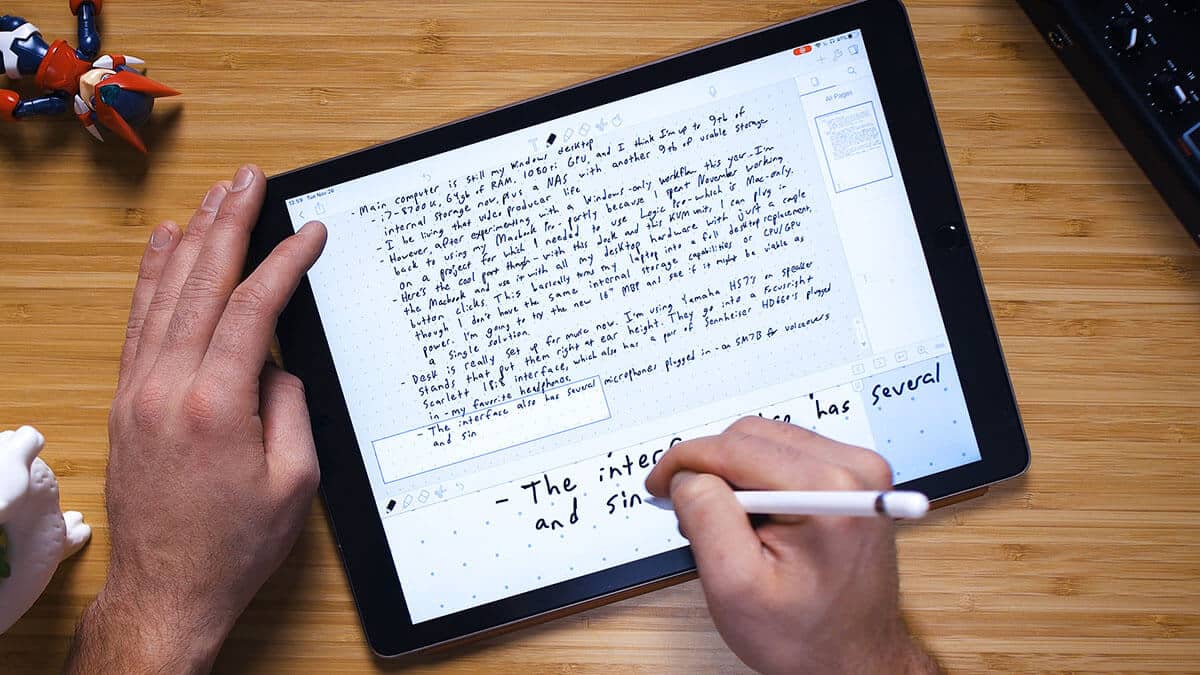
The Apple Pencil is not just an ordinary stylus. It features advanced technology that allows for remarkable precision, responsiveness, and sensitivity. It can detect different levels of pressure and tilt, making it ideal for creating intricate artwork, taking handwritten notes, or editing photos with incredible accuracy.
With its sleek design and lightweight construction, the Apple Pencil feels comfortable and ergonomic in your hand, allowing for hours of uninterrupted use. It has a seamless integration with the iPad Pro, iPadOS, and iOS devices, allowing you to unlock features and capabilities that were previously unavailable.
Charging the Apple Pencil is a breeze. Simply attach it magnetically to the side of your iPad Pro or use the Lightning connector to charge it directly. The battery life is impressive, providing you with hours of uninterrupted creativity and productivity.
Whether you’re a professional artist, a student, or someone who loves to sketch and write, the Apple Pencil offers a whole new world of possibilities. It opens up a host of creative applications and provides a more intuitive and natural way to interact with your device.
Now that you have a better understanding of what the Apple Pencil is and the incredible features it offers, let’s dive into the different methods you can use to take a screenshot with this amazing tool.
How to Take a Screenshot with Apple Pencil
Taking a screenshot with the Apple Pencil is a simple and straightforward process. Depending on the device you’re using and the operating system installed, there are a few different methods you can follow. Let’s explore each of them below:
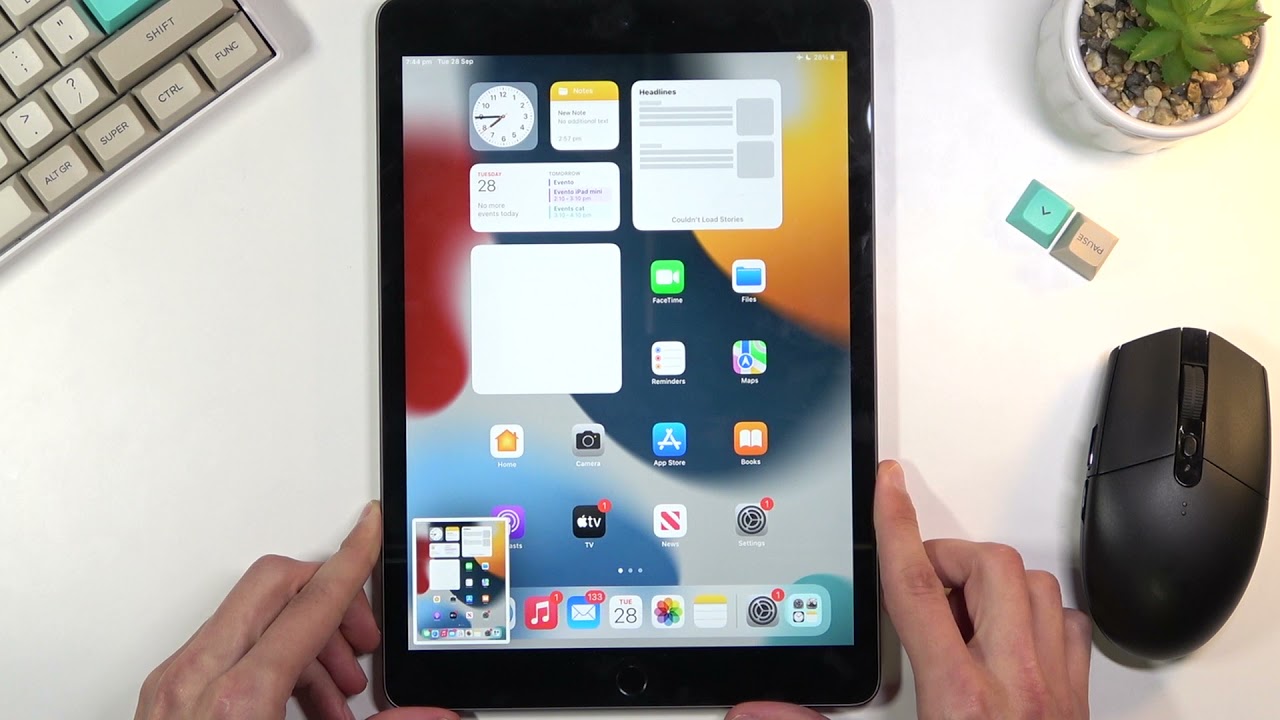
Method 1: Using the Apple Pencil and iPad Pro
If you’re using an iPad Pro, taking a screenshot with the Apple Pencil is incredibly easy. Simply follow these steps:
- Open the screen or the app screen that you want to capture.
- Hold the Apple Pencil in your hand and position it on the screen.
- Press the Apple Pencil’s tip against the screen and quickly swipe from the bottom edge to the top edge.
- You will see a thumbnail of the screenshot appear on the bottom left corner of the screen.
- To edit or share the screenshot, tap on the thumbnail and select the desired option.
Method 2: Using the Apple Pencil and iPadOS
If you’re using an iPad with iPadOS installed, the process of taking screenshots with the Apple Pencil is similar to the method above:
- Open the screen or the app screen that you want to capture.
- Hold the Apple Pencil in your hand and position it on the screen.
- Press the Apple Pencil’s tip against the screen and quickly swipe from the bottom edge to the top edge.
- The screenshot will be automatically captured and saved to your Photos app.
- To access and edit the screenshot, go to the Photos app and locate the screenshot in your Camera Roll or Screenshots album.
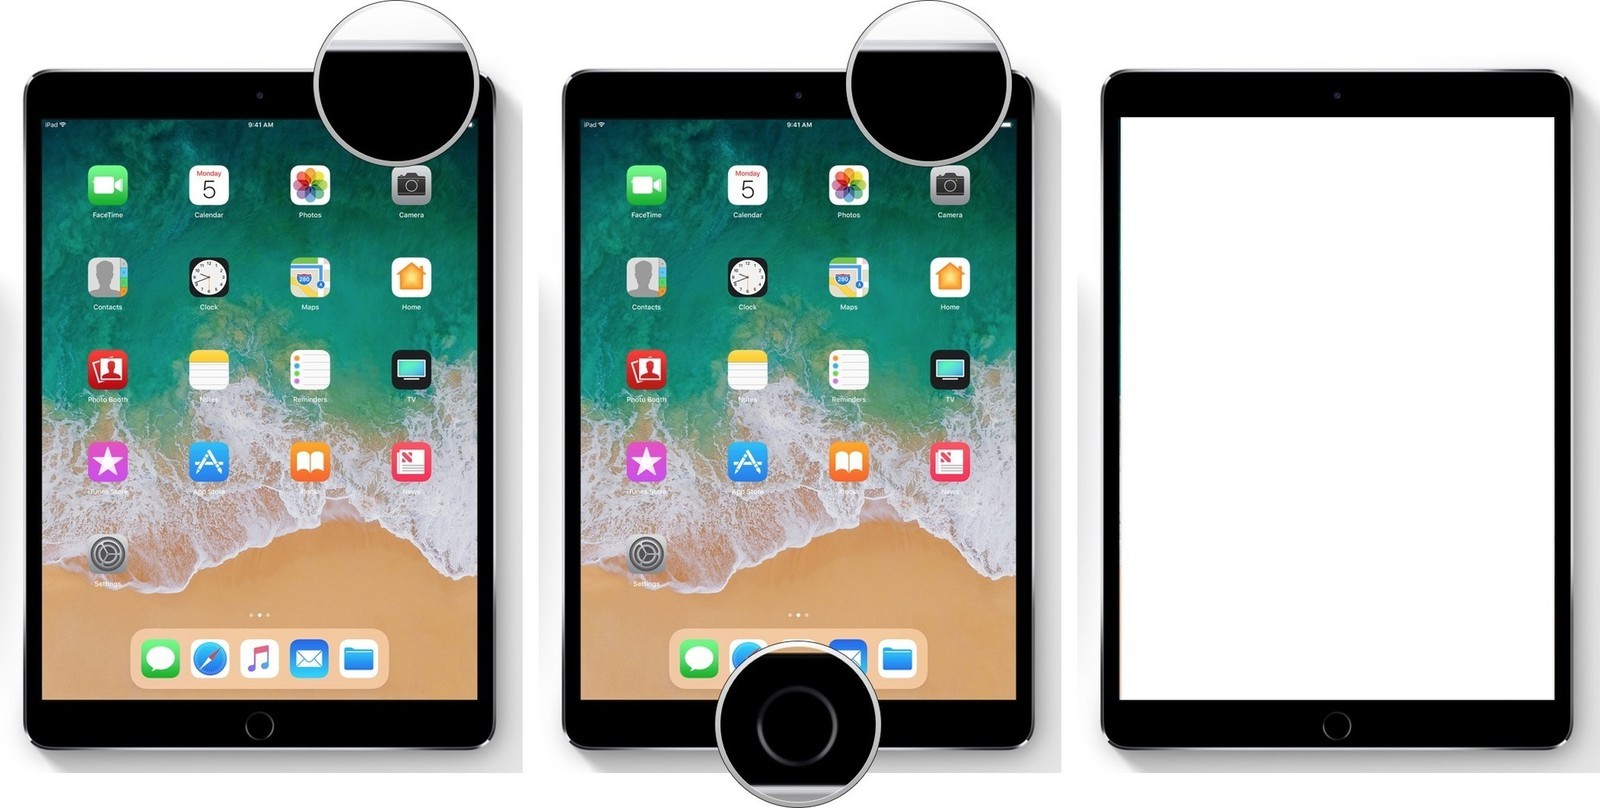
Method 3: Using the Apple Pencil and iOS
If you’re using an iPhone or an iPad with iOS installed, the process may vary slightly:
- Open the screen or the app screen that you want to capture.
- Hold the Apple Pencil in your hand and position it on the screen.
- Press the Apple Pencil’s tip against the screen and quickly swipe from the bottom edge to the top edge or press the sleep/wake button and the home button simultaneously.
- The screenshot will be automatically captured and saved to your Photos app.
- To access and edit the screenshot, go to the Photos app and locate the screenshot in your Camera Roll or Screenshots album.
Now that you know how to take a screenshot with the Apple Pencil, let’s explore some tips and tricks to enhance your screenshot-taking experience.
Method 1: Using the Apple Pencil and iPad Pro
The iPad Pro is a powerful device that offers seamless integration with the Apple Pencil, making it a preferred choice for many creative professionals. If you’re using an iPad Pro, here’s how you can easily take a screenshot with the Apple Pencil:
- First, ensure that you have the screen or the specific app screen that you want to capture open on your iPad Pro.
- Hold the Apple Pencil in your hand, making sure it’s comfortably positioned for easy use.
- With the Apple Pencil’s tip touching the screen, lightly press and hold it against the display.
- While maintaining the pressure, swiftly swipe your Apple Pencil from the bottom edge of the screen to the top edge.
- As you release the Apple Pencil, you should see a thumbnail of the captured screenshot briefly appear in the bottom left corner of the screen.
- To make any edits or annotations to the screenshot, simply tap on the thumbnail. This will open the screenshot in the Markup tools, where you can draw, write, add text, and even crop the image.
- If you’re satisfied with the screenshot, you can choose to save it to your Camera Roll, share it via email or messaging apps, or even print it directly from your iPad Pro.
That’s it! With just a few simple steps, you can capture your favorite moments, important information, or creative works using the Apple Pencil and your iPad Pro. Taking screenshots has never been easier or more convenient.
Keep in mind that this method is specifically for iPad Pro users. If you’re using a different device, such as an iPhone or an iPad with a different operating system, the process may be different. Check out the next sections of this article to learn more about taking screenshots with the Apple Pencil on other devices.
Method 2: Using the Apple Pencil and iPadOS
If you’re using an iPad with iPadOS, you’re in luck! Apple has introduced new features and enhancements that make capturing screenshots with the Apple Pencil even easier and more streamlined. Here’s how you can take a screenshot using the Apple Pencil and iPadOS:
- Start by opening the screen or app screen that you want to capture on your iPad.
- Hold the Apple Pencil in your hand, ensuring a comfortable grip.
- With the Apple Pencil’s tip touching the screen, press and hold it against the display.
- Swiftly swipe your Apple Pencil from the bottom edge of the screen to the top edge.
- As soon as you release the Apple Pencil, the screenshot will be automatically captured and saved to your Photos app.
- To access and view the screenshot, open the Photos app and navigate to the “Screenshots” album or the “Camera Roll,” depending on your iPadOS version.
The Apple Pencil and iPadOS work seamlessly together, providing a hassle-free screenshot-taking experience. With this method, there’s no need to worry about capturing the perfect moment or missing a critical piece of information. Simply follow the steps outlined above, and your screenshot will be ready to go!
It’s important to note that the process may vary slightly depending on your specific iPad model and the version of iPadOS you’re using. If you’re using an older iPad with an earlier version of iOS, refer to the previous section for instructions on taking screenshots with the Apple Pencil.
Now that you know how to capture screenshots using the Apple Pencil and iPadOS, let’s explore another method specifically for iPhones and iPads running on iOS.
Method 3: Using the Apple Pencil and iOS
If you’re using an iPhone or an iPad with iOS, you can still take advantage of the Apple Pencil to capture screenshots effortlessly. While the process may vary slightly from the iPad Pro and iPadOS methods, it’s equally straightforward. Here’s how you can take a screenshot using the Apple Pencil and iOS:
- Begin by opening the screen or app screen that you want to capture on your iOS device.
- Hold the Apple Pencil in your hand, making sure it’s comfortable and easy to use.
- Place the Apple Pencil’s tip lightly on the screen, ensuring that it’s in contact with the display.
- Swipe your Apple Pencil from the bottom edge of the screen to the top edge in one swift motion.
- Alternatively, you can also press the sleep/wake button and the home button simultaneously to capture the screenshot.
- As soon as you release the Apple Pencil or the buttons, the screenshot will be automatically saved to your Photos app.
- To access and view the screenshot, open the Photos app and navigate to the “Screenshots” album or the “Camera Roll,” depending on your iOS version.
Using the Apple Pencil and iOS, you can effortlessly capture screenshots of important information, memorable moments, or creative works on your iPhone or iPad. Whether you’re using the Apple Pencil with a smaller device or a larger iPad, this method works seamlessly to capture those cherished moments.
It’s important to note that the specific steps may vary slightly depending on your iOS version and the device you’re using. However, the general process remains the same, allowing you to capture screenshots quickly and easily.
Now that you know how to use the Apple Pencil to take screenshots on different devices and operating systems, let’s explore some handy tips and tricks to enhance your screenshot-taking experience.
Tips and Tricks for Taking Screenshots with Apple Pencil
Now that you’re familiar with the different methods for taking screenshots using the Apple Pencil on various devices and operating systems, let’s dive into some helpful tips and tricks to further enhance your screenshot-taking experience:
1. Use the Markup Tools
When you capture a screenshot with the Apple Pencil, take advantage of the Markup tools available. Tap on the screenshot thumbnail or open the screenshot in the Photos app to access features like drawing, writing, adding text, and cropping the image. This allows you to annotate the screenshot and highlight specific points of interest.
2. Customize Your Screenshots
Did you know that you can customize your screenshot settings? Go to “Settings” on your iOS device, navigate to “General,” and then tap on “Screenshot.” From here, you have the option to select whether to show the screenshot preview or enable or disable the flash. You can also change the default location where your screenshots are saved.
3. Utilize Siri Shortcuts
If you frequently take screenshots with specific settings or need quick access to certain editing options, consider creating Siri Shortcuts. With Siri Shortcuts, you can automate certain tasks and simplify your screenshot workflow. For example, you can create a Siri Shortcut to take a screenshot and immediately open it in a specific app for editing.
4. Experiment with Different Apple Pencil Techniques
Don’t be afraid to experiment with different techniques when using the Apple Pencil to take screenshots. Try adjusting the pressure and tilt sensitivity to achieve different effects in drawing or writing. Explore the features and settings of your specific device and operating system to discover hidden gems that can elevate your screenshot-taking capabilities.
5. Keep Your Apple Pencil Charged
To ensure that your Apple Pencil is always ready for use, keep it charged. The Apple Pencil can be charged by attaching it magnetically to the side of your iPad Pro or by using the Lightning connector. Make it a habit to charge your Apple Pencil regularly, so you never miss out on capturing important moments or ideas.
With these tips and tricks, you’ll be a pro at taking screenshots with the Apple Pencil. Whether you’re a digital artist, a student, or simply someone who loves capturing and sharing moments, the Apple Pencil and its screenshot capabilities offer a seamless and intuitive experience.
Conclusion
Capturing screenshots with the Apple Pencil is a breeze, thanks to its seamless integration with iPad Pro, iPadOS, and iOS devices. Whether you’re an artist, a student, or a professional, being able to capture important information, creative works, or memorable moments is made easier with the Apple Pencil at your side.
In this article, we explored different methods for taking screenshots using the Apple Pencil on various devices and operating systems. We discussed the steps for iPad Pro, iPadOS, and iOS, ensuring that no matter which device you’re using, you can capture screenshots effortlessly.
We also provided helpful tips and tricks to enhance your screenshot-taking experience, including using the Markup tools, customizing your screenshot settings, utilizing Siri Shortcuts, experimenting with different Apple Pencil techniques, and ensuring your Apple Pencil is charged and ready to go.
Now that you have a comprehensive understanding of how to take screenshots with the Apple Pencil, why not put your newfound knowledge to use? Start capturing and sharing your favorite moments, important information, or creative works with ease and precision.
The Apple Pencil has undoubtedly revolutionized the way we interact with our devices, bringing a natural and intuitive drawing and writing experience to the digital world. With its precise precision, seamless integration, and innovative features, it’s no wonder that the Apple Pencil has become a favorite tool among artists, note-takers, and professionals.
So, grab your Apple Pencil and let your creativity flow as you capture and share the moments that matter most to you. Enjoy the world of limitless possibilities that the Apple Pencil offers and unleash your imagination like never before.