Introduction
Gaming laptops have become increasingly popular among gamers who enjoy the convenience and portability they offer. Whether you’re playing a visually stunning AAA game or experiencing the thrill of competitive gaming, you may want to capture those epic gaming moments to share with friends or showcase your skills.
But how do you take screenshots on a gaming laptop? In this article, we’ll explore different methods to capture screenshots on your gaming laptop, including built-in hotkeys, the Game Bar on Windows 10, and third-party screenshot software. We’ll also discuss adjusting screenshot settings and recommend some software specifically designed for gaming laptops.
Before we dive into the various techniques, it’s important to note that the instructions provided in this article may vary depending on your gaming laptop model and operating system. However, these methods should work for most gaming laptops running Windows operating systems.
So, if you’re ready to immortalize those gaming moments and create lasting memories, let’s explore the different ways to screenshot on your gaming laptop!
Different Ways to Screenshot on a Gaming Laptop
There are several methods you can use to capture screenshots on your gaming laptop. Let’s take a look at the most common ones:
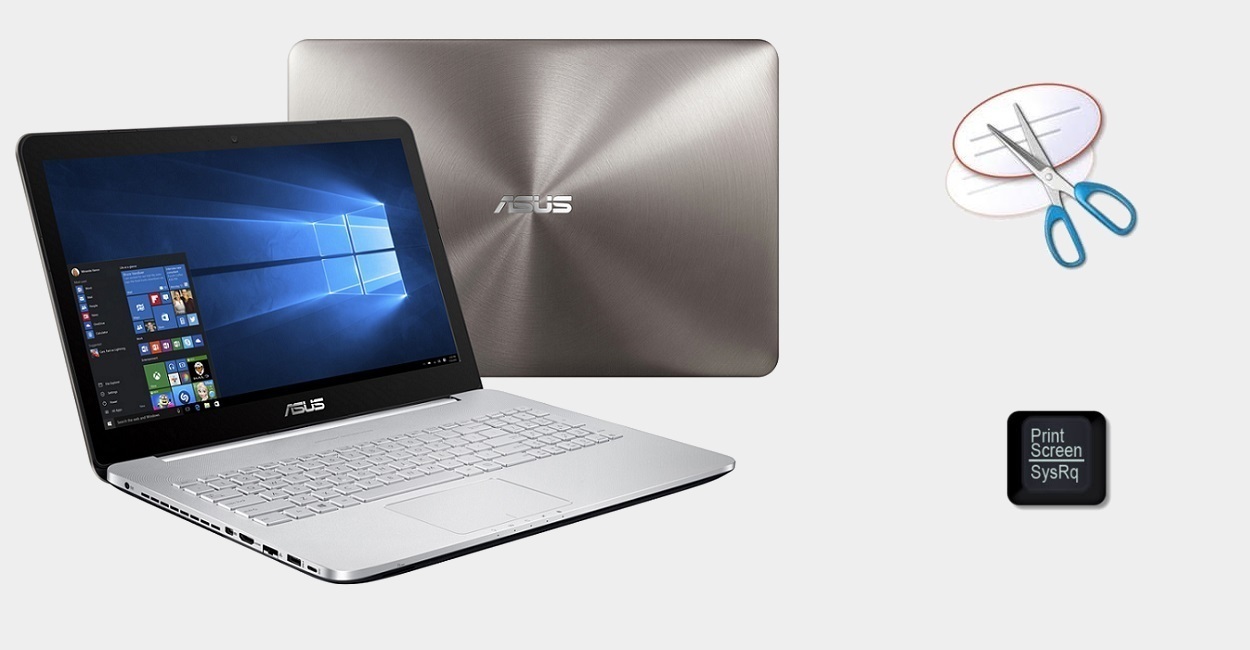
- Using Built-in Hotkeys: Many gaming laptops come with built-in hotkeys that allow you to quickly capture screenshots. These hotkeys are specific combinations of keys that trigger the screenshot function. Common hotkeys for capturing screenshots include “Print Screen,” “Fn + Print Screen,” or “Windows Key + Print Screen.” Once pressed, the screenshot will be saved to your clipboard or in a designated folder on your laptop.
- Using Game Bar on Windows 10: If you’re running Windows 10, the Game Bar feature provides an easy and convenient way to take screenshots while gaming. To access the Game Bar, press the “Windows Key + G” on your keyboard. Once the Game Bar overlay appears, click on the camera icon or press the “Windows Key + Alt + PrtSc” to capture the screenshot. The screenshot will be saved in the “Captures” folder within the “Videos” folder of your user profile.
- Using Third-Party Screenshot Software: If the built-in methods don’t suit your needs, you can opt for third-party screenshot software that offers advanced features and customization options. Some popular options include Lightshot, Greenshot, and Snagit. These software tools allow you to capture screenshots, annotate them with text or arrows, and easily share them with others. Make sure to choose a software that is compatible with your gaming laptop’s operating system.
Experiment with these different methods to find the one that best fits your preferences and gaming setup. Practice using the hotkeys or explore the features of third-party software to customize your screenshots according to your desired specifications.
Using Built-in Hotkeys
One of the easiest ways to take screenshots on a gaming laptop is by using the built-in hotkeys. These hotkeys are specifically designed to quickly capture screenshots without the need for any additional software or tools.
Most gaming laptops come with a dedicated “Print Screen” key on the keyboard. When you press this key, it captures a screenshot of your entire screen and saves it to your clipboard. You can then paste the screenshot into an image editing software or a document of your choice.
In addition to the “Print Screen” key, many gaming laptops also offer alternative hotkey combinations for taking screenshots. These combinations may involve pressing the “Fn” key (function key) along with the “Print Screen” key or using the “Windows” key in conjunction with the “Print Screen” key.
For example, on some laptops, pressing “Fn + Print Screen” captures the screenshot, while on others, pressing “Windows Key + Print Screen” performs the same function. The exact combination may vary depending on your laptop make and model, so be sure to check your laptop’s user manual or search online for the specific hotkeys for your device.
Once you’ve captured a screenshot, you can paste it into an image editing software like Paint or Photoshop to make any necessary edits or simply save it to your preferred folder as an image file. It’s important to note that when using the built-in hotkeys, the screenshots are typically saved in the default image file format of your operating system (e.g., PNG or JPEG).
Using built-in hotkeys offers a quick and straightforward way to take screenshots on your gaming laptop. It eliminates the need for third-party software and allows for easy customization by using different hotkey combinations. Make sure to practice using the hotkeys, and experiment with different variations if your laptop offers multiple options.
Using Game Bar on Windows 10
If you’re running Windows 10 on your gaming laptop, you have access to a powerful built-in feature called the Game Bar. The Game Bar is designed to enhance your gaming experience and also includes a handy screenshot function.
To access the Game Bar, simply press the “Windows Key + G” on your keyboard while playing your favorite game. This will bring up the Game Bar overlay, which provides quick access to various gaming features.
Within the Game Bar overlay, you’ll find a camera icon located on the right-hand side. Clicking on this icon or using the keyboard shortcut “Windows Key + Alt + PrtSc” will capture a screenshot of the active window. If you prefer to capture the entire screen, you can use the “Windows Key + PrtSc” shortcut instead.
Once you’ve taken a screenshot, it will be automatically saved in the “Captures” folder, which is located within the “Videos” folder in your user profile directory. You can access this folder by navigating to “This PC” (or “My Computer”) and then selecting “Videos” from the list of folders. Inside the “Videos” folder, you’ll find the “Captures” folder containing all your captured screenshots.
The Game Bar also offers additional features such as recording gameplay, broadcasting, and adjusting audio settings. Take some time to explore these features and customize them according to your preferences.
Using the Game Bar on Windows 10 provides a seamless way to capture screenshots while gaming. The built-in functionality ensures that you can effortlessly capture those memorable gaming moments without the need for third-party software. Whether you want to showcase your epic victories or document a glitch for troubleshooting, the Game Bar has you covered.
Using Third-Party Screenshot Software
While the built-in hotkeys and Game Bar on Windows 10 offer convenient options for capturing screenshots on your gaming laptop, you may want to explore additional features and customization options. This is where third-party screenshot software comes into play.
There are several popular third-party screenshot software options available that are specifically tailored for capturing screenshots on gaming laptops. These software tools provide advanced features, such as annotation tools, screen recording capabilities, and easy sharing options.
One popular choice is Lightshot, a lightweight and user-friendly screenshot tool. Lightshot allows you to capture screenshots of selected areas on your screen, annotate them with text or shapes, and instantly share them with others. It also offers a built-in image editor, enabling basic editing functions like cropping, resizing, and adding text.
Another option is Greenshot, which provides a comprehensive set of features for capturing and editing screenshots. Greenshot offers customizable hotkeys, full-screen capture capability, and the ability to capture specific regions or windows. It also includes advanced editing functions, such as highlighting, blurring, and adding captions to your screenshots.
For more advanced needs, Snagit is a powerful screenshot software solution. Snagit offers a wide range of capture options, including full-screen, scrolling windows, and timed captures. It provides an extensive set of editing tools, like the ability to create step-by-step tutorials, add callouts, and apply effects. Snagit also enables easy sharing to various platforms and cloud storage services.
When choosing third-party screenshot software, ensure compatibility with your gaming laptop’s operating system and that it aligns with your specific needs and preferences. Take advantage of the trial versions or free options available to try out different software and determine which one suits you best.
Using third-party screenshot software gives you greater control and flexibility over capturing and editing screenshots on your gaming laptop. Explore the features they offer and find the software that aligns with your requirements, allowing you to capture and enhance your gaming moments with precision and style.
Adjusting Screenshot Settings
When capturing screenshots on your gaming laptop, you may want to adjust certain settings to ensure that your screenshots are tailored to your specific preferences. These settings can help optimize the quality, file format, and storage location of your screenshots.
One important setting to consider is the file format of your screenshots. Most operating systems offer the option to choose between popular file formats such as PNG, JPEG, or GIF. PNG is generally recommended for screenshots as it provides high-quality images without significant loss in detail. However, it also results in larger file sizes. JPEG, on the other hand, offers more compression but may result in slightly reduced image quality. Experiment with different file formats to find the balance between image quality and file size that works best for you.
Another setting to consider is the storage location of your screenshots. By default, screenshots are often saved to a designated folder, such as “Pictures” or “Screenshots.” However, you may prefer to organize your screenshots in a separate folder or specify a different storage location altogether. Check your system settings or the settings of any third-party screenshot software you’re using to customize the storage location to your liking.
In addition, some screenshot software allows you to adjust the image quality or resolution of your screenshots. This can be useful if you have limited storage space or if you want to ensure a consistent file size for easier sharing. Experiment with the settings and find the optimal balance between image quality and file size for your needs.
Lastly, consider adjusting any annotation or editing settings provided by your chosen screenshot software. These settings may include the ability to add text, arrows, or shapes to your screenshots. Adjusting these settings can help you easily highlight specific elements or provide context to your screenshots.
By exploring and adjusting the screenshot settings on your gaming laptop, you can personalize the capturing experience to meet your preferences. Take some time to experiment with the different settings available to you, and fine-tune them to ensure your screenshots are of the highest quality and conveniently organized for easy access.
Recommended Screenshot Software for Gaming Laptops
When it comes to capturing screenshots on your gaming laptop, having the right software can greatly enhance your experience. While built-in hotkeys and the Game Bar on Windows 10 offer basic screenshot capabilities, utilizing dedicated screenshot software can provide you with a more comprehensive set of features and customization options tailored specifically for gaming.
Here are a few highly recommended screenshot software options for gaming laptops:
- 1. Lightshot: Lightshot is a popular and lightweight screenshot software that allows you to capture screenshots of specific areas on your screen effortlessly. It offers a user-friendly interface and the ability to highlight or annotate screenshots with text and shapes. Lightshot also supports instant sharing of screenshots with a simple click of a button, making it a convenient choice for gamers.
- 2. Greenshot: Greenshot is another excellent choice for gamers looking for advanced screenshot capabilities. With Greenshot, you have the ability to capture entire screens, specific regions, or individual windows. It offers a wide range of editing features, including cropping, highlighting, and adding text. Greenshot also supports multiple file formats and allows for easy sharing of screenshots via various platforms.
- 3. Snagit: Snagit is a robust screenshot software that offers an extensive range of features for capturing, editing, and sharing screenshots. It provides a variety of capture options, including full-screen, scrolling windows, and timed captures. Snagit also includes a powerful built-in editor with advanced editing tools like callouts, effects, and annotations. Additionally, Snagit offers easy sharing to various platforms and cloud storage services, making it suitable for gamers who want a comprehensive screenshot solution.
These screenshot software options provide a variety of features and customization options to suit different gaming needs and preferences. Whether you’re looking for basic functionality, advanced editing capabilities, or seamless sharing options, one of these software solutions is likely to meet your requirements.
It’s important to note that while some of these software options have free versions, they may also offer premium versions with additional features and benefits. Consider your specific needs and budget when choosing the right screenshot software for your gaming laptop.
Feel free to explore these recommended screenshot software options, test them out, and decide which one aligns best with your preferences. With the right screenshot software at your disposal, you can easily capture and enhance your gaming experiences, preserving and sharing your favorite moments with ease.
Conclusion
Capturing screenshots on your gaming laptop is a great way to preserve and share your gaming experiences. Whether you want to showcase your achievements, share funny moments, or troubleshoot technical issues, knowing how to take screenshots is essential.
In this article, we explored several methods to capture screenshots on a gaming laptop. We discussed using the built-in hotkeys, the Game Bar on Windows 10, and third-party screenshot software to capture and customize your screenshots. Each method offers its own advantages and customization options, allowing you to find the approach that best suits your needs and preferences.
By using the built-in hotkeys, you can take quick and easy screenshots without the need for additional software. The Game Bar on Windows 10 provides a seamless and convenient way to capture screenshots while gaming, with the added bonus of additional features like screen recording and broadcasting.
If you’re looking for more advanced features and customization options, third-party screenshot software such as Lightshot, Greenshot, and Snagit can provide the tools you need. These software options allow you to capture specific areas of the screen, annotate your screenshots, and easily share them with others.
Remember to also take advantage of adjusting screenshot settings to optimize image quality, file format, storage location, and any annotation features offered by your chosen software.
Ultimately, the choice of how you capture and customize your screenshots on your gaming laptop is up to you. Find the method that fits your preferences and gaming style, and experiment with different software options to discover the features that enhance your screenshot capturing experience.
So, the next time you’re immersed in an epic gaming moment, don’t forget to capture it with a screenshot. Share your triumphs, showcase your skills, and create lasting memories of your gaming adventures on your gaming laptop.