Introduction
Welcome to the world of ASUS gaming laptops! Whether you’re a seasoned gamer or just starting out, you’ll be amazed by the powerful performance and stunning graphics these devices have to offer. One of the essential skills every gamer needs to master is taking screenshots. Capturing those epic gaming moments, high scores, or game glitches can be incredibly satisfying, and it’s also a great way to share your gaming experiences with friends and the online gaming community.
In this article, we will guide you through the various methods you can use to take screenshots on your ASUS gaming laptop. From simple keyboard shortcuts to dedicated software, we’ll cover all the options available to make sure you never miss a screenshot-worthy moment.
Before we dive into the different methods, it’s important to note that the specific steps and tools might vary slightly depending on the model and operating system of your ASUS gaming laptop. However, the basic principles remain the same, and we will provide instructions that apply to most ASUS gaming laptops.
So, grab your ASUS gaming laptop, fire up your favorite game, and get ready to capture and immortalize those incredible gaming moments. Let’s explore how to take screenshots on your ASUS gaming laptop!
Step 1: Using the Windows Shortcut Method
The easiest and most common way to take screenshots on your ASUS gaming laptop is by using the built-in Windows shortcut method. With just a few simple key combinations, you can quickly capture the entire screen or a specific area of your choice.
Here’s how to do it:
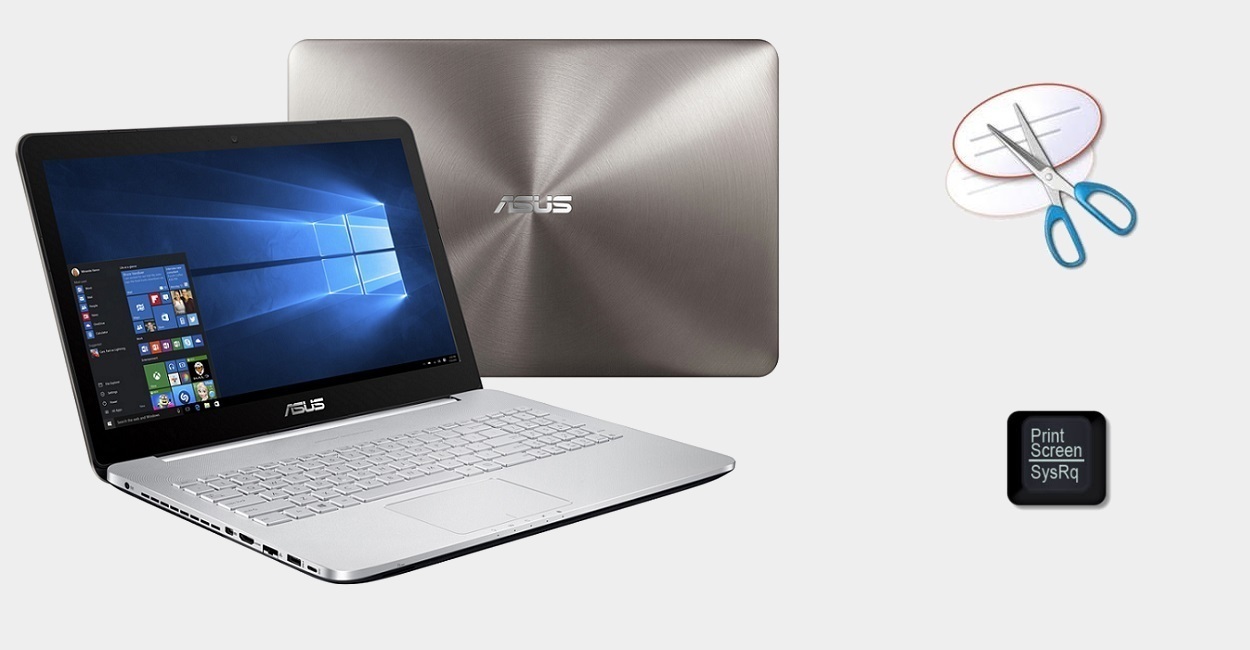
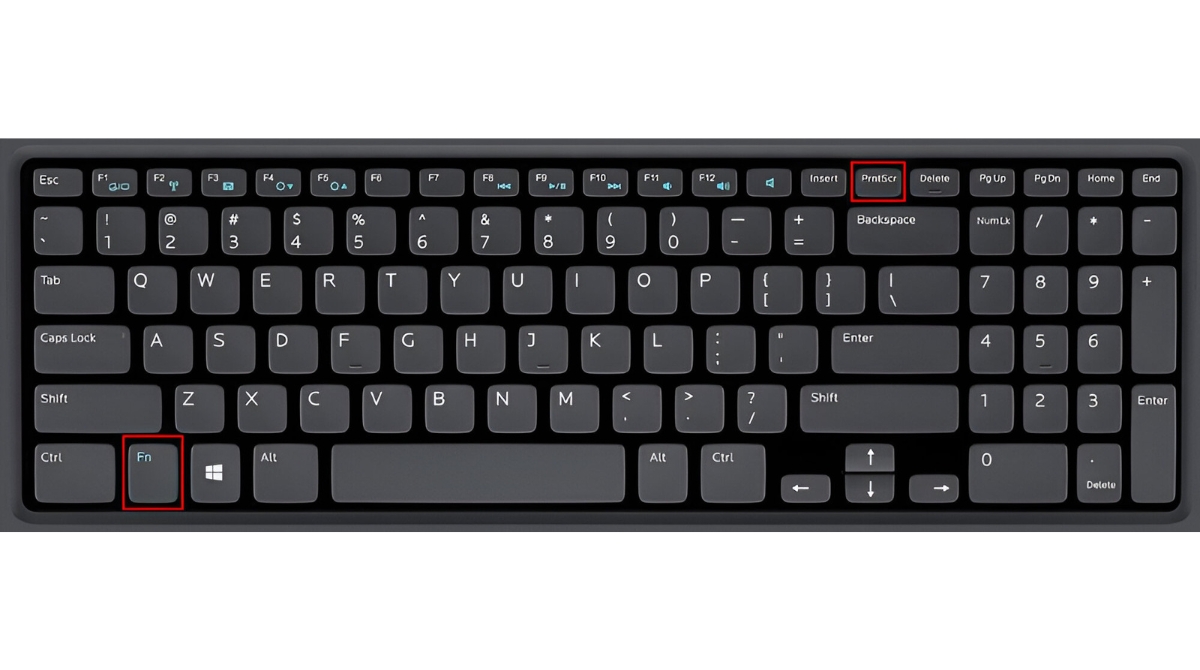
- First, locate the “Print Screen” key on your keyboard. It is typically labeled as “PrtScn” or “PrtSc” and is usually found in the top row alongside the function keys.
- When you want to take a screenshot of the entire screen, press the “Print Screen” key. The screen capture is automatically saved to your clipboard.
- To save the screenshot as an image file, open an image editing software like Paint or Photoshop, and press “Ctrl + V” to paste the screenshot. You can then save it in your desired format (JPEG or PNG) and location.
- If you only want to capture a specific area of the screen, press the “Windows key + Shift + S” simultaneously. This will activate the Snipping Tool.
- A semi-transparent overlay will appear on your screen, allowing you to click and drag to select the area you want to capture.
- After selecting the desired area, release the mouse button. The captured screenshot will be copied to your clipboard.
- Open an image editing software, such as Paint or Photoshop, and press “Ctrl + V” to paste the screenshot. Save it in your preferred format and location.
It’s worth mentioning that the Windows shortcut method is simple and doesn’t require any additional software installation. However, it might not provide advanced features like annotation or image editing. If you need more functionality, consider exploring the other methods discussed in the following steps.
Step 2: Utilizing the Snipping Tool
Another handy tool for taking screenshots on your ASUS gaming laptop is the Snipping Tool, a built-in screen capture utility in Windows. This tool offers more flexibility and control compared to the Windows shortcut method, allowing you to capture specific shapes, perform basic editing, and save screenshots directly as image files.
Here’s how to use the Snipping Tool:
- Click on the “Start” button, and type “Snipping Tool” in the search bar. Click on the Snipping Tool app to open it.
- Once the Snipping Tool opens, click on “New” to start a new snip. The screen will dim, and a crosshair cursor will appear.
- Click and drag the crosshair cursor to select the desired area you want to capture. You can choose to capture the full screen, a specific window, or a custom rectangular or freeform area.
- Release the mouse button to take the screenshot. The captured snip will appear in the Snipping Tool interface.
- You can use the Snipping Tool’s built-in annotation tools to add highlights, arrows, and text to the screenshot if desired.
- Once you’re satisfied with the edits, click on “File” and select “Save As” to save the screenshot as an image file. Choose your desired format (JPEG or PNG) and location to save the screenshot.
The Snipping Tool provides a convenient way to capture specific portions of your screen and offers basic editing features to enhance your screenshots. However, it’s worth noting that the Snipping Tool is only available in certain Windows versions. If you’re running a Windows version that doesn’t have the Snipping Tool, don’t worry. There are alternative third-party screen capture tools available that offer similar functionality, which we will discuss in later steps.
Step 3: Capturing Screenshots with the Game Bar
If you’re a gamer, you’re probably already familiar with the Game Bar, a powerful tool built into Windows that allows you to capture screenshots, record gameplay, and access various gaming features. It’s a great option for capturing screenshots while you’re in the middle of gaming sessions on your ASUS gaming laptop.
Here’s how to use the Game Bar to capture screenshots:
- While in-game, press the “Windows key + G” to open the Game Bar overlay.
- Click on the camera icon or press “Win + Alt + PrtScn” to take a screenshot. The screen will flash briefly, indicating that the screenshot has been captured.
- The screenshot is automatically saved in the “Captures” folder within your “Videos” directory on your computer.
- To access the captured screenshot, open the “File Explorer” and navigate to the “Videos” folder. Inside the “Videos” folder, you’ll find a subfolder named “Captures” where your screenshots will be saved.
The Game Bar offers a seamless way to capture screenshots without interrupting your gameplay. However, please note that the Game Bar feature is available only on Windows 10 and might not be present in older versions of Windows or on non-Microsoft gaming software.
Step 4: Taking Screenshots with ASUS ROG Gaming Center
If you own an ASUS gaming laptop, chances are you have the ASUS ROG Gaming Center software installed. This software provides numerous features and settings to optimize your gaming experience, including the ability to capture screenshots.
Here’s how to take screenshots using ASUS ROG Gaming Center:
- Open the ASUS ROG Gaming Center software on your laptop. You can usually find it in your Start menu or by searching for “ASUS ROG Gaming Center.”
- Once the Gaming Center window opens, locate the “Capture” tab. This tab is usually represented by a camera icon or a screenshot symbol.
- Click on the “Capture” tab to access the screenshot capture options.
- You can choose to capture the entire screen, a specific window, or a custom rectangular area by selecting the respective options.
- After selecting your desired capture area, click on the camera icon or the “Capture” button to take the screenshot.
- The screenshot will be saved in a designated folder on your ASUS gaming laptop. You can often find the saved screenshots in a “Screenshots” folder within the default location of the ASUS ROG Gaming Center software.
ASUS ROG Gaming Center provides a dedicated method for capturing screenshots, allowing you to seamlessly capture gaming moments without having to switch between different applications. Moreover, it provides additional functionalities that you can explore, such as video captures and performance monitoring.
Conclusion
Congratulations! You are now equipped with the knowledge of various methods to capture screenshots on your ASUS gaming laptop. Whether you prefer the simplicity of Windows shortcuts, the versatility of the Snipping Tool, the convenience of the Game Bar, or the dedicated features of ASUS ROG Gaming Center, you have all the tools you need to capture and cherish those unforgettable gaming moments.
Remember, capturing screenshots is not only about preserving your accomplishments but also about sharing your gaming experiences with your friends and the wider gaming community. It allows you to showcase your skills, collaborate with fellow gamers, and document memorable moments in your gaming adventures.
Try experimenting with different methods to find the one that suits your preferences and offers the features you need. You can also explore third-party screen capture software that may provide additional functionalities, such as advanced editing options, cloud storage integration, and annotation tools.
Now, go ahead and capture those epic and memorable gaming moments on your ASUS gaming laptop. Feel free to unleash your creativity and share your screenshots on social media, gaming forums, or with your friends. Let the gaming world experience the excitement and thrill you bring to the virtual realm!