Introduction
Welcome to the world of ASUS TUF Gaming laptops, where power meets performance. Whether you”re a gamer, a content creator, or someone who simply values speed and reliability, these laptops are designed to cater to your needs. One of the key features of these laptops is the ability to take screenshots effortlessly, allowing you to capture your gaming victories, create tutorials, or simply share interesting moments with friends and family.
In this article, we will explore different methods to take screenshots on your ASUS TUF Gaming laptop. Whether you prefer using built-in tools or keyboard shortcuts, we have you covered. So, let”s dive in and discover the various ways to capture and save the moments that matter to you.
Before we begin, please ensure that your ASUS TUF Gaming laptop is running on Windows OS, as the methods and tools we will discuss are specific to this operating system.
Now, let”s explore the different methods step-by-step to take screenshots on your ASUS TUF Gaming laptop:
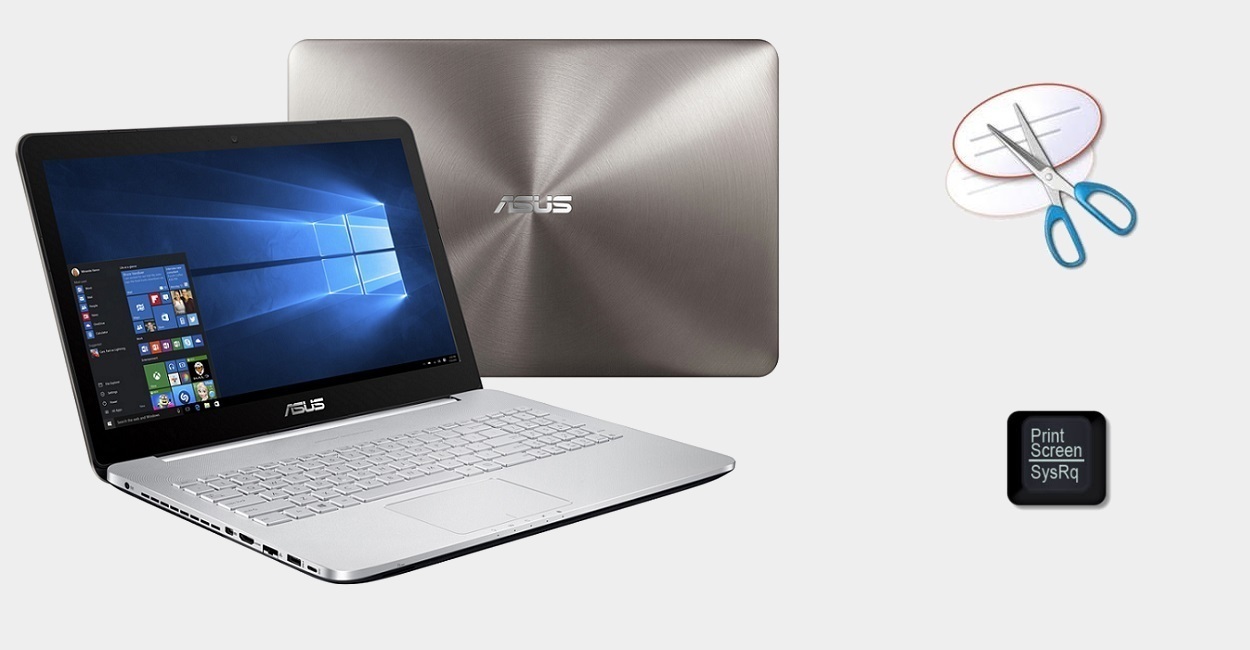
Method 1: Using the Windows Snipping Tool
The Windows Snipping Tool is a handy built-in tool that allows you to take screenshots and capture specific areas of your screen. Here’s how you can use it:
- Open the Windows Snipping Tool by searching for it in the Windows Start Menu.
- Once opened, you can choose from four different snip options: “Free-form Snip,” “Rectangular Snip,” “Window Snip,” or “Full-screen Snip.” Select the option that best suits your needs.
- If you choose the “Free-form Snip” or “Rectangular Snip” option, click and drag your cursor around the area you want to capture.
- If you choose the “Window Snip” option, click on the window you want to capture.
- If you choose the “Full-screen Snip” option, the tool will automatically capture the entire screen.
- After capturing the snip, you can annotate or save it directly by clicking on the respective buttons in the Snipping Tool toolbar.
- Finally, choose the desired file name, location, and format to save your screenshot.
The Windows Snipping Tool provides you with a quick and efficient way to take screenshots on your ASUS TUF Gaming laptop. Whether you’re capturing an important document, a stunning in-game moment, or a funny meme, this tool has you covered.
Method 2: Using the Print Screen Button
Another simple and effective way to take screenshots on your ASUS TUF Gaming laptop is by using the Print Screen button. This method captures the entire screen and saves it to your clipboard, allowing you to paste it into any image editing software or document. Here’s how you can use this method:
- Locate the Print Screen button on your keyboard. It is usually labeled as “PrtSc” or “Print Screen” and can be found in the top row, near the function keys.
- Once you have identified the Print Screen button, simply press it.
- Now, the screenshot of your entire screen is saved to your clipboard.
- To save the screenshot as an image, open an image editing software like Paint or Photoshop and paste the screenshot by pressing “Ctrl + V” or right-clicking and selecting “Paste.”
- Finally, save the image with the desired file name, location, and format.
Using the Print Screen button is a quick and straightforward method to capture your screen on an ASUS TUF Gaming laptop. However, please note that this method captures the entire screen, so you may need to crop or edit the image afterward if you only want to capture a specific part.
Method 3: Using the Windows Game Bar
If you’re a gamer on your ASUS TUF Gaming laptop, you’ll be pleased to know that Windows has a built-in Game Bar that allows you to take screenshots while gaming. Here’s how you can use it:
- While playing your favorite game, press the “Windows key + G” to open the Windows Game Bar.
- In the Game Bar overlay, you’ll find various options, including a camera icon for taking screenshots. Click on the camera icon or press “Windows key + Alt + PrtSc” to capture the screenshot.
- The screenshot will be automatically saved in your designated “Videos” folder, specifically within the “Captures” subfolder.
- If desired, you can access the captured screenshots by opening the “Capture” app on your laptop.
The Windows Game Bar provides a convenient way to capture your gaming moments without interrupting your gameplay. Whether you want to showcase your high score, capture an epic battle scene, or simply document your progress, this method allows you to do so effortlessly.
Method 4: Using the Windows Snip & Sketch Tool
For those who prefer a more versatile and feature-rich tool for taking screenshots on their ASUS TUF Gaming laptop, the Windows Snip & Sketch tool is an excellent option. This tool provides additional editing capabilities and allows you to capture specific parts of the screen with ease. Here’s how you can use it:
- Open the Snip & Sketch tool by searching for it in the Windows Start Menu.
- Once launched, you can choose from different snip options available in the toolbar, such as “Rectangular Snip,” “Freeform Snip,” “Window Snip,” or “Fullscreen Snip.”
- Select the type of snip you prefer, and the screen will freeze, allowing you to select the desired area to capture.
- After capturing the snip, the tool will automatically open an editing window where you can annotate, crop, or make further adjustments to the screenshot.
- Once you are satisfied with the edits, click on the save icon in the upper-right corner of the window to save the screenshot.
- Choose the desired file name, location, and format to save it.
The Snip & Sketch tool provides a comprehensive yet user-friendly approach to taking screenshots on your ASUS TUF Gaming laptop. With its editing features and various capture options, you can easily customize and enhance your screenshots before saving or sharing them.
Conclusion
Capturing screenshots on your ASUS TUF Gaming laptop is a breeze with the various methods we have explored. Whether you prefer using the Windows Snipping Tool, the Print Screen button, the Windows Game Bar, or the Snip & Sketch tool, you have a range of options to choose from based on your needs and preferences.
The Windows Snipping Tool offers simplicity and versatility, allowing you to capture specific areas or windows with ease. On the other hand, the Print Screen button provides a quick and straightforward way to capture your entire screen and save it to the clipboard.
For gamers, the Windows Game Bar is a convenient feature that enables you to capture screenshots while immersed in your favorite games. And for those seeking more editing options, the Snip & Sketch tool offers advanced features to annotate, crop, and enhance your screenshots before saving or sharing them.
Regardless of the method you choose, the ability to take screenshots on your ASUS TUF Gaming laptop empowers you to capture and share memorable moments, create engaging content, or troubleshoot technical issues more effectively.
Now that you’re equipped with the knowledge of these different methods, go ahead and unleash your creativity and productivity by capturing and sharing screenshots with ease on your ASUS TUF Gaming laptop.