Introduction
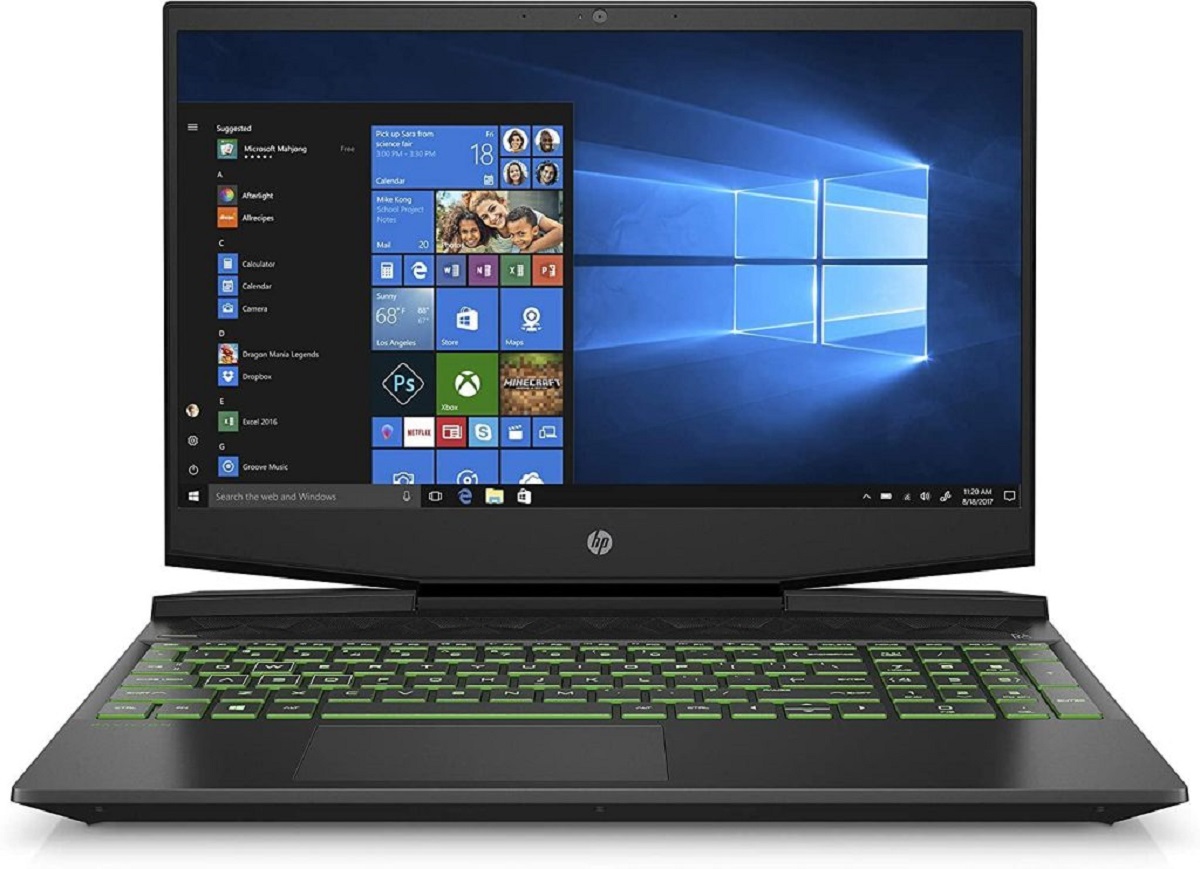
Are you experiencing slow performance on your HP Pavilion 15 Gaming Laptop while running demanding games or multitasking? Upgrading the RAM could be the solution you’re looking for. RAM (Random Access Memory) plays a crucial role in a computer’s performance, allowing it to handle multiple tasks efficiently. By increasing the RAM capacity, you can improve your laptop’s speed and performance.
Upgrading RAM on an HP Pavilion 15 Gaming Laptop is a relatively simple process that can be done by following a few steps. In this guide, we will walk you through the essential steps to successfully upgrade the RAM on your laptop.
Before getting started, it’s worth mentioning that upgrading the RAM should be considered carefully. Make sure to evaluate your needs and budget to determine if upgrading the RAM is the right decision for you. Additionally, be aware that tampering with your laptop’s internals may void the warranty, so proceed at your own risk.
However, if you’re confident in your technical abilities and understand the risks involved, upgrading the RAM can significantly enhance your laptop’s performance and overall user experience. So, let’s dive deeper into the process of upgrading RAM on your HP Pavilion 15 Gaming Laptop.
The Importance of Upgrading RAM
RAM, or Random Access Memory, is a crucial component of a computer’s performance. It acts as a temporary storage space for data that the computer needs to access quickly. When you run programs or applications on your laptop, they are loaded into RAM, allowing for faster and smoother operation.
Upgrading the RAM on your HP Pavilion 15 Gaming Laptop can have several benefits. Firstly, it allows you to run more memory-intensive applications and games without experiencing slowdowns or freezing. With a higher amount of RAM, your laptop can handle multiple tasks simultaneously, improving overall multitasking capabilities.
Another advantage of upgrading RAM is that it can enhance the performance of your laptop’s operating system. When you have more available RAM, your operating system can allocate resources more efficiently, resulting in faster boot times and improved overall system responsiveness.
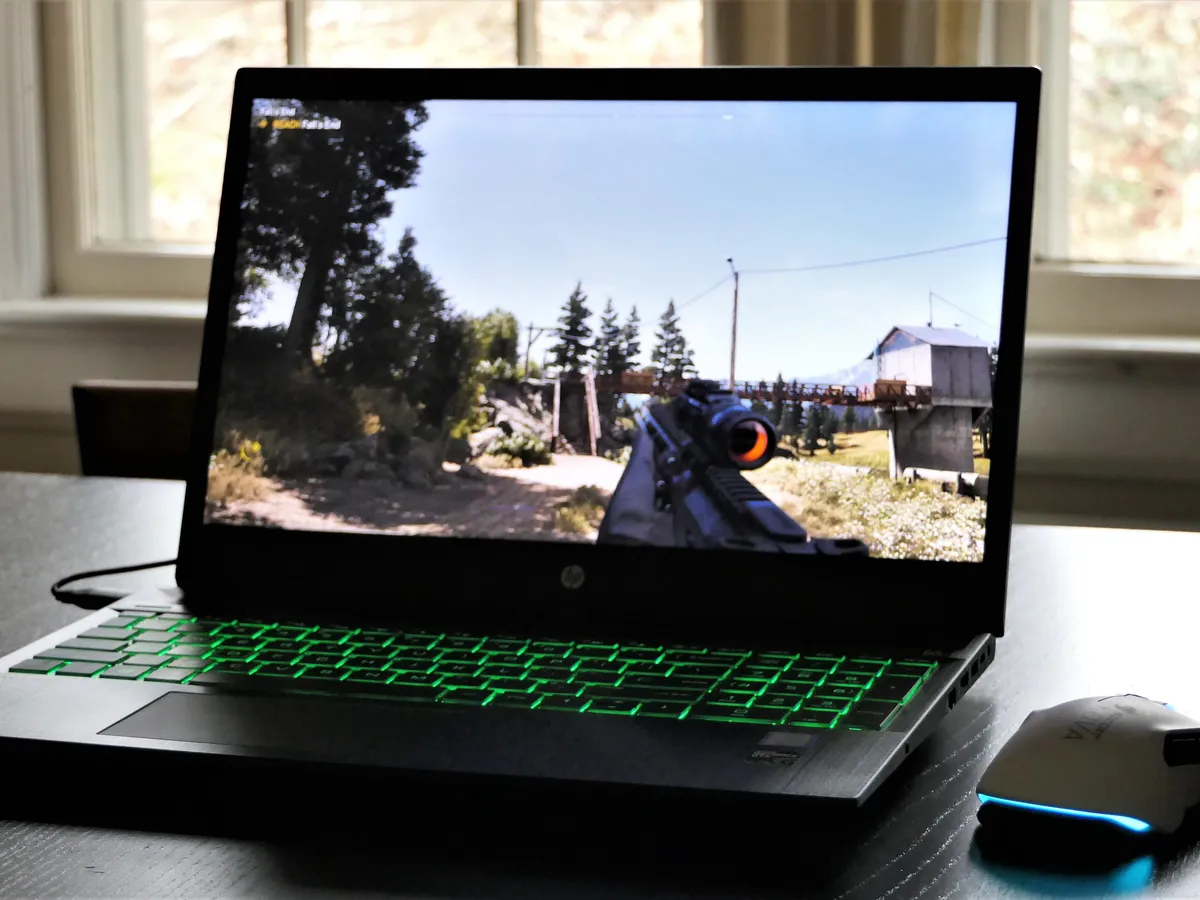
Upgrading your laptop’s RAM can also have a significant impact on gaming performance. Modern games are becoming increasingly demanding on system resources, requiring more RAM to run smoothly. By increasing the RAM capacity, you can ensure that your laptop has enough memory to handle the latest games, avoiding lag and stuttering.
Furthermore, if you frequently work with resource-intensive applications such as video editing software, graphic design programs, or virtual machines, upgrading the RAM can greatly improve productivity. These applications require a substantial amount of memory to perform optimally, and having more RAM allows for faster rendering, smoother editing, and seamless multitasking.
Overall, upgrading the RAM on your HP Pavilion 15 Gaming Laptop can provide a significant performance boost in various areas. From faster application loading times to smoother multitasking and enhanced gaming performance, upgrading RAM is a cost-effective way to breathe new life into your laptop.
Checking Compatibility
Before diving into the process of upgrading your HP Pavilion 15 Gaming Laptop’s RAM, it’s essential to ensure compatibility between the new RAM modules and your laptop. Incompatible RAM modules may not function correctly or may not be recognized by your laptop’s system.
The first step in checking compatibility is to identify the type of RAM that your laptop currently uses. The HP Pavilion 15 Gaming Laptop typically uses DDR4 RAM modules. To confirm this, you can refer to the laptop’s user manual or check the specifications on HP’s official website.
Once you know the type of RAM your laptop uses, you need to determine the maximum amount of RAM your laptop supports. Most HP Pavilion 15 laptops support a maximum of 16GB or 32GB of RAM. Again, consulting the user manual or checking the official specifications will provide this information.
After confirming the RAM type and maximum supported capacity, it’s time to decide on the desired amount of RAM you want to upgrade to. Consider your usage requirements and budget when making this decision. Upgrading to 8GB or 16GB of RAM is generally sufficient for most gaming and multitasking needs.
Another crucial factor to consider is the RAM speed. Your laptop’s motherboard will have a specific speed requirement for the RAM. It’s essential to choose RAM modules that meet or exceed the specified speed to ensure optimal performance.
Lastly, it’s worth noting that laptops often have limitations on the number of RAM slots available. Check how many slots your laptop has and how many are currently occupied. This information will help you determine whether you need to remove existing RAM modules or if there are empty slots available for the upgrade.
By following these compatibility checks, you can ensure that the new RAM modules you purchase will work seamlessly with your HP Pavilion 15 Gaming Laptop. Taking the time to verify compatibility before making your purchase will save you from potential compatibility issues and ensure a successful RAM upgrade.
Gathering the Necessary Tools
Before you start the process of upgrading the RAM on your HP Pavilion 15 Gaming Laptop, it’s important to gather the necessary tools to ensure a smooth and successful upgrade.
The following tools are typically required for a RAM upgrade:
- Small Phillips screwdriver: This will be used to remove the screws holding the laptop’s back cover in place.
- Antistatic wrist strap: While not mandatory, wearing an antistatic wrist strap can help protect your laptop’s internal components from electrostatic discharge (ESD), which can damage sensitive electronics.
- Clean, lint-free cloth: You’ll need this to clean the RAM modules and any other components you may encounter during the upgrade process.
- Compressed air or a soft brush: Use these tools to remove any dust or debris that may have accumulated inside the laptop’s interior.
It’s important to have these tools ready before you start the upgrade to minimize any potential damage or delays during the process. Keeping the workspace clean and organized will also help prevent losing any small screws or components.
Additionally, it’s a good idea to consult your laptop’s user manual or refer to online resources specific to your HP Pavilion 15 Gaming Laptop model. These resources may provide additional information or specific instructions on the tools required for your particular laptop model.
By gathering the necessary tools beforehand, you can ensure that you have everything you need to proceed with the RAM upgrade smoothly. Having the right tools on hand will make the process easier and minimize the risk of damaging any components during the upgrade process.
Precautions Before Upgrading
Before you begin the process of upgrading the RAM on your HP Pavilion 15 Gaming Laptop, it’s crucial to take some precautions to ensure a safe and successful upgrade. These precautions will help protect your laptop and prevent any potential damage to its internal components.
Here are some important precautions to keep in mind:
- Disconnect the power supply: Before attempting any hardware upgrades, make sure to turn off your laptop and disconnect the power supply. This will prevent any accidental power surges and protect you from electrical shock.
- Remove any peripherals: It’s best to disconnect any external devices or peripherals, such as USB drives or headphones, from your laptop before starting the upgrade. This will prevent any accidental damage to these devices during the process.
- Ground yourself: Static electricity can damage sensitive computer components, so make sure to ground yourself before touching any internal parts of your laptop. You can do this by wearing an antistatic wrist strap or by touching a grounded metal object.
- Work in a clean and well-lit area: Find a clean and well-lit workspace to perform the upgrade. This will help you see the components clearly and prevent any debris or dust from entering your laptop during the process.
- Handle components with care: RAM modules are delicate, so handle them with care. Hold them by the edges and avoid touching the gold connectors. Any damage to the RAM modules can render them unusable.
- Refer to the user manual: Always consult your laptop’s user manual or online resources specific to your HP Pavilion 15 Gaming Laptop model for detailed instructions. Following the manufacturer’s guidelines will ensure that you perform the upgrade correctly.
By taking these precautions, you can minimize the risk of damaging your laptop or its internal components during the RAM upgrade process. Following best practices and working methodically will help ensure a successful and stress-free upgrade experience.
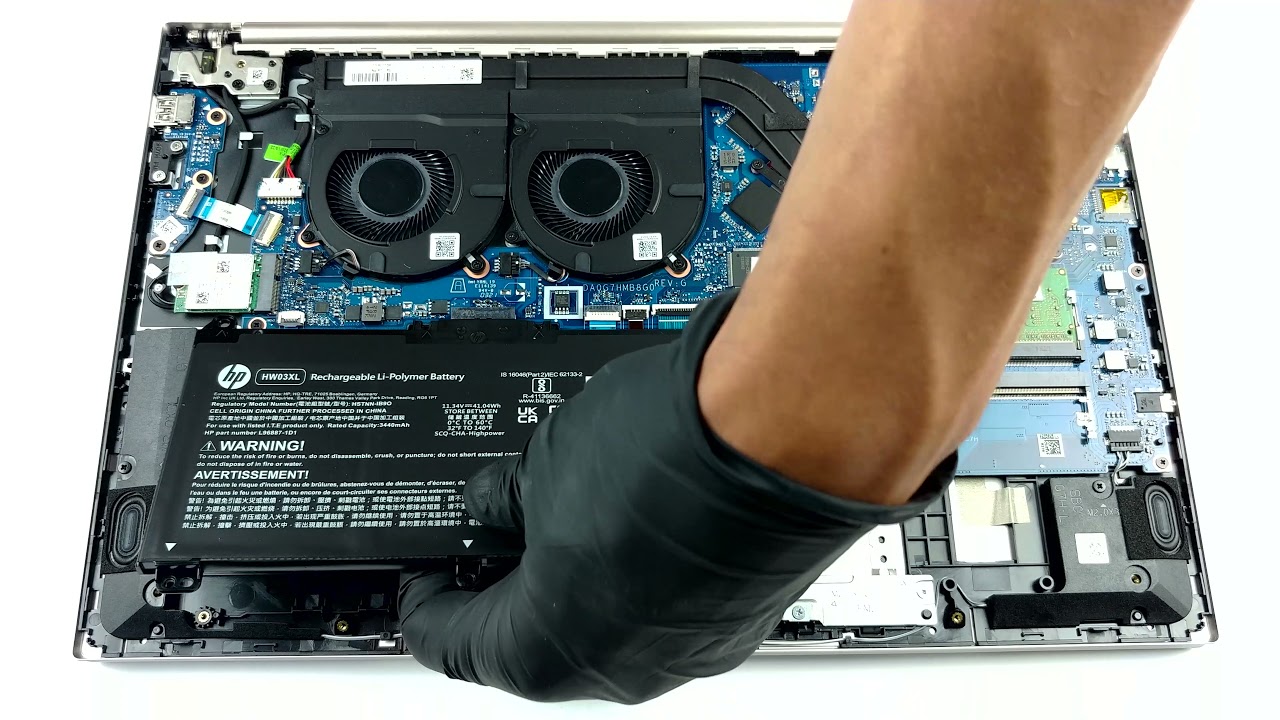
Removing the Back Cover
Before you can access the RAM slots on your HP Pavilion 15 Gaming Laptop, you’ll need to remove the back cover. This will give you access to the interior components and allow you to proceed with the RAM upgrade. Follow these steps to safely remove the back cover:
- Turn off your laptop: Make sure to shut down your laptop and disconnect the power supply.
- Ground yourself: Ground yourself by wearing an antistatic wrist strap or touching a grounded metal object. This will help prevent any static electricity from damaging sensitive components.
- Flip your laptop over: Carefully turn your laptop over, so the bottom side is facing up.
- Locate the screws: Look for the screws securing the back cover. They are usually marked with an icon or engraved on the plastic cover.
- Use a small Phillips screwdriver: Unscrew the screws holding the back cover in place. Keep the screws in a safe place, as you will need them later during reassembly.
- Remove the back cover: Once all the screws have been removed, gently lift the back cover starting from one corner. Be careful not to apply too much force, as there may be clips or connectors holding the cover in place.
- Set aside the back cover: Place the removed back cover in a safe location, away from any potential damage or static.
With the back cover removed, you now have access to the interior components of your HP Pavilion 15 Gaming Laptop. Take a moment to familiarize yourself with the interior layout and locate the RAM slots to proceed with the next steps of the RAM upgrade process.
Remember to handle the back cover and screws with care to avoid any damage or loss. By following these steps, you can safely remove the back cover and prepare your laptop for the RAM upgrade.
Finding the RAM Slots
After successfully removing the back cover of your HP Pavilion 15 Gaming Laptop, it’s time to locate the RAM slots. The RAM slots are where the existing RAM modules are installed and where you will insert the new RAM modules during the upgrade process. Follow these steps to find the RAM slots:
- Inspect the interior: Take a careful look at the interior of your laptop. The RAM slots are usually located near the center or bottom of the motherboard.
- Identify the existing RAM modules: Look for the modules that are already installed in the RAM slots. They will be small rectangular chips mounted vertically on the motherboard.
- Observe the empty RAM slots: If there are additional RAM slots available, they will be empty or covered with plastic slot protectors. These additional slots allow for easy expansion and upgrading of the RAM capacity.
- Identify the retaining clips: On either side of each RAM slot, you’ll find small retaining clips. These clips hold the RAM module in place. Make note of their positions, as you will need to release them to remove the existing RAM modules.
It’s important to handle the existing RAM modules with care and avoid touching the gold connectors. Take a moment to appreciate the layout of the RAM slots and their corresponding retaining clips, as this will help you during the next steps of the RAM upgrade process.
If all the RAM slots are occupied, you’ll need to remove the existing RAM modules before installing the new ones. However, if there are available slots, you can simply insert the new RAM modules into the empty slots.
By carefully locating the RAM slots and familiarizing yourself with their positions, you are one step closer to completing the RAM upgrade on your HP Pavilion 15 Gaming Laptop.
Removing Existing RAM Modules
Now that you have located the RAM slots on your HP Pavilion 15 Gaming Laptop, it’s time to remove the existing RAM modules. Removing the old RAM modules is an important step before installing the new ones during the RAM upgrade process. Follow these steps to safely remove the existing RAM modules:
- Ensure static electricity precautions: Before proceeding, make sure you are grounded by wearing an antistatic wrist strap or touching a grounded metal object.
- Identify the retaining clips: On either side of each RAM module, you’ll find small retaining clips. These clips hold the module securely in place.
- Release the retaining clips: Gently push the retaining clips outward until they release the RAM module. The module will pop up at an angle.
- Remove the RAM module: Carefully hold the RAM module by its edges and gently lift it out of the slot. Avoid touching the gold connectors or the sensitive components on the module.
- Repeat for additional modules: If you have multiple RAM modules installed, repeat the process for each module until all existing modules have been removed.
During the process, pay close attention to the retaining clips. Make sure they are fully released before attempting to remove the RAM modules. Applying too much force or not properly releasing the clips can damage the modules or the slots.
Once the existing RAM modules have been removed, place them in an antistatic bag or on a clean, non-conductive surface for safekeeping. It’s essential to handle the modules with care to avoid any damage or static discharge.
By successfully removing the existing RAM modules, you are ready to proceed with installing the new RAM modules during the upgrade process on your HP Pavilion 15 Gaming Laptop.
Installing the New RAM Modules
After removing the existing RAM modules from your HP Pavilion 15 Gaming Laptop, it’s time to install the new RAM modules. This step is crucial for upgrading your laptop’s RAM capacity. Follow these steps to safely install the new RAM modules:
- Check the orientation of the RAM module: Take note of the notch on the bottom of the RAM module. This notch ensures that you insert the module in the correct direction.
- Align the new RAM module: Position the new RAM module at a slight angle, aligning the notch with the corresponding notch in the RAM slot.
- Insert the RAM module: Gently but firmly press down on the RAM module until it is fully seated in the slot. The retaining clips should automatically lock the module in place.
- Apply even pressure: Make sure to apply even pressure to both ends of the RAM module to ensure a secure connection.
- Repeat for additional modules: If you have multiple RAM modules to install, repeat the above steps for each module, taking care to insert them into the empty RAM slots.
As you insert the new RAM modules, you may hear a satisfying click when the retaining clips lock the modules in place. This is an indication that the modules are securely installed.
Remember to handle the new RAM modules with care, holding them by the edges and avoiding touching the gold connectors or sensitive components. Applying too much force or inserting them in the wrong direction can cause damage.
Once you have successfully installed the new RAM modules, you are one step closer to completing the RAM upgrade on your HP Pavilion 15 Gaming Laptop.
Before proceeding to the next steps, take a moment to ensure that the modules are inserted correctly, fully seated, and secured by the retaining clips. Double-checking this will help avoid any issues during the reassembly process.
Reassembling the Laptop
With the new RAM modules successfully installed in your HP Pavilion 15 Gaming Laptop, it’s time to reassemble the laptop. Proper reassembly ensures that all components are securely in place and protects your laptop’s internal hardware. Follow these steps to reassemble your laptop:
- Retrieve the back cover: Take the back cover that you removed earlier during the RAM upgrade process.
- Align the back cover: Carefully align the back cover with the screw holes and the edges of the laptop.
- Press down firmly: Apply even pressure to the back cover, ensuring that it is properly seated and flush with the rest of the laptop’s body.
- Retrieve the screws: Locate the screws that you removed earlier and ensure they are readily available.
- Screw in the cover: Using a small Phillips screwdriver, screw in the back cover. Start with the corners and then proceed to screw in the remaining screws.
- Tighten the screws: Ensure that the screws are securely tightened without overtightening, which may damage the screw threads or the back cover.
Once the back cover is securely in place, you have successfully reassembled your HP Pavilion 15 Gaming Laptop after the RAM upgrade. Take a moment to inspect for any misaligned parts or loose screws.
With the laptop securely assembled, double-check that all connections are tight, and there are no loose wires or cables inside the laptop. This will help prevent any issues or performance anomalies after completing the reassembly process.
Congratulations! Your HP Pavilion 15 Gaming Laptop is now ready to reap the benefits of the upgraded RAM capacity. Remember to keep the laptop’s interior clean and free from dust and debris to maintain optimal performance.
Verifying the RAM Upgrade
After reassembling your HP Pavilion 15 Gaming Laptop, it’s important to verify that the RAM upgrade was successful. Verifying the RAM upgrade ensures that your laptop recognizes the new RAM modules and is utilizing the increased capacity. Follow these steps to verify the RAM upgrade:
- Power on your laptop: Turn on your laptop and wait for it to boot up.
- Check system information: Go to your laptop’s operating system and navigate to the system information or system settings.
- Confirm RAM capacity: Look at the system information to confirm that the RAM capacity is now increased to the desired amount. It should reflect the total capacity of the new RAM modules you installed.
- Verify system stability: Test your laptop’s performance by running multiple applications or tasks simultaneously. This will help ensure that the increased RAM capacity is providing a smoother and more responsive user experience.
- Monitor RAM usage: Use system monitoring tools or task managers to check the RAM usage during different activities. This will help confirm that your laptop is effectively utilizing the additional RAM.
If the system information displays the correct RAM capacity and the laptop performs well with increased multitasking capabilities, it is a clear indication that the RAM upgrade was successful.
However, if you encounter any issues, such as system instability, unexpected crashes, or the laptop not recognizing the new RAM modules, double-check the installation, ensuring that the modules are properly seated in the RAM slots.
If you continue to experience issues or have concerns after verifying the RAM upgrade, it may be beneficial to seek assistance from a professional or consult the laptop’s manufacturer for further guidance.
By verifying the RAM upgrade, you can confidently enjoy the improved performance and increased multitasking capabilities of your HP Pavilion 15 Gaming Laptop.
Conclusion
Upgrading the RAM on your HP Pavilion 15 Gaming Laptop can be a game-changer in terms of performance and multitasking capabilities. By following the steps outlined in this guide, you can successfully upgrade the RAM and unlock the full potential of your laptop.
We began by understanding the importance of upgrading RAM and how it can enhance overall performance, gaming experience, and productivity. Checking compatibility ensured that the new RAM modules are a suitable match for your laptop model.
Gathering the necessary tools and taking precautions before upgrading helped create a safe and efficient environment for the RAM upgrade process. Removing the back cover, finding the RAM slots, and installing the new RAM modules were all vital steps to ensure a successful upgrade.
After reassembling the laptop, the final step was to verify the RAM upgrade. Checking the system information, monitoring RAM usage, and confirming system stability helped ensure that the upgrade was recognized by the laptop and that it was performing optimally.
As a result of the RAM upgrade, you can now enjoy faster application loading times, smoother multitasking, and improved gaming performance on your HP Pavilion 15 Gaming Laptop.
Remember, while upgrading the RAM can significantly enhance your laptop’s performance, it is essential to evaluate your needs and budget before deciding to proceed with the upgrade. If you’re not comfortable performing the upgrade yourself, it’s a good idea to seek professional assistance.
With the upgraded RAM, you can now take on more demanding tasks, push the limits of your laptop, and enjoy a seamless computing experience. So, go ahead and give your HP Pavilion 15 Gaming Laptop the boost it deserves!