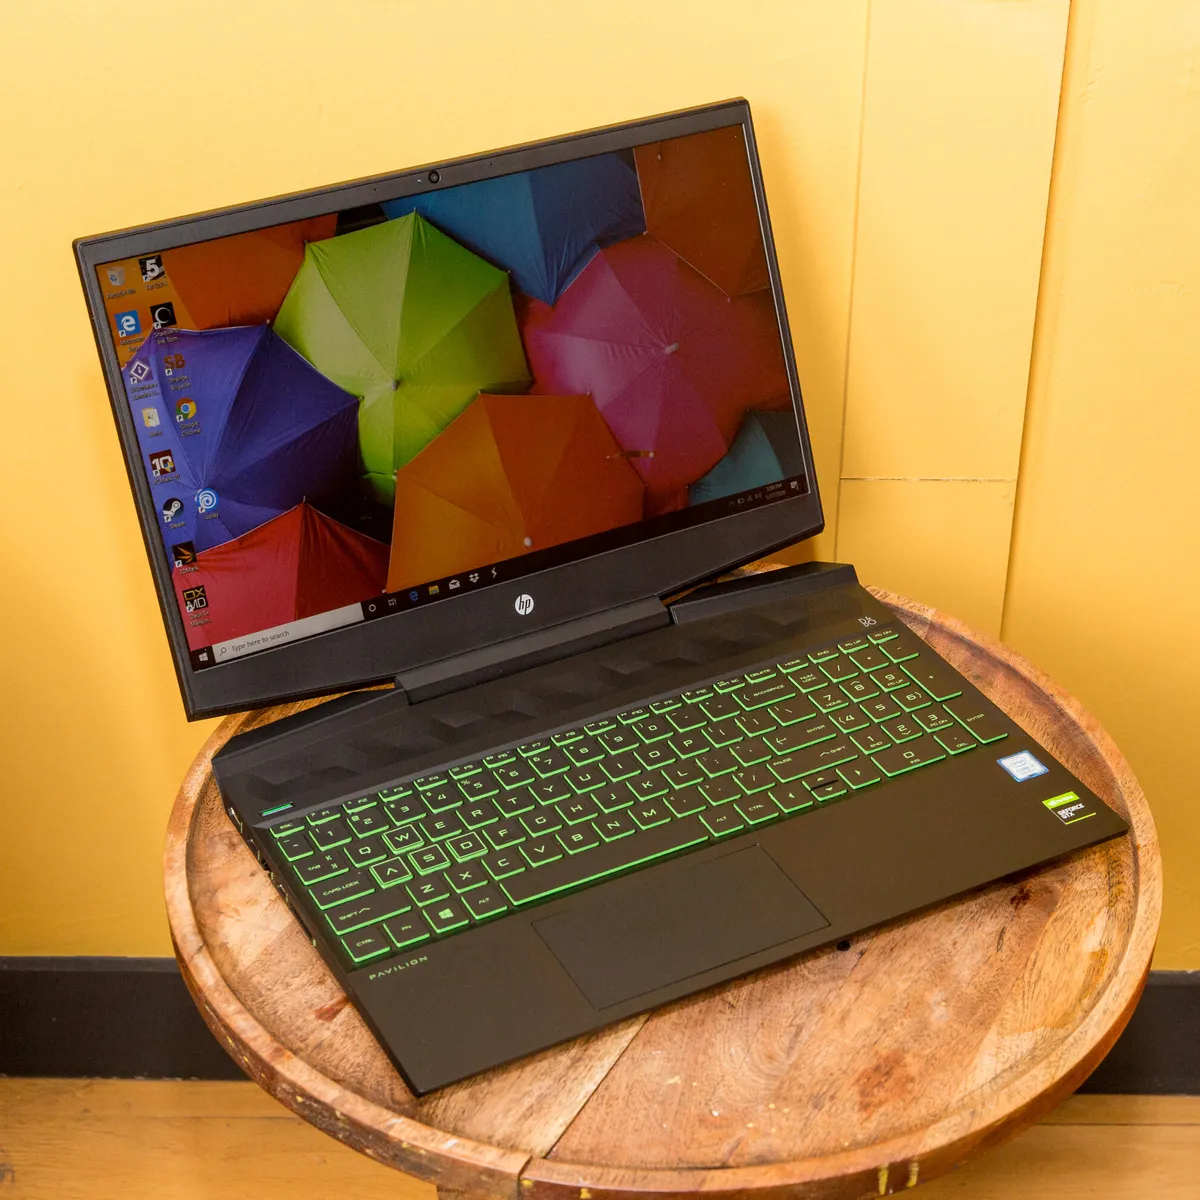
Introduction
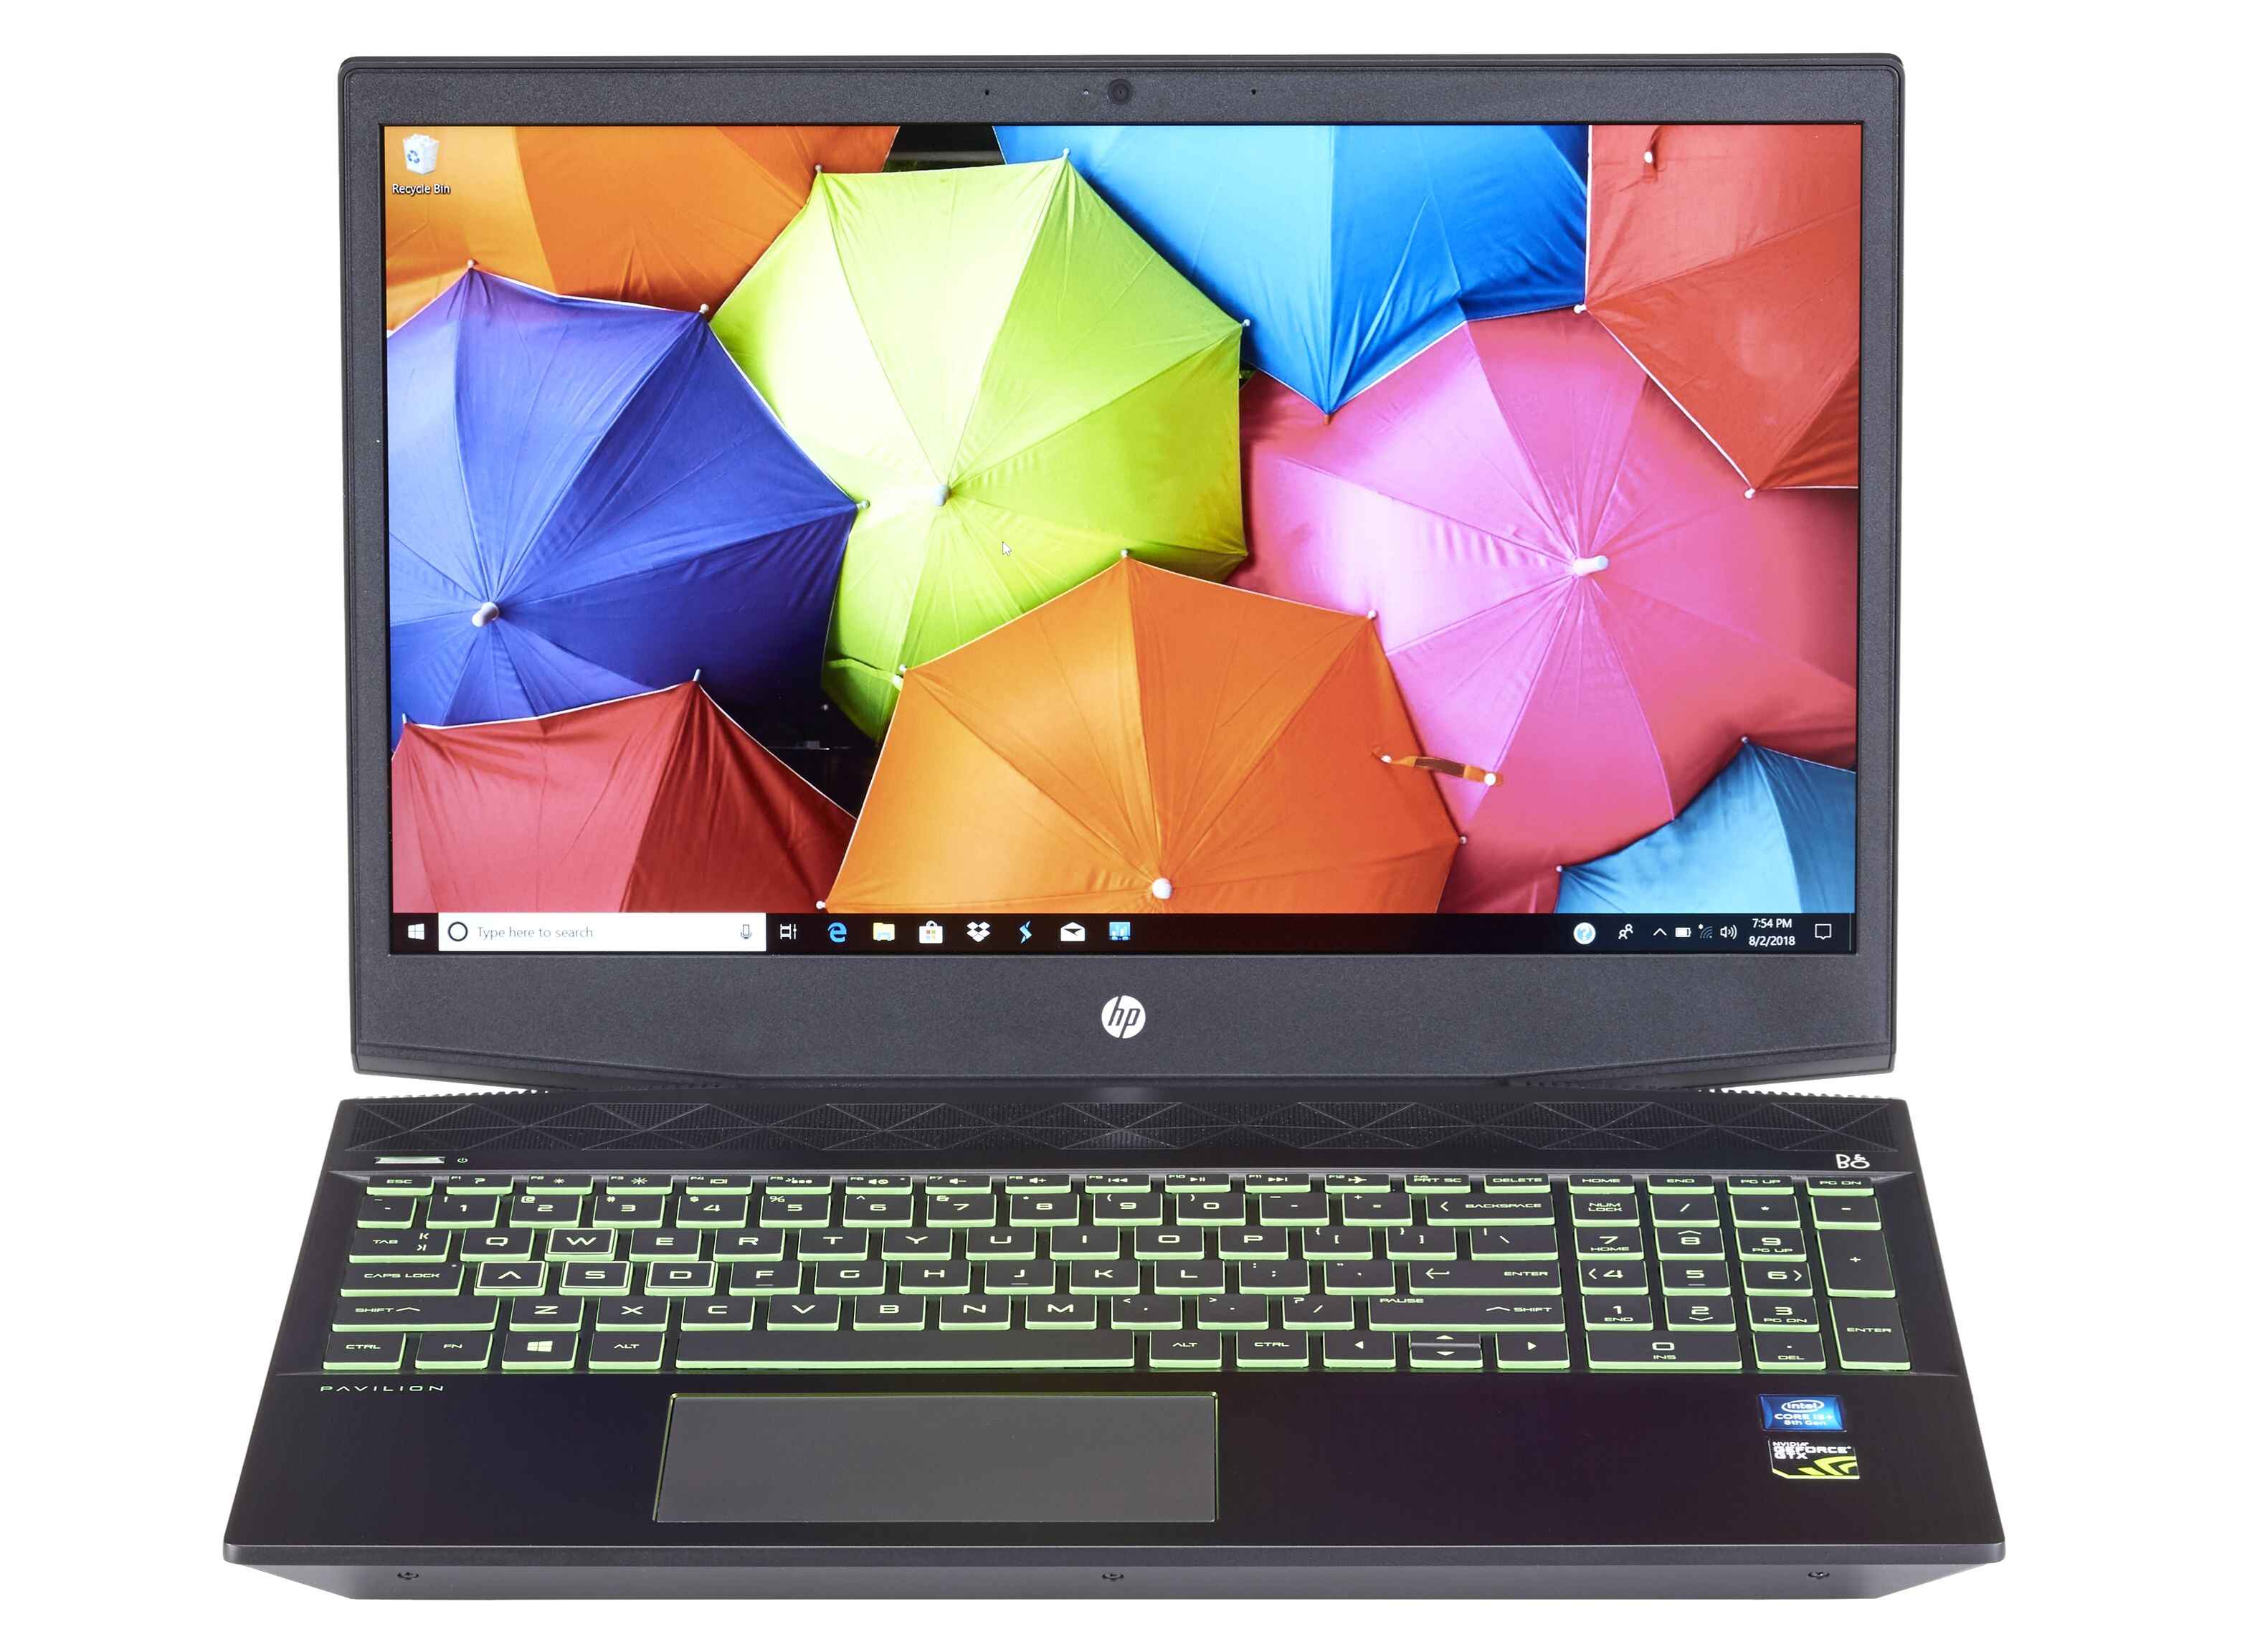
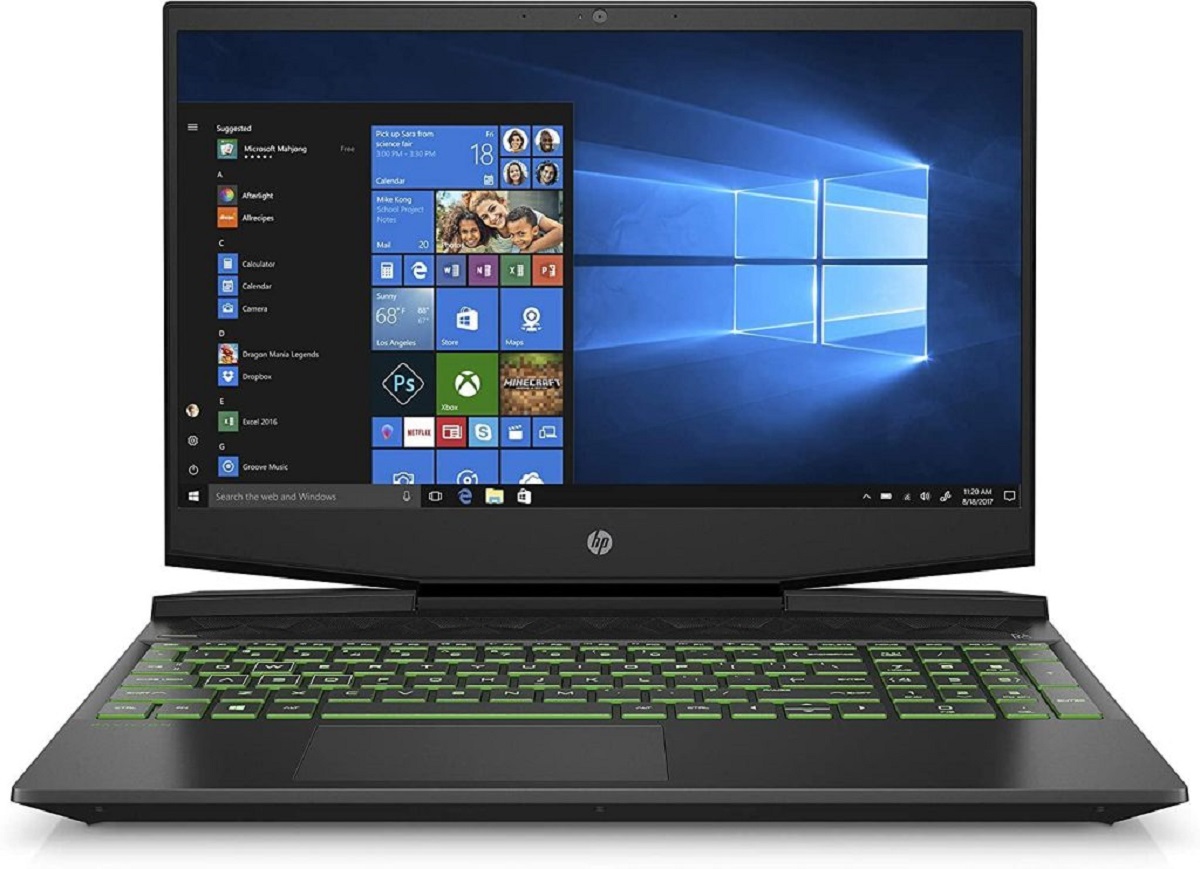
Welcome to this guide on how to open an HP Pavilion 15 gaming laptop. Opening up your laptop can seem like a daunting task, but with the right tools and guidance, it can be a straightforward process. Opening your laptop can allow you to upgrade components, clean out dust and debris, or perform repairs if needed.
Before we start, it’s important to note that opening your laptop may void its warranty, so proceed at your own risk. If your laptop is still under warranty, it’s best to check with your manufacturer or authorized service center for assistance.
To successfully open your HP Pavilion 15 gaming laptop, you will need a few tools. Make sure you have a small Phillips screwdriver, an anti-static wrist strap, and a clean workspace. It’s also advisable to have a soft cloth or towel to place the laptop on to prevent any scratches.
In the following sections, we will guide you through the steps to safely open your laptop, access the components, and perform any necessary upgrades or replacements. It’s important to handle all components with care and avoid touching any sensitive electronic parts directly to prevent damage from static electricity.
It’s worth mentioning that these instructions are specific to the HP Pavilion 15 gaming laptop model. If you have a different laptop model, the steps may vary, so make sure to consult the user manual or manufacturer’s support website for model-specific instructions.
Now that you have a basic understanding of what to expect, let’s move on to the first step: shutting down the laptop.
Tools Needed
Before proceeding with opening your HP Pavilion 15 gaming laptop, it’s essential to gather the necessary tools. Having the right tools will make the process easier and help prevent any damage to your laptop or its components. Here are the tools you’ll need:
- Small Phillips screwdriver: This will be used to unscrew the screws that secure the laptop’s panels.
- Anti-static wrist strap: This is crucial for protecting your laptop’s sensitive electronic components from static electricity. Make sure to wear the strap properly and connect it to a grounded object before starting.
- Clean workspace: Find a clean and well-lit area to work in. Having enough space will allow you to lay out the laptop and its components without any obstacles.
- Soft cloth or towel: It’s important to have a soft surface to place your laptop on during the process. This will prevent scratches or damage to the laptop’s exterior.
These tools are commonly available and should be easy to find. If you don’t have a small Phillips screwdriver, you can purchase one from a local hardware store or online. Additionally, an anti-static wrist strap can be found at electronic supply stores or online retailers specializing in computer accessories.
Having the right tools and ensuring a clean workspace will help make the opening process smooth and efficient. It’s essential to handle all tools with care and follow proper safety precautions to avoid any injuries while working on your laptop. Now that you have the necessary tools ready, let’s move on to the next step: shutting down the laptop.
Step 1: Shutting Down the Laptop
The first step in opening your HP Pavilion 15 gaming laptop is to properly shut it down. This ensures that all processes are safely stopped before you start working on the hardware. Follow these steps to shut down your laptop:
- Save your work: Before shutting down the laptop, make sure to save any open documents or files you’re working on. This will prevent any data loss.
- Close all applications: Close any open programs or applications to ensure they are properly closed before shutting down.
- Click on the “Start” button: Located at the bottom-left corner of the screen, click on the Windows Start button.
- Click on “Power”: In the Start menu, click on the Power option. A submenu will appear.
- Select “Shut down”: In the Power submenu, click on the Shut down option. Your laptop will now begin shutting down.
- Wait for the laptop to turn off: Allow the laptop a few moments to completely shut down. Ensure that the screen turns off and all indicator lights are no longer illuminated.
- Unplug any connected devices: Disconnect any external devices, such as USB drives or charging cables, from the laptop to avoid any potential hazards.
By following these steps, you have successfully shut down your HP Pavilion 15 gaming laptop, preparing it for the next steps in the opening process. It’s important to ensure that the laptop is completely turned off and all external devices are disconnected before proceeding.
In the next step, we will guide you through removing the battery of your laptop. This is an essential step to ensure your safety and prevent any damage to the laptop’s internals. Let’s move on to step 2: removing the battery.
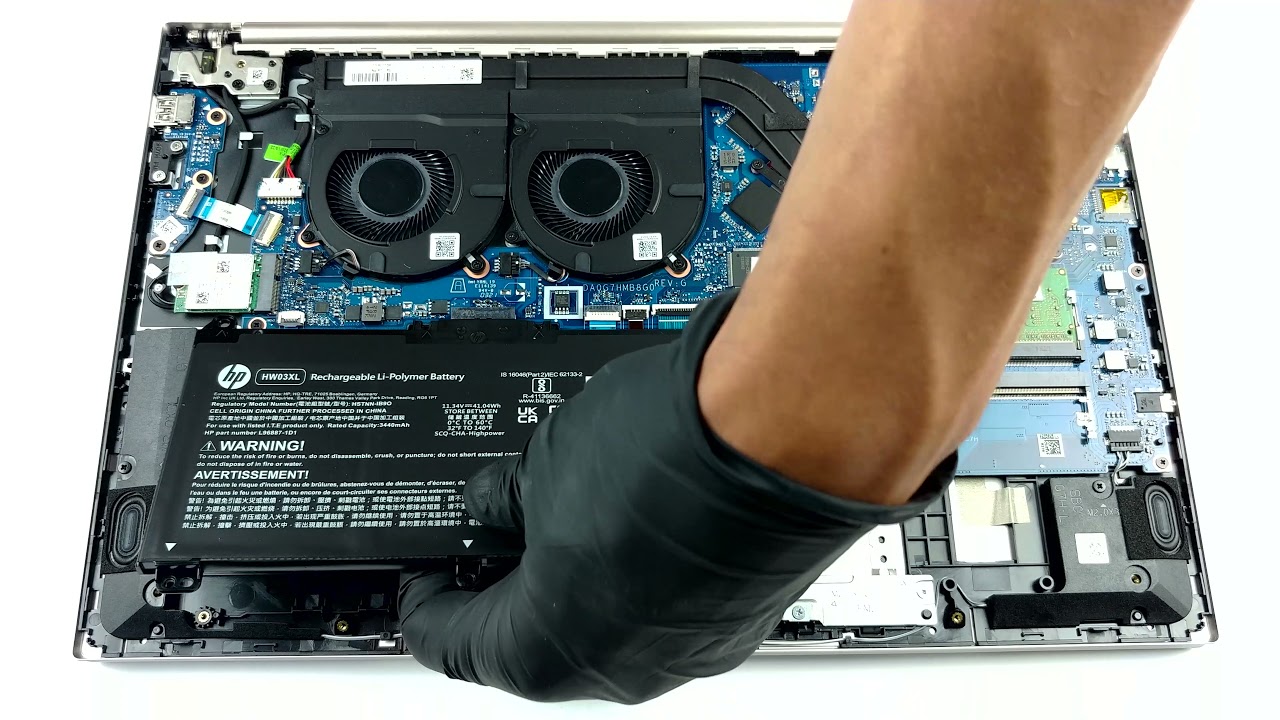
Step 2: Removing the Battery
Removing the battery is an important step when opening your HP Pavilion 15 gaming laptop. It ensures that the laptop is completely powered off and eliminates any risk of electrical shock during the disassembly process. Follow these steps to safely remove the battery:
- Make sure the laptop is shut down: Confirm that your laptop is completely powered off by following the steps outlined in Step 1.
- Flip the laptop upside down: Carefully turn your laptop over, so the bottom panel is facing upwards. Place it on a soft cloth or towel to protect the surface.
- Locate the battery release latch: Depending on your laptop model, there may be a battery release latch or a sliding mechanism to unlock the battery.
- Unlock and remove the battery: Use your fingers or a small tool, such as a flat-head screwdriver, to push or slide the battery release latch in the designated direction. This will unlock the battery. Gently pull the tab or slide the battery outwards to remove it from the laptop.
- Set the battery aside: Once the battery is removed, place it in a safe and static-free location.
It’s important to handle the battery with care and avoid any unnecessary force. If you encounter any difficulty while removing the battery, refer to your laptop’s user manual for model-specific instructions.
With the battery now removed, you have completed Step 2 of the process. In the next step, we will guide you through removing the bottom cover of your laptop to access the internal components. Let’s proceed to Step 3: Removing the Bottom Cover.
Step 3: Removing the Bottom Cover
Removing the bottom cover of your HP Pavilion 15 gaming laptop allows you to gain access to the internal components. Follow these steps carefully to safely remove the bottom cover:
- Ensure that the laptop is powered off and the battery is removed, as outlined in Steps 1 and 2 of this guide.
- Place your laptop on a clean, flat surface, bottom side up, with the hinges facing away from you.
- Locate the screws securing the bottom cover: Depending on your laptop model, there will be several screws around the perimeter of the bottom cover. Look for the small icons or labels that indicate the location of these screws.
- Using a small Phillips screwdriver, carefully unscrew the screws one by one, ensuring not to misplace them. Place the screws in a safe spot, such as a small container or organizer, to keep them from getting lost.
- Once all the screws are removed, gently lift the bottom cover starting from one corner. Use your fingers or a plastic opening tool to pry open the cover. Take your time and apply even pressure to avoid damaging the cover or any internal components.
- Continue to lift the bottom cover until it separates from the rest of the laptop. Be cautious of any cables or connectors that might still be attached to the cover.
- If there are any cables or connectors attached to the bottom cover, carefully detach them by gently pulling them away. Take note of their positions and how they are connected, as you will need to reattach them when reassembling the laptop.
- Set the bottom cover aside in a safe place, making sure it is protected from any potential damage.
With the bottom cover removed, you now have access to the internal components of your HP Pavilion 15 gaming laptop. In the next step, we will guide you through accessing the RAM slots. Let’s move on to Step 4: Accessing the RAM Slots.
Step 4: Accessing the RAM Slots
Accessing the RAM slots is crucial if you want to upgrade or replace the memory modules in your HP Pavilion 15 gaming laptop. Follow these steps to safely access the RAM slots:
- Ensure that your laptop is powered off, the battery is removed, and the bottom cover is removed, as outlined in the previous steps.
- Locate the RAM slots: The RAM slots are typically located near the center or towards one side of the motherboard. Look for the slots that resemble narrow, rectangular openings.
- Unlock the RAM slot tabs: Gently push apart the small tabs on the sides of the RAM slot to unlock the memory module.
- Remove the existing RAM module(s): Carefully pull the tabs on each side of the RAM module outward to release it from the slot. Use gentle pressure and avoid excessive force.
- Handle the new RAM module(s) with caution: If you are upgrading or replacing the RAM, make sure to handle the new module(s) carefully by holding them by their edges. Avoid touching the gold contacts as much as possible.
- Align and insert the new RAM module(s): Line up the notch in the RAM module with the tab inside the slot. Insert the module at a slight angle and press it down firmly until it snaps into place. Make sure it is fully seated and the tabs on each side lock back into place.
- If only upgrading one module, repeat the process for the remaining module(s): If your laptop has more than one RAM slot and you’re only upgrading or replacing one module, repeat the steps for each additional module.
Take note of the specific memory requirements for your laptop, such as the maximum supported RAM capacity and type. Refer to your laptop’s user manual or manufacturer’s website for detailed information.
With the RAM modules successfully installed, you can now proceed to the next step, where we will guide you through accessing the storage drives of your HP Pavilion 15 gaming laptop. Let’s move on to Step 5: Accessing the Storage Drives.
Step 5: Upgrading or Replacing the RAM
If you want to improve your HP Pavilion 15 gaming laptop’s performance, upgrading or replacing the RAM (random access memory) is a great option. Follow these steps to safely upgrade or replace the RAM:
- Ensure that your laptop is powered off, the battery is removed, and the bottom cover is removed, as outlined in the previous steps.
- Locate the RAM slots: Typically, the RAM slots are located near the center or towards one side of the motherboard. Look for the narrow, rectangular openings.
- Unlock the RAM slot tabs: Carefully push apart the small tabs on the sides of the RAM slots to unlock the memory modules.
- Remove the existing RAM module(s): Gently pull the tabs on each side of the RAM module outward to release it from the slot. Take care not to use excessive force.
- Handle the new RAM module(s) with care: If you are upgrading or replacing the RAM, handle the new module(s) carefully by holding them by their edges. Avoid touching the gold contacts as much as possible.
- Align and insert the new RAM module(s): Align the notch on the RAM module with the tab inside the slot. Insert the module at a slight angle and press it down firmly until it snaps into place. Ensure that it is fully seated, and the tabs on each side lock back into place.
- If you are upgrading or replacing only one module, repeat the process for the remaining module(s).
- Once the new RAM module(s) is installed, reassemble your laptop by following the steps in reverse order: replace the bottom cover, reinsert the battery, and tighten the screws.
Before purchasing new RAM modules, make sure to check the laptop’s user manual or manufacturer’s website for the compatible RAM types, capacities, and recommended configurations. This will ensure that the new RAM is compatible with your laptop and will function optimally.
With the RAM successfully upgraded or replaced, you can now enjoy improved performance and multitasking capabilities on your HP Pavilion 15 gaming laptop. In the next step, we will guide you through accessing the storage drives. Let’s move on to Step 6: Accessing the Storage Drives.
Step 6: Accessing the Storage Drives
Accessing the storage drives of your HP Pavilion 15 gaming laptop allows you to upgrade or replace the hard drive or solid-state drive. Follow these steps to safely access the storage drives:
- Ensure that your laptop is powered off, the battery is removed, and the bottom cover is removed, as outlined in the previous steps.
- Locate the storage drive bay: The storage drive bay is typically situated towards the side or corner of the laptop. Look for a rectangular opening with a connector and mounting points.
- Identify the type of storage drive: Determine if your laptop has a traditional hard drive (HDD) or a solid-state drive (SSD). This information will help you select a compatible replacement drive.
- Remove the storage drive: Depending on the type of drive, it may be secured with screws or held in place by a bracket. Use a screwdriver to carefully remove any screws, or release the bracket and slide out the drive from its slot.
- If you are replacing the drive, transfer any necessary components: If you are replacing the drive with a new one, you may need to transfer components such as mounting brackets or rubber grommets from the old drive to the new one.
- Insert the new storage drive: For an HDD, connect the SATA and power cables to the drive, then carefully slide it back into the drive bay. Secure it in place using screws or by locking the bracket. For an SSD, connect it directly to the appropriate connector.
- Reassemble your laptop: Replace the bottom cover, reinsert the battery, and tighten the screws. Ensure all components are securely in place.
When selecting a replacement storage drive, consider the capacity and performance requirements you desire. An SSD can provide faster data access and improved overall performance compared to an HDD.
It’s important to note that upgrading the storage drive may require reinstalling the operating system and transferring your data to the new drive. Make sure to back up any important files before proceeding with the upgrade.
With the storage drive successfully upgraded or replaced, you can enjoy increased storage capacity or faster data access on your HP Pavilion 15 gaming laptop. The next step will guide you through reassembling the laptop. Let’s move on to Step 7: Reassembling the Laptop.
Step 7: Upgrading or Replacing the Storage Drives
If you’re looking to increase storage capacity or enhance the speed of your HP Pavilion 15 gaming laptop, upgrading or replacing the storage drives is a viable option. Follow these steps to safely upgrade or replace the storage drives:
- Ensure that your laptop is powered off, the battery is removed, and the bottom cover is removed, as outlined in the previous steps.
- Identify the storage drives: Locate the storage drives, which are usually located in the storage drive bay of your laptop. Common storage drive options include hard disk drives (HDDs) and solid-state drives (SSDs).
- Remove the existing storage drive: Depending on the type of drive, it may be secured with screws or held in place by a bracket. Use a screwdriver to carefully remove any screws or release the bracket. Gently disconnect the drive’s cables, if necessary, and slide it out of its bay.
- Prepare the new storage drive: If you are replacing the storage drive, remove any mounting brackets or rubber grommets from the old drive and attach them to the new drive.
- Install the new storage drive: Carefully slide the new storage drive into the bay, aligning it with the connector. Make sure it is seated properly and securely in place.
- Secure the new storage drive: Use screws or reattach the bracket to secure the new storage drive in the bay. Ensure that it is firmly fixed in place without being overly tightened.
- Reconnect the cables: If the new storage drive requires cables, carefully connect them to the appropriate connectors on the drive.
- Reassemble your laptop: Replace the bottom cover, reinsert the battery, and tighten the screws. Ensure all components are securely in place.
Before upgrading or replacing the storage drives, it is recommended to back up your important data to avoid any potential loss during the process.
When selecting a new storage drive, consider factors such as storage capacity, speed, and budget. SSDs offer faster performance and improved durability compared to HDDs, although they tend to be more expensive.
By successfully upgrading or replacing the storage drives, you can experience increased storage space or faster data transfer speeds on your HP Pavilion 15 gaming laptop. In the next step, we will guide you through the process of reassembling the laptop. Let’s move on to Step 8: Reassembling the Laptop.
Step 8: Reassembling the Laptop
After completing the necessary upgrades or replacements in your HP Pavilion 15 gaming laptop, it’s time to reassemble the laptop. Follow these steps to ensure everything is put back together correctly:
- Place the bottom cover: Take the bottom cover of your laptop and align it with the screw holes on the laptop’s body. Carefully place the cover down and make sure it sits flush.
- Tighten the screws: Using the small Phillips screwdriver, secure the bottom cover by tightening the screws. Start at one corner and work your way around, making sure to tighten each screw evenly.
- Reinsert the battery: Take the battery and align the contacts with the connectors inside the laptop. Gently slide the battery back into place, ensuring it is fully inserted and locks into position.
- Secure any additional connectors: If any cables or connectors were detached during the opening process, carefully reattach them to their respective ports, ensuring they are properly seated.
- Double-check everything: Before turning on your laptop, double-check that all components, such as RAM modules and storage drives, are securely in place. This will help prevent any loose connections or issues when powering on the laptop.
- Power on the laptop: Press the power button to turn on your HP Pavilion 15 gaming laptop. If everything is correctly reassembled, the laptop should boot up normally.
Take your time during the reassembly process and be gentle to avoid damaging any of the components. It’s important to ensure that all screws are properly tightened, but be careful not to overtighten them, as this can cause damage to the laptop’s casing.
Once the laptop is reassembled and powered on, make sure to test all the upgraded or replaced components to ensure they are functioning correctly. Check the new RAM modules, storage drives, and any other upgraded parts to ensure they are recognized and working as expected.
With the laptop successfully reassembled and all components in working order, you’ve completed the process of opening and upgrading your HP Pavilion 15 gaming laptop. Enjoy the improved performance and capabilities of your upgraded device!
Conclusion
Congratulations! You have successfully learned how to open your HP Pavilion 15 gaming laptop. By following the steps outlined in this guide, you have gained the knowledge and confidence to upgrade or replace components such as the RAM and storage drives.
Opening your laptop may seem intimidating at first, but with the right tools and careful handling, it can be a straightforward process. Remember to always shut down your laptop, remove the battery, and work in a clean and well-lit area. Take your time and be gentle when handling the internal components.
Whether you upgraded your laptop’s RAM for improved multitasking capabilities or replaced the storage drive for increased storage space or faster data access, these hardware upgrades can greatly enhance the performance and overall experience of your HP Pavilion 15 gaming laptop.
If you ever need to perform future upgrades or repairs, be sure to consult your laptop’s user manual or the manufacturer’s support website for specific instructions and compatibility information.
Lastly, it’s essential to remember that opening your laptop may void the warranty, so proceed at your own risk. If your laptop is still under warranty, it’s advisable to seek assistance from the manufacturer or an authorized service center.
We hope this guide has been helpful in assisting you with opening and upgrading your HP Pavilion 15 gaming laptop. Enjoy your improved device and happy computing!