Introduction
Welcome to the world of Asus Tuf Gaming laptops! These high-performance machines are designed for gamers who demand the best in terms of power, speed, and graphics. With their robust hardware and cutting-edge features, Asus Tuf Gaming laptops provide an immersive gaming experience like no other.
One of the essential functions every gamer needs to know is how to take a screenshot. Whether you want to capture an epic gaming moment, showcase your gameplay to the world, or simply save important information, knowing how to take a screenshot on your Asus Tuf Gaming laptop is crucial.
In this article, we will explore four different methods to help you capture screenshots effortlessly. Whether you prefer using built-in Windows shortcuts, dedicated screenshot tools, or even third-party software, we have you covered. By following these simple step-by-step instructions, you’ll be capturing stunning screenshots in no time.
So, if you are ready to level up your screenshot game and start capturing those amazing gaming moments, let’s dive into the methods!
Method 1: Using Windows Shortcut
Taking a screenshot on your Asus Tuf Gaming laptop is a breeze when you utilize the built-in Windows shortcuts. These shortcuts are convenient and easy to use, allowing you to capture either the entire screen or a specific region with just a few simple keystrokes. Here’s how to do it:
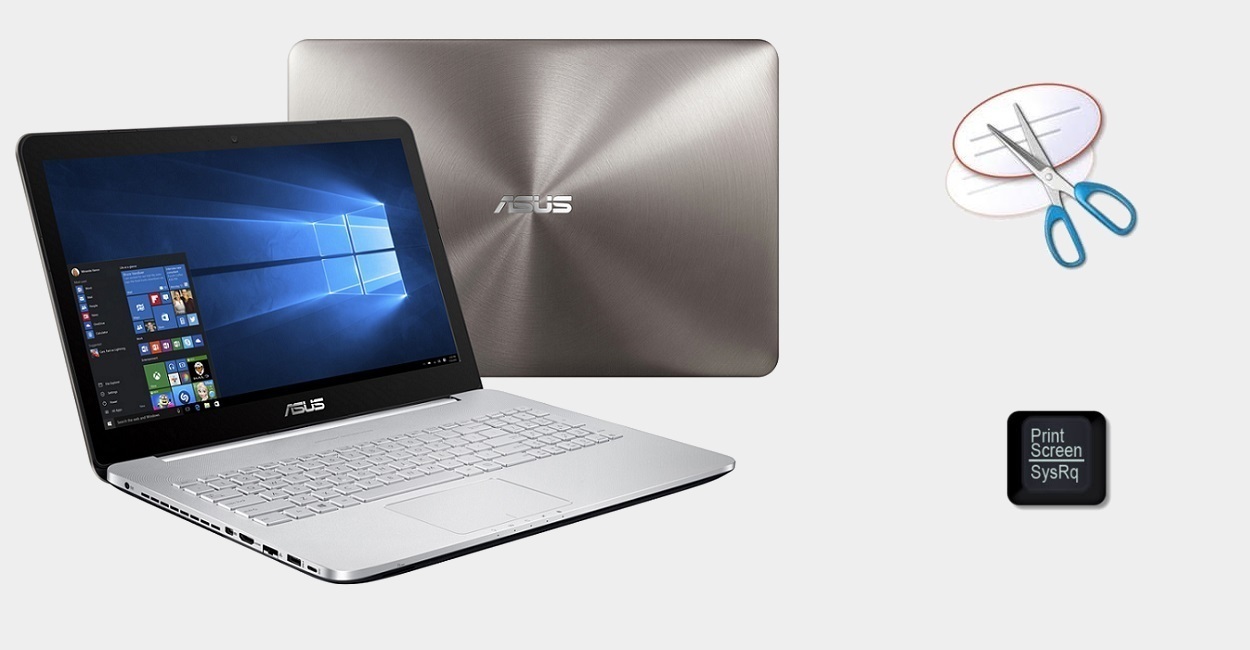
- Full Screen Screenshot: To capture the entire screen, simply press the Print Screen key (labeled as PrtSc or PrtScn) on your keyboard. This will save the screenshot to your clipboard.
- Active Window Screenshot: If you only want to capture the active window, press the Alt key along with the Print Screen key. This will save a screenshot of the active window to your clipboard.
- Screenshot of a Specific Region: If you want to capture a specific region of the screen, press the Windows key and the Shift key along with the S key. Your screen will appear slightly dimmed, and you can click and drag to select the desired region. Once you release the mouse button, the screenshot will be saved to your clipboard.
- Pasting the Screenshot: Now that you have captured the screenshot, you can paste it into an image editing software like Paint or Photoshop by pressing Ctrl + V. From there, you can save it as an image file in your desired format (PNG, JPEG, etc.).
Using the Windows shortcut method is quick and convenient, allowing you to capture screenshots on your Asus Tuf Gaming laptop without the need for additional software. Whether you want to capture a high score, a glitch, or a beautiful game environment, the Windows shortcuts have got you covered!
Method 2: Using the Snipping Tool
Another handy built-in tool for taking screenshots on your Asus Tuf Gaming laptop is the Snipping Tool. The Snipping Tool offers more flexibility than the Windows shortcut method as it allows you to capture specific areas of the screen with different shapes and annotations. Follow these steps to capture screenshots using the Snipping Tool:
- Open the Start menu and search for the Snipping Tool. Click on it to launch the tool.
- In the Snipping Tool window, click on the New button. Your screen will appear slightly dimmed, indicating that you can now capture the desired region.
- Click and drag your cursor to select the area you want to capture. You can choose from various shapes, including rectangular, free-form, window, or full-screen snip.
- Once you release the mouse button, the captured screenshot will open in the Snipping Tool window. You can make annotations, highlight specific areas, or add text if needed.
- Finally, click on the Save icon to save the screenshot as an image file in your desired location on your Asus Tuf Gaming laptop.
The Snipping Tool offers great flexibility for capturing screenshots on your Asus Tuf Gaming laptop. Whether you want to highlight specific elements or make annotations before saving the screenshot, the Snipping Tool has the features you need to enhance your capturing experience.
Method 3: Using the Game Bar
If you’re a gamer, chances are you’re already familiar with the Game Bar on your Asus Tuf Gaming laptop. Not only does it provide a range of gaming features, but it also includes a built-in screenshot tool. Follow these steps to capture screenshots using the Game Bar:
- While playing a game or in any application, press the Windows key and the G key simultaneously to open the Game Bar.
- Locate the Capture button (camera icon) on the Game Bar, and click on it.
- A small menu will appear, offering different options for capturing screenshots. You can choose to capture the entire screen, the active window, or a specific region. Select the desired option.
- The screenshot will be saved automatically in the default folder called “Captures” in your “Videos” folder. You can also access it by pressing the Windows key and the E key simultaneously to open the File Explorer and navigate to the “Videos” folder.
The Game Bar provides a quick and efficient way to capture screenshots while gaming on your Asus Tuf Gaming laptop. Whether you want to capture an epic gaming moment or highlight a glitch for troubleshooting, the Game Bar has you covered without interrupting your gameplay.
Method 4: Using a Third-Party Software
If you’re looking for even more functionality and customization options for capturing screenshots on your Asus Tuf Gaming laptop, third-party software can be a great option. There are several reliable and feature-rich screenshot tools available that offer advanced editing capabilities and cloud storage integration. Here’s how you can use a third-party software to capture screenshots:
- Select a Third-Party Software: Research and choose a screenshot tool that suits your requirements. Some popular options include Snagit, Greenshot, Lightshot, and ShareX.
- Download and Install: Visit the official website of the chosen software and download the installation file. Follow the on-screen instructions to install the software on your Asus Tuf Gaming laptop.
- Launch the Software: Once installed, launch the software from the desktop or Start menu.
- Explore the Features: Familiarize yourself with the various features offered by the software, such as capturing specific regions, editing screenshots, adding annotations, and sharing options.
- Capture the Screenshot: Use the software’s capture options to capture screenshots according to your preferences. Each software may have its unique set of hotkeys or capture methods, so refer to the software’s documentation or tutorials for guidance.
- Save and Edit: After capturing the screenshot, you can save it in your desired format and location. Many third-party software also offer advanced editing features, allowing you to enhance the screenshot with filters, effects, and annotations.
- Share or Store: Once you are satisfied with the edited screenshot, you can choose to share it directly on social media platforms or save it to cloud storage services for easy access from any device.
Third-party screenshot software provides extensive options and features to enhance your screenshot-taking experience. Whether you need advanced editing capabilities, cloud storage integration, or specialized capture modes, these tools offer a wide range of possibilities to meet your requirements.
Conclusion
Capturing screenshots on your Asus Tuf Gaming laptop is a fundamental skill every gamer should possess. Whether you want to capture your high scores, funny glitches, or stunning game environments, knowing how to take screenshots is essential.
In this article, we explored four different methods to help you capture screenshots effortlessly. We started with the built-in Windows shortcuts, which are quick and convenient for capturing the entire screen, active windows, or specific regions. Then, we discussed the Snipping Tool, a built-in tool that offers more flexibility, shapes, and annotations for capturing screenshots.
We also explored the Game Bar, which is ideal for gamers as it provides quick access to screenshot options without interrupting gameplay. And finally, we discussed the use of third-party software, offering advanced features and customization options for capturing and editing screenshots.
Now that you are familiar with these methods, it’s time to start capturing those epic gaming moments and sharing them with the world. Choose the method that fits your needs and preferences, and don’t forget to explore the different options and features each method provides.
Remember, capturing screenshots is not just about preserving memories, but it can also be a valuable tool for troubleshooting, sharing tips and tricks, or showcasing your gaming skills to an audience. So, make the most out of these methods and elevate your screenshot-taking game on your Asus Tuf Gaming laptop.
Happy gaming and happy screenshotting!