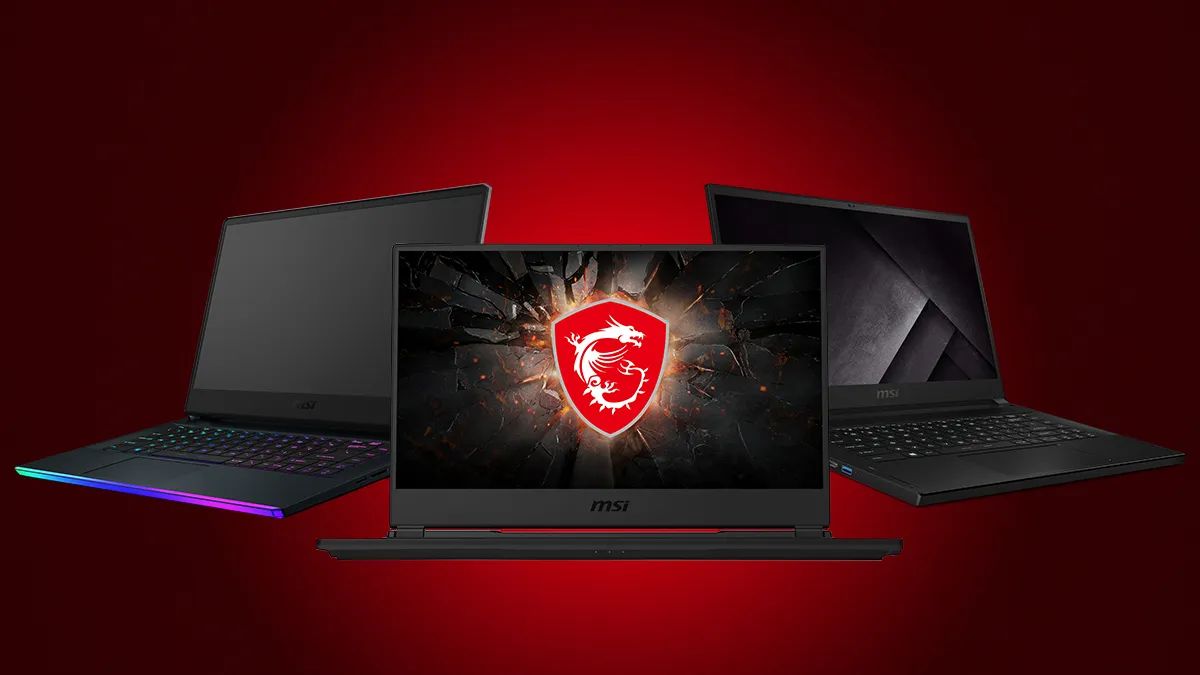
Introduction
Whether you’re an avid gamer, a content creator, or simply someone looking to capture a moment on your MSI gaming laptop, knowing how to take a screenshot is a valuable skill to have. Screenshots are a convenient way to save and share information, troubleshoot technical issues, and document memorable gaming achievements.
In this article, we will explore several methods you can use to take screenshots on your MSI gaming laptop. We will cover both built-in Windows tools and MSI-specific software, providing you with a range of options to choose from.
Before we delve into the methods, it’s important to note that the specific steps may vary slightly depending on your laptop model and operating system version. However, the general principles discussed here should apply to most MSI gaming laptops.
So, whether you’re using a powerful MSI gaming laptop like the GS66 Stealth or the GE75 Raider, or any other MSI model, let’s get started and learn how to capture those memorable moments!
Method 1: Using the Print Screen Key
The Print Screen key, often labeled as “PrtSc” or “Print Scrn” on MSI gaming laptops, is a commonly used method to capture a screenshot. This method allows you to capture the entire screen and save it as an image file.
To take a screenshot using the Print Screen key on your MSI gaming laptop, follow these steps:
- Locate the Print Screen key on your keyboard. It is typically found in the top-right corner, above the arrow keys or next to the function keys.
- Make sure that the content you want to capture is visible on your screen.
- Press the Print Screen key. This will capture a screenshot of the entire screen and store it in your computer’s clipboard.
- Open an image editing program or any software that supports image pasting, such as Microsoft Paint or Adobe Photoshop.
- Press Ctrl + V or right-click and select “Paste” to paste the screenshot from the clipboard.
- Save the screenshot as an image file in your desired location on your MSI gaming laptop.
Using the Print Screen key is a quick and easy way to capture screenshots on your MSI gaming laptop. However, it captures the entire screen, including any open windows or desktop icons. If you only want to capture a specific window or a portion of the screen, you may want to explore other methods mentioned in this article.
Now that you know how to use the Print Screen key to take screenshots, let’s move on to the next method, which involves using the Windows key in conjunction with the Print Screen key.
Method 2: Using the Windows Key + Print Screen Key
If you want to capture the entire screen and save it as an image file directly, the Windows Key + Print Screen Key combination is a convenient method to use on your MSI gaming laptop. This method automatically saves the screenshot to your designated “Screenshots” folder in the Pictures library.
To take a screenshot using the Windows Key + Print Screen Key on your MSI gaming laptop, follow these steps:
- Make sure the content you want to capture is visible on your screen.
- Locate the Windows key on your keyboard. It is usually located between the left Ctrl and Alt keys.
- Press and hold down the Windows key, then press the Print Screen key (sometimes labeled as “PrtSc” or “Print Scrn”) simultaneously.
- You may notice the screen dim momentarily, indicating that the screenshot has been captured.
- Open the File Explorer by pressing the Windows key + E.
- In the File Explorer, navigate to the Pictures folder and open the “Screenshots” folder.
- You will find the screenshot captured with a filename that includes the date and time it was taken.
By using the Windows Key + Print Screen Key combination, you can easily take screenshots without the need for additional software. The captured screenshots are conveniently stored in the “Screenshots” folder, making it easy to locate and organize your saved images.
If you prefer more control over the area you want to capture or want to annotate and edit your screenshots before saving them, you can explore the next method, which involves using the Windows Snipping Tool.
Method 3: Using the Windows Snipping Tool
The Windows Snipping Tool is a built-in screenshot tool available on MSI gaming laptops that allows you to capture specific areas of the screen with various snipping modes. This method provides more flexibility and control over what you want to capture compared to the previous methods.
To take a screenshot using the Windows Snipping Tool on your MSI gaming laptop, follow these steps:
- Open the Start menu and search for “Snipping Tool.” Click on the search result to launch the Snipping Tool application.
- Once the Snipping Tool is open, click on the “New” button.
- Drag the cursor to select the area of the screen you want to capture. You can choose from four snipping modes: Free-form Snip, Rectangular Snip, Window Snip, or Full-screen Snip.
- Release the mouse button to capture the selected area.
- The captured screenshot will open in the Snipping Tool window.
- In the Snipping Tool window, you can make annotations, crop the image, or save it as a file by clicking on the “Save Snip” button.
- Choose the file location and enter a name for the screenshot, then click “Save.”
The Windows Snipping Tool offers versatile options for capturing screenshots on your MSI gaming laptop. Whether you need to capture a specific window, a rectangular region, or even a free-form area, this tool can accommodate your requirements. Moreover, the ability to annotate and edit the screenshot within the Snipping Tool provides an extra layer of functionality.
If you’re using a newer version of Windows, you may have access to the Snip & Sketch tool, which serves as an improved version of the Snipping Tool. It offers additional features and a more modern interface for capturing and annotating screenshots. Consider exploring Snip & Sketch as another screenshot alternative.
Now that you know how to use the Windows Snipping Tool, let’s move on to the next method, which involves using MSI’s Dragon Center software.
Method 4: Using MSI’s Dragon Center
If you’re the proud owner of an MSI gaming laptop, you have the advantage of using MSI’s Dragon Center software, which offers a range of advanced features to enhance your gaming experience. Among its many capabilities is the ability to capture screenshots tailored specifically for gaming.
To take a screenshot using MSI’s Dragon Center on your MSI gaming laptop, follow these steps:
- Open MSI’s Dragon Center software. You can usually find it by searching for “Dragon Center” in the Start menu or by locating it in the system tray.
- In the Dragon Center’s main interface, click on the “Toolbox” tab.
- Within the Toolbox, locate and click on the “Scenes” button.
- In the Scenes section, click on the camera icon labeled “Screenshots.”
- The screen will freeze momentarily while the screenshot is taken.
- Once the screenshot is captured, a notification will appear, indicating the screenshot has been saved.
- Open the File Explorer and navigate to the default screenshot location, typically in the Pictures folder.
- You will find the screenshot saved with a filename containing the date and time it was taken.
MSI’s Dragon Center provides a seamless method to capture screenshots tailored to gaming. With a dedicated “Screenshots” feature within the Scenes section, you can effortlessly capture and save gaming-related screenshots without the need for third-party software.
Additionally, Dragon Center offers a variety of other features and optimizations to enhance your gaming experience, making it a valuable tool for MSI gamers.
Now that we have explored various methods for taking screenshots on your MSI gaming laptop, you can choose the one that best suits your needs, whether it’s the quick and easy Print Screen key method, the Windows Snipping Tool for more precision, or MSI’s Dragon Center for gaming-specific captures.
By mastering the art of screenshotting on your MSI gaming laptop, you can easily save and share memorable moments from your gaming sessions, troubleshoot technical issues, and communicate effectively with fellow gamers and support teams.
Conclusion
Taking screenshots on your MSI gaming laptop is a skill that can greatly enhance your gaming experience and productivity. Whether you’re capturing gaming achievements, troubleshooting technical issues, or simply preserving memorable moments, knowing how to take screenshots is invaluable.
In this article, we explored four different methods for taking screenshots on your MSI gaming laptop. We started with the classic approach of using the Print Screen key, which allows you to capture the entire screen with a simple key press. We then learned how to utilize the Windows Key + Print Screen Key combination to directly save a screenshot to the designated “Screenshots” folder.
For more control and precision, we delved into using the Windows Snipping Tool, which enables you to capture specific areas of the screen and provides annotation and editing options. Finally, we discovered the convenience of MSI’s Dragon Center software, which offers a dedicated “Screenshots” feature within the Scenes section, tailored specifically for gaming.
By familiarizing yourself with these methods, you can easily adapt to different scenarios and capture screenshots effortlessly on your MSI gaming laptop. Whether you prefer a quicker approach or require more customization options, there is a method that suits your needs.
Remember that while the specific steps may vary slightly depending on your laptop model and operating system version, the principles discussed in this article should apply to most MSI gaming laptops.
So, whether you’re utilizing the power of the GS66 Stealth or the GE75 Raider, or any other MSI gaming laptop, you now have the knowledge to capture those amazing gaming moments and share them with the world.
Happy screenshotting!