Introduction:
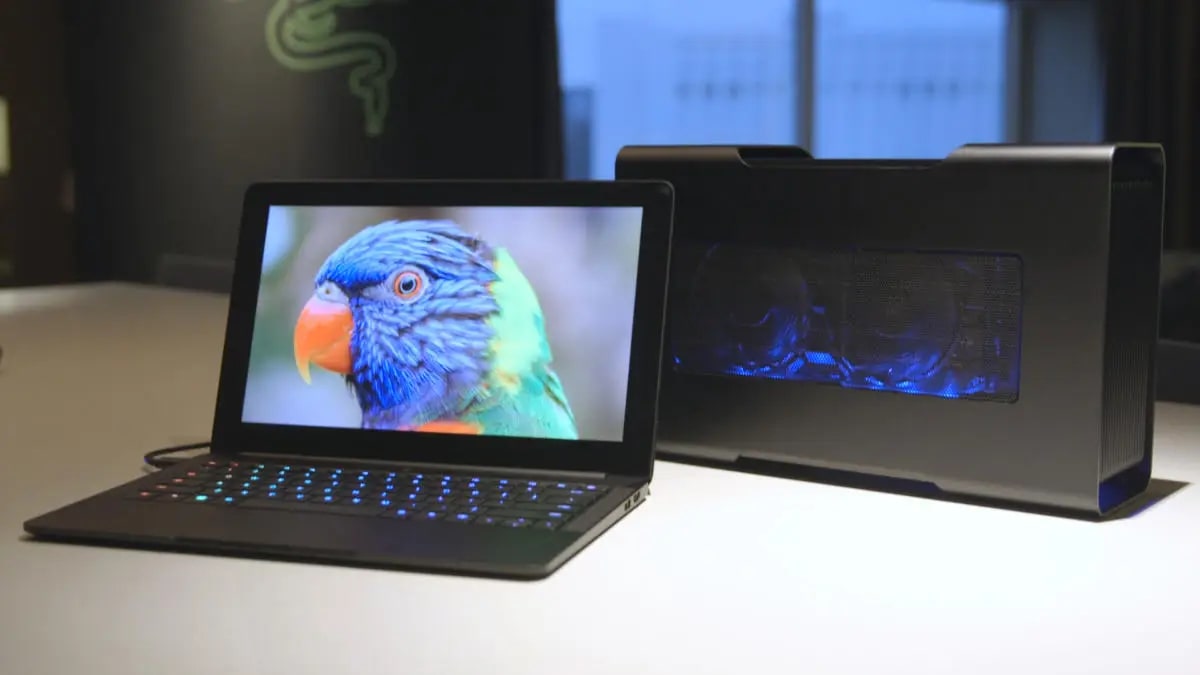
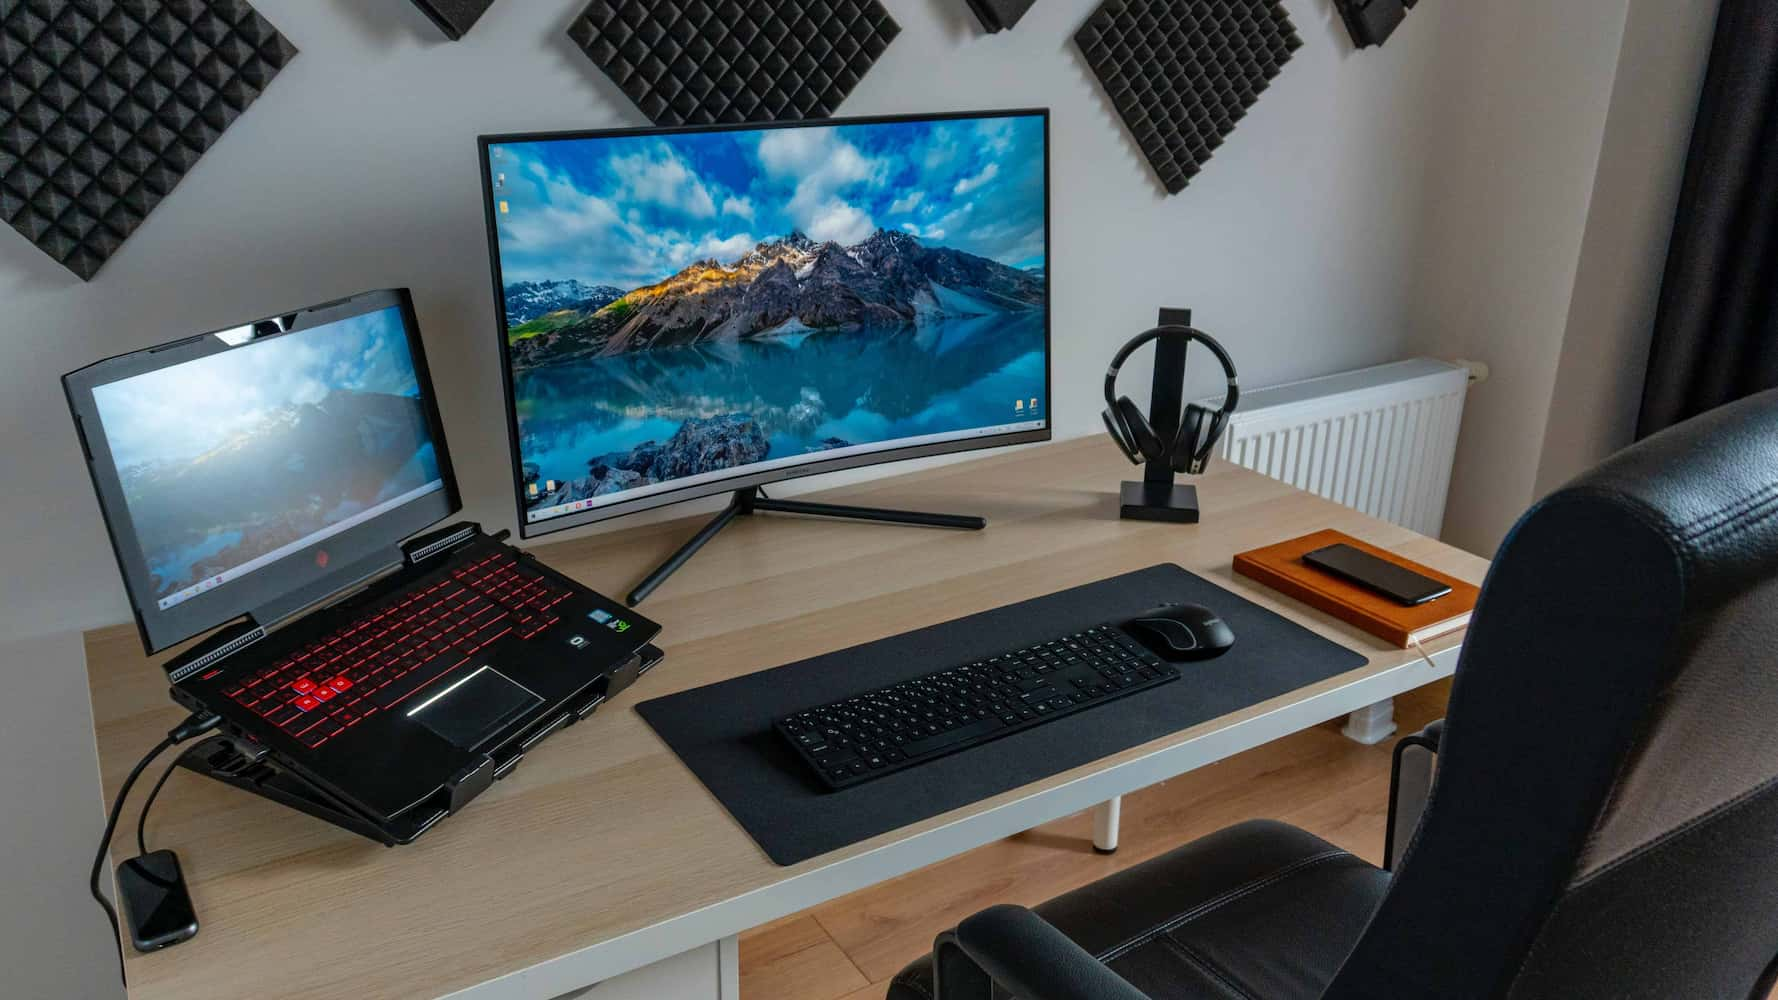
Connecting a gaming laptop to an external display can significantly enhance your gaming experience by providing a larger screen, better resolution, and improved visual quality. Whether you want to enjoy your favorite games on a bigger display or have a dual-screen setup for multitasking, connecting your gaming laptop to an external display is a straightforward process.
In this guide, we will walk you through the step-by-step process of connecting a gaming laptop to an external display. We will cover everything from checking the connectivity ports on your laptop to adjusting the display settings. So let’s get started!
Before we dive into the steps, it’s essential to make sure you have the necessary equipment. You will need a compatible cable or adapter to connect your gaming laptop to the external display. The specific cable or adapter required will depend on the connectivity options available on your gaming laptop and the external display.
Now that we have a basic understanding, let’s move on to the first step: checking the connectivity ports on your gaming laptop.
Step 1: Check the connectivity ports on your gaming laptop:
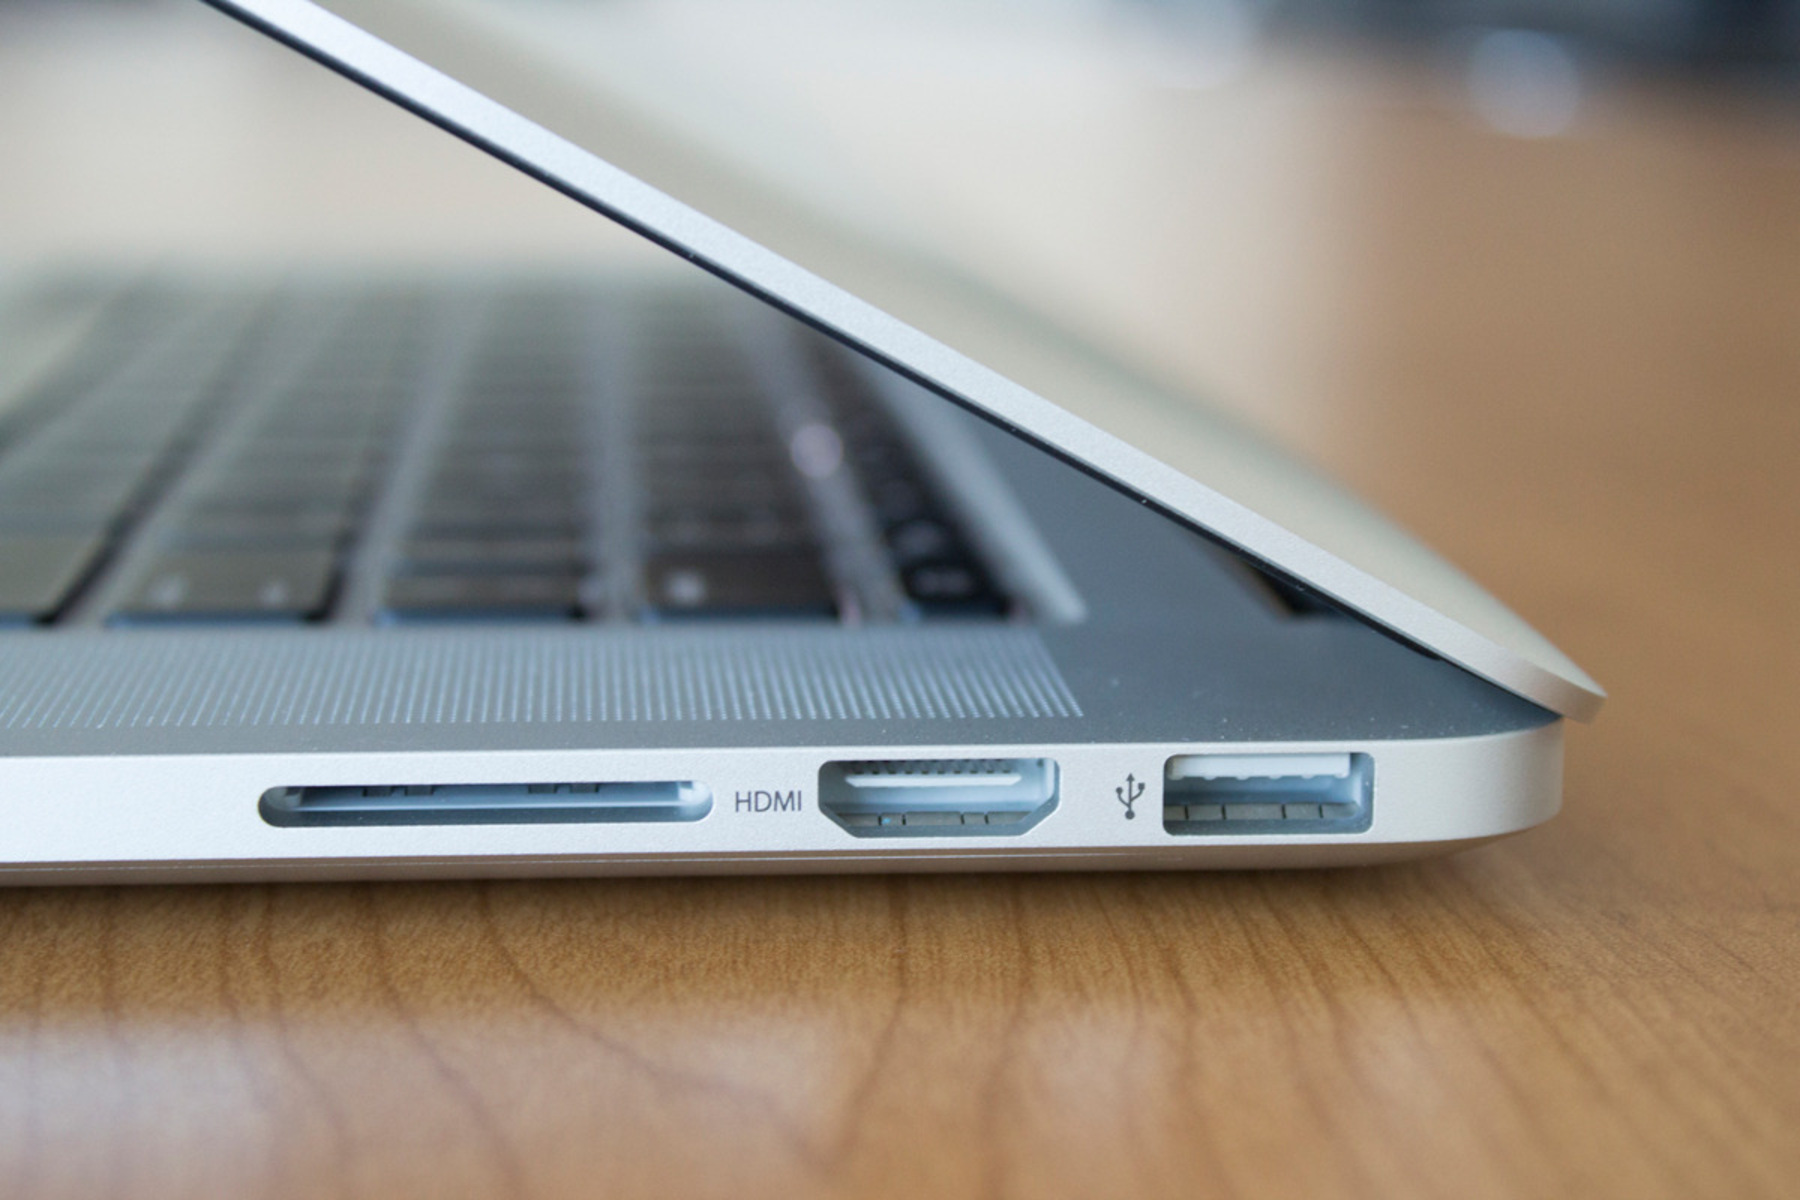
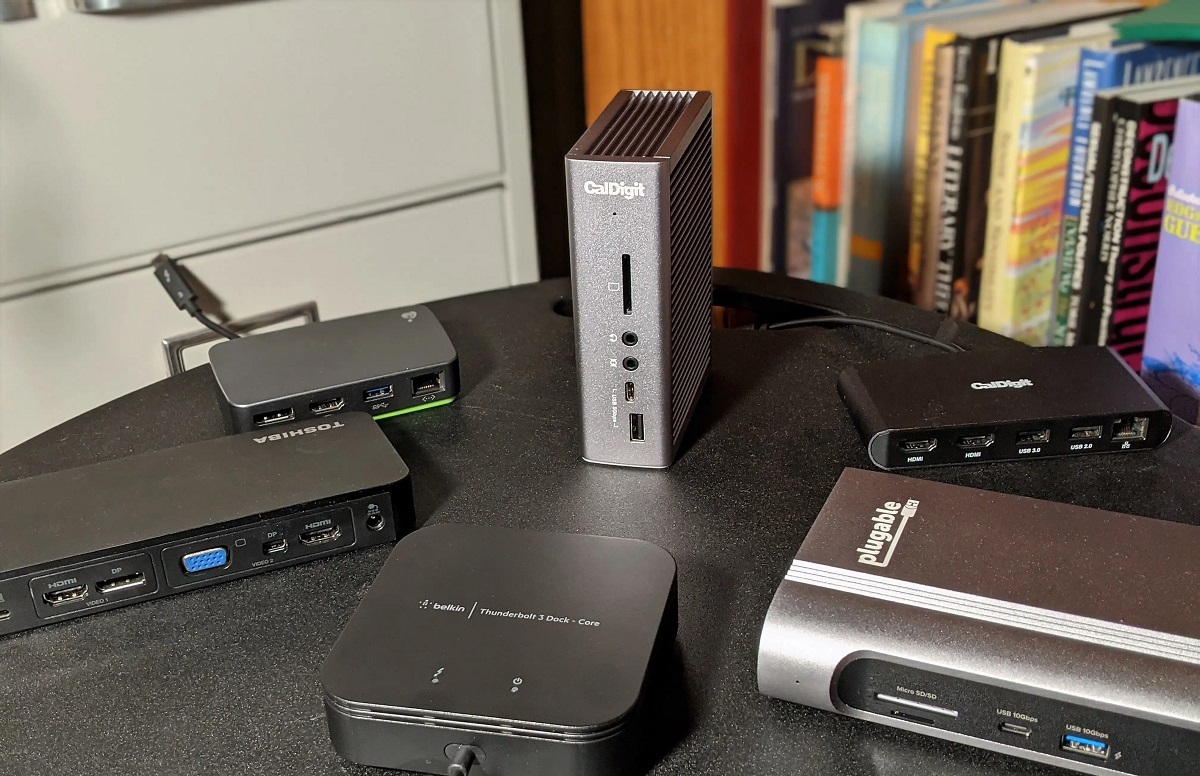
Before you can connect your gaming laptop to an external display, you need to identify the available connectivity ports on your laptop. The types of ports can vary depending on the make and model of your laptop. Common connectivity ports include HDMI, DisplayPort, USB-C, and VGA.
Start by examining the sides and back of your gaming laptop. Look for any labeled ports that indicate video or display connectivity. It’s worth noting that some laptops may have multiple ports of the same type, while others may have a combination of different ports.
If you’re unsure about the available ports, refer to the user manual or the manufacturer’s website for specifications. Knowing the types of ports on your gaming laptop will help you determine the appropriate cable or adapter needed for connection.
Once you have identified the connectivity ports, you can proceed to the next step of selecting the correct cable or adapter.
Step 2: Choose the appropriate cable or adapter:
After identifying the connectivity ports on your gaming laptop, the next step is to choose the appropriate cable or adapter to connect your laptop to the external display. The type of cable or adapter you need depends on the available ports on your laptop and the input options on the external display.
If your gaming laptop and external display both have HDMI ports, a standard HDMI cable is usually the simplest and most common solution. HDMI cables support both audio and video signals and provide high-definition output.
If your laptop has a DisplayPort and your external display supports DisplayPort input, you can use a DisplayPort cable for optimal quality. DisplayPort cables are capable of transmitting high-resolution video and audio signals.
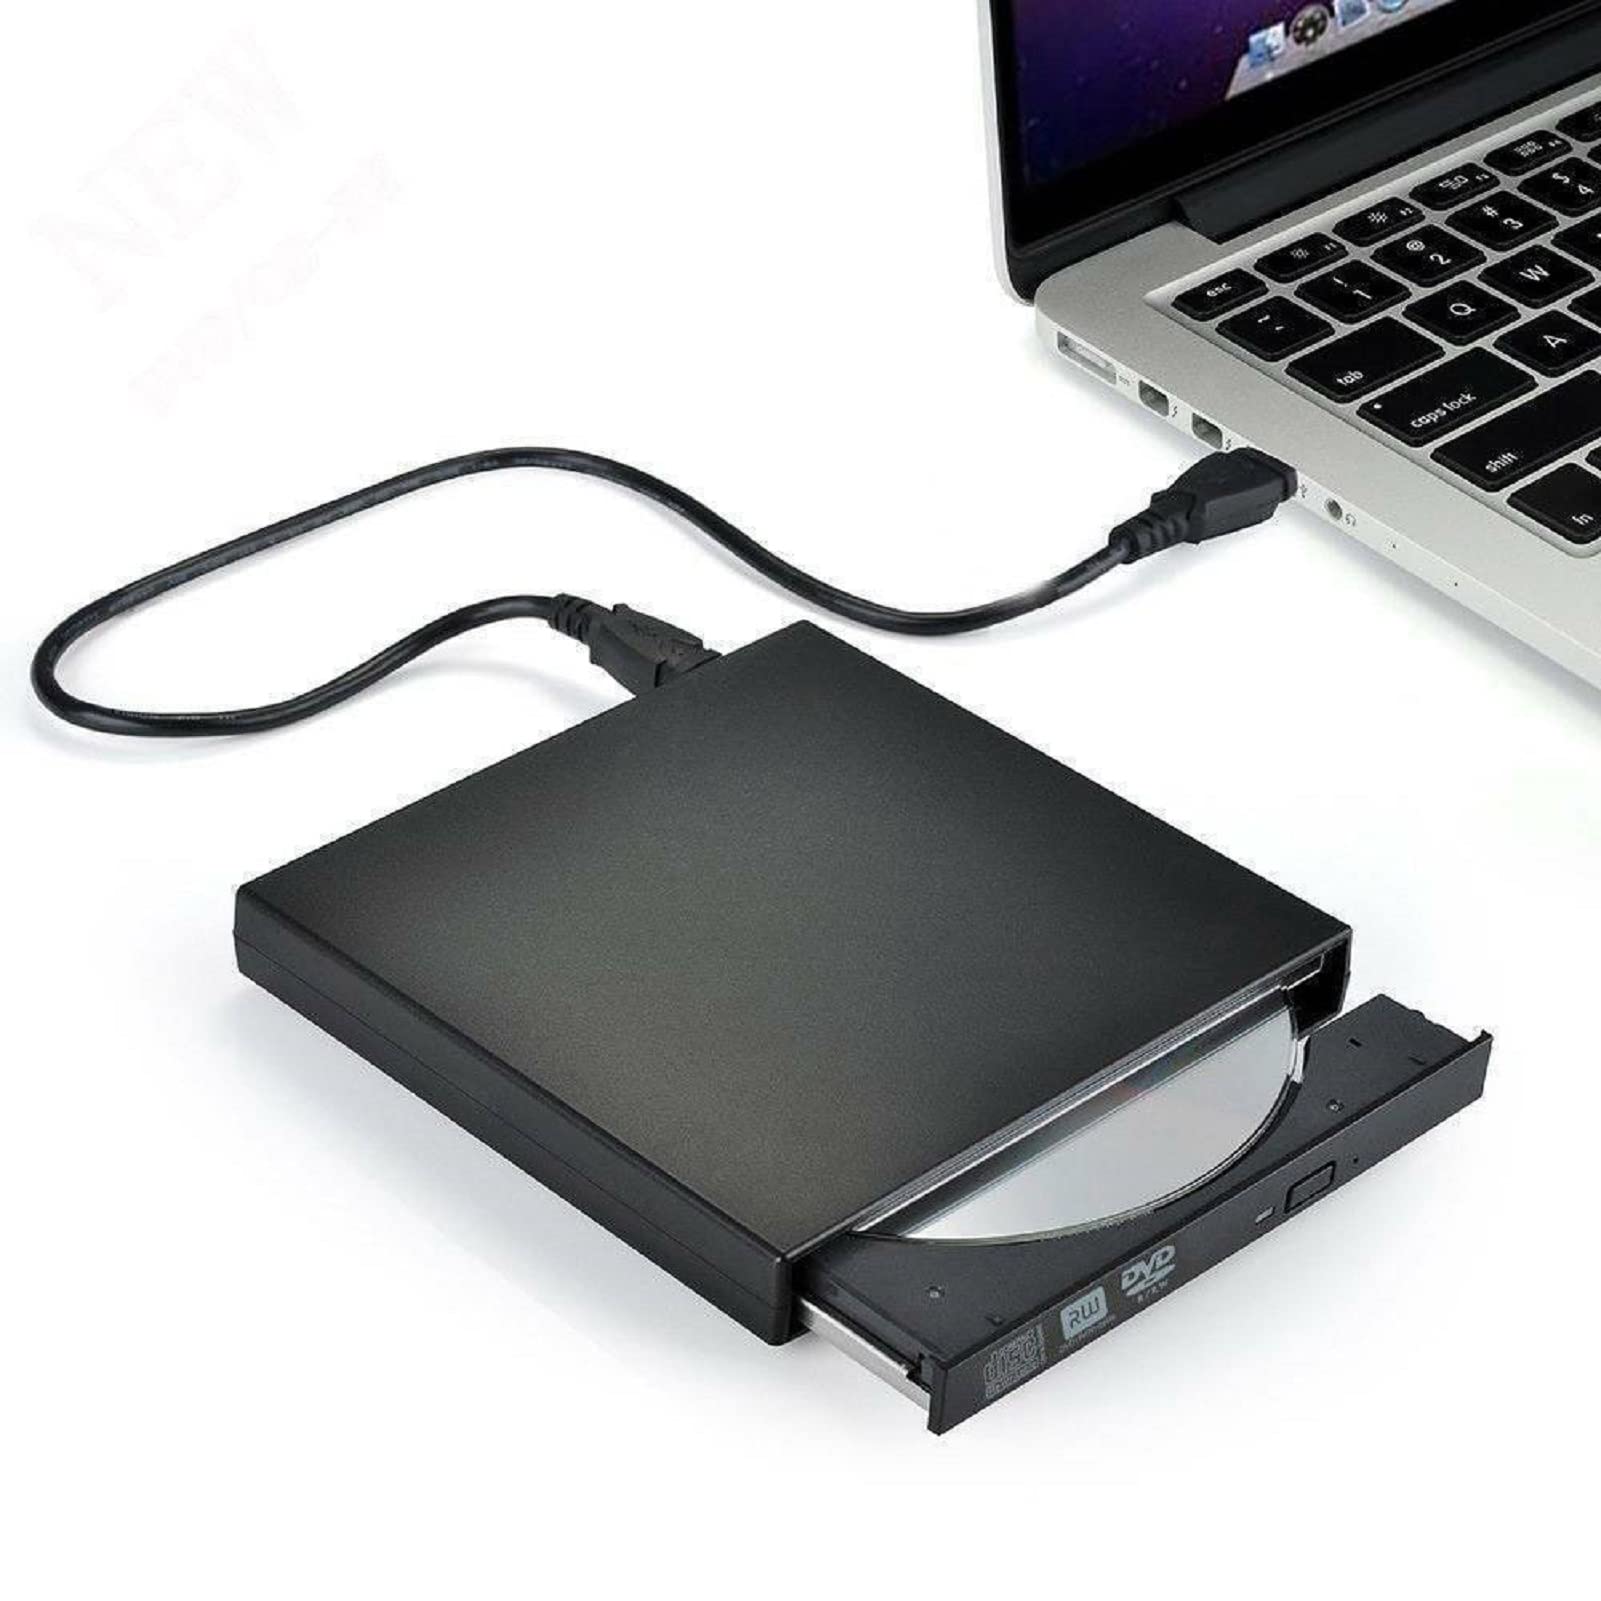
For laptops with USB-C ports, you may need a USB-C to HDMI or USB-C to DisplayPort adapter. These adapters allow you to connect your laptop to the external display using a standard HDMI or DisplayPort cable.
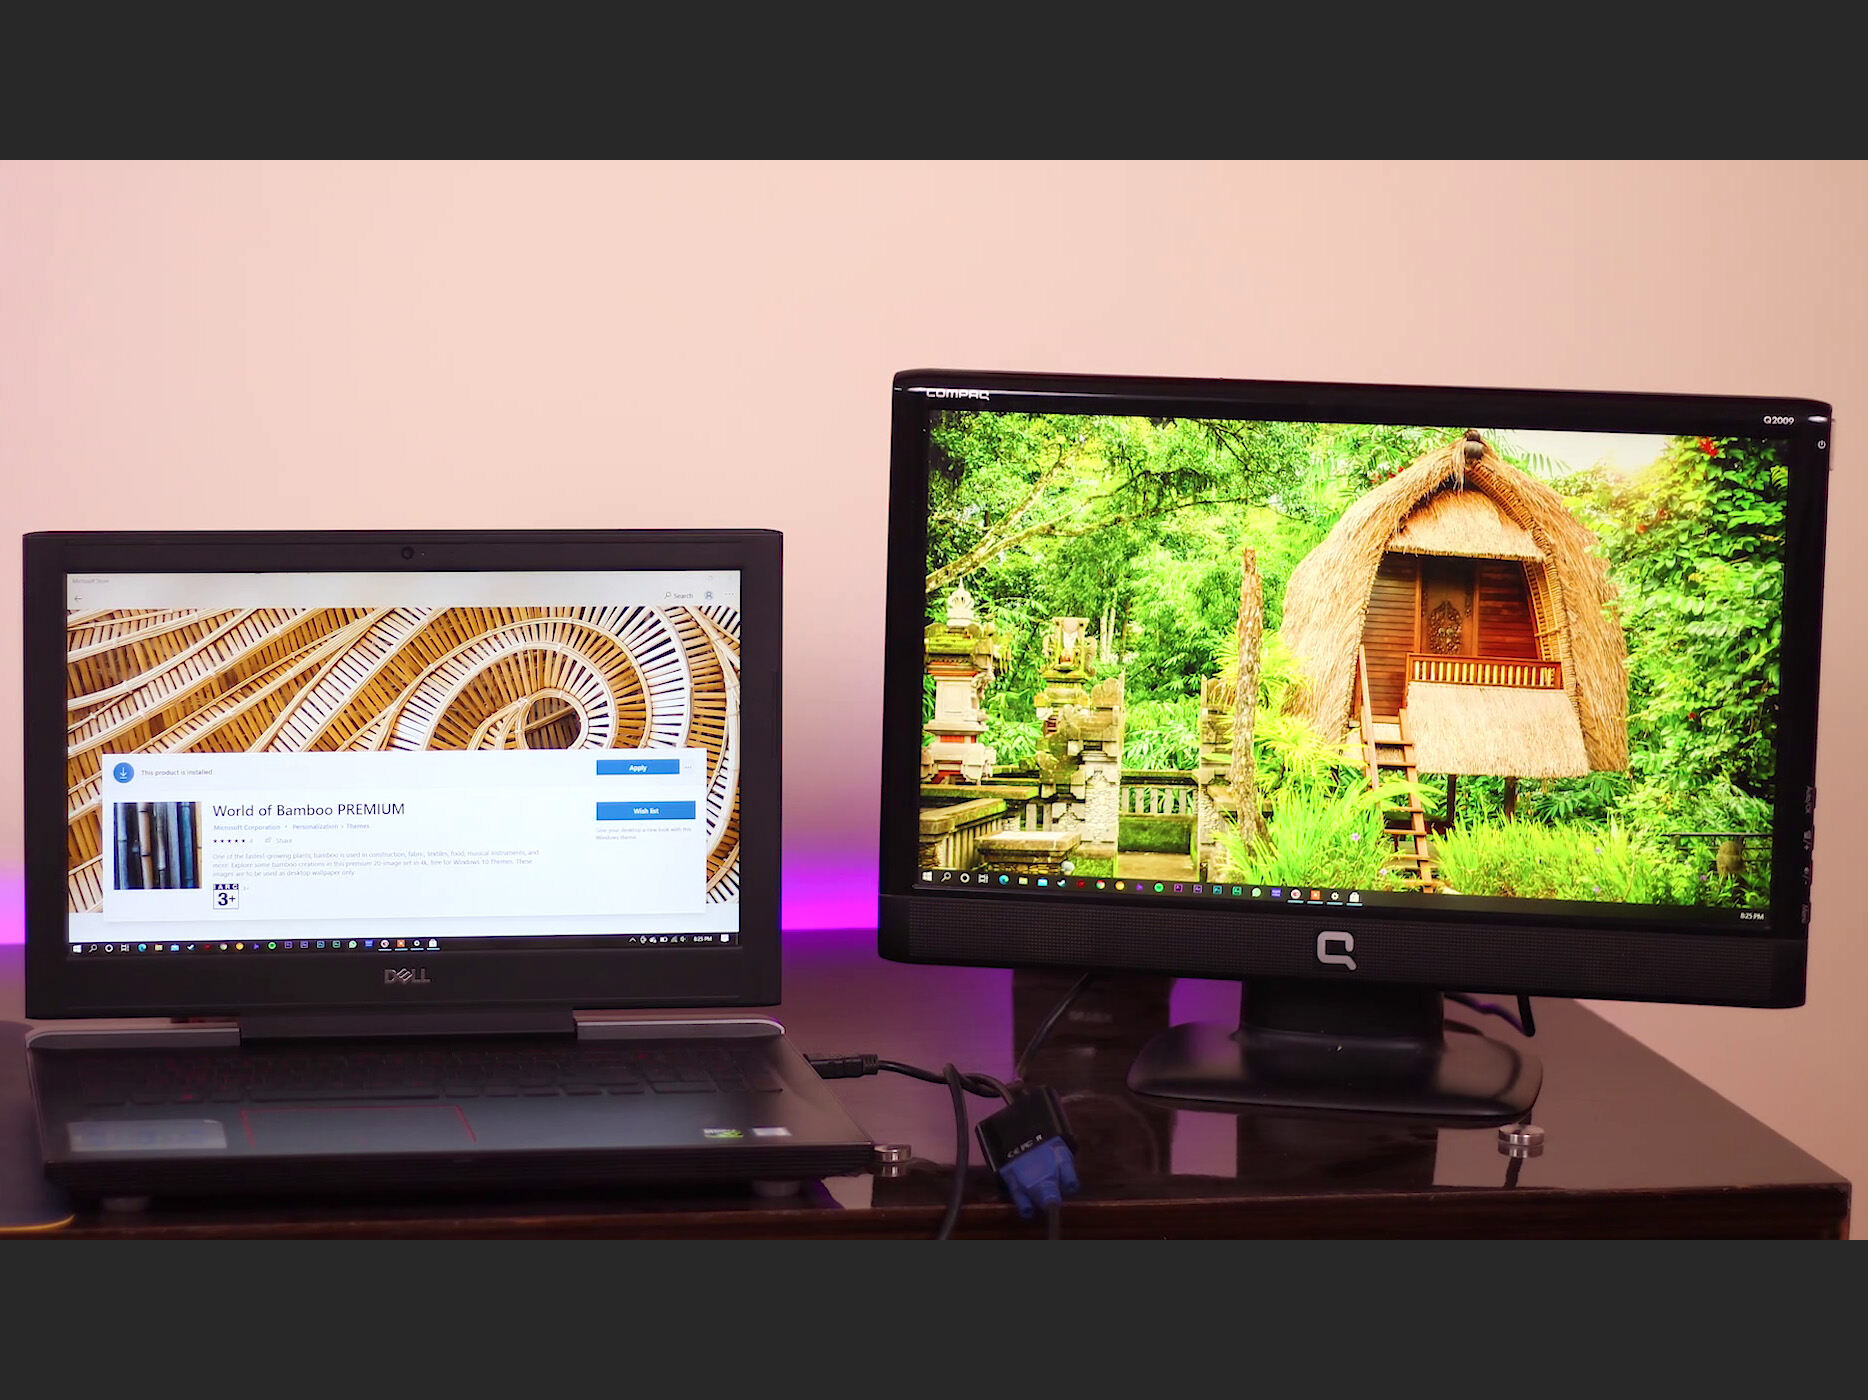
In cases where your laptop and external display have different types of ports, such as VGA on the laptop and HDMI on the display, you will need a VGA to HDMI converter or adapter to make the connection possible. Keep in mind that using adapters or converters may result in a loss of quality or limited resolution capabilities.
It’s essential to select a cable or adapter that is compatible with both your gaming laptop and the external display to ensure a successful and reliable connection.
Once you have chosen the appropriate cable or adapter, you can move on to the next step of physically connecting the cable to your gaming laptop.
Step 3: Connect the cable or adapter to your gaming laptop:
Now that you have the correct cable or adapter for connecting your gaming laptop to an external display, it’s time to physically connect it. Follow these steps to ensure a proper connection:
- Make sure your gaming laptop is powered off to avoid any potential damage to the ports or the display.
- Locate the appropriate port on your laptop for the chosen cable or adapter.
- Insert one end of the cable into the corresponding port on your gaming laptop. Ensure it is securely connected.
- If you are using an adapter, connect it to the correct port and then connect the cable to the adapter.
- Once connected, turn on your gaming laptop.
It’s important to note that some laptops may require you to adjust display settings manually, while others may automatically detect the external display once connected.
With the cable or adapter successfully connected to your gaming laptop, you are now ready to move on to the next step of connecting the other end to the external display.
Step 4: Connect the other end of the cable or adapter to the external display:
Now that you have connected one end of the cable or adapter to your gaming laptop, it’s time to connect the other end to the external display. Follow these steps to ensure a successful connection:
- Ensure the external display is powered off before making any connections.
- Locate the appropriate port on the display for the cable or adapter.
- Insert the other end of the cable into the corresponding port on the external display. Ensure it is securely connected.
- If you are using an adapter, connect the cable to the correct port on the adapter.
- Once connected, power on the external display.
At this point, you may need to switch the input source to the connected port on the external display. Refer to the display’s user manual for instructions on how to change the input source.
Once the cable or adapter is successfully connected to the external display, you are ready to move on to the next step of adjusting the display settings on your gaming laptop.
Step 5: Adjust display settings on your gaming laptop:
After successfully connecting your gaming laptop to the external display, it’s important to ensure that the display settings are properly configured for optimal viewing. Follow these steps to adjust the display settings:
- Right-click on the desktop of your gaming laptop and select “Display settings” from the context menu.
- In the Display settings window, you will see the connected external display listed. Click on it to select it.
- Adjust the resolution to match the native resolution of the external display for the best image quality. Higher resolution settings can provide more detailed and sharper visuals.
- Choose the display orientation, whether you want it to be in landscape or portrait mode, depending on your preference and the position of the external display.
- Configure other display settings such as brightness, contrast, and color temperature according to your preferences.
- Click “Apply” to save the changes, and then click “OK” to exit the settings window.
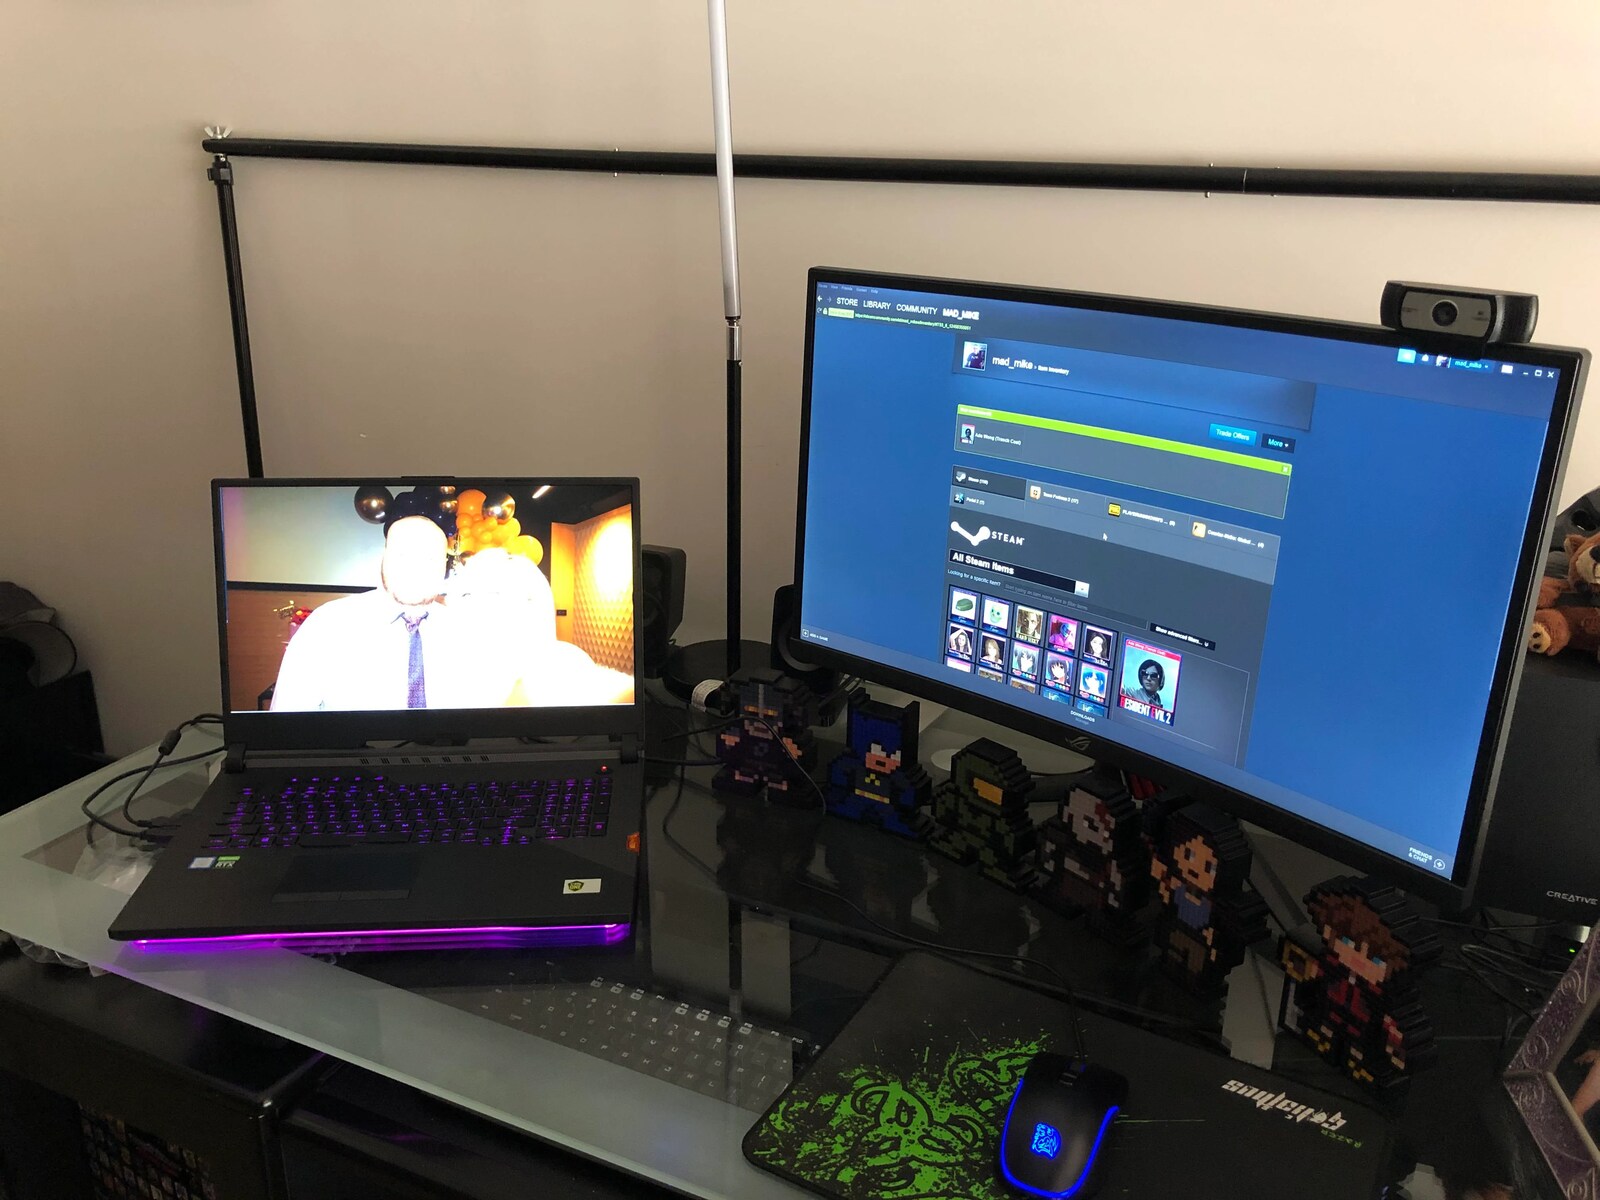
After adjusting the display settings, you should now see the gaming laptop’s screen extended or duplicated on the external display. You can now enjoy gaming or other tasks on the larger and enhanced display.
If the display is not working correctly or you encounter any issues, you may need to troubleshoot the connection. Refer to the next step for common troubleshooting tips.
Step 6: Troubleshooting common issues:
While connecting your gaming laptop to an external display is usually a straightforward process, you might encounter some common issues. Here are a few troubleshooting tips to help you resolve any problems:
- Check the connections: Ensure that both ends of the cable or adapter are securely connected to your gaming laptop and the external display. Loose connections can result in a lack of signal or a distorted display.
- Verify the input source: Make sure that the input source on the external display is set correctly to the connected port. Switching to the correct input source might resolve issues with no display or an error message.
- Update display drivers: Check if there are any pending updates for your gaming laptop’s display drivers. Outdated drivers can lead to compatibility issues. Visit the manufacturer’s website or use the device manager to update the display drivers.
- Restart the devices: Sometimes, a simple restart can resolve connection issues. Power off both your gaming laptop and the external display, and then power them back on to refresh the connection.
- Try a different cable or adapter: If you’re facing persistent connection issues, it’s worth trying a different cable or adapter. A faulty cable or adapter could be the cause of the problem.
- Check for resolution compatibility: Ensure that your gaming laptop’s resolution settings are compatible with the external display. Using an unsupported resolution can result in a distorted or mismatched display.
If you have tried these troubleshooting steps and are still experiencing issues, it may be helpful to consult the manufacturer’s support or seek professional assistance.
By following these troubleshooting tips, you should be able to resolve most common issues that can arise when connecting your gaming laptop to an external display.
Conclusion:
Connecting your gaming laptop to an external display can greatly enhance your gaming experience by providing a larger and more immersive visual display. By following the step-by-step guide outlined in this article, you can easily connect your gaming laptop to an external display and enjoy your favorite games or multitask on a bigger screen.
First, make sure you check the connectivity ports on your gaming laptop to determine which type of cable or adapter you need. Choose the appropriate cable or adapter based on the available ports and input options on the external display. Then, connect one end of the cable or adapter to your gaming laptop and the other end to the external display, ensuring secure connections. Adjust the display settings on your gaming laptop to optimize the viewing experience on the external display.
If you encounter any issues during the process, follow the troubleshooting tips provided to resolve common problems. Check the connections, verify the input source, update display drivers, restart the devices, try a different cable or adapter, and ensure resolution compatibility.
By taking these steps and troubleshooting any issues that arise, you can successfully connect your gaming laptop to an external display and enjoy an enhanced gaming experience or improve productivity with a larger screen.
Remember, if you’re unsure about any specific steps or encounter persistent issues, it’s always recommended to consult the user manual of your gaming laptop or seek assistance from the manufacturer’s support team.
Now that you have all the necessary information and steps, it’s time to connect your gaming laptop to an external display and take your gaming or work to the next level!