Introduction
Welcome to the world of keyboard shortcuts! Whether you’re a content creator, a developer, or simply someone who loves capturing moments on the screen, knowing how to take screenshots can be a handy skill. In this article, we will guide you through the process of taking a screenshot on a 60% keyboard.
60% keyboards are compact, portable, and increasingly popular among enthusiasts. These keyboards lack a dedicated numeric keypad and other extra function keys, making it essential to learn alternative methods for tasks like taking screenshots.
While the absence of a dedicated Print Screen key may seem daunting at first, fear not. With just a few simple steps, you can effortlessly capture screenshots on your 60% keyboard. Whether you’re using a Windows or Mac operating system, we’ve got you covered.
So, if you’re ready to dive into the world of capturing screen moments on a 60% keyboard, let’s get started!
Step 1: Locate the Print Screen Key
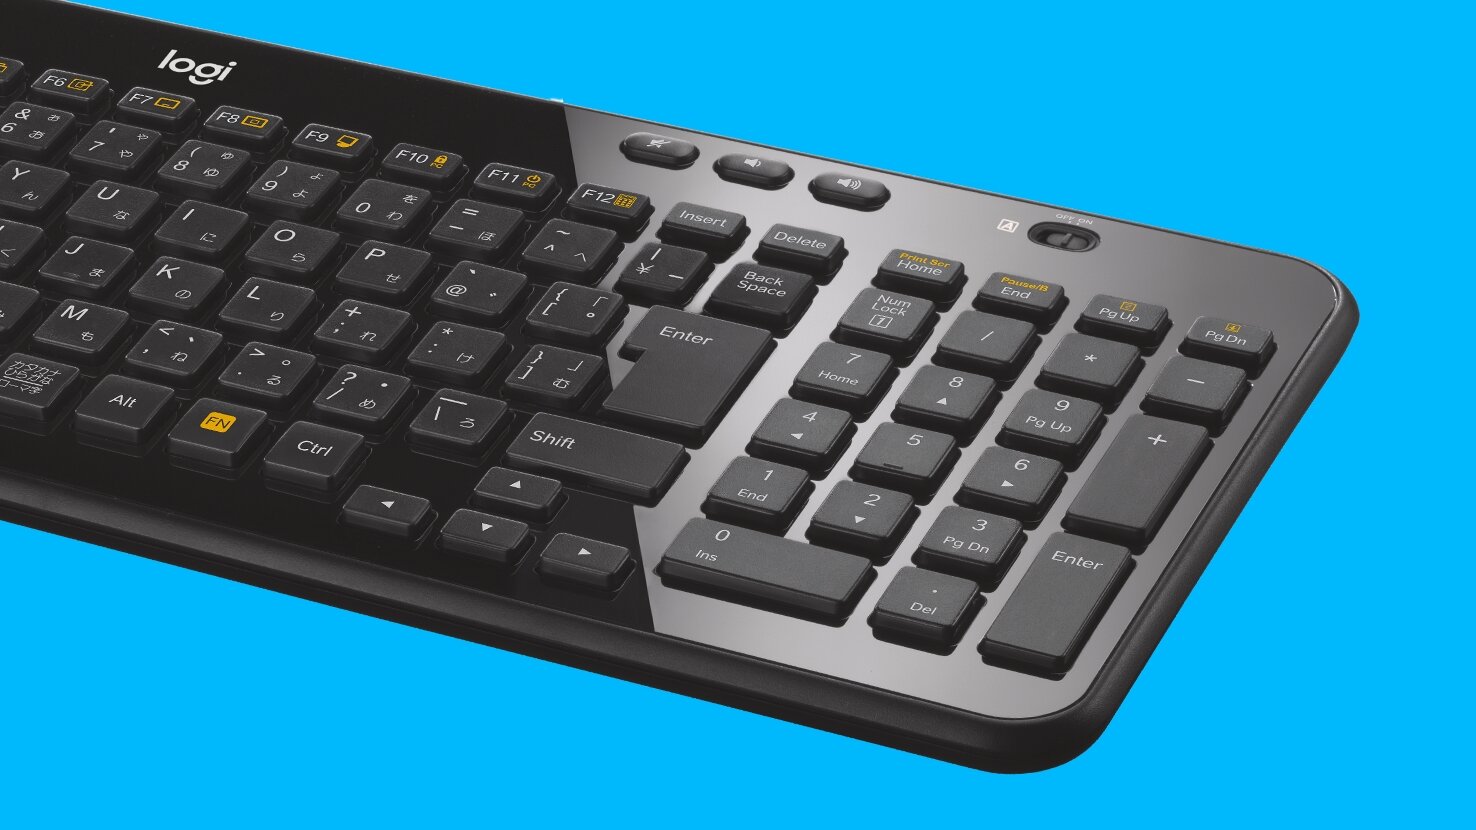
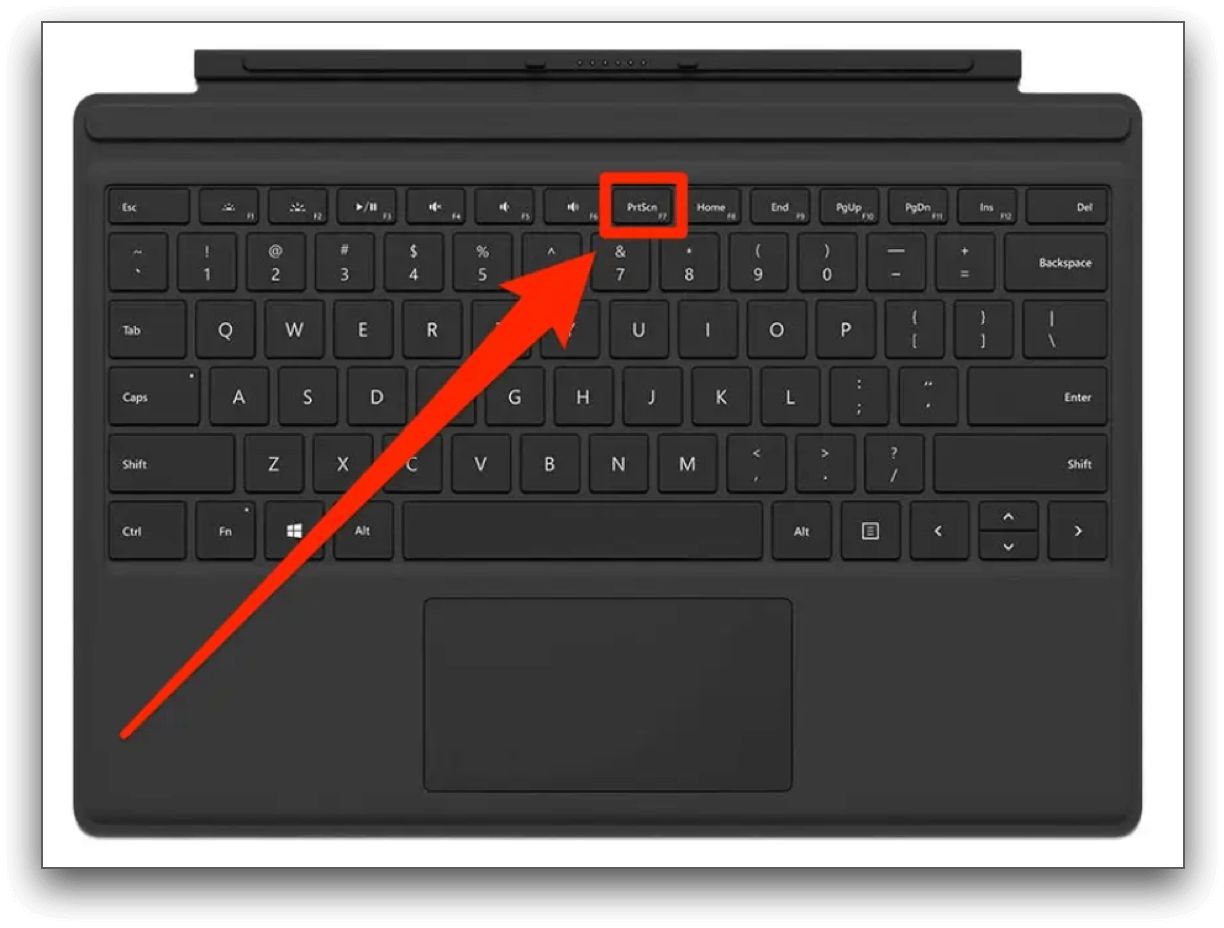
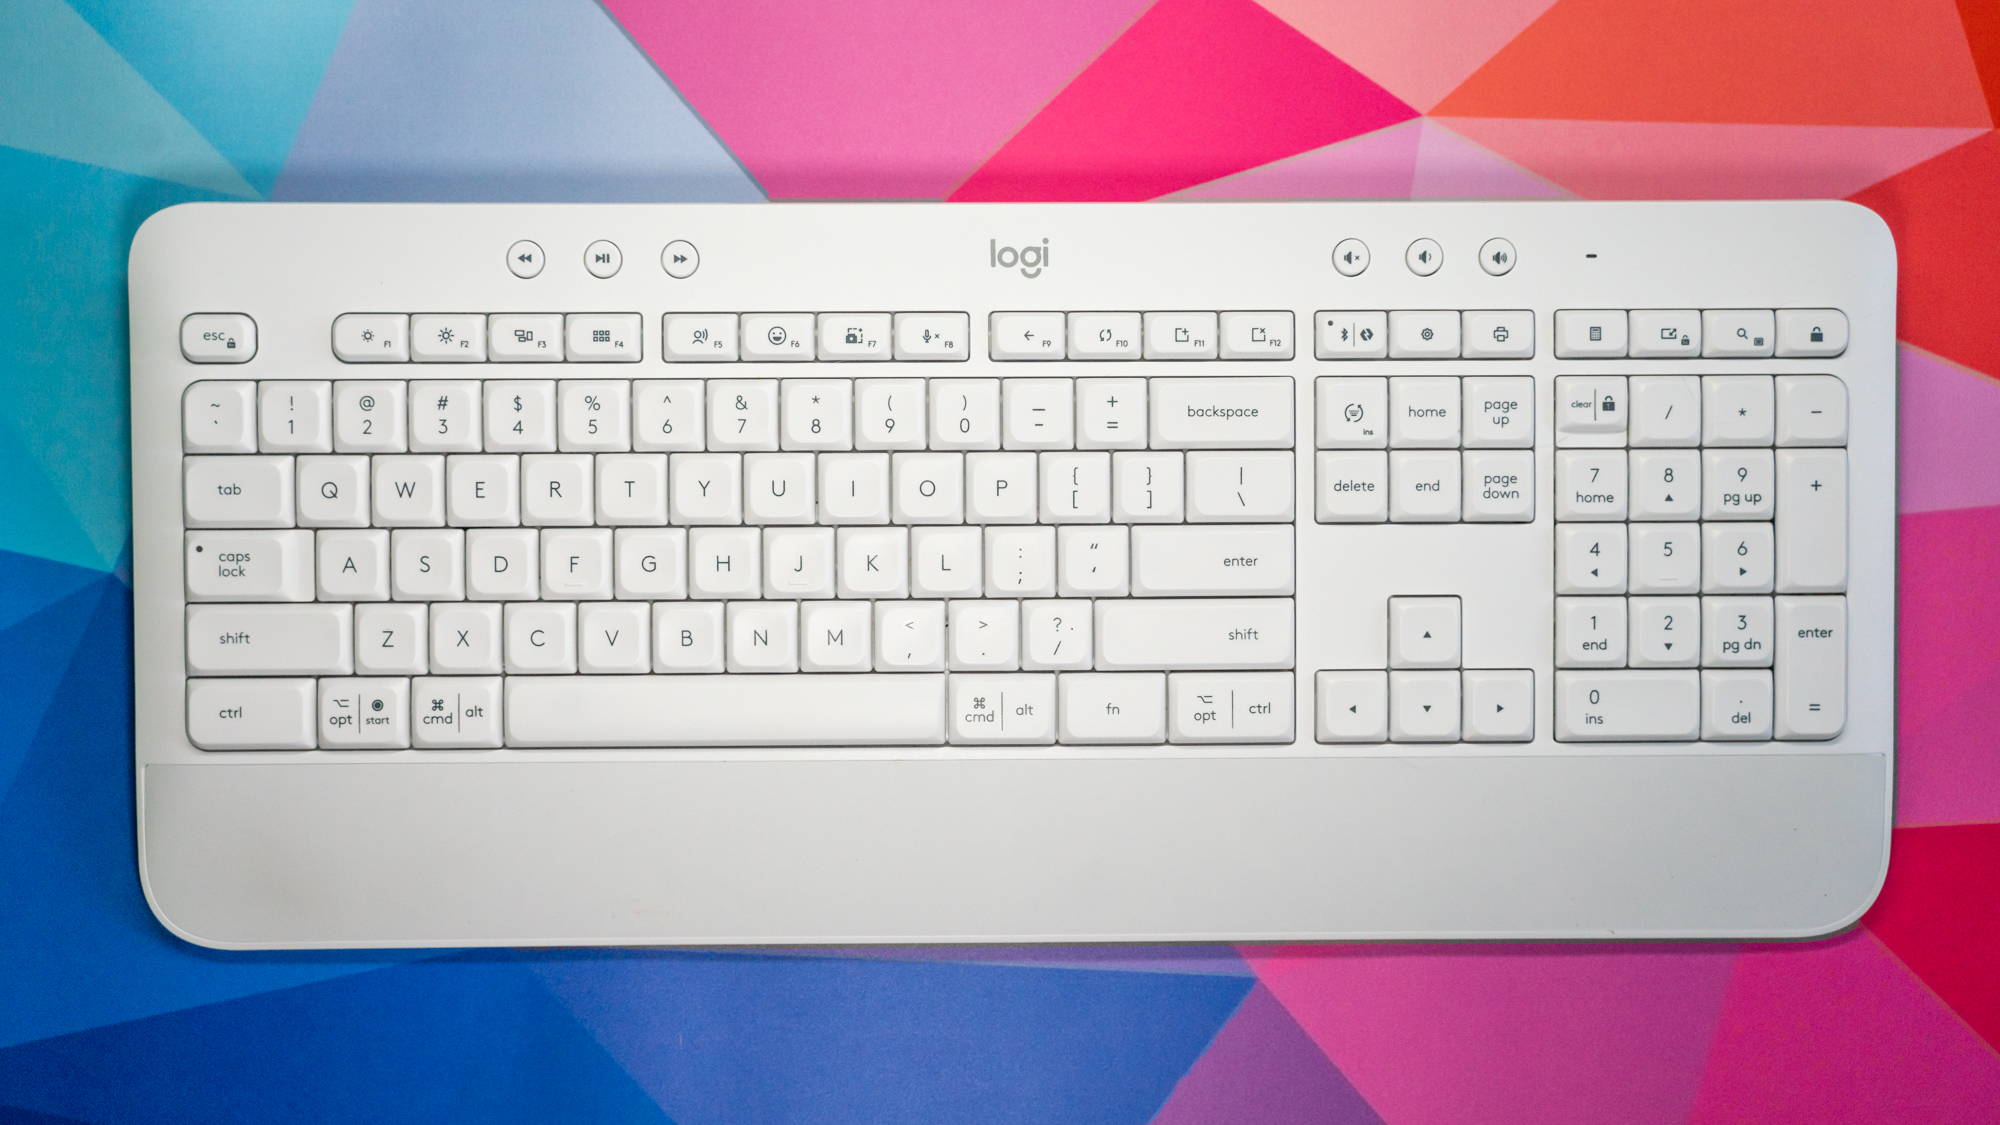
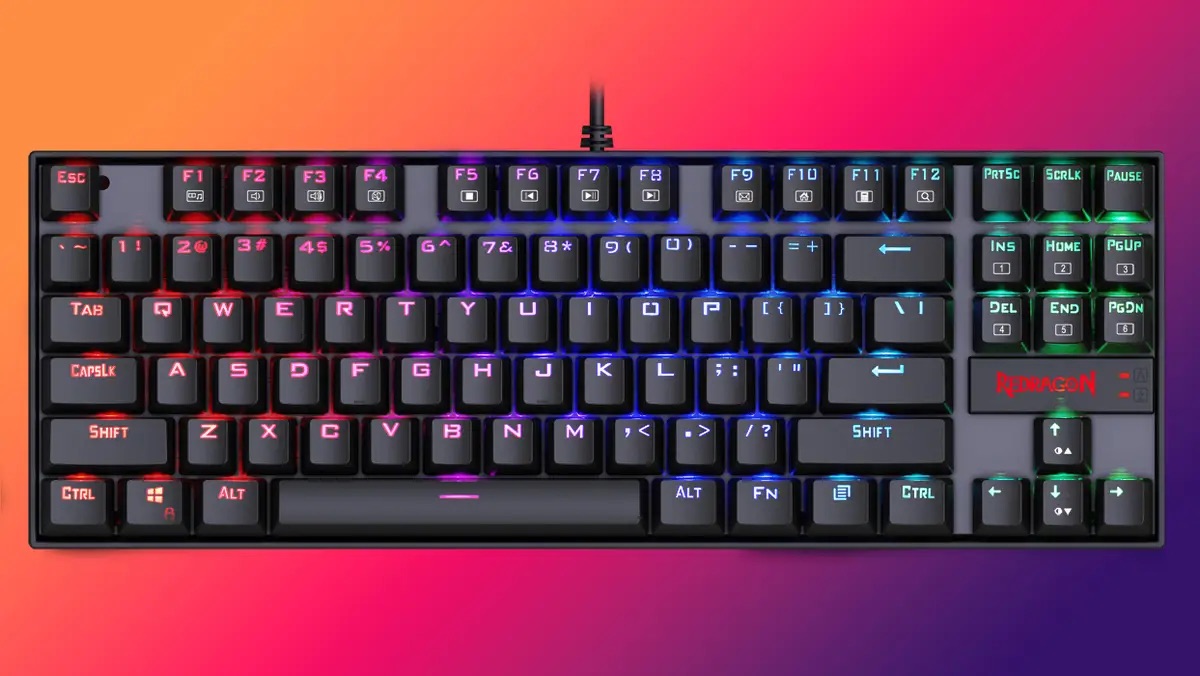
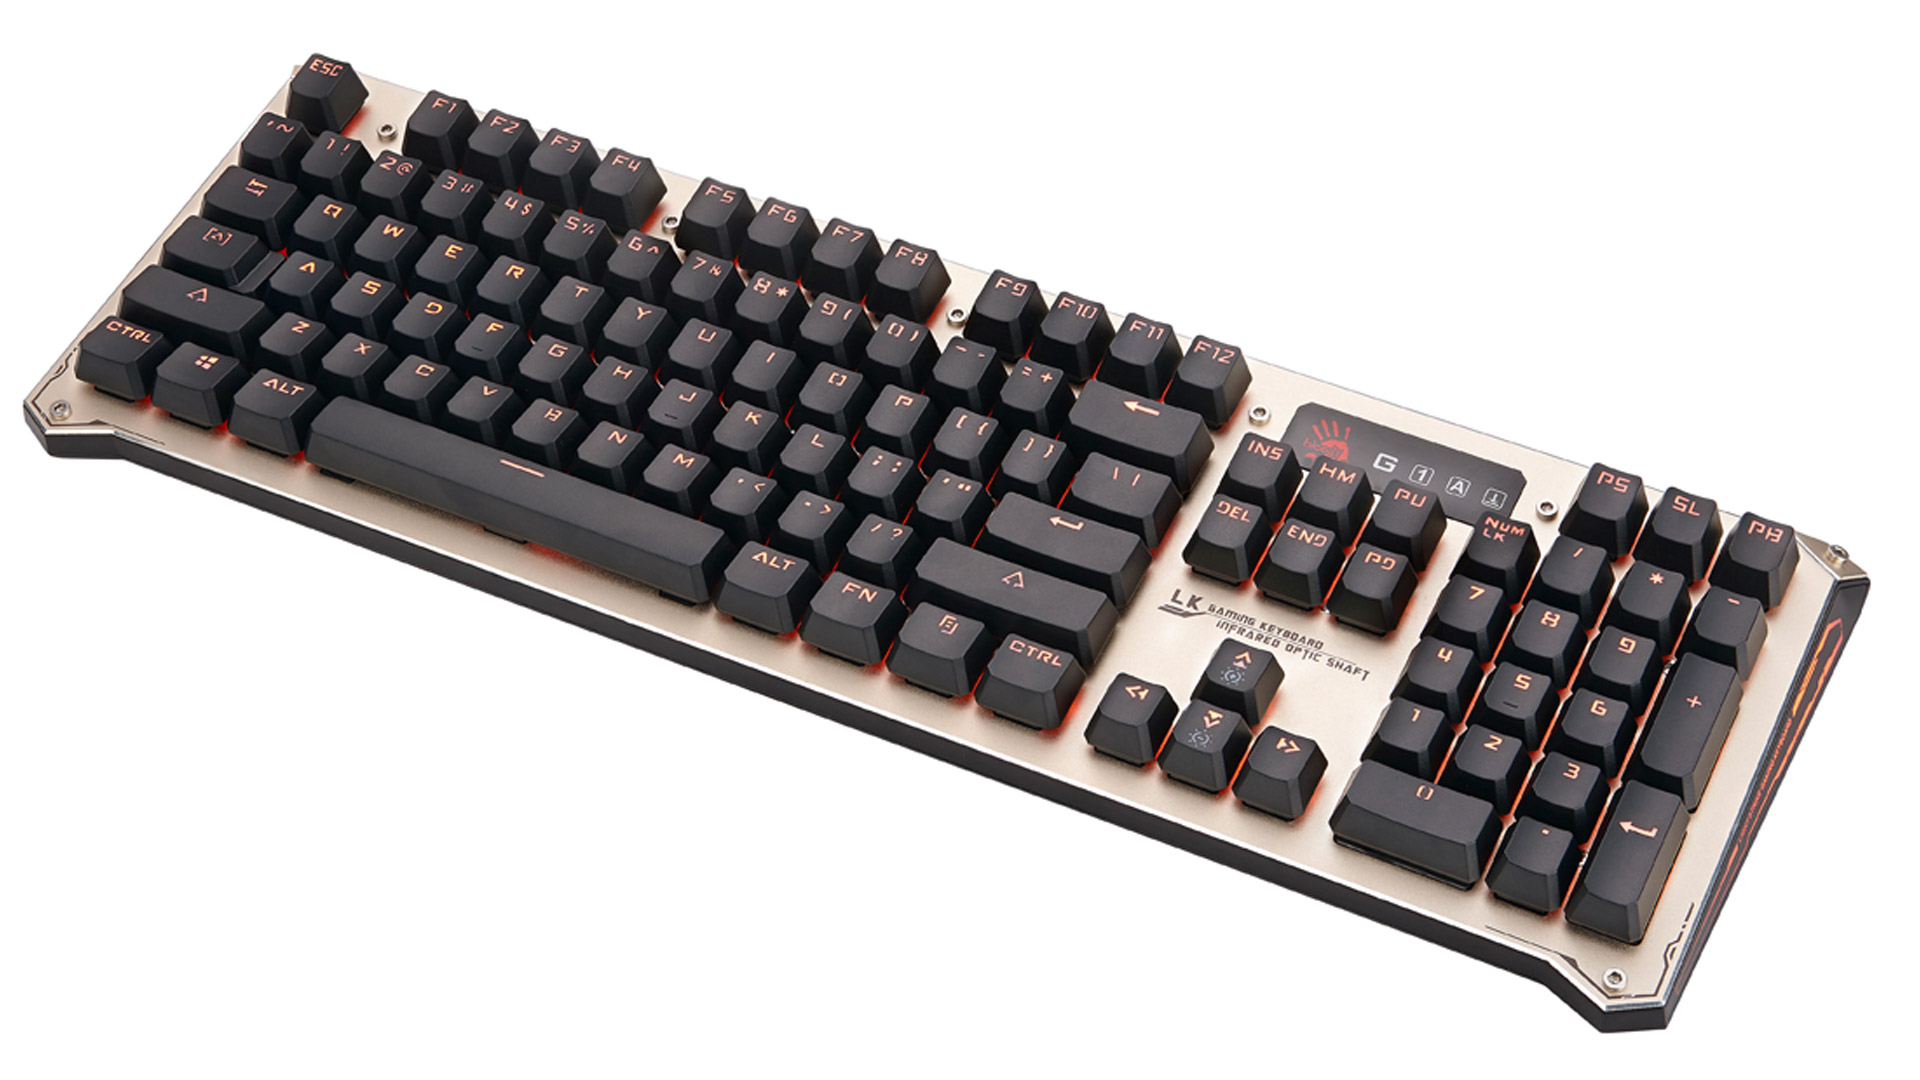
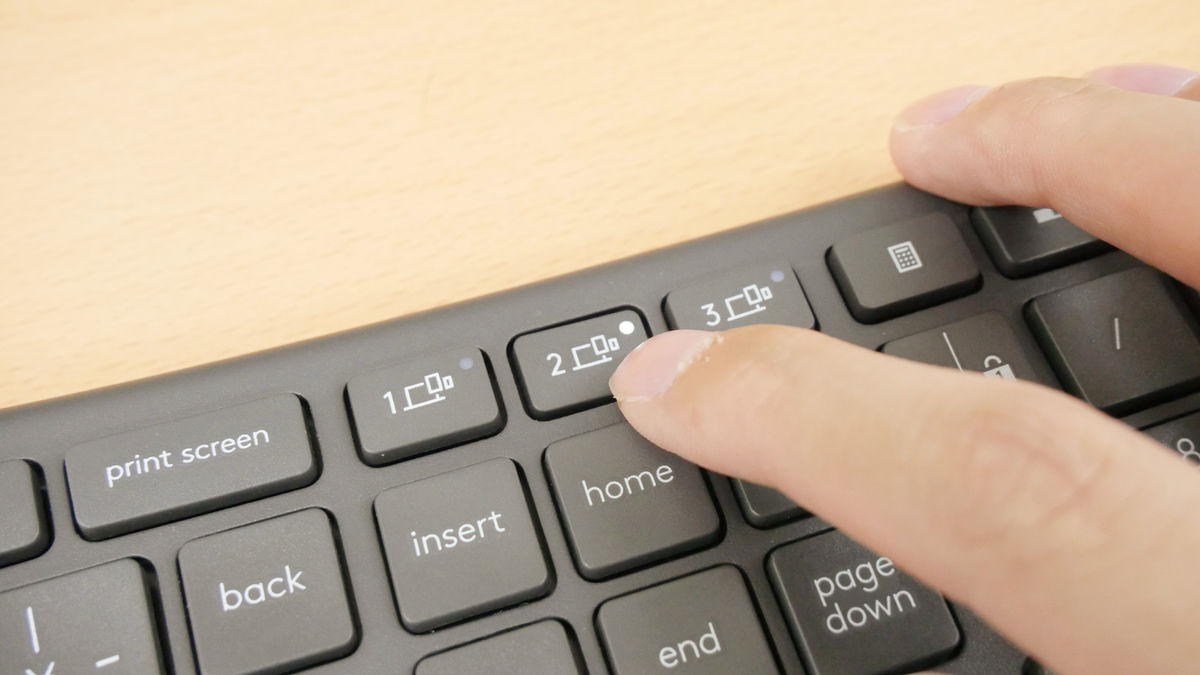
The first step in taking a screenshot on a 60% keyboard is to locate the Print Screen key. On most 60% keyboards, the Print Screen key is usually integrated into another key or accessed through a combination of keys.
Commonly, the Print Screen function is combined with the Function (Fn) key and another key. Look for a key with “PrtSc”, “PrtScn”, or a similar abbreviation on it. This key may also have an additional label or icon indicating that it serves as the Print Screen key.
Depending on the keyboard manufacturer and layout, the Print Screen key may be found in different locations. It is commonly located on the top row of keys, either on the right-hand side or along with other function keys.
If you’re unable to locate the Print Screen key on your 60% keyboard, refer to the keyboard’s manual or manufacturer’s website for specific instructions.
Once you have identified the Print Screen key, you’re ready to move on to the next step.
Step 2: Press the Print Screen Key
Now that you have located the Print Screen key on your 60% keyboard, the next step is to press it to capture the screenshot. The Print Screen key allows you to capture an image of the entire screen and save it to the clipboard.
On most 60% keyboards, pressing the Print Screen key alone will capture a screenshot of the entire desktop or active window, depending on your operating system settings.
If you only want to capture the active window, press the Alt key together with the Print Screen key. This combination varies depending on the keyboard manufacturer and layout. For example, you may need to press the Fn key along with Alt and Print Screen to capture the active window.
Note that pressing the Print Screen key doesn’t show any visual indication that the screenshot has been taken. It simply saves the image to the clipboard. You won’t see any confirmation message or hear any sound.
After pressing the Print Screen key or the combination of keys, the screenshot is now stored in your clipboard, and you’re ready for the next step.
Step 3: Open an Image Editing Software
After capturing the screenshot on your 60% keyboard, the next step is to open an image editing software to paste and edit the screenshot. There are various image editing software options available, such as Paint, Adobe Photoshop, GIMP, or even the built-in editing tools on your operating system.
If you’re using a Windows operating system, you can open the default Paint application by clicking on the Start button, typing “Paint” in the search bar, and selecting the Paint app from the results.
For Mac users, you can use the built-in image editing software called Preview. Simply search for “Preview” in your Applications folder or use the spotlight search to locate it quickly.
Once you have opened the image editing software, you should see a blank canvas or workspace where you can paste the screenshot and make any necessary edits.
Remember, the screenshots taken with the Print Screen key are saved to the clipboard, not as separate files. Therefore, it is essential to open an image editing software to access the captured screenshot.
Now that you have opened an image editing software, let’s move on to the next step and paste the screenshot.
Step 4: Paste the Screenshot
With the image editing software open, it’s time to paste the screenshot you captured on your 60% keyboard. The process of pasting the screenshot may vary depending on the software you are using, but the general method remains the same.
To paste the screenshot, you can use the keyboard shortcut Ctrl+V (or Command+V on a Mac) or navigate to the “Edit” menu and select the “Paste” option. Alternatively, you can right-click on the canvas and choose the “Paste” option from the context menu.
After pasting the screenshot, you should see the image appearing on the canvas or workspace of the image editing software. It may be a direct representation of the entire desktop or the active window, depending on the method you used to capture the screenshot.
At this stage, you have successfully transferred the screenshot from the clipboard to the image editing software. Now, you can proceed to make any necessary adjustments, enhancements, or annotations to the screenshot.
Feel free to utilize the various editing tools and features offered by the image editing software to customize your screenshot according to your preferences. You can crop the image, add text, draw shapes, highlight areas, or apply filters, among other editing options.
Once you are satisfied with the edits, remember to save the edited screenshot as a separate file to ensure that you retain your changes. You can choose a desired image format (such as PNG, JPEG, or GIF) and specify the save location.
With the screenshot pasted and edited to your liking, you have successfully completed the final step. Congratulations!
Conclusion
Taking screenshots on a 60% keyboard may seem daunting at first, but with the right knowledge and a few simple steps, it can be a breeze. By locating the Print Screen key, pressing it to capture the screenshot, opening an image editing software, and pasting the screenshot, you can effortlessly capture and edit screen moments.
Remember to explore different image editing software options that suit your preferences and make use of the various editing tools they offer. Whether you need to crop, annotate, or enhance your screenshots, these tools can help you achieve the desired results.
By mastering the art of taking screenshots on a 60% keyboard, you can become more efficient and productive in your work, whether it’s for personal use or professional purposes. Screenshots are useful for demonstrating software issues, capturing important information, creating visual tutorials, or simply preserving memorable moments.
So, the next time you need to capture a screenshot on your 60% keyboard, follow the step-by-step guide we have provided, and you’ll be able to do so with ease. Familiarize yourself with the keyboard shortcuts and image editing software options available to you, and let your creativity flourish as you capture and customize screen moments.
Now go ahead and put your newfound knowledge into practice. Take those screenshots, edit them to perfection, and unlock the power of visuals in your digital world!