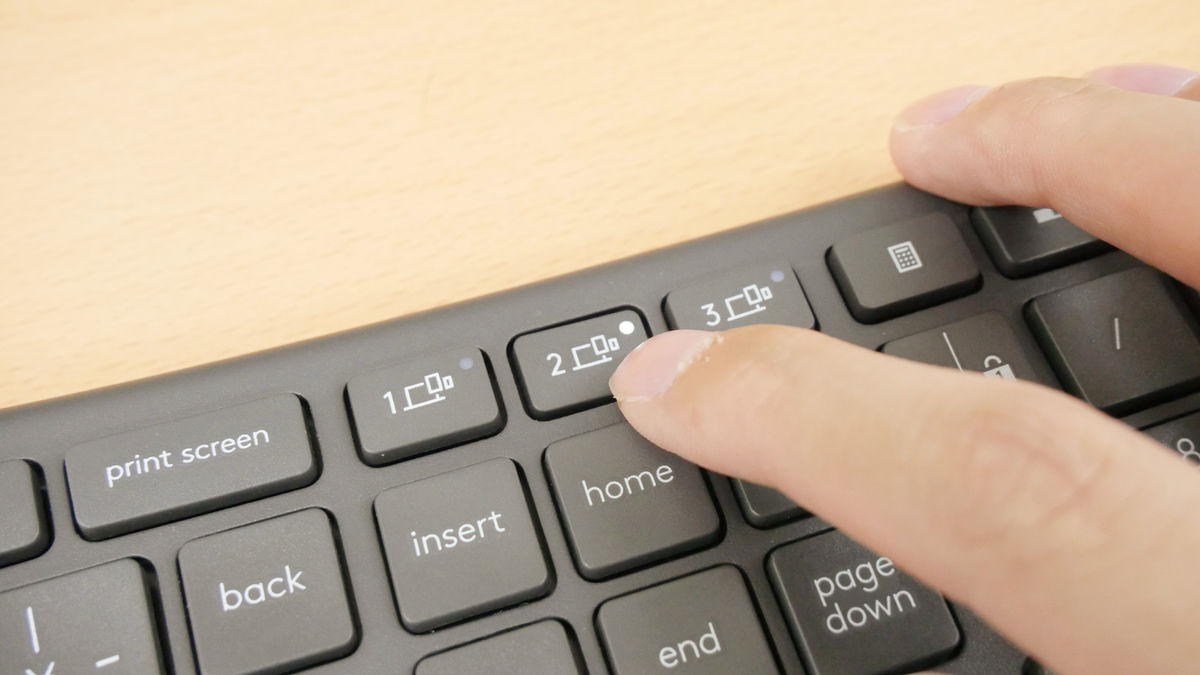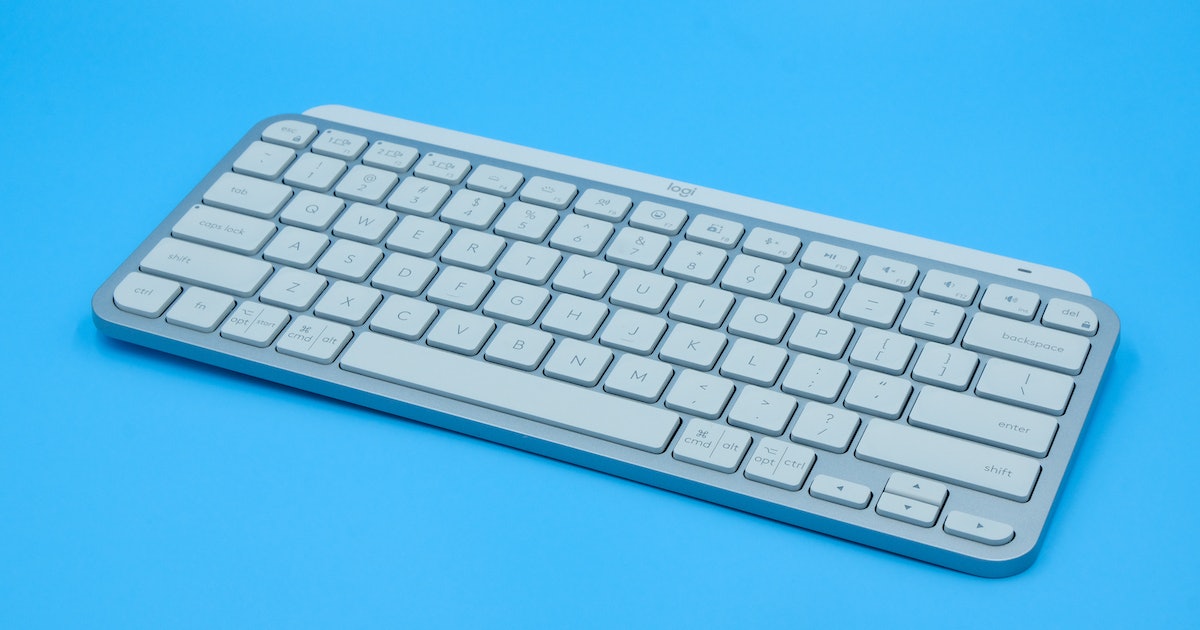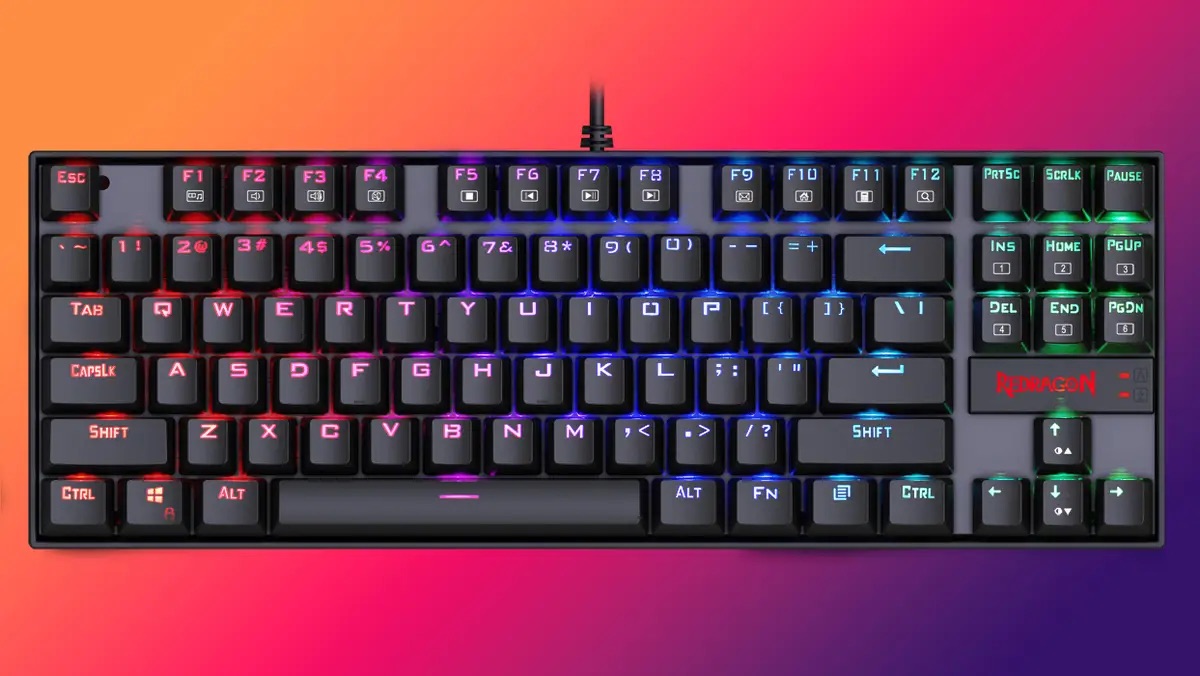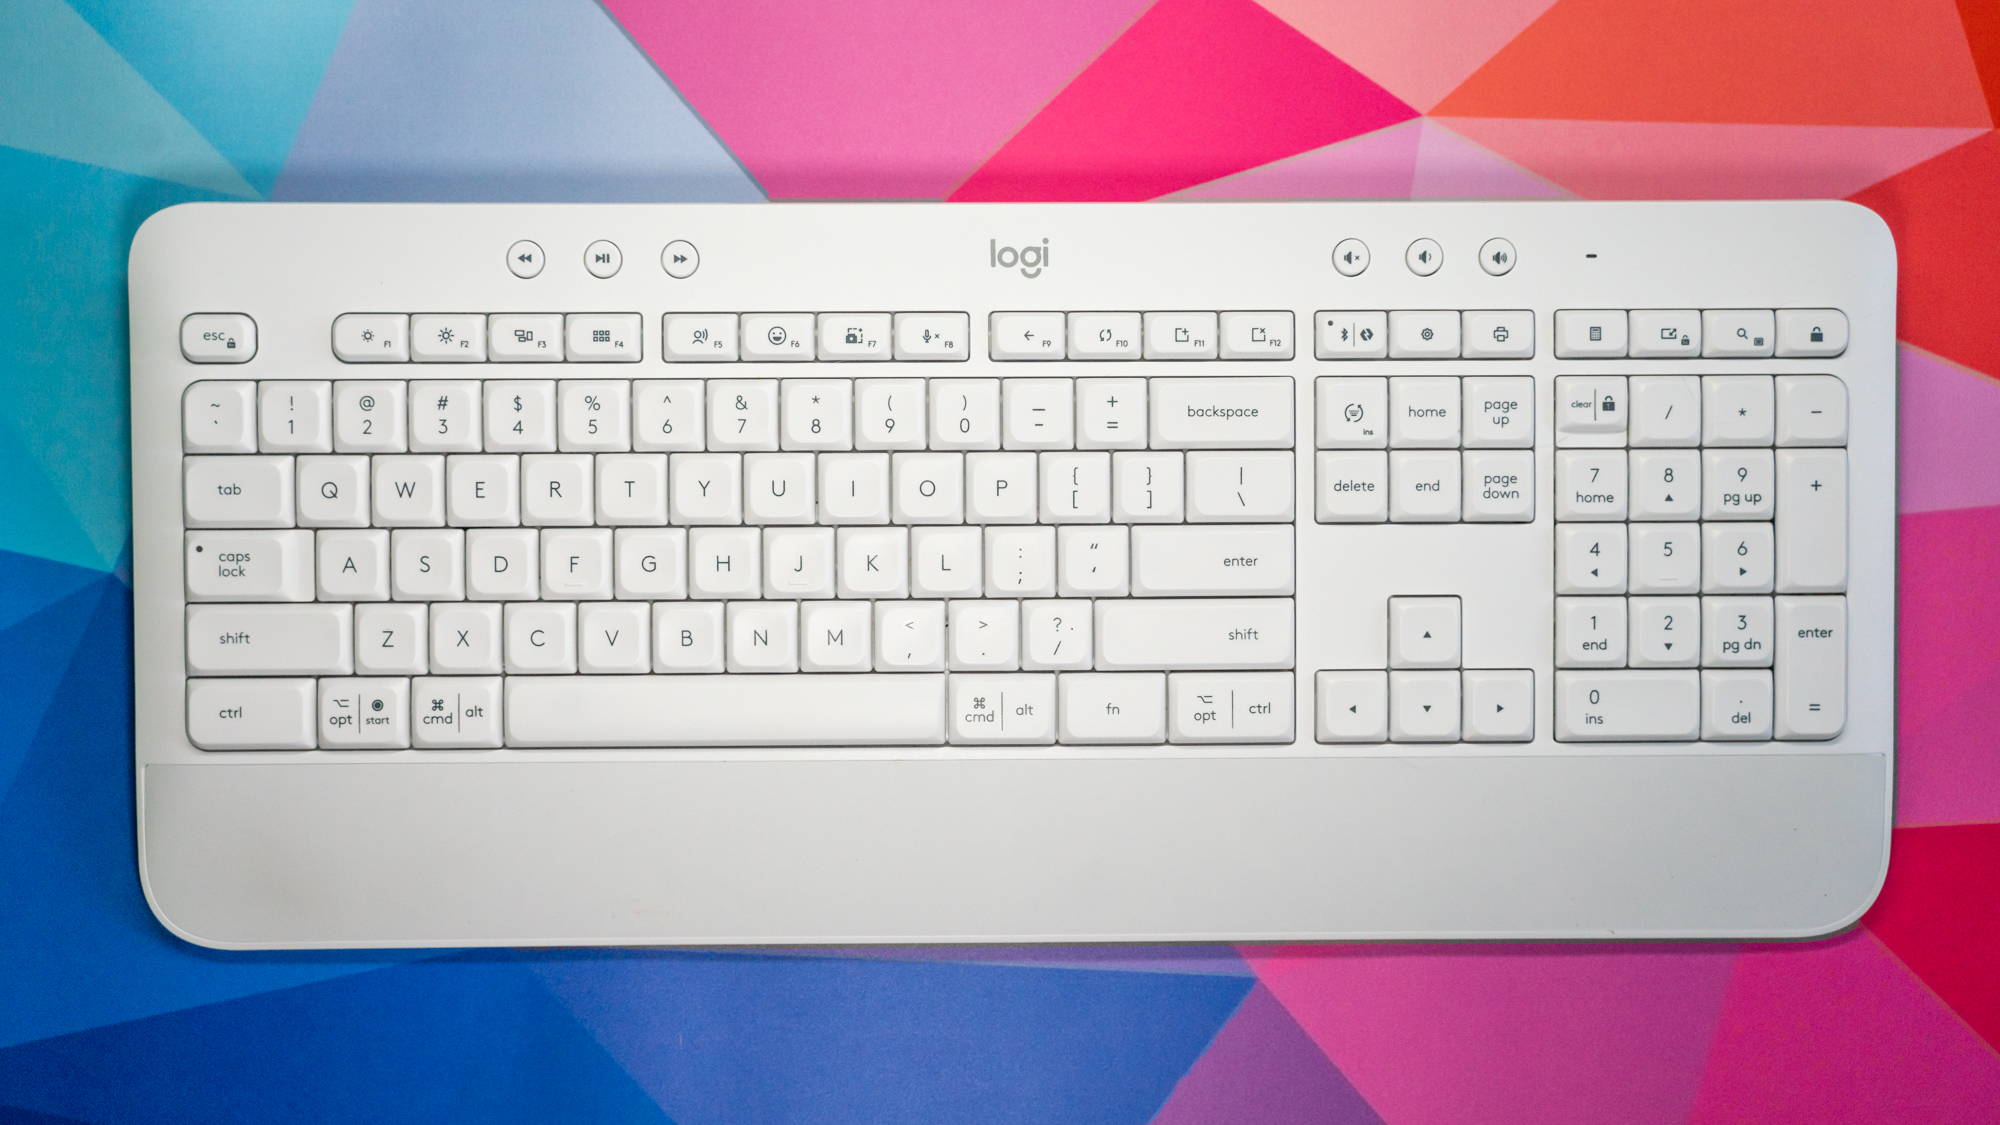
To print screen with a Logitech keyboard on Windows, press the dedicated PrtSc key to copy the entire screen to your clipboard, or press Windows+PrtSc to automatically save a full-screen capture to your Pictures folder. If your model lacks a PrtSc key, you can print screen with Logitech wireless keyboard shortcuts that use the Fn key instead, and if you’re using the slim MX Keys, the key combination differs slightly, see how to print screen on Logitech mx keys. These two built-in shortcuts work on virtually every Logitech keyboard, whether it’s a basic office model or a gaming board, and they cover the most common screenshot needs without any extra setup.
How to print screen with a Logitech keyboard on Windows
Most Logitech keyboards include a dedicated PrtSc key, usually located in the top row near the function keys. Pressing it once captures the entire screen and copies the image to your clipboard. Nothing appears to happen, but the screenshot is ready to paste. Open any image editor, document, or chat window, then press Ctrl+V to insert the capture. This method is ideal when you want to paste the screenshot directly into an email, a support ticket, or a design tool.
If you want the screenshot saved as a file without extra steps, press the Windows key and PrtSc together. The screen will dim briefly, and the full-screen capture is automatically stored in the Pictures folder under a subfolder named Screenshots.
Use the Logitech F-key camera icon for the snipping tool
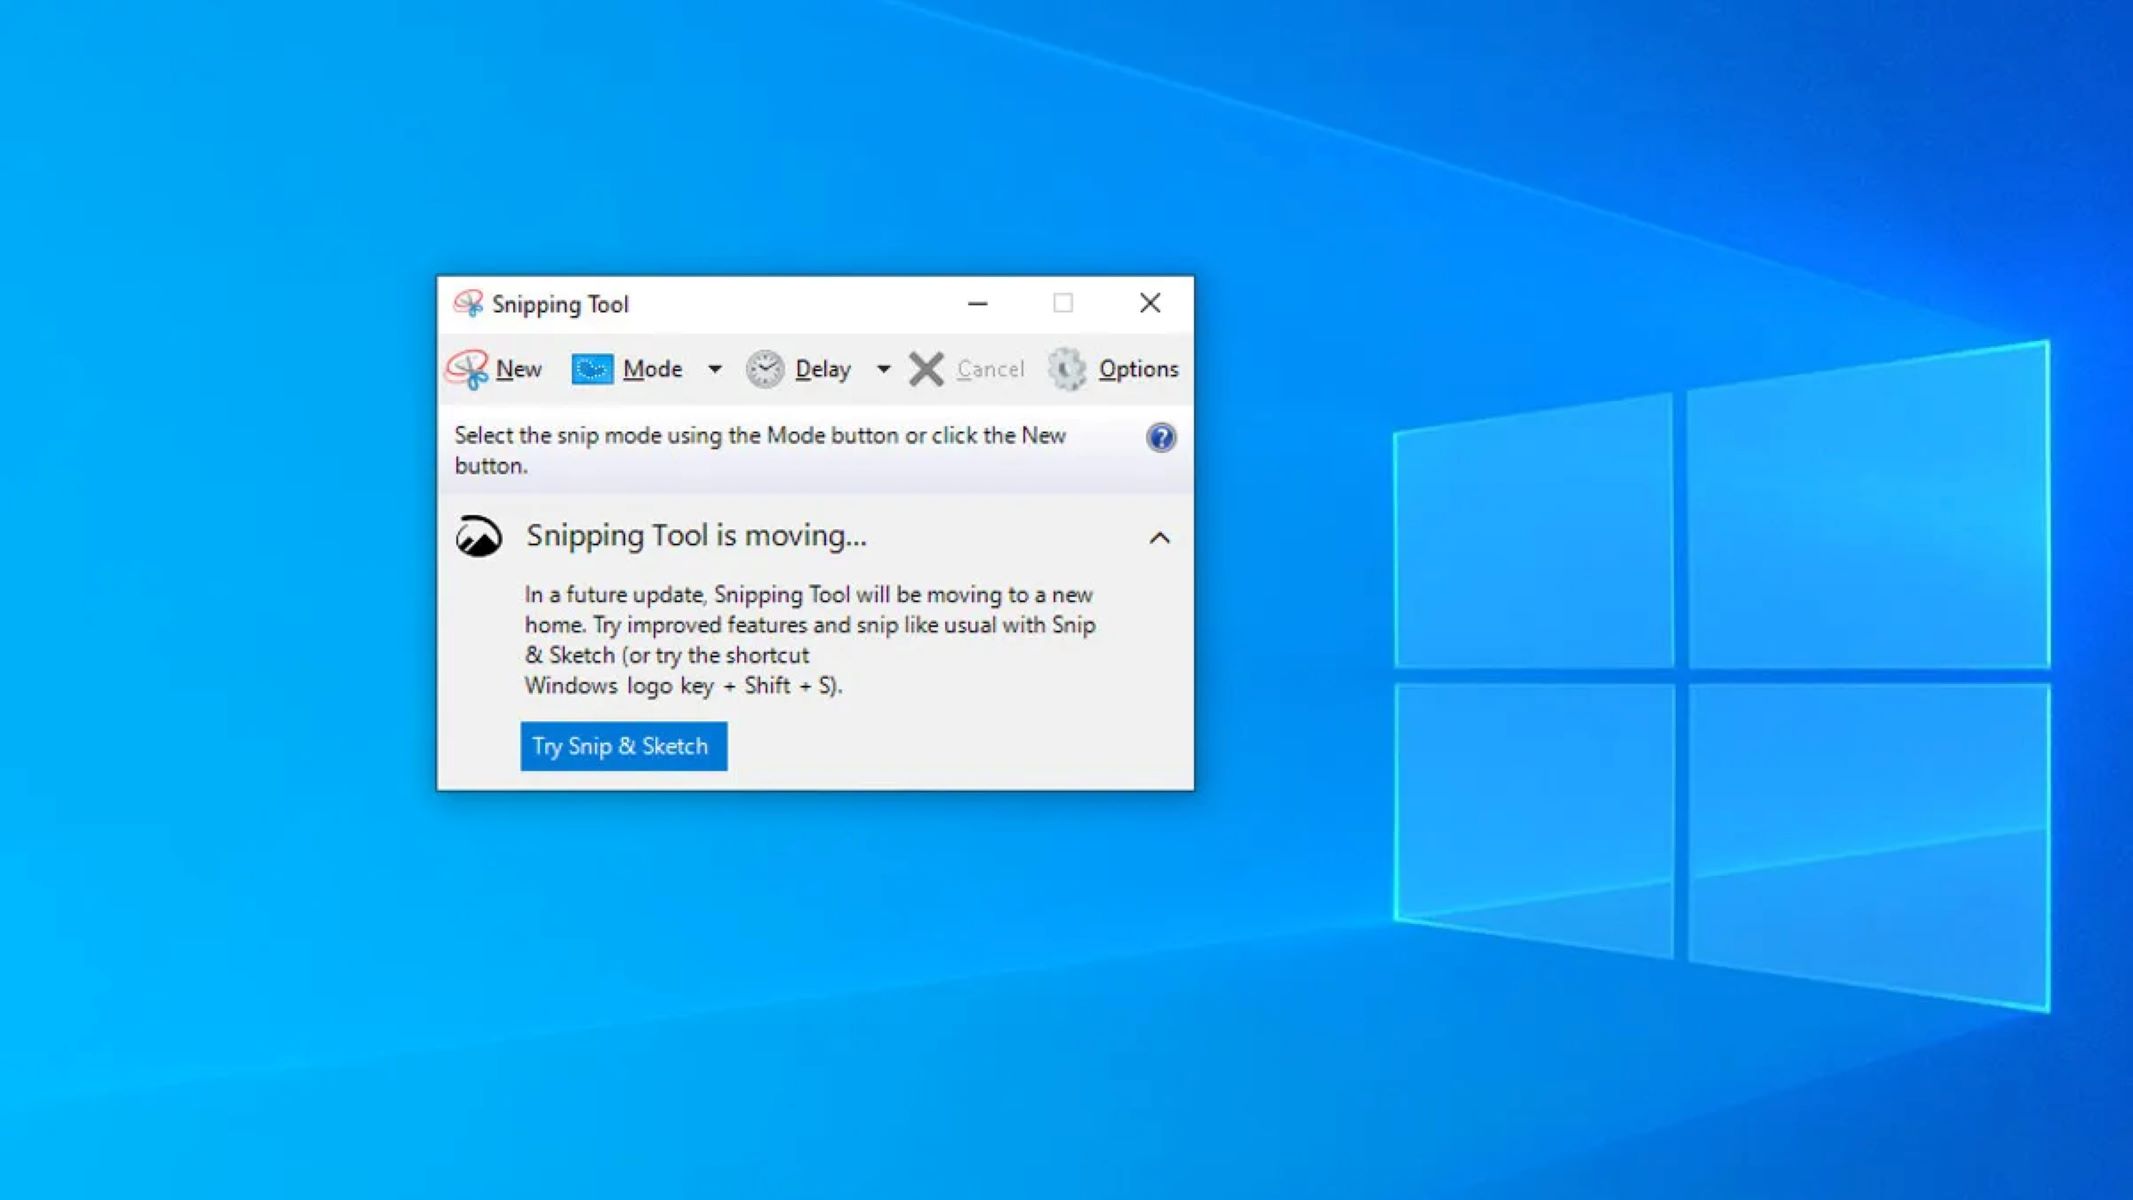
Many Logitech keyboards have a Screen Capture function marked with a small camera icon on one of the F-row keys, often F7 or F8. Pressing this key launches the Windows Snipping Tool instead of copying the full screen. This gives you flexible capture options: you can drag to select a region, capture a specific window, or grab the entire screen, and then annotate or save the result immediately.
To use it, make sure the content you want is visible, then press the F-key with the camera icon. The Snipping Tool overlay appears, and you choose the mode that fits your task. This is the best choice when you only need a portion of the screen, such as a single dialog box or a section of a webpage, because it avoids cropping later. If the camera icon key does not respond as expected, check whether your keyboard requires pressing Fn simultaneously, as some models use dual-purpose F-keys.
Customize a screenshot key with Logitech software
If your Logitech keyboard does not have a visible PrtSc key or camera icon, or if you want a dedicated button for screenshots, you can remap any programmable key using Logitech’s software. For productivity keyboards, use Logi Options+; for gaming keyboards, use G Hub. Both applications let you assign the Screen Capture function or a custom key combination to any key you choose, including the F-row, number pad, or even a G-key on gaming models.
- Open Logi Options+ or G Hub and select your keyboard from the device list.
- Click the key you want to remap, then choose the Screen Capture or Screenshot function from the available actions.
- Save the assignment, then test the key to confirm it captures the screen as intended.
If your keyboard uses an Fn key for secondary actions, you can also toggle Fn behavior so the F-keys perform their printed functions without holding Fn. On many Logitech models, press Fn+Esc to lock or unlock this behavior, or adjust it in Logi Options+ under the Fn key settings. This is especially useful when the camera icon is on an F-key and you want one-press access to the snipping tool.
How to screenshot with a Logitech keyboard on a Mac
When using a Logitech keyboard designed for Windows on a Mac, the key mapping changes but the shortcuts stay consistent. The Windows key acts as the Command (⌘) key, and the Alt key acts as the Option (⌥) key. So to capture the entire screen and save it to the desktop, press Shift+Command+3 (which means Shift+Windows+3 on your Logitech keyboard). This is the quickest way to print screen with a Logitech keyboard on macOS.
For a selected portion of the screen, press Shift+Command+4, then drag to choose the area. The capture saves to the desktop as a PNG file. If you need more options, such as capturing a specific window or recording the screen, press Shift+Command+5 to open the macOS screenshot toolbar. From there, you can pick full screen, window, selection, or screen recording, and adjust settings like save location and timer. This covers every screenshot need on a Mac, whether you are taking a screenshot on a laptop or using an external Logitech keyboard with a Mac desktop.
If your Logitech keyboard has a dedicated PrtSc key, it may not map directly to macOS shortcuts. In that case, rely on the Shift+Command combinations above, or use Logi Options+ to remap the PrtSc key to one of those shortcuts. The same software that works on Windows also supports macOS, so you can create a custom key that triggers Shift+Command+3 or Shift+Command+4 with a single press. This gives you a consistent screenshot experience regardless of which operating system you are using.