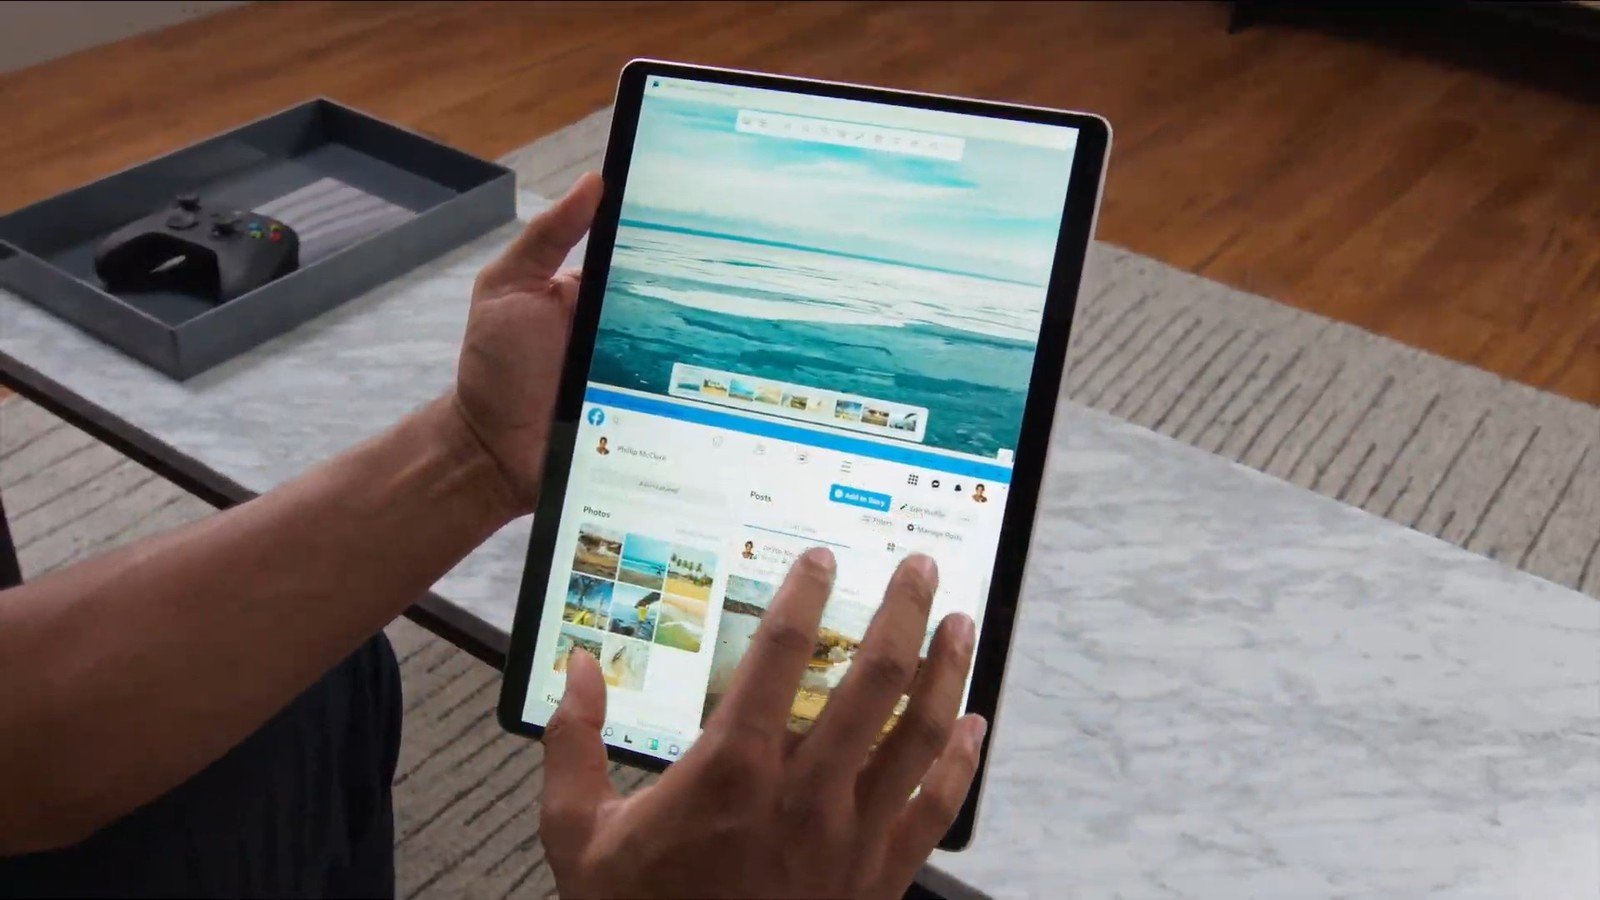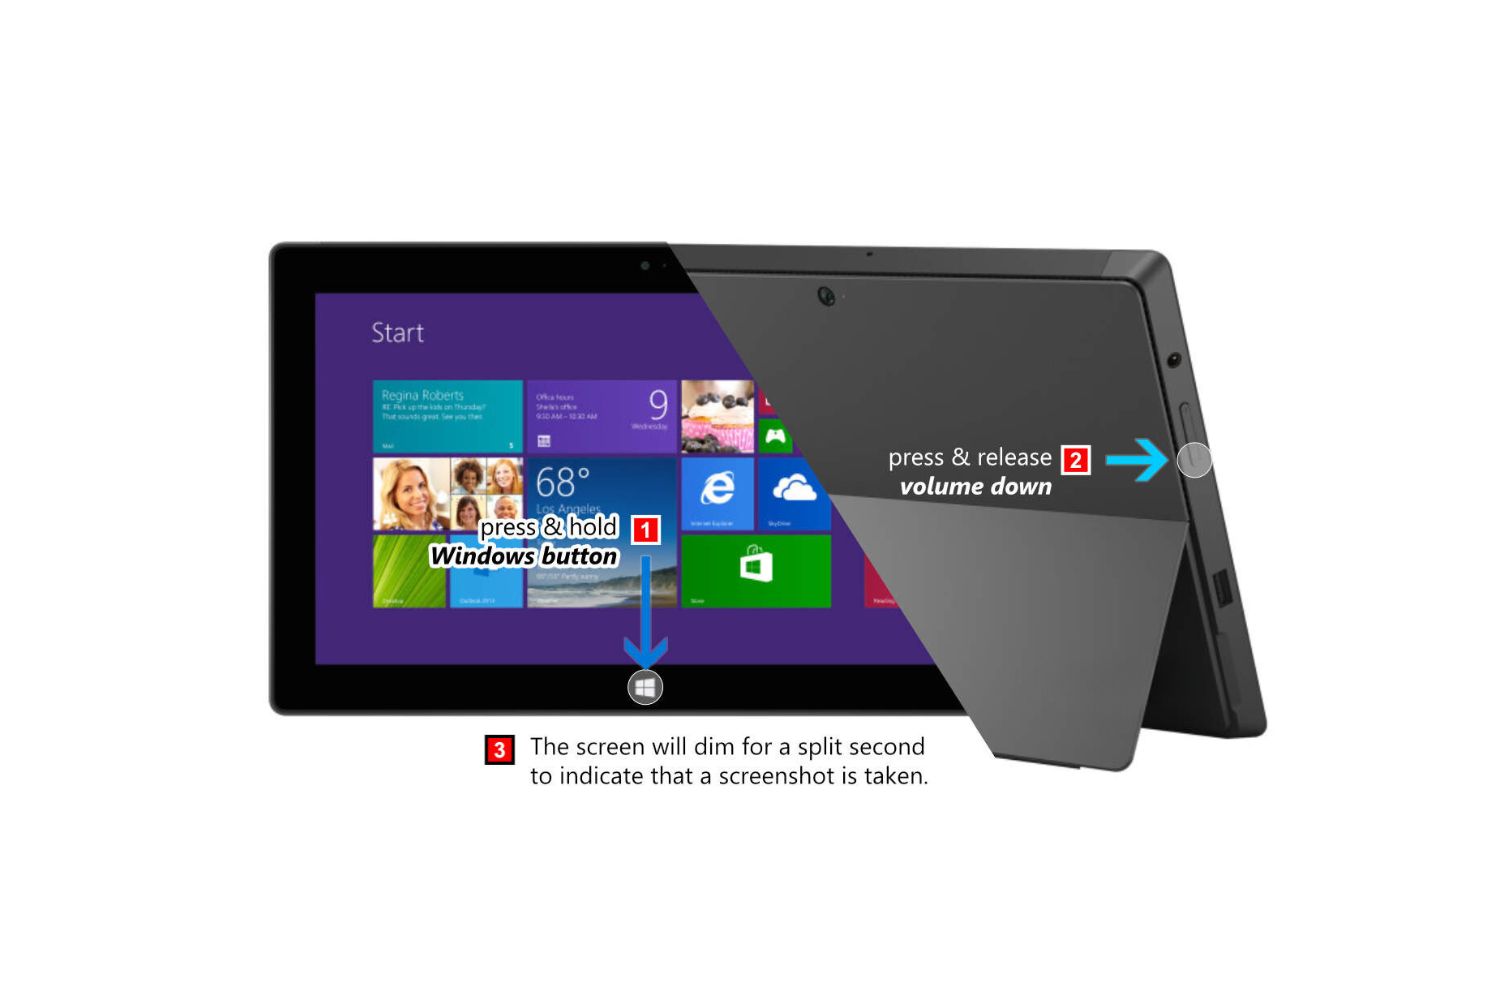
To take a screenshot in tablet mode Windows 10, press and hold the Power button, then tap the Volume Up button. This captures the entire screen instantly and saves it to your Pictures > Screenshots folder. For older Surface models without a volume-up shortcut, hold the Windows logo button and press Volume Down instead.
Prerequisites to screenshot in tablet mode Windows 10
Before capturing anything, confirm your device runs Windows 10 and that Tablet Mode is enabled. Swipe in from the right edge of the screen to open the Action Center, then tap the Tablet mode toggle so it turns blue. This optimizes the interface for touch and ensures the hardware button shortcuts work as expected. If you’re using a 2-in-1 with a detachable keyboard, detach it or fold it back to enter Tablet Mode automatically. If you’ve upgraded and need to turn on tablet mode on Windows 11, the process has changed slightly. For a full walkthrough of the capture methods available once you're set up, see how to screenshot on Windows tablet mode.
Method 1: Use the power and volume up buttons
This is the most direct method on modern Surface devices and most Windows 10 tablets. It works whether you’re in an app, on the Start screen, or in a full-screen video.
- Navigate to the screen you want to capture.
- Press and hold the Power button located on the top edge of the device.
- While holding Power, press the Volume Up button once.
- Release both buttons. You’ll see a brief flash and hear a shutter sound if your device has speakers.
The screenshot is automatically saved to the Screenshots folder inside your Pictures library. Open File Explorer, go to Pictures > Screenshots, and you’ll find the image with a timestamped name. This method works even when you’re using third-party apps or playing DRM-protected content, though some secure apps may block captures.
Method 2: Use the snipping tool (snip & sketch)
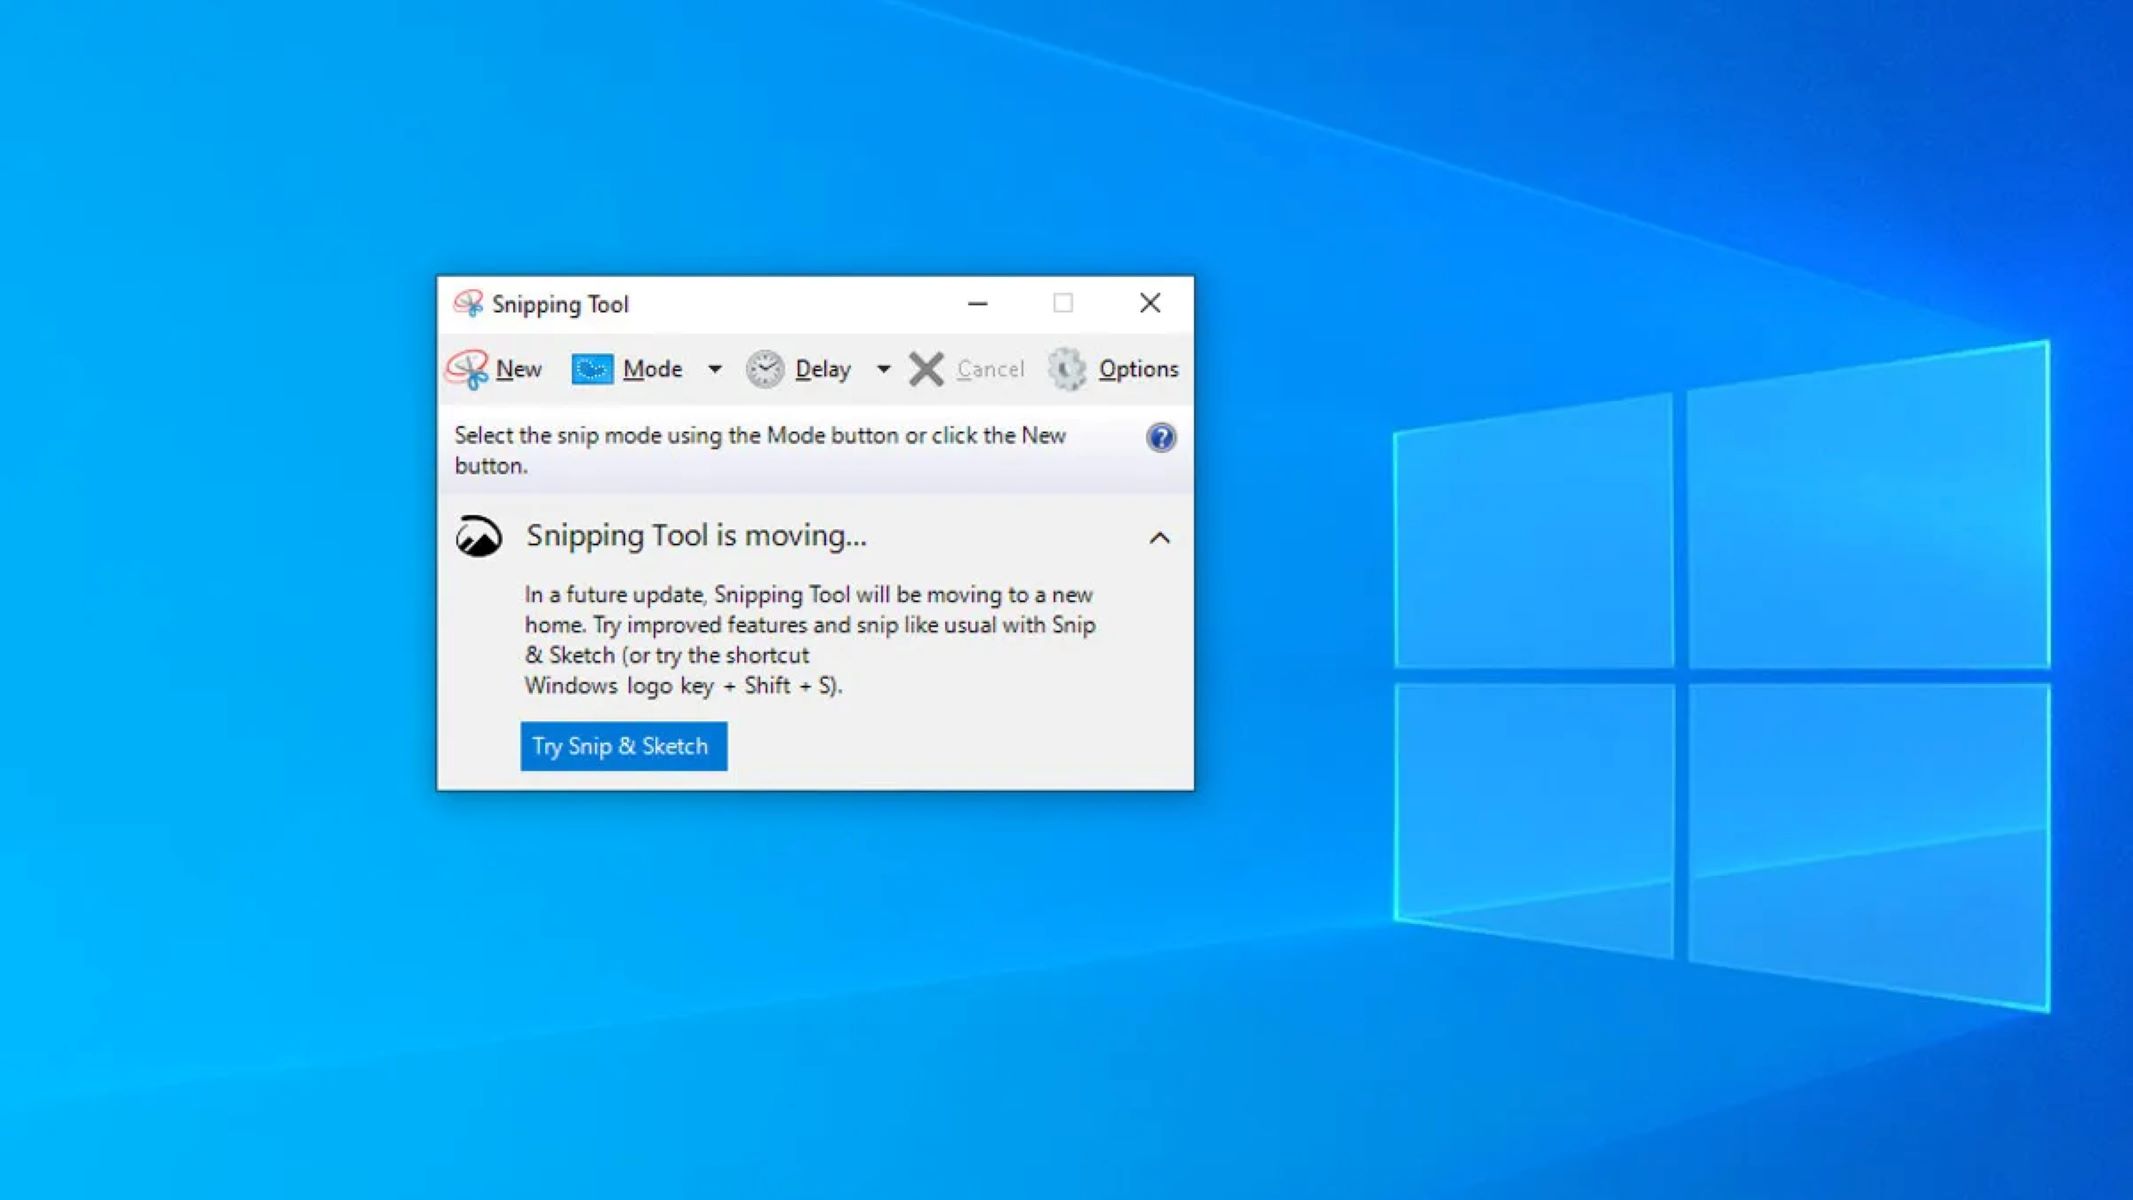
When you need more control over what you capture, the built-in Snipping Tool (also called Snip & Sketch) is your best option. It lets you grab a specific region, a window, or the entire screen, and it includes basic editing tools.
- Open the Start menu by tapping the Windows icon on your taskbar.
- Type “Snipping Tool” in the search box and tap the app from the results.
- Tap “New” to start a capture. The screen will dim, and a small toolbar appears at the top.
- Choose a snip mode: Rectangular, Free-form, Window, or Full-screen.
- Drag your finger or stylus to select the area (for Rectangular or Free-form), or simply tap the screen for Window or Full-screen modes.
After capturing, the image is copied to your clipboard, and a notification appears in the lower right. Tap that notification to open the screenshot in the Snipping Tool editor. From there, you can annotate with a pen or highlighter, crop, or save the file. To save, tap the floppy disk icon or press Ctrl+S. This tool is especially useful when you want to capture a specific menu, an error message, or a portion of a webpage without including the rest of the screen.
Method 3: Double-click your surface pen
If you own a Surface Pen, you can capture a screenshot without touching any buttons on the tablet. This is the fastest method when you’re already holding the pen and want to grab something immediately.
- Position the pen over the screen where you want to capture.
- Double-click the top button on the pen (the eraser end).
- A screenshot of the entire screen is taken instantly.
The image is automatically saved to your OneDrive Screenshots folder, so it syncs across your devices. A small toolbar appears at the bottom of the screen, giving you the immediate option to crop the image before it’s saved. Tap the crop icon to trim the screenshot, then tap the checkmark to confirm. If you don’t crop, the full-screen image is saved as-is. This method is ideal for quickly capturing something and sharing it via email or chat without extra steps.
What about older surface models?
Surface 3 and earlier devices have a physical Windows logo button on the front bezel instead of a volume-up shortcut. On these models, hold down the Windows logo button, then press the Volume Down button. The screen will flash, and the screenshot is saved to the same Screenshots folder in Pictures. This older shortcut only works on devices with that dedicated Windows button; modern Surface Pro and Surface Go models use the Power + Volume Up method instead.
\nRelated reading: How To Take A Screenshot On HP Ultrabook.