Introduction
Are you tired of squinting at a small laptop screen while trying to enjoy your favorite movies or videos? Or do you want to take your presentations to the next level by projecting them on a bigger screen? Thankfully, with advancements in technology, it’s easier than ever to project your laptop screen onto a smart TV.
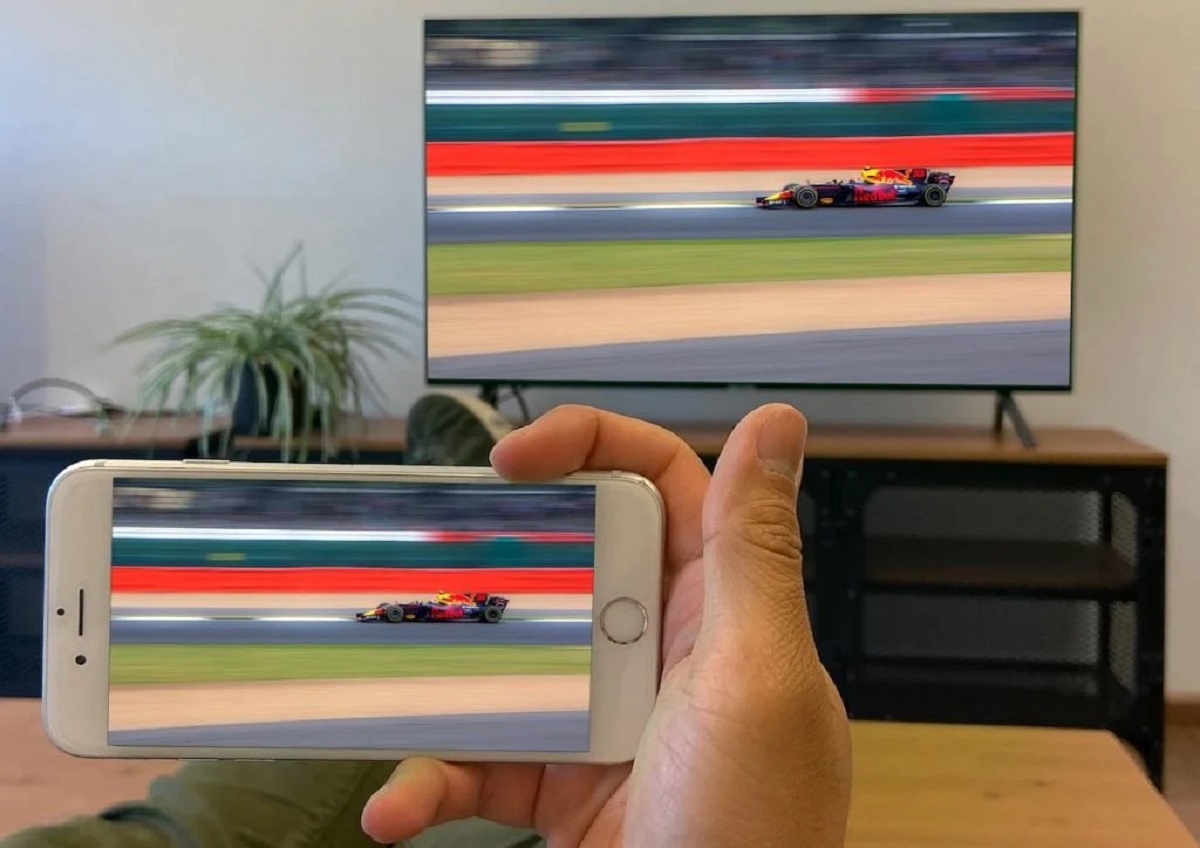
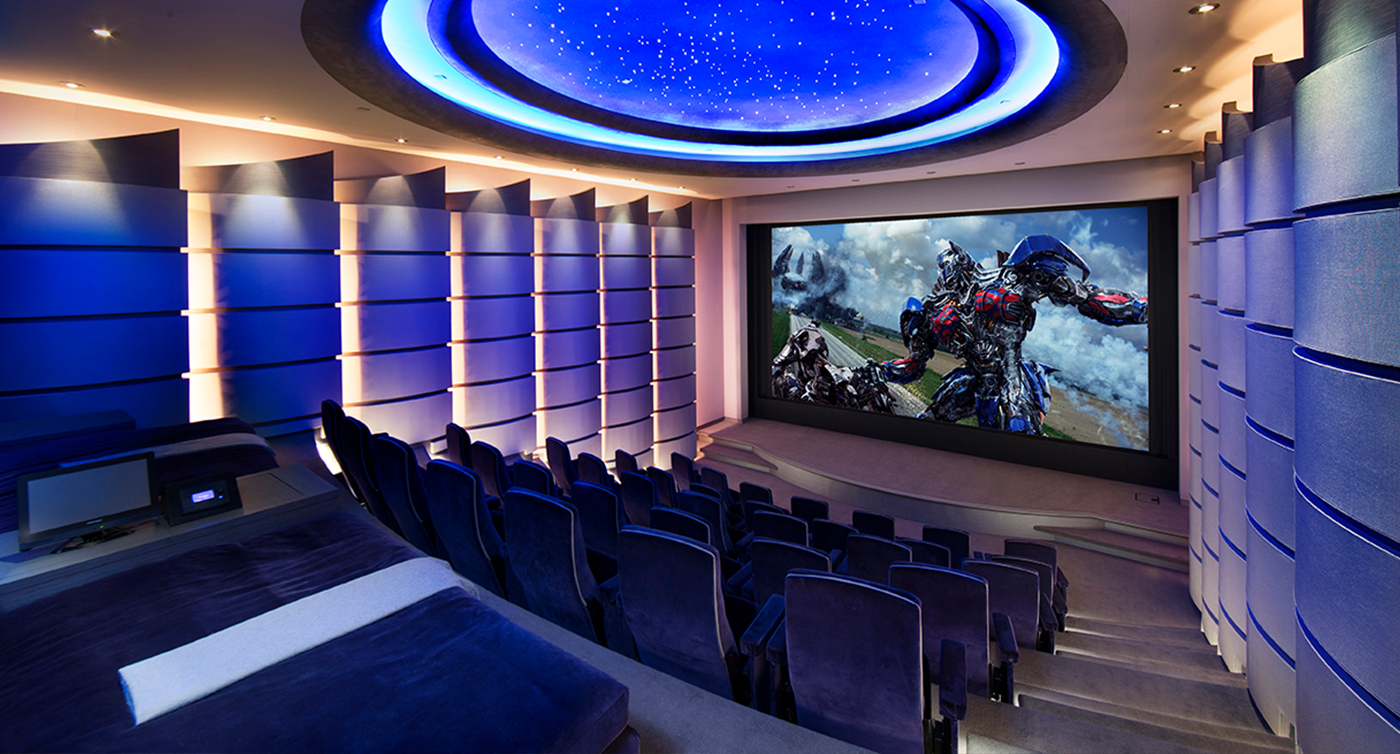
Connecting your laptop to a smart TV allows you to enjoy a larger display, better sound quality, and a more immersive viewing experience. Whether you want to stream online videos, play games, or give a professional presentation, projecting your laptop to a smart TV opens up a whole new world of possibilities.
However, before diving into the process, it’s important to note that not all laptops and smart TVs are compatible with each other. Different laptops and smart TVs have different ports and connection options, so it’s crucial to check for compatibility before attempting to connect them.
In this guide, we’ll walk you through the steps of projecting your laptop screen to a smart TV, ensuring that you have the best possible experience. So, let’s get started!
Step 1: Check Compatibility
Before you begin the process of connecting your laptop to a smart TV, it’s important to ensure that they are compatible with each other. Compatibility is determined by the ports and connection options available on both devices.
First, check the ports available on your laptop. Most modern laptops come with an HDMI port, which is the easiest and most common way to connect to a smart TV. If your laptop has an HDMI port, you’re in luck! HDMI ports provide high-quality audio and video transmission in a single cable.
If your laptop doesn’t have an HDMI port, don’t worry. There are other options available, such as VGA, DVI, or DisplayPort. However, keep in mind that these ports may require additional cables or adapters to connect to your smart TV.
Next, check the ports available on your smart TV. Look for an HDMI input port. This is where you will connect your laptop to the TV. Most smart TVs have at least one HDMI port, but it’s always a good idea to double-check the back or side of your TV to confirm.
If your smart TV and laptop have compatible ports, you’re ready to proceed to the next step. However, if you’re unsure about the compatibility or need additional cables or adapters, consult the user manuals of your devices or reach out to the manufacturers for assistance.
Checking the compatibility between your laptop and smart TV ensures a smooth and hassle-free connection process. Now that you’ve confirmed compatibility, it’s time to move on to the next step and make the physical connection between the two devices.
Step 2: Connect the Laptop and Smart TV
Now that you have checked the compatibility between your laptop and smart TV, it’s time to physically connect the two devices. The type of connection will depend on the available ports on both devices.
If your laptop and smart TV both have HDMI ports, connecting them is a breeze. Simply grab an HDMI cable and plug one end into the HDMI output port on your laptop and the other end into the HDMI input port on your smart TV. Make sure to note the HDMI input number on your smart TV, as you’ll need it later to switch to the correct input source.
If your laptop has a different type of port, such as VGA or DVI, you’ll need an adapter or cable that converts the signal to HDMI. Connect the adapter or cable to your laptop’s port and then connect the HDMI cable from the adapter to the HDMI input port on your smart TV.
Once you have made the physical connection between your laptop and smart TV, ensure that both devices are powered on. Your smart TV should automatically detect the connection, but if not, consult your TV’s user manual for instructions on how to manually switch to the HDMI input source.
It’s important to note that some laptops may require you to activate the external display or projector mode. To do this, press the function key (usually labeled “Fn”) on your laptop’s keyboard, along with the appropriate function key that has a display icon (typically F4, F5, or F8). Refer to your laptop’s user manual for specific instructions on activating the external display mode.
Once your laptop and smart TV are successfully connected, you’re ready to move on to the next step and adjust the laptop’s display settings.
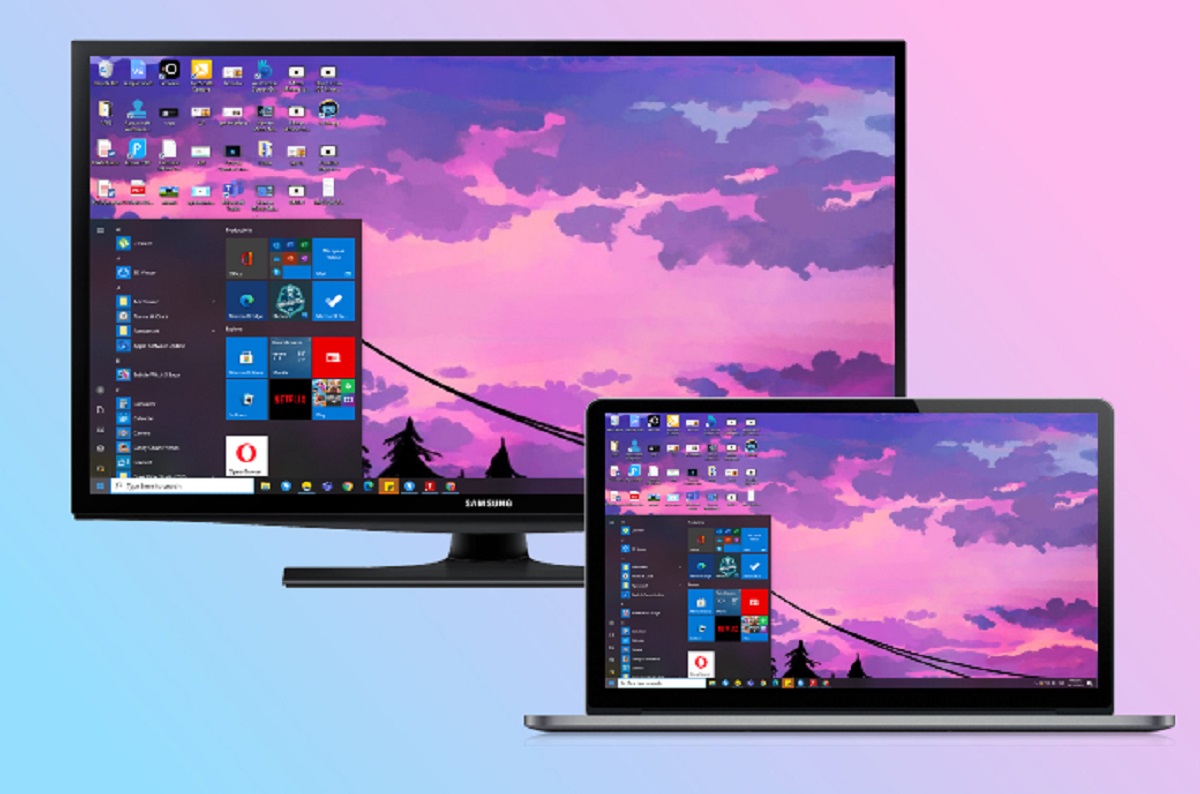
Step 3: Adjust Laptop Display Settings
After connecting your laptop to the smart TV, it’s important to adjust the display settings on your laptop to ensure optimal viewing on the larger screen.
Start by right-clicking anywhere on your laptop’s desktop and selecting “Display settings” or “Screen resolution” from the context menu. This will open the display settings panel.
In the display settings panel, you’ll see a preview of your laptop’s screen and the smart TV as an additional display option. Click on the smart TV display to select it.
Once selected, you can adjust the resolution and orientation settings for the smart TV. It’s recommended to set the resolution to the native resolution of your smart TV for the best image quality. If you’re unsure of the native resolution, refer to your smart TV’s user manual or the manufacturer’s website for more information.
You may also want to adjust the screen orientation to landscape mode if it’s not already set that way. This ensures the content is properly displayed on the smart TV.
Additionally, some laptops offer display options for extending or duplicating the screen. Extending the screen allows you to use the smart TV as a second monitor, while duplicating the screen mirrors your laptop’s display exactly on the smart TV. Choose the option that best suits your needs.
Once you have made the necessary adjustments, click “Apply” or “OK” to save the changes. Your laptop’s screen should now be properly adjusted for projection onto the smart TV.
It’s worth noting that some laptops may require you to make these adjustments within the graphics control panel of your graphics card driver. If this is the case, you can usually access the control panel by right-clicking on the desktop and selecting the graphics options.
With the laptop display settings adjusted, you’re now ready to move on to the next step and adjust the smart TV’s input settings.
Step 4: Adjust Smart TV Input Settings
Once you have connected your laptop to the smart TV and adjusted the display settings on your laptop, it’s time to make sure the smart TV is set to the correct input source to receive the laptop’s signal.
Begin by locating the input or source button on your smart TV’s remote control. It is usually labeled as “Input,” “Source,” or a similar term. Press this button to access the input menu on your TV.
In the input menu, you should see a list of available input sources. Look for the HDMI input number that corresponds to the HDMI port you connected your laptop to. Select this HDMI input to switch the TV’s display to the laptop’s signal.
Once you have selected the correct HDMI input, the smart TV should start displaying the laptop’s screen. In some cases, the laptop’s screen may appear black on the TV initially. If this happens, try pressing the Windows key and the P key on your laptop’s keyboard simultaneously to bring up the projection options. Select the “Duplicate” or “Extend” option to display the laptop’s screen on the TV.
At this point, you may need to adjust the picture and sound settings on your smart TV to ensure the best viewing experience. Use the TV’s remote control to navigate the menu and make any necessary adjustments to the brightness, contrast, color, and sound settings.
If you encounter any issues or the laptop’s screen still doesn’t appear on the smart TV, double-check the connections between the laptop and the TV, and verify that both devices are powered on.
Remember that the specific steps and options may vary depending on the make and model of your smart TV. Consult your TV’s user manual or the manufacturer’s website for detailed instructions on adjusting the input settings to receive the laptop’s signal.
With the laptop and smart TV properly connected and the input settings adjusted, you can now move on to the next step and start projecting your laptop screen onto the smart TV.
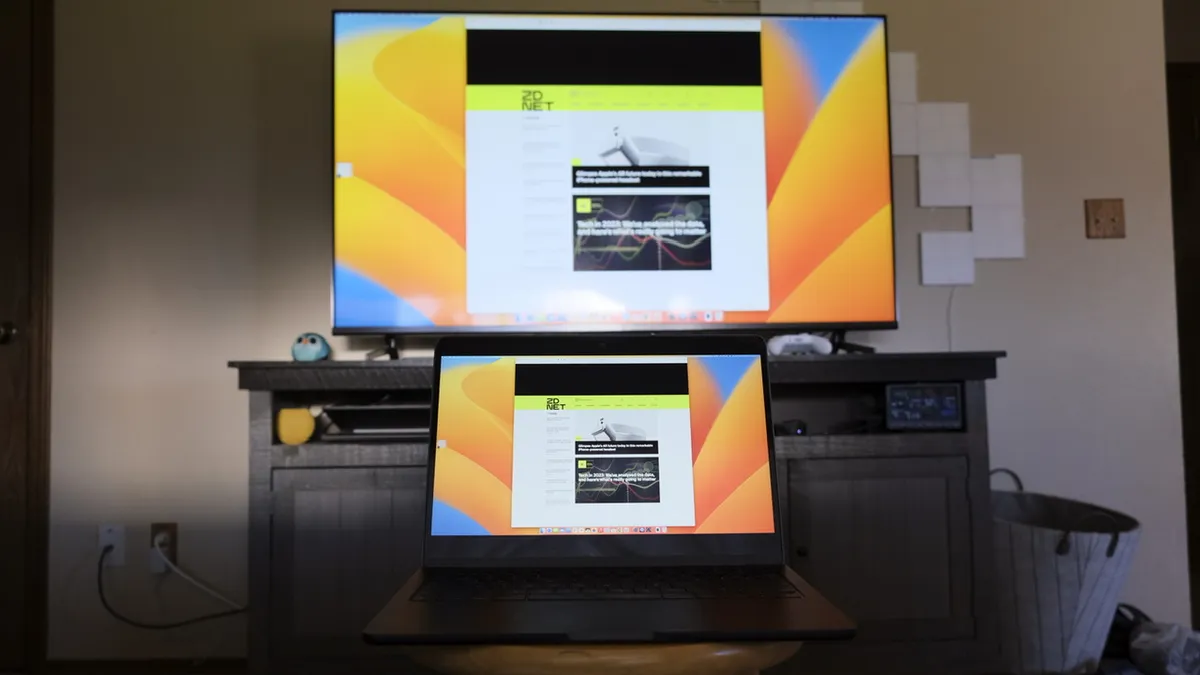
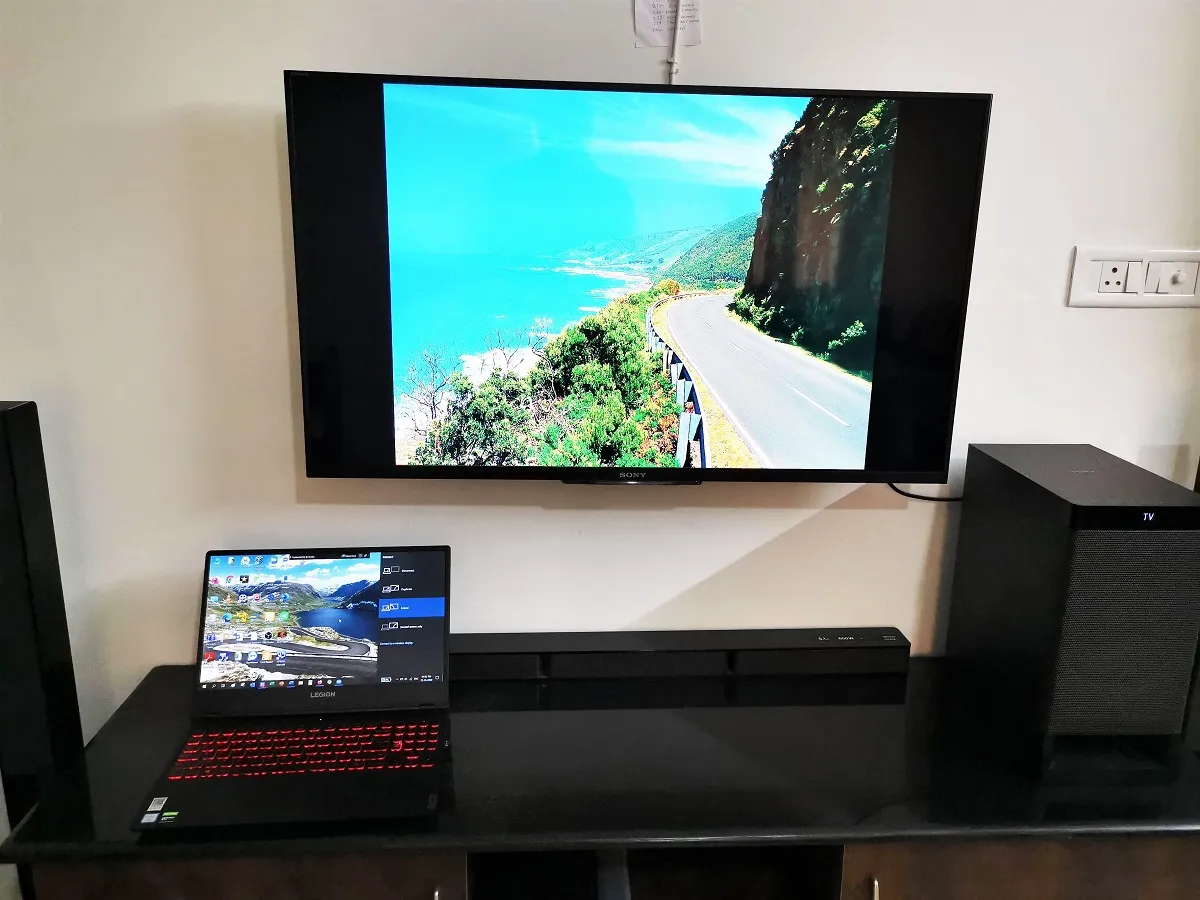
Step 5: Project Laptop Screen to Smart TV
Now that your laptop and smart TV are connected and the input settings are adjusted, it’s time to project your laptop screen onto the smart TV.
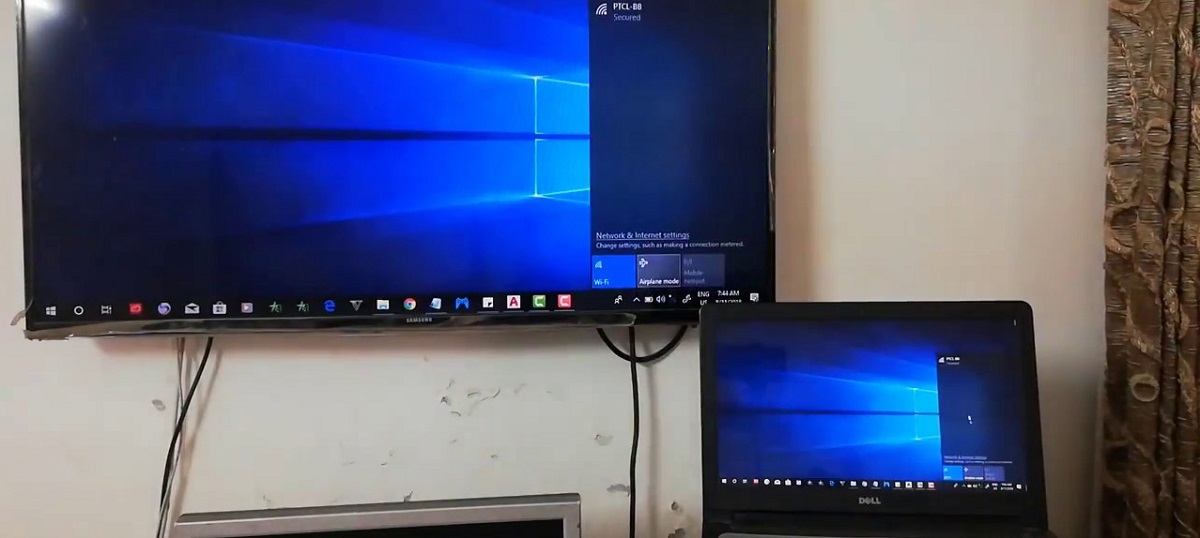
On your laptop, press the Windows key and the P key simultaneously to bring up the projection options. This opens the “Project” menu, which allows you to choose how you want to project your laptop’s screen.
There are four projection options to choose from:
- PC screen only: This option will display the content exclusively on your laptop’s screen.
- Duplicate: This option mirrors your laptop’s screen exactly on the smart TV.
- Extend: This option extends your desktop across both the laptop screen and the smart TV. You can drag and drop windows between the two screens.
- Second screen only: This option turns off the laptop’s screen and displays content only on the smart TV.
Select the desired projection option based on how you want to use the laptop and smart TV together. If you’re unsure, choose duplicate to begin with, as it’s the most common option for projecting content.
After selecting the projection option, the laptop screen should be projected onto the smart TV. You’ll see your laptop’s desktop or any open windows and applications appear on the larger screen.
Now you can enjoy your favorite movies, videos, or presentations on the big screen of the smart TV. You can also use your laptop to control what’s displayed on the TV, such as playing videos or browsing the web.
To stop projecting your laptop screen to the smart TV, simply press the Windows key and the P key again and select the “PC screen only” option. This will return the display solely to your laptop’s screen.
Remember to disconnect the laptop from the smart TV properly, following the manufacturer’s instructions, when you’re finished using the projector function.
With your laptop screen successfully projected onto the smart TV, you can now sit back, relax, and enjoy a more immersive viewing experience.
Step 6: Troubleshooting Tips
While projecting your laptop screen to a smart TV is usually a straightforward process, you may encounter some issues along the way. Here are some troubleshooting tips to help you resolve common problems:
- No image on the TV: Double-check the cable connections between your laptop and the smart TV. Ensure that both devices are powered on and that you’ve selected the correct HDMI input on the TV. If the laptop’s screen still doesn’t appear on the TV, try restarting both devices.
- Poor image quality: If the image quality on the smart TV is not satisfactory, verify that you’ve set the resolution to the highest supported by your TV. You can also try adjusting the picture settings on the TV to enhance the image quality.
- No sound on the TV: Make sure the volume is not muted on both your laptop and smart TV. Check the audio settings on your laptop to ensure that the sound is being directed to the HDMI output. You may need to adjust the sound settings on the TV as well.
- Lag or latency: If there’s a delay between the laptop screen and the TV display, it could be due to the graphics card or the TV’s processing capabilities. Try updating your graphics card drivers to the latest version, or check if your TV has a game or PC mode that can help reduce input lag.
- Adapter or cable issues: If you’re using an adapter or cable to connect your laptop to the TV, make sure it is compatible with your devices and functioning properly. Faulty adapters or cables can cause connectivity issues or poor signal transmission.
- External display not detected: In some cases, your laptop may not detect the smart TV as an external display. Try reconnecting the HDMI cable and ensuring that you’ve selected the correct input on the TV. Additionally, check your laptop’s display settings to ensure that the external display is enabled.
If you’ve exhausted these troubleshooting tips and are still facing issues, consult the user manuals of your laptop and smart TV or reach out to the manufacturers’ customer support for further assistance.
By following these troubleshooting tips, you can overcome common hurdles and ensure a smooth and enjoyable experience while projecting your laptop screen to a smart TV.
Conclusion
Connecting and projecting your laptop screen to a smart TV opens up a world of possibilities for entertainment, presentations, and productivity. With just a few simple steps, you can enjoy a larger display, enhanced audio, and a more immersive experience.
In this guide, we covered the step-by-step process of projecting your laptop screen to a smart TV. We started by checking compatibility between the devices, ensuring that they have the necessary ports to connect. Then, we discussed how to physically connect the laptop and smart TV using HDMI or other available ports.
Next, we covered adjusting the laptop’s display settings to optimize the viewing experience on the smart TV. By selecting the appropriate display options and adjusting resolution and orientation settings, you can ensure that the content is displayed correctly on the larger screen.
We also discussed adjusting the input settings on the smart TV to receive the laptop’s signal. By selecting the correct HDMI input source and making any necessary tweaks to picture and sound settings, you can have the best possible viewing experience.
We wrapped up by exploring troubleshooting tips to resolve common issues that you may encounter during the process. By following these tips, you can overcome connectivity issues, audio or video problems, and other challenges that may arise.
With the knowledge gained from this guide, you’re now equipped to project your laptop screen to a smart TV with confidence. Whether you want to watch your favorite movies, give presentations, or simply enjoy a larger display, the possibilities are endless.
Remember, the specific steps and options may vary depending on the make and model of your laptop and smart TV. For additional guidance, consult the user manuals of your devices or reach out to the manufacturers for support.
So, go ahead and take advantage of the convenience and versatility of connecting your laptop screen to a smart TV. Sit back, relax, and enjoy the enhanced viewing experience that a larger screen provides.