Introduction
Welcome to the world of screen mirroring! It’s a convenient feature that allows you to display the content from your laptop directly onto your Samsung Smart TV. Whether you want to watch movies, share presentations, or play games on a larger screen, screen mirroring makes it possible without the need for any cables or additional devices.
But before you dive into the world of screen mirroring, it’s important to ensure that your laptop and Samsung Smart TV are compatible with each other. Not all laptops and smart TVs support screen mirroring, so it’s crucial to verify their compatibility before proceeding. Once you’ve confirmed their compatibility, you can follow a few simple steps to connect your laptop to your Samsung Smart TV and activate the screen mirroring feature.
In this guide, we will walk you through the process of screen mirroring from your laptop to your Samsung Smart TV. Whether you’re using a Windows laptop or a MacBook, the steps are fairly simple and straightforward. So let’s get started!
Step 1: Check Compatibility
Before you jump into screen mirroring, the first step is to ensure that both your laptop and Samsung Smart TV are compatible with the feature. Here’s what you need to do:
1. Check your laptop’s operating system: Screen mirroring is typically supported on Windows and Mac operating systems. Make sure your laptop is running on a compatible version, such as Windows 7 or later for Windows laptops, or macOS 10.9 or later for MacBook users.
2. Verify your Samsung Smart TV model: Different Samsung Smart TV models have varying compatibility with screen mirroring. Look up your TV’s model number in the user manual or check the manufacturer’s website to confirm if it supports screen mirroring.
3. Check for necessary software: To enable screen mirroring, you may need to install certain software or apps on your laptop and TV. Check if there are any specific applications recommended by Samsung for screen mirroring, and ensure that they are installed on both devices.
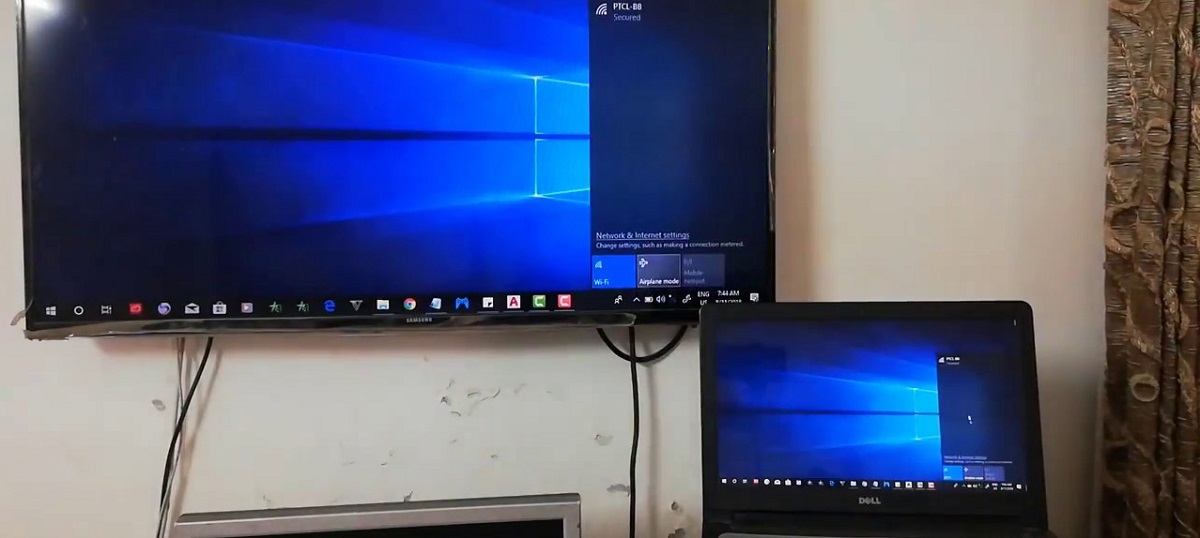
4. Ensure both devices are connected to the same network: For screen mirroring to work smoothly, both your laptop and Samsung Smart TV must be connected to the same Wi-Fi network. Double-check that they are connected to the same network and that there are no connectivity issues.
By taking the time to check the compatibility between your laptop and Samsung Smart TV, you can avoid any unnecessary frustration and ensure a seamless screen mirroring experience. Once you’ve confirmed that your devices are compatible, you can proceed to the next step of connecting your laptop to your TV.
Step 2: Connect Laptop to Samsung Smart TV
Now that you’ve verified the compatibility of your laptop and Samsung Smart TV, it’s time to establish a connection between the two devices. Follow these steps to connect your laptop to your TV:
1. Locate the HDMI port on your Samsung Smart TV: Check the back or side of your TV for the HDMI ports. These ports are usually labeled “HDMI” and may be accompanied by a number (e.g., HDMI 1, HDMI 2). Make a note of the HDMI port number you’ll be using for the connection.
2. Connect one end of the HDMI cable to your laptop: Locate the HDMI port on your laptop and plug one end of the HDMI cable into it. Ensure that the cable is securely connected.
3. Connect the other end of the HDMI cable to your Samsung Smart TV: Take the other end of the HDMI cable and insert it into the corresponding HDMI port on your TV. Again, make sure the connection is secure.
4. Switch the input source on your TV: Use your Samsung TV remote to navigate to the input/source selection menu. Look for the HDMI input that you connected your laptop to (e.g., HDMI 1, HDMI 2). Select the corresponding HDMI input to switch the TV’s display to your laptop’s screen.
5. Configure display settings on your laptop: Once the connection is established, you may need to adjust the display settings on your laptop. Go to your laptop’s display settings and set the proper screen resolution and aspect ratio for the TV display. You may also need to select the option to extend or duplicate the screen onto the TV.
Once the connection is successfully established and the display settings are configured, you’re ready to move on to the next step of enabling screen mirroring on your laptop and Samsung Smart TV.
Step 3: Enable Screen Mirroring on Laptop
Now that you’ve connected your laptop to your Samsung Smart TV, it’s time to enable screen mirroring on your laptop. The steps for enabling screen mirroring may vary depending on your laptop’s operating system. Here’s a general guide:
For Windows laptops:
- Open the “Action Center” by clicking on the speech bubble icon located on the bottom right corner of the taskbar.
- Click on the “Project” option in the “Action Center” menu.
- Select “Connect to a wireless display” to start searching for available devices.
- Your Samsung Smart TV should appear in the list of available devices. Click on it to initiate the connection.
- Follow any on-screen prompts to complete the connection and start the screen mirroring.
For MacBook:
- Click on the Apple menu () on the top-left corner of the screen.
- Select “System Preferences” from the drop-down menu.
- Click on the “Displays” icon in the System Preferences window.
- Go to the “Arrangement” tab and check the “Mirror Displays” option.
- Your laptop’s screen will now be mirrored on your Samsung Smart TV.
It’s important to note that the steps mentioned above are general guidelines, and the specific options and menu names may vary depending on your laptop’s operating system and version. Refer to the user manual or online resources specific to your laptop if you encounter any difficulties enabling screen mirroring.
With screen mirroring enabled on your laptop, you’re now ready to move on to the next step of enabling screen mirroring on your Samsung Smart TV.
Step 4: Enable Screen Mirroring on Samsung Smart TV
Congratulations on enabling screen mirroring on your laptop! Now, let’s proceed to enable screen mirroring on your Samsung Smart TV. The process may slightly vary depending on the model of your TV, but here’s a general guideline to follow:
- Turn on your Samsung Smart TV and ensure that it is connected to the same Wi-Fi network as your laptop.
- Using your Samsung TV remote, press the “Menu” button to access the TV’s main menu.
- Navigate to the “Settings” option and select it.
- Within the settings menu, look for the “Network” or “Connections” option, and select it.
- Find and choose the “Screen Mirroring” or “Mirroring” option.
- Your Samsung Smart TV will now start searching for available devices to connect to.
- Once your laptop’s name appears in the list of available devices, select it to initiate the connection.
- Follow any further on-screen prompts or authentication steps to complete the screen mirroring setup.
It’s worth noting that some Samsung Smart TVs may have a dedicated screen mirroring button on the remote control. If that’s the case, you can simply press the screen mirroring button to start the connection process without navigating through the TV’s menu.
If you encounter any difficulties enabling screen mirroring on your Samsung Smart TV, refer to the user manual or the manufacturer’s website for specific instructions tailored to your TV model.
Once screen mirroring is successfully enabled on your Samsung Smart TV, you’re just one step away from enjoying the seamless mirroring of your laptop onto the big screen of your TV.
Step 5: Start Screen Mirroring
With both your laptop and Samsung Smart TV connected and screen mirroring enabled on both devices, you’re now ready to start screen mirroring. Follow these simple steps to begin mirroring your laptop’s screen onto your TV:
- Ensure that your laptop and Samsung Smart TV are still connected to the same Wi-Fi network.
- On your laptop, open the application or content that you want to mirror on the TV. It could be a video, a presentation, or even a web page.
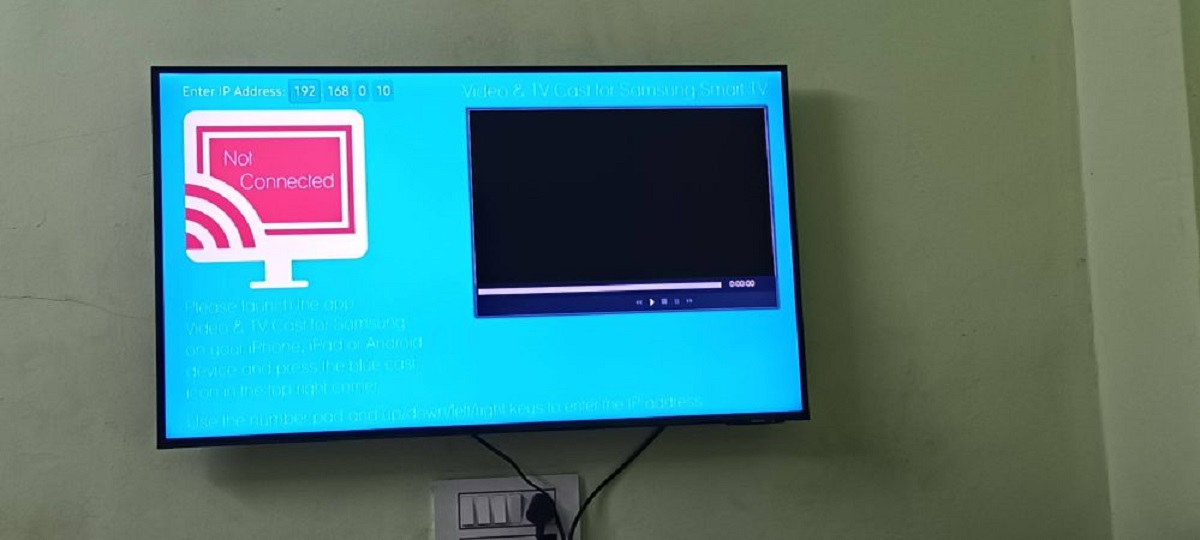
- Once the application or content is open, look for the screen mirroring icon or option. This icon typically resembles two overlapping rectangles or a monitor with a wireless signal.
- Click on the screen mirroring icon or select the screen mirroring option to start searching for available devices.
- Your Samsung Smart TV should appear in the list of available devices for screen mirroring. Click on it to establish the connection.
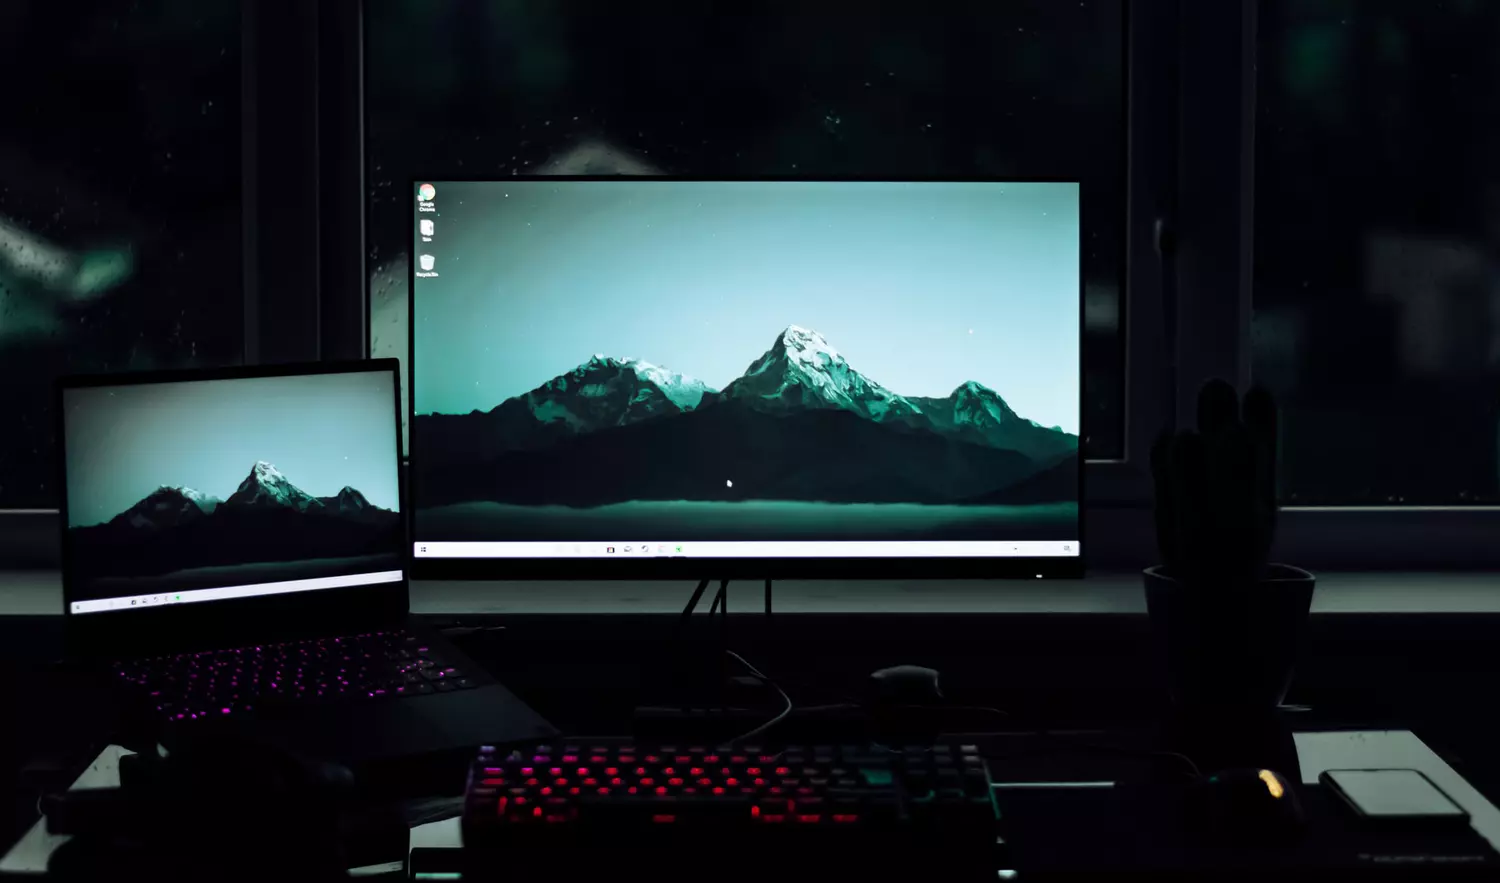
- Within a few moments, the screen of your laptop should start mirroring onto your Samsung Smart TV, displaying exactly what appears on your laptop’s screen.
Now, you can enjoy your favorite content or carry out your tasks on the big screen of your Samsung Smart TV. Whether you’re streaming movies, giving a presentation, or playing games, the possibilities are endless.
Remember that screen mirroring replicates your laptop’s screen onto the TV, so you’ll see the same content and have control from your laptop. You can use your laptop’s keyboard and mouse to interact with the mirrored content on the TV.
When you’re done with screen mirroring, you can simply disconnect the mirroring session by either closing the application or content on your laptop or turning off the screen mirroring feature on your laptop or Samsung Smart TV.
Now that screen mirroring is up and running, enjoy the larger display and immersive experience that comes with watching or working on your laptop through your Samsung Smart TV!
Step 6: Troubleshooting Tips
While screen mirroring is generally a straightforward process, you may encounter some issues along the way. Here are some troubleshooting tips to help you resolve common problems:
1. Check the Wi-Fi connection: Ensure that both your laptop and Samsung Smart TV are connected to the same Wi-Fi network. Unstable or weak Wi-Fi signals can cause interruptions in the screen mirroring process. Consider moving closer to the Wi-Fi router or resetting the router if needed.
2. Restart your devices: Sometimes, a simple restart can fix connectivity issues. Power off your laptop and Samsung Smart TV, then turn them back on after a few seconds. This can help refresh the network connections and resolve any minor glitches.
3. Update your software: Keeping your laptop’s operating system and Samsung Smart TV firmware up to date can prevent compatibility issues and ensure optimal performance. Check for any available updates for both devices and install them if necessary.
4. Use a different HDMI cable or port: If you’re experiencing visual or audio problems, try using a different HDMI cable or plugging the cable into another HDMI port on your TV. Faulty cables or ports can hinder the screen mirroring experience.
5. Disable firewall or antivirus software: Overly strict firewall settings or antivirus software can sometimes interfere with screen mirroring. Temporarily disable them to see if it resolves any connectivity issues. Remember to re-enable them once you’re done screen mirroring.
6. Clear cache and cookies: If you’re encountering performance issues or glitches during screen mirroring, clearing the cache and cookies on your laptop’s web browser can help. This can improve the overall performance and stability of screen mirroring applications and websites.
7. Refer to the user manual or online resources: If none of the above troubleshooting tips work, refer to the user manual of your laptop or Samsung Smart TV for more specific troubleshooting steps. You can also visit the manufacturer’s website or online forums for additional support and solutions.
By following these troubleshooting tips, you can overcome any obstacles you may face during the screen mirroring process and ensure a smooth and hassle-free experience.
Conclusion
Congratulations! You have successfully learned how to screen mirror from your laptop to your Samsung Smart TV. Screen mirroring opens up a world of possibilities, allowing you to enjoy your favorite content, deliver impressive presentations, or play games on a larger screen without the need for any additional cables or devices.
Throughout this guide, you explored the essential steps to check compatibility, connect your laptop to your Samsung Smart TV, enable screen mirroring on both devices, and start mirroring your laptop’s screen onto the TV. We also provided troubleshooting tips to help you troubleshoot any common issues you may encounter along the way.
Remember, always ensure that your laptop and Samsung Smart TV are compatible and connected to the same Wi-Fi network before attempting to screen mirror. Familiarize yourself with the specific steps for your laptop’s operating system and TV model, as they may vary slightly.
Now that you have the knowledge and know-how, it’s time to take full advantage of screen mirroring and immerse yourself in a bigger and more captivating viewing experience. Whether streaming movies, sharing photos, or giving presentations, screen mirroring allows you to enjoy your content on a grand scale.
So go ahead, grab your laptop, connect it to your Samsung Smart TV, enable screen mirroring, and let the magic unfold on the larger screen. Sit back, relax, and enjoy the seamless mirroring of your laptop’s screen onto your TV!