Introduction
Welcome to the world of digital photography, where capturing and storing memories has never been easier. With the abundance of high-resolution cameras and smartphones, we are inundated with a multitude of photos that can quickly clutter our device’s storage space. That’s where an external hard drive comes to the rescue.
An external hard drive provides a convenient and secure solution for storing your precious photos. By organizing and storing your photos on an external hard drive, you can free up space on your devices, ensure the safety of your images, and easily access and share them whenever you want.
In this article, we will guide you through the process of organizing your photos on an external hard drive, keeping them well-structured and easily searchable. We will help you choose the right external hard drive, create a systematic folder structure, and provide effective methods for sorting and organizing your photos.
So, whether you are a professional photographer or an avid hobbyist, let’s dive into the world of organizing photos on an external hard drive and discover how to manage your digital image collection effectively.
Choosing the Right External Hard Drive
When it comes to selecting an external hard drive for organizing your photos, there are a few key factors to consider. These factors will help ensure that you choose a reliable and suitable option for your specific needs.
Storage capacity: The first consideration is the storage capacity of the external hard drive. Assess your requirements by estimating how many photos you have currently and how many you anticipate storing in the future. Choose a hard drive with ample storage capacity to accommodate your growing collection.
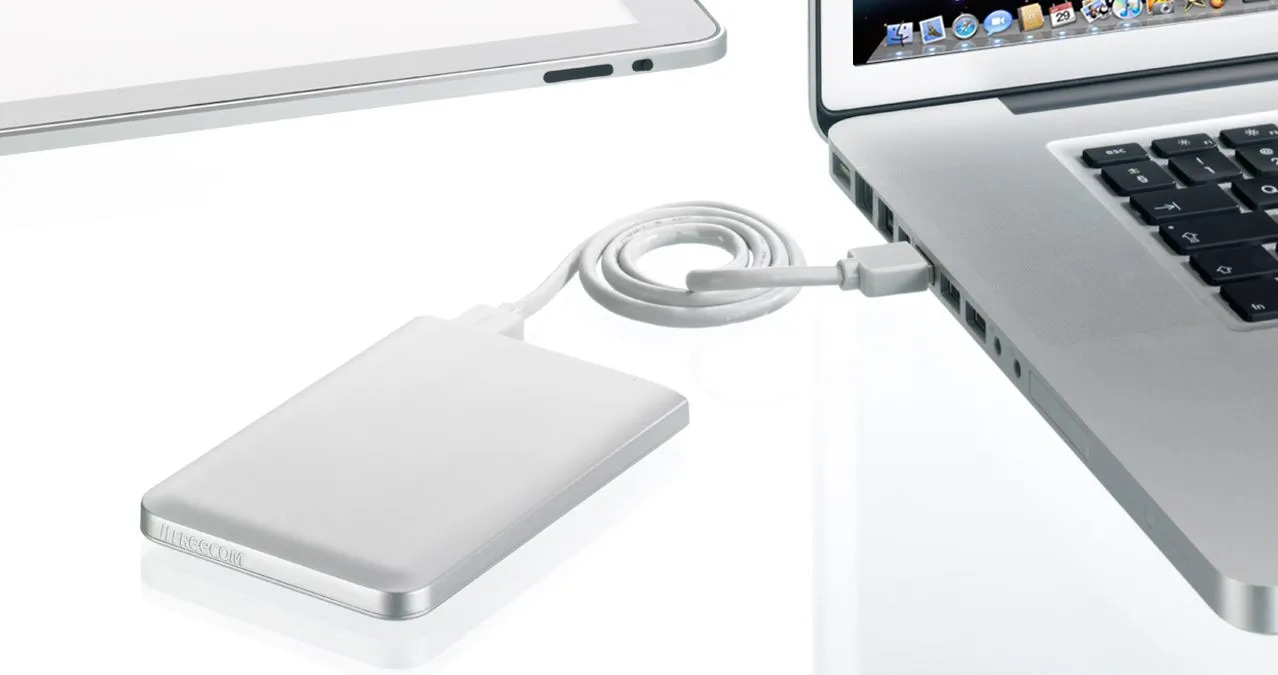
Connectivity: External hard drives usually come with different connectivity options, including USB, Thunderbolt, and FireWire. Ensure that the hard drive you select is compatible with your computer or device, allowing for seamless and quick data transfer.
Portability: If you travel frequently or need to access your photos on multiple devices, consider a portable external hard drive. These drives are lightweight, compact, and often bus-powered, meaning they draw power from the device they are connected to without needing an external power source.
Speed: Faster transfer speeds can save you valuable time, especially when dealing with large photo files. Look for an external hard drive with a high rotational speed (RPM) or solid-state drive (SSD) technology to ensure quick data transfers.
Reliability: Your photo collection is precious, so invest in a reliable external hard drive from a reputable brand. Read reviews and customer feedback to gauge the drive’s reliability and durability before making a purchase.
Backup Features: Some external hard drives come with built-in backup software or provide compatibility with backup applications. This feature allows you to set up automated backups of your photo library, providing an extra layer of protection for your cherished memories.
By considering these factors, you can find the ideal external hard drive that meets your storage requirements, connectivity needs, and offers the right balance of portability and reliability.
Creating a Systematic Folder Structure
Organizing your photos on an external hard drive begins with creating a systematic folder structure. A well-structured system will allow you to easily locate and manage your photos, saving you time and frustration in the long run.
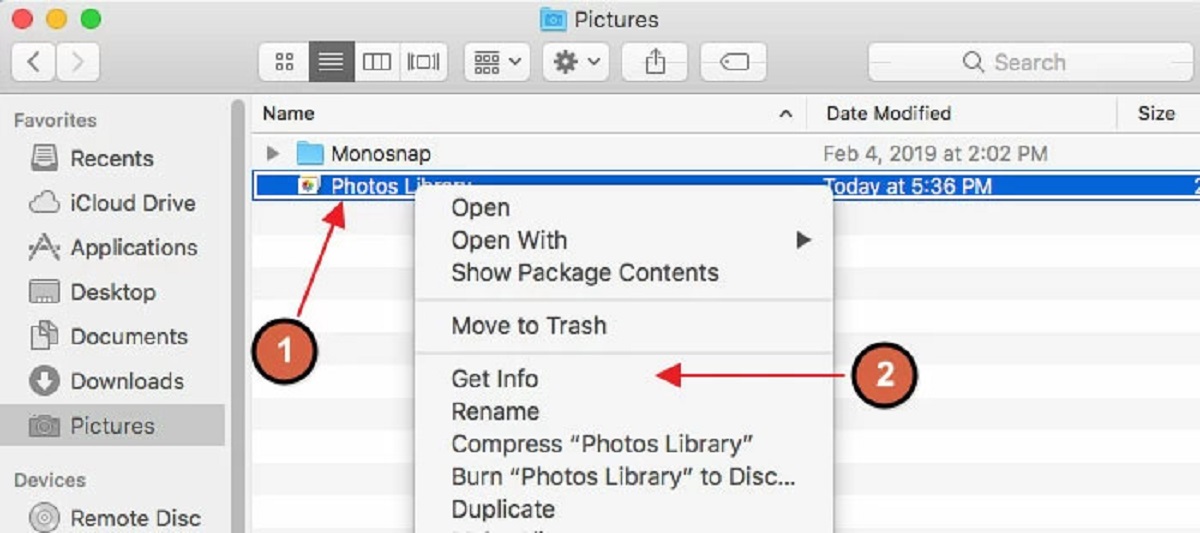
Start by creating a main folder for your photo library on your external hard drive. Give it a clear and descriptive name, such as “Photo Library” or “My Memories.”
Within the main folder, consider organizing your photos by year or by a specific theme, such as “Family,” “Travel,” or “Events.” This will help you divide your photos into manageable sections and allow for easy navigation.
Within each year or theme folder, further categorize your photos into subfolders based on specific events, locations, or subjects. For example, in the “Travel” folder, you could have subfolders named “Hawaii Vacation,” “Europe Trip,” or “Beach Getaways.”
It’s important to be consistent with your folder naming conventions and to choose descriptive names that accurately represent the content inside. Avoid generic names like “Folder 1” or “Untitled.” Instead, opt for names that provide context and make it easier to find specific photos.
In addition to organizing photos into folders, consider creating subfolders for edited versions of your images, raw files, or specific file formats like JPEG or PNG. This will help you keep track of different versions of your photos and ensure easy access based on your editing needs.
As you organize your photos into folders, consider adding a text document or a readme file within each folder. This file can contain additional details about the photos, including the date, location, people involved, or any other relevant information that will help you remember the specific context or story behind the images.
Remember to periodically review and update your folder structure as your photo library grows. You may need to create new folders or reorganize existing ones to maintain a well-structured system.
By creating a systematic folder structure on your external hard drive, you can easily navigate and locate your photos, ensuring that your collection remains organized and easily accessible.
Sorting and Organizing Photos by Date
One of the most effective ways to organize your photos on an external hard drive is by sorting them according to the date they were taken. This method allows you to easily track the timeline of your photo collection and locate specific images based on when they were captured.
Start by ensuring that your camera or smartphone is set to the correct date and time. This will ensure accurate sorting of your photos by their capture date. If you have photos from different sources or devices, you may need to adjust the timestamps to maintain chronological order.
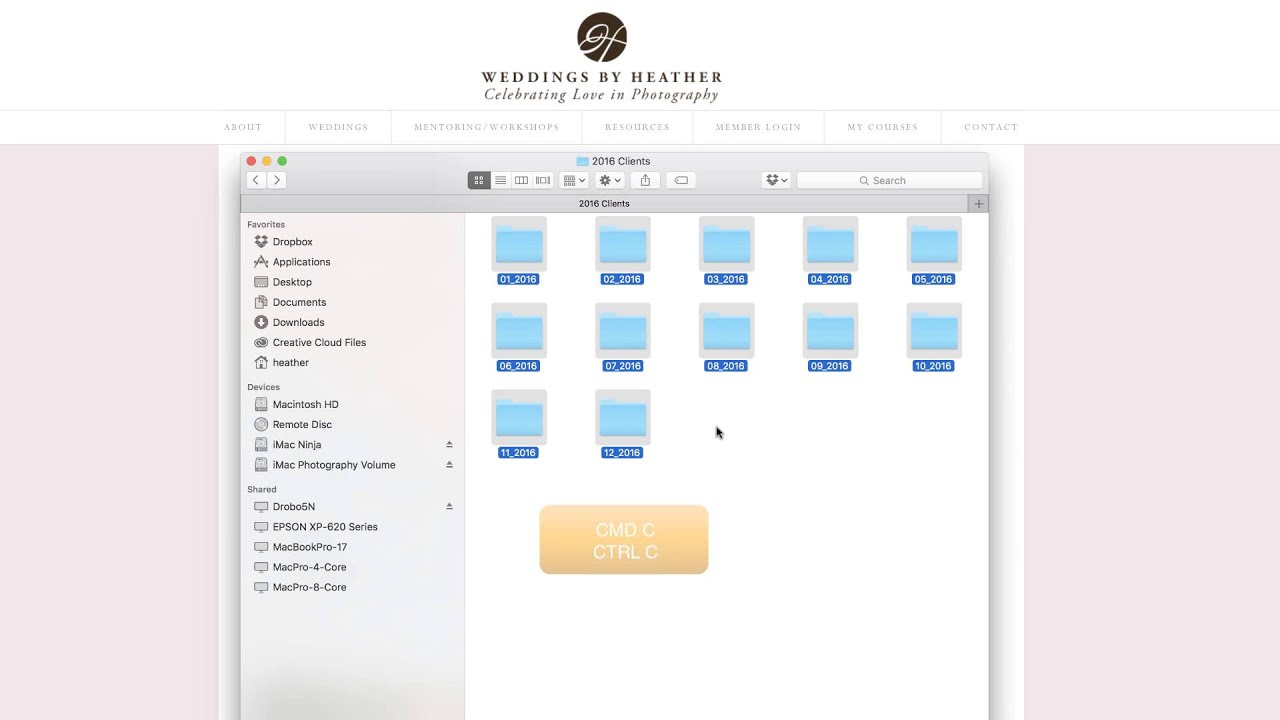
Once you have verified the timestamps, create folders for each year within your main photo library folder on the external hard drive. For example, you can have folders named “2021,” “2020,” and so on.
Within each year folder, further divide the photos into subfolders based on the specific months. Organizing photos this way allows for easier browsing and retrieval of photos taken during a particular time of the year.
For example, within the “2021” folder, you can have subfolders named “January,” “February,” “March,” and so forth. This division allows you to quickly locate photos taken during a specific month.
Within each month folder, organize the photos based on the exact date they were captured. Give each folder a numerical name that represents the date, such as “01-05” for photos taken on January 5th.
For extra organization, you can also consider creating subfolders within the date folders for different events or occasions that occurred on that day.
By sorting and organizing photos by date, you can easily browse through your collection chronologically and relive your memories in a structured and systematic way. Furthermore, this organization method enables you to find specific photos quickly, especially when searching for images from a specific time period or occasion.
Remember to consistently rename and organize new photos as you add them to your external hard drive, ensuring that your collection remains updated and well-organized.
Using Descriptive File Names and Tags
Organizing your photos on an external hard drive goes beyond just folder structure – it involves using descriptive file names and tags. By utilizing meaningful names and adding relevant tags to your photos, you can enhance searchability and streamline the organization process.
When naming your photo files, opt for descriptive titles that provide information about the content of the image. Avoid generic names like “IMG_001” or “DSC1234.” Instead, give your files names that capture the essence of the photo, such as “Sunset_over_the_ocean.jpg” or “Family_Picnic_at_Park.jpg.”
Including key details in the file names can make it easier to find specific photos later on. For example, you could include the date or location in the file name, such as “2021-06-15_Birthday_Celebration.jpg” or “Paris_Trip_Eiffel_Tower.jpg.”
In addition to descriptive file names, consider adding tags to your photos. Tags are keywords or labels that help categorize and search for images based on specific characteristics or themes.
You can assign tags based on elements present in the photo, such as “beach,” “nature,” “family,” or “architecture.” Tags can also include information about people, places, or events depicted in the photo. For instance, you can tag photos with “John,” “Hawaii,” or “Wedding.”
Take advantage of photo management software or applications that allow you to add tags easily. These tools often provide features for batch tagging, making it efficient to assign tags to multiple photos at once.
Tags make it effortless to search for specific images across your entire photo library based on common themes, locations, or individuals. You can also use tags to create smart albums or collections that automatically group photos based on the assigned tags.
Remember to be consistent in your file naming and tagging practices to maintain a cohesive and organized photo library.
By using descriptive file names and tags, you can significantly improve the searchability and organization of your photos on your external hard drive. This makes it easier to find relevant images, whether you are browsing through folders or using advanced search functions.
Organizing Photos by Event or Location
Another effective way to organize your photos on an external hard drive is by categorizing them based on specific events or locations. This method allows you to easily locate and browse through photos that are associated with a particular event or captured at a specific location.
Start by creating event folders within your main photo library folder. Think about significant occasions, such as weddings, birthdays, holidays, or family gatherings, and create individual folders for each event.
When creating event folders, use descriptive and easily recognizable names. For example, you could have folders named “Sarah’s Wedding,” “Christmas 2020,” or “Beach Vacation with Friends.”
Once you have event folders set up, organize the corresponding photos within each folder. You can further categorize the photos within an event folder by creating subfolders based on specific activities or moments during the event.
For example, within the “Sarah’s Wedding” folder, you can have subfolders named “Ceremony,” “Reception,” “Bride and Groom Portraits,” and “First Dance.” This division ensures that the photos are well-organized and easy to locate within a specific event.
In addition to organizing by event, consider creating folders based on specific locations. If you frequently travel and capture photos in different cities or countries, organizing by location can be particularly helpful.
Create location folders within your main photo library folder and name them according to the specific place or destination. For instance, you can have folders named “Paris,” “New York City,” or “Grand Canyon.”
Within each location folder, organize the corresponding photos based on events or landmarks within that location. This way, you can quickly navigate to photos taken at a specific place.
Remember to be consistent in your folder naming and organizing conventions to ensure a streamlined photo library structure. Regularly review and update your event and location folders as you add new photos to keep your organization system up to date.
By organizing your photos by event or location, you can easily access and relive cherished memories associated with specific occasions or places. This method allows for efficient browsing and retrieval of photos based on events or locations, making it effortless to revisit those special moments.
Backing Up and Syncing Your External Hard Drive
Ensuring the safety and security of your photos is crucial, even when they are stored on an external hard drive. To protect against potential data loss, it is important to establish a backup and syncing strategy for your external hard drive.
1. Regular Backups: Set up a regular backup routine to create duplicate copies of your photos. This can be done by manually copying the entire photo library from your external hard drive to another storage device, such as a secondary external hard drive, a network-attached storage (NAS) device, or a cloud storage service. Automating backups using backup software can save time and ensure consistency.
2. Cloud Storage: Consider syncing your external hard drive with a cloud storage service. Cloud storage provides an additional layer of protection by storing your photos on remote servers. This way, even if something were to happen to your physical external hard drive, your photos would still be accessible and secure in the cloud. Popular cloud storage services include Google Drive, Dropbox, and Microsoft OneDrive.
3. RAID Setup: For advanced users, you may consider setting up a redundant array of independent disks (RAID) configuration. RAID allows you to combine multiple hard drives into a single logical unit, providing increased storage capacity, performance, and data redundancy. This means that if one drive fails, your data remains intact on the other drives in the RAID setup.
4. Version Control: If your external hard drive supports version control, enable it. Version control keeps track of changes made to your files, allowing you to revert to previous versions if needed. This can be useful in case of accidental deletions, data corruption, or if you need to retrieve an older version of a photo.
5. Regular Syncing: If you work with your photo library across multiple devices, make sure to regularly sync your external hard drive with each device. This ensures that all changes, additions, or edits made to your photo collection are reflected consistently across all devices.
By implementing a backup and syncing strategy, you can safeguard your photo collection against potential loss or damage. Regularly backing up your external hard drive and synchronizing your devices provide peace of mind, knowing that your precious memories are protected and accessible from multiple sources.
Deleting Unnecessary Photos
As your photo collection grows on your external hard drive, it’s important to periodically review and delete unnecessary photos. Clearing out unwanted or duplicate images not only frees up storage space but also helps maintain a well-organized and clutter-free photo library.
Here are some tips for effectively deleting unnecessary photos:
1. Initial Review: Start by conducting an initial review of your photo collection. Identify photos that are out of focus, poorly composed, or have significant technical flaws. These photos may not hold any sentimental or aesthetic value and can be safely deleted.
2. Duplicate Images: Duplicate photos can quickly accumulate, especially if you frequently transfer files from different devices or backup multiple times. Use a duplicate file finder tool to identify and remove identical or very similar images. Be sure to double-check before deleting to avoid accidentally removing unique or important versions of the photo.
3. Similar Shots: When organizing event or travel photos, you may have taken multiple shots of the same subject or scene. Compare similar photos and select the best one to keep. Delete the rest to cut down on duplication and save storage space.
4. Blurry or Unflattering Images: Blurry shots or unflattering photos that do not contribute to the overall quality of your collection can be deleted. Sometimes, it’s better to prioritize and keep the best images rather than holding onto every single photo.
5. Revisit Old Events: Over time, your perspective and preferences may change. When revisiting older events or occasions, you may find that certain photos are no longer significant or hold less meaning to you. It’s perfectly okay to delete photos that no longer have personal value or relevance.
6. Empty Your Trash: After deleting photos, remember to empty the trash or recycle bin on your computer and external hard drive. This step permanently removes the deleted files from your storage.
Always exercise caution when deleting photos and ensure you have backup copies or a confirmation of their absence on other devices or platforms if needed.
By regularly reviewing and deleting unnecessary photos from your external hard drive, you can maintain an organized and meaningful collection, free from clutter and duplicates. This helps you appreciate and enjoy your photos more effectively while maximizing your storage space.
Creating Backup Copies for Extra Security
While having your photos stored on an external hard drive provides a level of protection, it’s essential to create backup copies for extra security. Backup copies ensure that your precious memories are safeguarded against unexpected data loss, hardware failures, or other unforeseen events. Here are some tips for creating backup copies of your photos:
1. Off-Site Storage: Consider storing a backup copy of your photo library in a different physical location. This provides protection in case of disasters like fires, floods, or theft. You can use cloud storage services, an additional external hard drive kept at a friend’s or family member’s place, or a safety deposit box at a bank to keep a secure off-site backup.
2. Cloud Storage: Utilize cloud storage as an additional backup solution. Cloud storage services like Google Drive, Dropbox, or iCloud provide secure servers to store your photos. Upload your photo library or select specific folders to synchronize with the cloud, ensuring that your files are automatically backed up and accessible from anywhere with an internet connection.
3. External Hard Drive Mirroring: Consider setting up a mirrored or RAID configuration with multiple external hard drives. Mirroring creates an identical copy of your photo library on two or more drives simultaneously. This redundancy provides an extra layer of protection as your photos are duplicated, and data can be easily recovered if one drive fails.
4. Incremental Backups: Instead of creating complete backups every time, consider using incremental backups. Incremental backups only copy the changes that have been made since the previous backup. This method is more time and storage-efficient, as you only need to backup new or modified files. Various backup software applications have options for incremental backups.
5. Automation: Set up automated backup processes to ensure consistency and convenience. Use backup software that allows you to schedule regular backups, so you don’t have to remember to do it manually. This helps streamline the backup process and ensures that your photo library is always up to date.
6. Test Your Backups: Periodically verify the integrity of your backups by restoring a few random photos or folders to ensure they are retrievable and intact. Regular testing verifies the effectiveness of your backup strategy and provides peace of mind.
Remember to keep your backup copies up to date by syncing or backing up your external hard drive regularly. This ensures that your files are protected and readily available whenever needed.
By creating backup copies of your photos using multiple storage methods and implementing automated processes, you can ensure the safety and security of your memories against possible data loss or hardware failures.
Conclusion
Organizing your photos on an external hard drive is essential for managing and preserving your digital image collection. By following the tips and techniques discussed in this article, you can create a well-structured and easily accessible photo library. Choosing the right external hard drive, creating a systematic folder structure, sorting photos by date, using descriptive file names and tags, organizing by event or location, deleting unnecessary photos, and creating backup copies are all key steps in maintaining an organized and secure photo collection.
Remember that organizing your photos is an ongoing process. Regularly reviewing, updating, and managing your library will help ensure its efficiency and usability over time. It’s important to find a system that works best for you and your unique photo collection. Whether you’re a professional photographer, a passionate hobbyist, or simply someone who wants to keep their memories in order, implementing these strategies will make it easier to navigate, find, and enjoy your photos whenever you want.
Take the time to invest in organizing your photos on an external hard drive, and you’ll reap the benefits of a well-curated and easily manageable collection. Enjoy your journey into the world of organized digital photography!