Introduction
Discord is a popular communication platform used by millions of users to connect with friends, communities, and gaming groups. With its user-friendly interface and feature-rich options, Discord allows you to create and organize channels within servers for efficient communication and collaboration.
While using Discord on your mobile device, you may find the need to rearrange your channels for better organization or ease of access. This can be especially useful if you have a large number of channels and want to prioritize certain ones or group them together based on topics. Fortunately, Discord provides a straightforward method for moving channels on the mobile app.
In this guide, we will walk you through the step-by-step process of moving Discord channels on your mobile device. Whether you’re an avid Discord user or new to the platform, this guide will help you effortlessly rearrange your channels to suit your preferences.
So, if you’re ready to learn how to move Discord channels on mobile, let’s dive into the steps!
Step 1: Open the Discord app on your mobile device
The first step in moving Discord channels on your mobile device is to open the Discord app. Locate the Discord app icon on your home screen or app drawer and tap on it to launch the application.
If you haven’t installed the Discord app on your mobile device yet, you can easily download it from the respective app store for your device. Discord is available for both Android and iOS devices, so make sure to choose the correct version compatible with your operating system.
Once you have opened the Discord app, you will be prompted to log in to your Discord account. Enter your email address or username and password associated with your account and tap “Login” to proceed. If you do not have a Discord account, you will need to create one by selecting “Register” and following the on-screen instructions.
After logging in, you will be taken to the home screen of the Discord app. From here, you can access all of your servers and channels.
Now that you have successfully opened the Discord app on your mobile device, you are ready to proceed to the next step and start moving your channels.
Step 2: Navigate to the server where the channels are located
Once you have logged in to the Discord app on your mobile device, the next step is to navigate to the server where the channels you want to move are located. Discord allows you to join multiple servers, each with its own set of channels for different purposes.
To find the server with the channels you want to move, tap on the menu icon, typically located at the top left corner of the screen. This will open the sidebar menu, where you can view a list of all the servers you’re a member of.
Scroll through the list of servers and locate the one that contains the channels you want to rearrange. Once you have found the server, tap on its name to enter and view its channels.
By default, you will be taken to the server’s “General” channel, which serves as the default chat channel for that server. However, to move other channels within the server, you need to view the server’s full list of channels.
To access the full list of channels within a server, look for the “More” or “Expand” icon, typically represented by three horizontal dots or lines, and tap on it. This will expand the server’s channel list and display all the channels available.
Take a moment to familiarize yourself with the server’s channel list and the names of the channels you plan to move. This will make it easier for you to locate and select the specific channel you want to move in the following steps.
Now that you have navigated to the server where the channels are located, let’s move on to the next step and start rearranging them to your desired positions.
Step 3: Long press on the channel you want to move
Once you have entered the server and accessed the full list of channels, it’s time to select the specific channel you want to move. To do this, locate the channel you wish to rearrange and perform a long press on it.
Long pressing is a common gesture on most mobile devices where you press and hold your finger on the screen for a slightly longer duration. This gesture allows you to access additional options or perform specific actions.
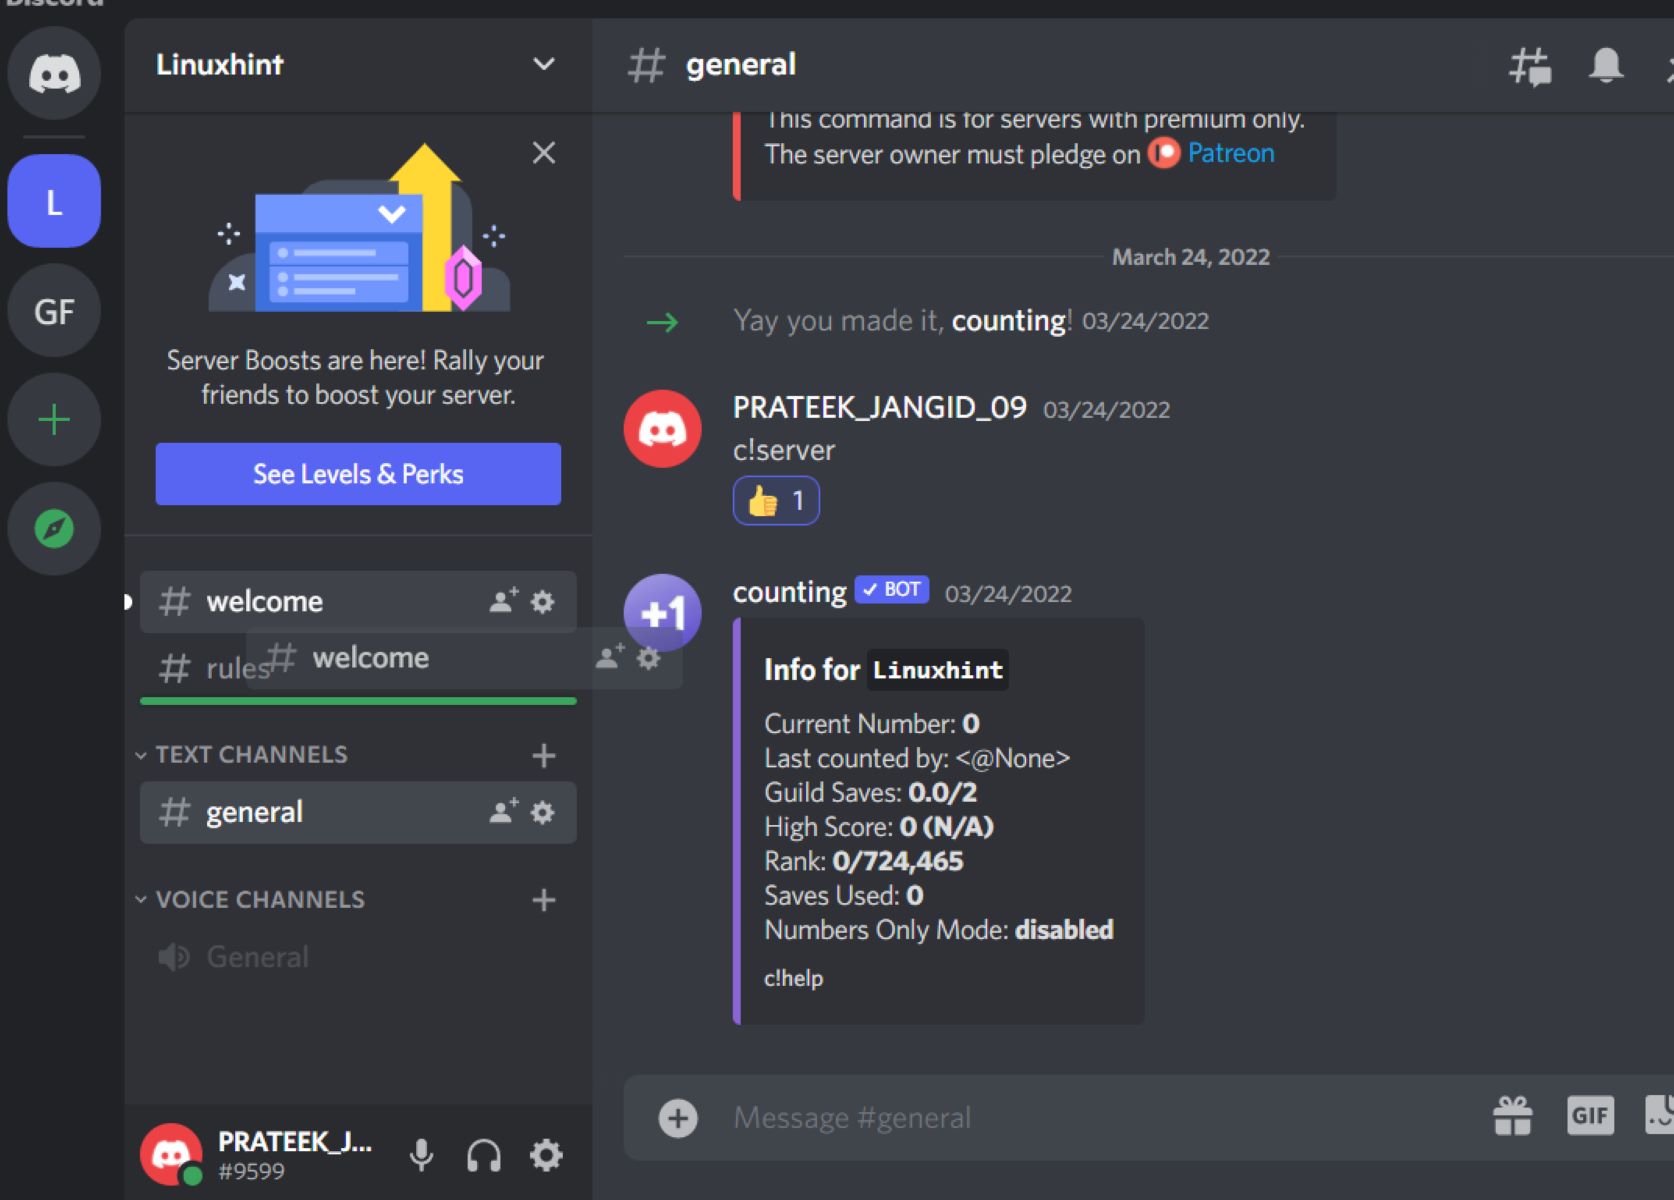
When you long press on the channel, you will see various options appear, such as copy, edit, delete, and more. However, for the purpose of moving the channel, we will be focusing on the drag and drop functionality. The long press activates this feature and allows you to grab the channel and move it to a new position.
Continue to hold your finger on the channel, and you will notice that the channel icon becomes draggable. This indicates that you have successfully activated the drag and drop functionality.
It’s important to note that you can only move channels that you have permission to manage. If you’re not the server owner or don’t have the necessary permissions, you may encounter restrictions when attempting to move certain channels.
Now that you have performed a long press on the channel and activated the drag and drop functionality, let’s proceed to the next step and start the actual process of moving the channel to its new location.
Step 4: Tap on the three horizontal lines icon at the top right corner
After performing a long press on the channel you want to move, you will see the channel icon become draggable. Now, it’s time to access the options for moving the channel by tapping on the three horizontal lines icon at the top right corner of the screen.
The three horizontal lines icon, sometimes referred to as the “hamburger icon,” is a common symbol used in many apps to indicate a menu or options button. In Discord, this icon houses various actions and settings related to the channel, including the option to move the channel to a different position within the server.
Locate the three horizontal lines icon at the top right corner of the screen, usually positioned next to the server name or server settings icon. Tap on it, and a menu or popover will appear with several options related to the selected channel.
Within this menu, you will find various options, such as pinning the channel, changing its permissions, or deleting it. However, for moving the channel, look for an option that allows you to rearrange its position within the server.
Depending on the version of the Discord app or the server settings, the specific wording or icon used to represent the movement option may vary. Common terms for this function include “Move Channel,” “Reorder,” or simply a drag icon. Tap on this option to proceed to the next step.
By tapping on the three horizontal lines icon and accessing the channel’s movement options, you are one step closer to organizing your channels to your liking. Let’s move on to the next step and actually drag the channel to its new position.
Step 5: Drag the channel to the desired position in the channel list
Now that you have accessed the channel’s movement options, it’s time to actually move the channel to its new position within the channel list. To do this, you will need to drag the channel using your finger.
Within the movement options menu, locate the draggable area or handle that is associated with the channel you want to move. This area is typically represented by a crosshair or drag icon. Place your finger on this area and hold it down.
Once you have your finger on the draggable area, you can start dragging the channel to its desired position within the channel list. Move your finger in the direction you want the channel to be placed, whether it’s higher up or lower down in the list.
As you drag the channel, you will notice that the other channels in the list shift and adjust their positions accordingly. This allows you to visualize the new order of the channels and ensures that you are placing the moved channel correctly in relation to the others.
Take your time to carefully position the channel exactly where you want it. You can adjust the speed of your finger movement to fine-tune the placement of the channel within the list.
It’s important to note that while dragging the channel, be cautious not to accidentally drop it before you reach the desired position. If you release your finger prematurely, the channel will be placed in an unintended spot.
Now that you have successfully dragged the channel and positioned it in the desired place within the channel list, let’s move on to the final step and complete the process of moving the channel.
Step 6: Release your finger to drop the channel in the new position
After dragging the channel to the desired position within the channel list, it’s time to release your finger and drop the channel in its new location. This final step will solidify the changes you’ve made and update the channel order for all users in the server.
To release your finger and drop the channel, simply lift your finger off the screen. As soon as you do this, the channel will snap into place in its new position within the channel list.
Take a moment to review the new order of the channels and ensure that the moved channel is where you intended it to be. If the position isn’t quite right, you can repeat the previous steps to move the channel again until you are satisfied with its placement.
Once you have released your finger and dropped the channel, the changes will be reflected in the channel list for all members of the server. This means that everyone will see the moved channel in its new position when they access the server.
If you are the server owner or have the necessary permissions, you can continue to rearrange other channels by following the same steps. Repeat the process of long pressing, accessing the movement options, dragging the channel, and releasing your finger to drop it in the desired position.
With the channel successfully moved and updated in the channel list, you have completed the process of moving Discord channels on your mobile device!
Now that you know how to move channels on Discord, you can easily organize your server and customize the order of the channels to suit your preferences. Enjoy a more streamlined and efficient communication experience within your Discord community.
Conclusion
Discord provides a convenient and straightforward method for moving channels on the mobile app, allowing you to reorganize your server and improve the accessibility of your channels. With just a few simple steps, you can easily rearrange the channel order and customize your Discord experience.
In this guide, we have covered the step-by-step process of moving Discord channels on your mobile device. From opening the Discord app and navigating to the server where the channels are located, to long pressing on the channel and accessing the movement options, and finally dragging the channel to its desired position and releasing your finger to drop it, each step is designed to streamline the channel organization process.
By taking advantage of the drag and drop functionality on Discord, you have the power to prioritize certain channels, group them together based on topics, or simply reorganize them for easier navigation. This flexibility allows you to create a more personalized and efficient environment for communication and collaboration.
So, whether you’re a server owner looking to optimize your channel layout or a member wanting to customize your organization system, moving Discord channels on your mobile device is a simple and effective way to achieve that.
Now that you’re familiar with the process, feel free to experiment with moving your channels to find the layout that works best for you and your server members. Enjoy the improved organization and communication within your Discord community!


