Introduction
Welcome to the wonderful world of Discord, where you can connect with friends, join communities, and enjoy seamless communication while gaming or engaging in other activities. Discord is a popular platform that allows users to chat via text, voice, and video, making it a versatile tool for various purposes.
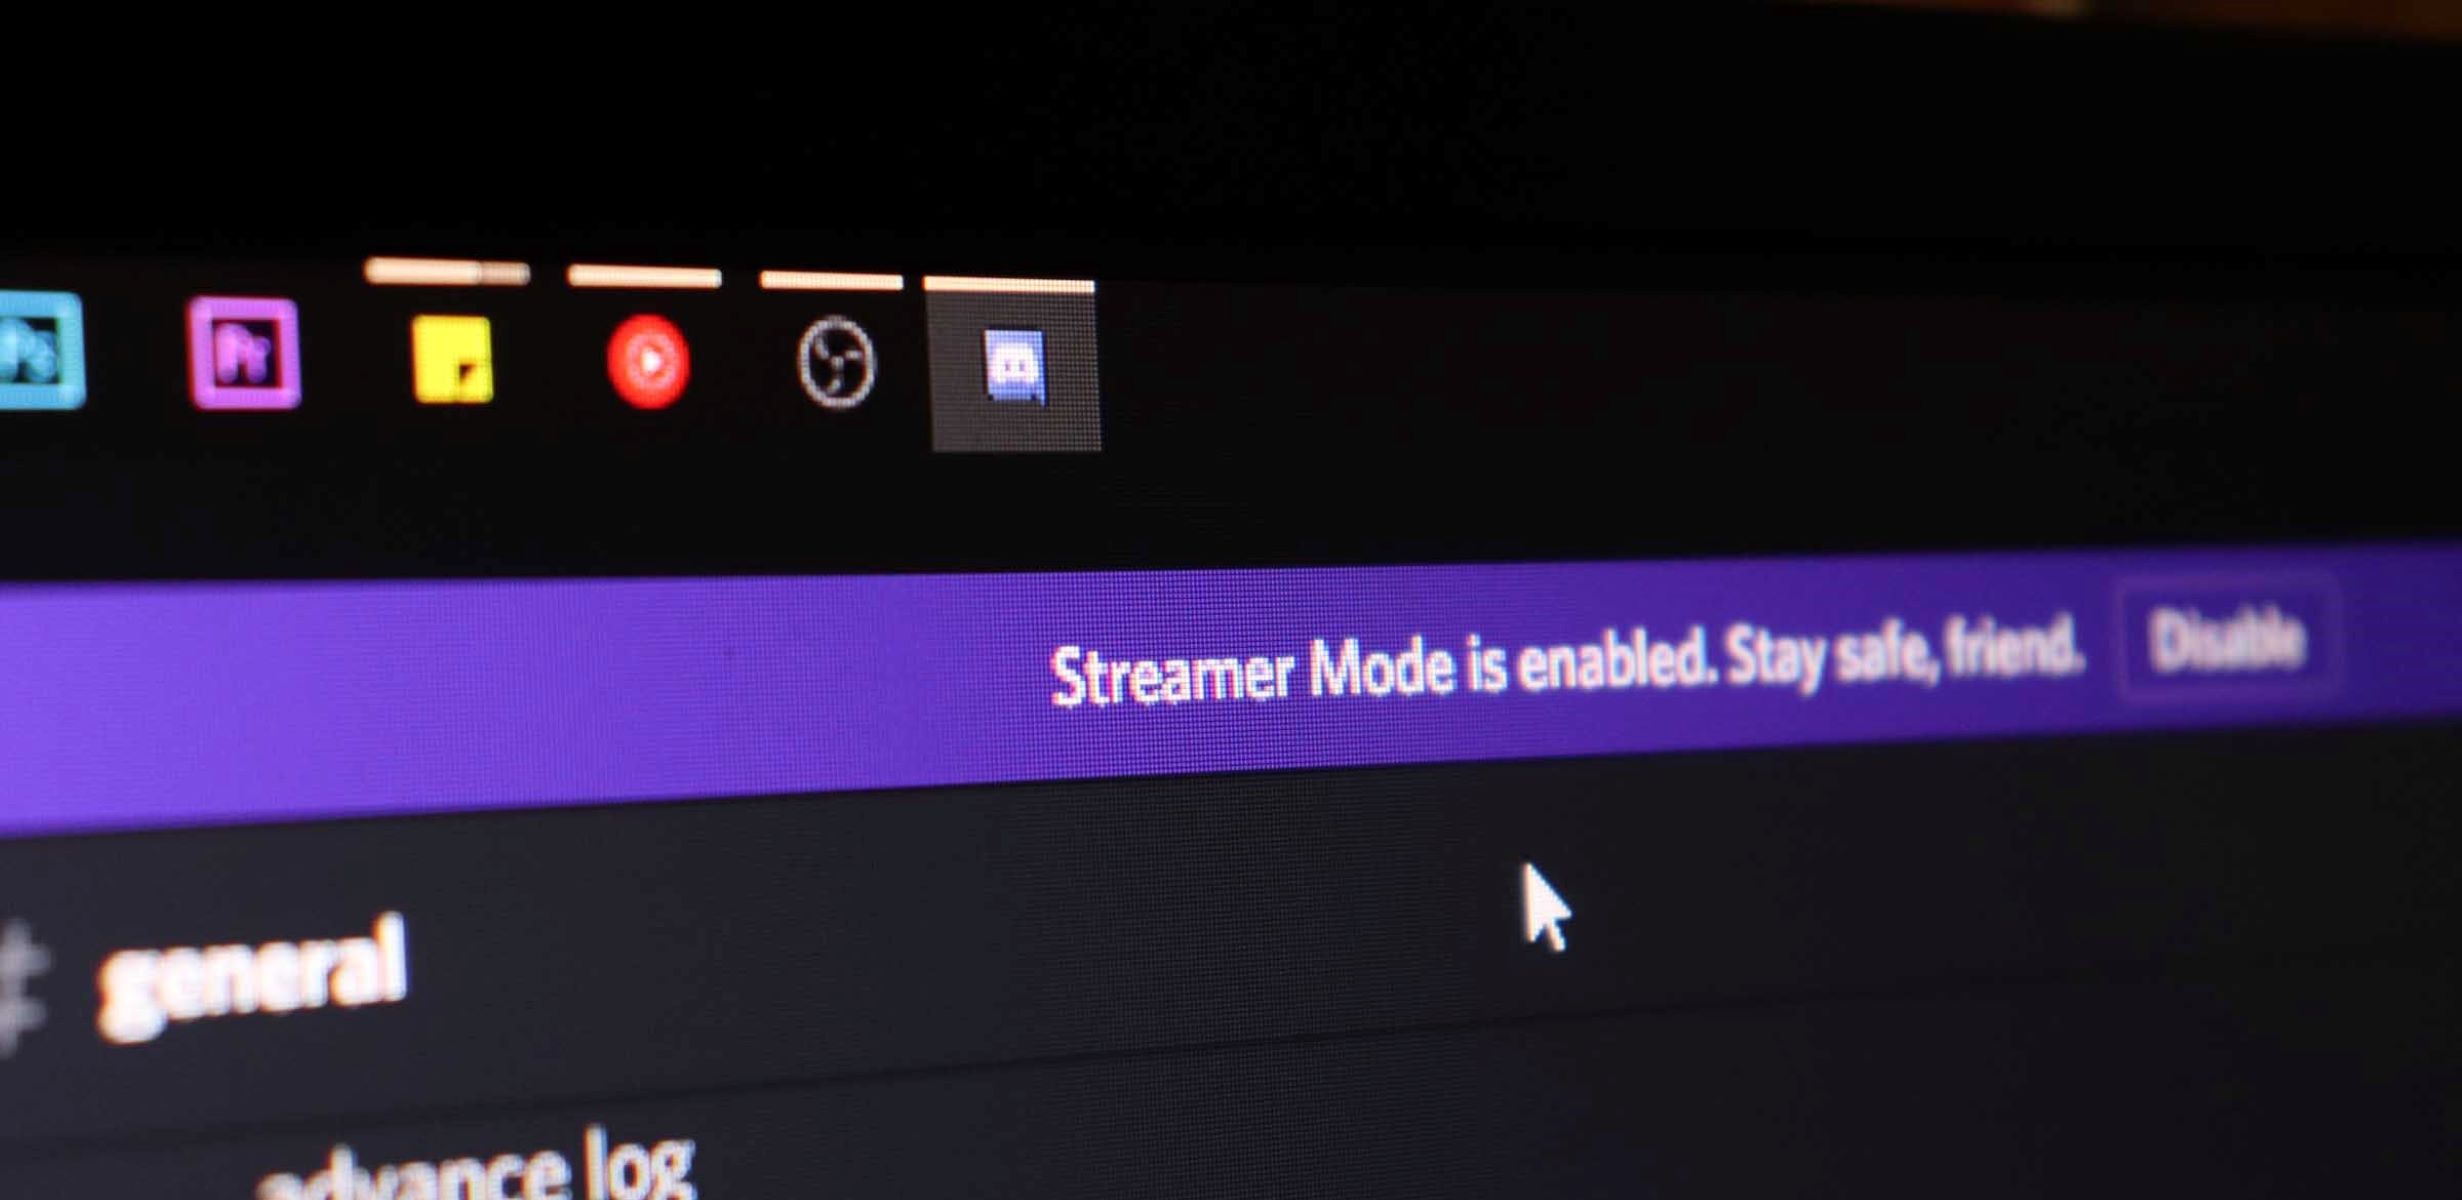
One of the many features that Discord offers is the ability to stream sound, whether it’s playing music, sharing audio from a game, or even podcasting. Streaming sound on Discord adds another layer of interactivity and entertainment to your server, making it more engaging for everyone involved.
In this guide, we will walk you through the steps to stream sound on Discord, from setting up the platform to configuring bot permissions and granting microphone access. Whether you’re a gamer looking to enhance your streaming experience or a content creator wanting to share audio with your audience, this guide has got you covered.
Before we dive into the technical details, it’s important to note that in order to stream sound on Discord, you will need to have certain permissions and the appropriate software or bots installed. Don’t worry, we will guide you through the entire process, so you’ll be streaming sound like a pro in no time.
So let’s get started with the first step: setting up Discord.
Step 1: Setting up Discord
Before you can start streaming sound on Discord, you’ll need to have Discord set up on your device. Discord is available as a desktop application for Windows, macOS, and Linux, as well as a mobile app for iOS and Android devices. Follow these steps to get started:
- Go to the Discord website (discord.com) and download the application for your operating system. If you prefer using Discord on your mobile device, you can download it from the App Store or Google Play Store.
- Once the download is complete, open the Discord application and create an account. You can choose to create a new account or log in using an existing account if you already have one.
- After creating your account, you’ll be prompted to join or create a server. A server on Discord is like a community or a group where you can chat and interact with others. You can join an existing server by entering an invitation link or create your own server by clicking on the plus (+) icon.
- Give your server a name and customize it by adding a profile picture or choosing a theme. You can also invite friends to join your server or explore public servers to join.
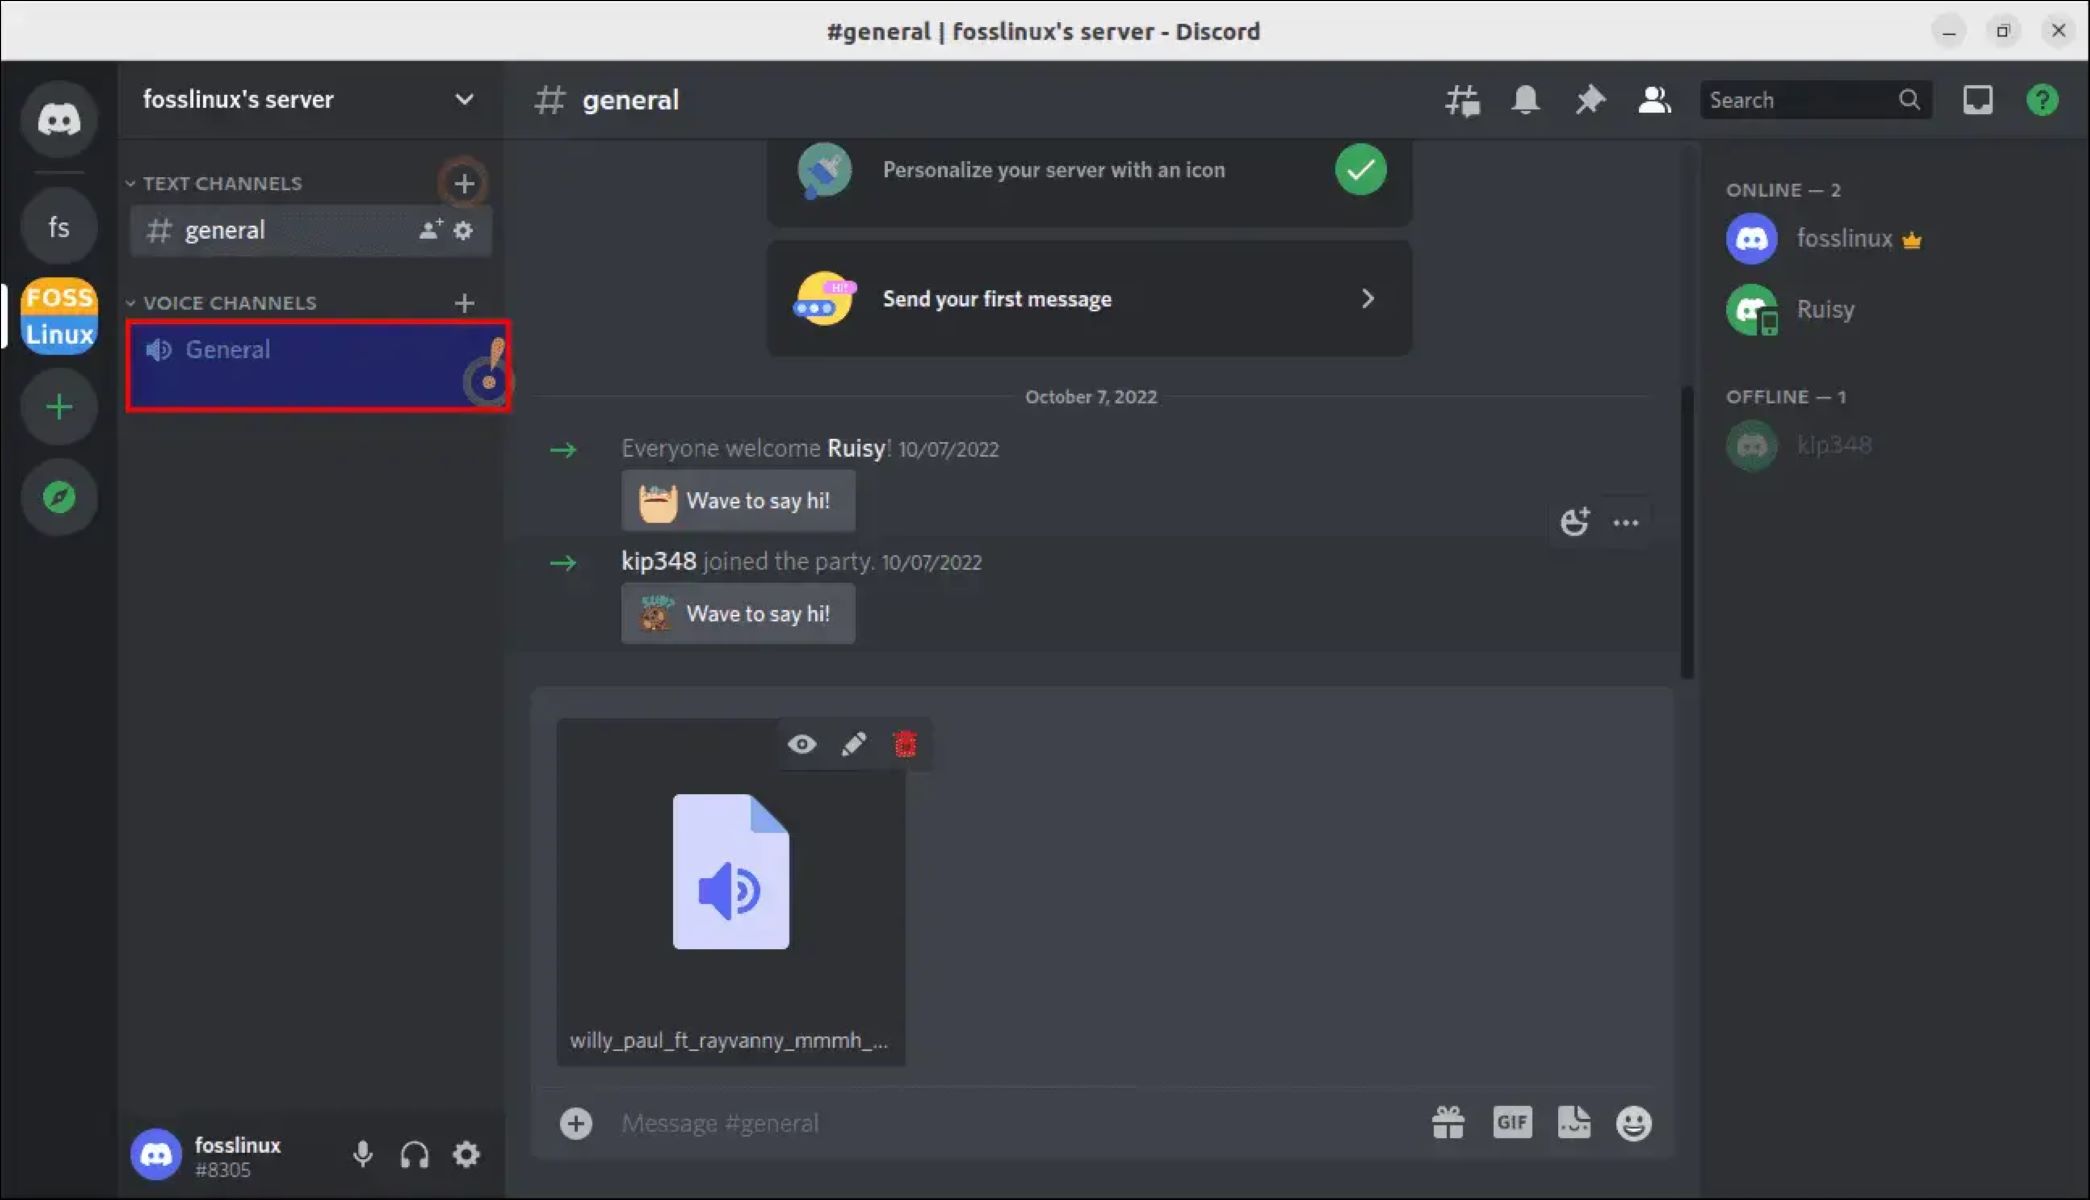
- Once you’re in your server, you can navigate through different channels to chat with others. Discord allows you to create text channels for chatting and voice channels for voice communication.
- Congratulations! You have successfully set up Discord on your device. Now, let’s move on to the next step: selecting the audio source.
Setting up Discord is a simple process that ensures you have a platform to connect with others and enjoy seamless communication. Once you’ve completed this step, you’ll be ready to explore the exciting world of streaming sound on Discord.
Step 2: Selecting the audio source
Before you can start streaming sound on Discord, you need to select the audio source that you want to share with others. This can be any audio playing on your device, whether it’s from a game, music player, or any other application. Here’s how to select the audio source:
- Open the application or program from which you want to stream sound on Discord. Make sure the audio you want to share is playing.
- Go back to the Discord application and navigate to the server where you want to stream sound.
- Click on the Voice Channel where you want to stream sound. This will allow you to join the voice chat in that channel.
- Once you’re in the voice chat, look for the settings icon (usually represented by a gear or a cog) and click on it.
- In the voice settings, locate the “Input Device” or “Audio Source” option. Click on this option to open a dropdown menu.
- In the dropdown menu, you should see a list of available audio sources on your device. Select the audio source that corresponds to the application or program from which you want to stream sound.
- Once you’ve selected the audio source, save the changes and exit the voice settings.
Now that you’ve selected the audio source, Discord will capture the audio from that source and stream it to the voice chat in the selected channel. Your voice chat participants will be able to hear the audio you’re streaming.
Note that selecting the correct audio source is crucial to ensure the desired audio is streamed on Discord. Make sure you have the right application or program running and that the audio is playing before selecting the audio source in Discord.
With the audio source selected, you’re one step closer to streaming sound on Discord. Let’s move on to the next step: adding a bot to the server.
Step 3: Adding a bot to the server
Adding a bot to your Discord server is essential for streaming sound and enhancing the capabilities of your server. Bots are third-party applications that can automate tasks, provide additional features, and even play music. To add a bot to your server, follow these steps:
- Visit a trusted bot website, such as Top.gg or discordbots.org, where you can find a wide range of bots.
- Browse through the available bots or use the search function to find a bot that suits your needs. Look for bots specifically designed for sound streaming to ensure the best experience.
- When you’ve found a bot you want to add, click on it to view its details. You’ll typically find information about the bot’s features, commands, and user reviews.
- Look for a button that says “Invite” or “Add to Server” and click on it. This will initiate the process of adding the bot to your server.
- Discord will ask you to select the server where you want to add the bot. Choose the server from the dropdown menu and click “Authorize” to grant the necessary permissions for the bot to function.
Once you’ve completed these steps, the bot will be added to your server, and you can start utilizing its features, including streaming sound. However, before you can fully utilize the bot’s capabilities, you’ll need to configure its permissions.
Adding a bot to your Discord server can greatly enhance your server’s functionality and make it more engaging for your community. With a sound streaming bot, you’ll be able to share music, play sound effects, and even broadcast live events on your server.
Now that you’ve successfully added a bot to your server, let’s proceed to the next step: configuring bot permissions.
Step 4: Configuring bot permissions
After adding a bot to your Discord server, it’s important to configure its permissions to ensure it functions correctly and has the necessary access to perform its tasks, such as streaming sound. Configuring bot permissions can be done through the server settings. Here’s how:
- Open your Discord server and locate the bot on the member list or in the server settings.
- Right-click on the bot’s name and select “Manage Permissions” or a similar option.
- A permission settings window will appear, allowing you to modify the bot’s permissions.
- Review the available permissions and enable or disable them based on the bot’s recommended settings or your specific requirements. Look for permissions related to audio and streaming, ensuring they are enabled.
- Save the changes and exit the permission settings.
By configuring bot permissions, you grant the bot the necessary access to perform its functions, including streaming sound. Make sure to review the permissions carefully and only enable the ones that are required for the bot’s intended functionality.
Keep in mind that different bots may have different permissions settings, so it’s important to refer to the bot’s documentation or website for specific instructions on configuring permissions.
With the bot’s permissions properly configured, you’re ready to move on to the next step: granting microphone access to the bot.
Step 5: Granting microphone access
In order for the bot to stream sound on Discord, you need to grant it microphone access. This allows the bot to capture and transmit audio to the voice chat. Granting microphone access is a straightforward process. Here’s what you need to do:
- Locate the voice channel where you want the bot to stream sound.
- Click on the gear or settings icon next to the voice channel’s name.
- In the settings menu, look for the “Permissions” tab or section.
- Under the permissions section, find the bot’s role or user and click on it.
- Look for the “Microphone” or “Use Voice Activity” permission and enable it for the bot.
- Save the changes and exit the settings menu.
Granting microphone access ensures that the bot can capture your audio and stream it to the voice chat. It’s important to note that you should only grant microphone access to trusted bots and be mindful of the permissions you grant.
If you’re unsure about granting microphone access to a specific bot, it’s a good idea to refer to the bot’s documentation or reach out to its developers for more information on how it handles audio streaming and privacy.
Once you’ve granted microphone access to the bot, you’re ready to move on to the final step: streaming sound on Discord.
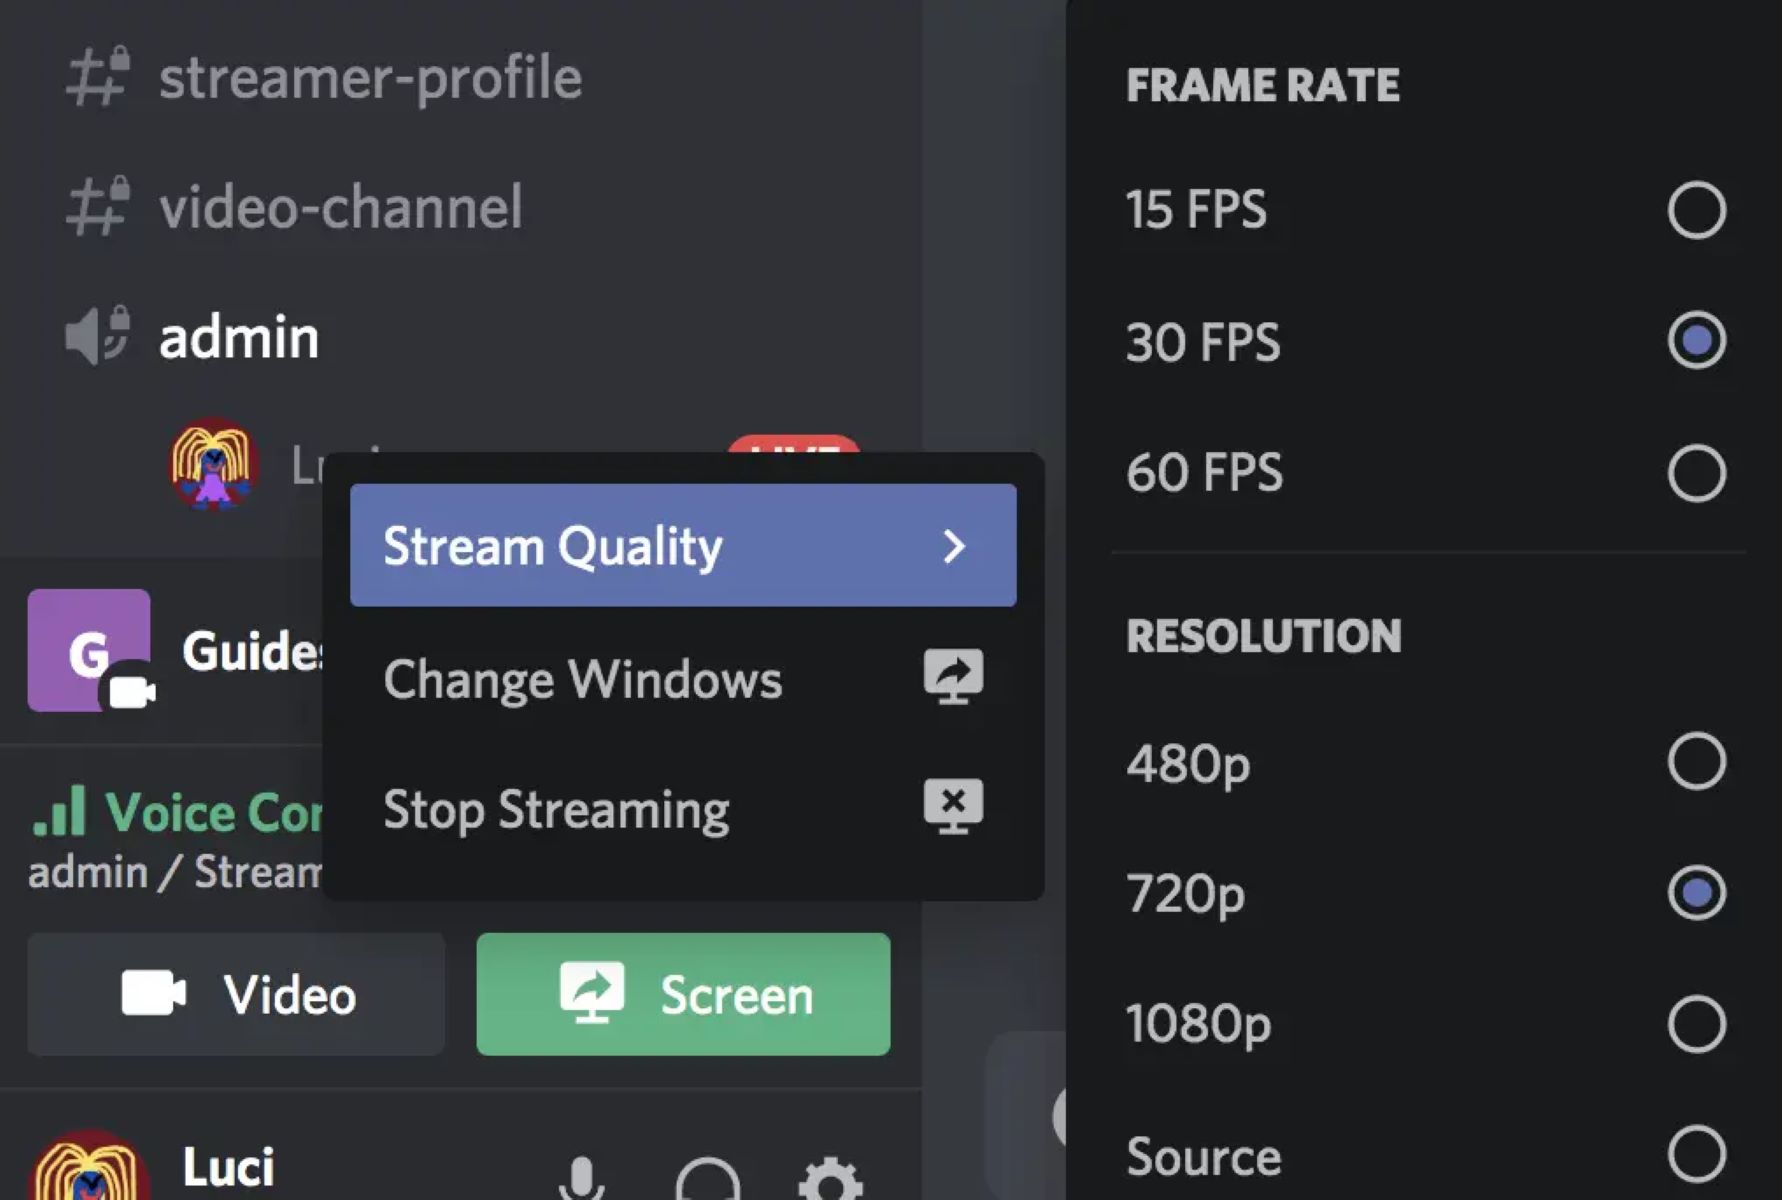
Step 6: Streaming sound on Discord
Now that you have set up Discord, selected the audio source, added a bot to the server, configured its permissions, and granted microphone access, it’s time to start streaming sound on Discord. Follow these steps to begin streaming:
- Ensure that the Discord application is open and you are logged into your account.
- Join the voice channel where you want to stream sound.
- If the bot has a specific command for streaming sound, familiarize yourself with it by referring to the bot’s documentation or website.
- Type the appropriate command in the text chat of the voice channel to initiate the sound streaming process.
- If there are additional options or settings available for the sound stream, you can configure them using the bot’s specific commands or through its interface.
- Once you have started the sound stream, participants in the voice channel will be able to hear the audio you are streaming.
- Monitor the sound stream to ensure it is playing correctly and adjust any necessary settings or volume levels accordingly.
Streaming sound on Discord adds a new dimension of interactivity and entertainment to your server. Whether you’re sharing music, playing sound effects, or engaging in live discussions, streaming sound can enhance the overall experience for you and your community.
Remember to be mindful of the server’s rules and guidelines when streaming sound, and always respect the privacy and preferences of other server members. If the streaming experience is not going as expected, refer to the bot’s documentation or reach out to its developers for troubleshooting assistance.
With sound streaming enabled, you’re now ready to take full advantage of the features and capabilities of Discord. Enjoy sharing music, audio, and engaging conversations with your friends and community!
Conclusion
Congratulations! You have successfully learned how to stream sound on Discord. By following the steps outlined in this guide, you have set up Discord on your device, selected the audio source, added a bot to your server, configured its permissions, granted microphone access, and started streaming sound to the voice chat.
Streaming sound on Discord adds a whole new level of entertainment and interaction to your server. Whether you’re a gamer looking to enhance your streaming experience, a content creator sharing audio with your audience, or simply someone who wants to enjoy music and conversations with friends, streaming sound on Discord opens up a world of possibilities.
Remember to carefully choose the audio source you want to share, ensuring that it is playing before selecting it in Discord. When adding bots to your server, make sure to select reputable ones from trusted sources, and configure their permissions accordingly. Granting microphone access allows the bot to capture and stream your audio, but it’s essential to only grant this access to bots you trust.
Streaming sound on Discord can be a fun way to engage with your community and create memorable experiences. Whether you’re hosting live events, playing games together, or simply enjoying music, proper streaming practices and respect for others’ preferences will ensure a positive and enjoyable atmosphere for everyone.
With that said, it’s time to start streaming sound on Discord and sharing your favorite audio experiences with others. Have fun, explore different bots and features, and make the most out of the streaming capabilities that Discord has to offer!