Introduction
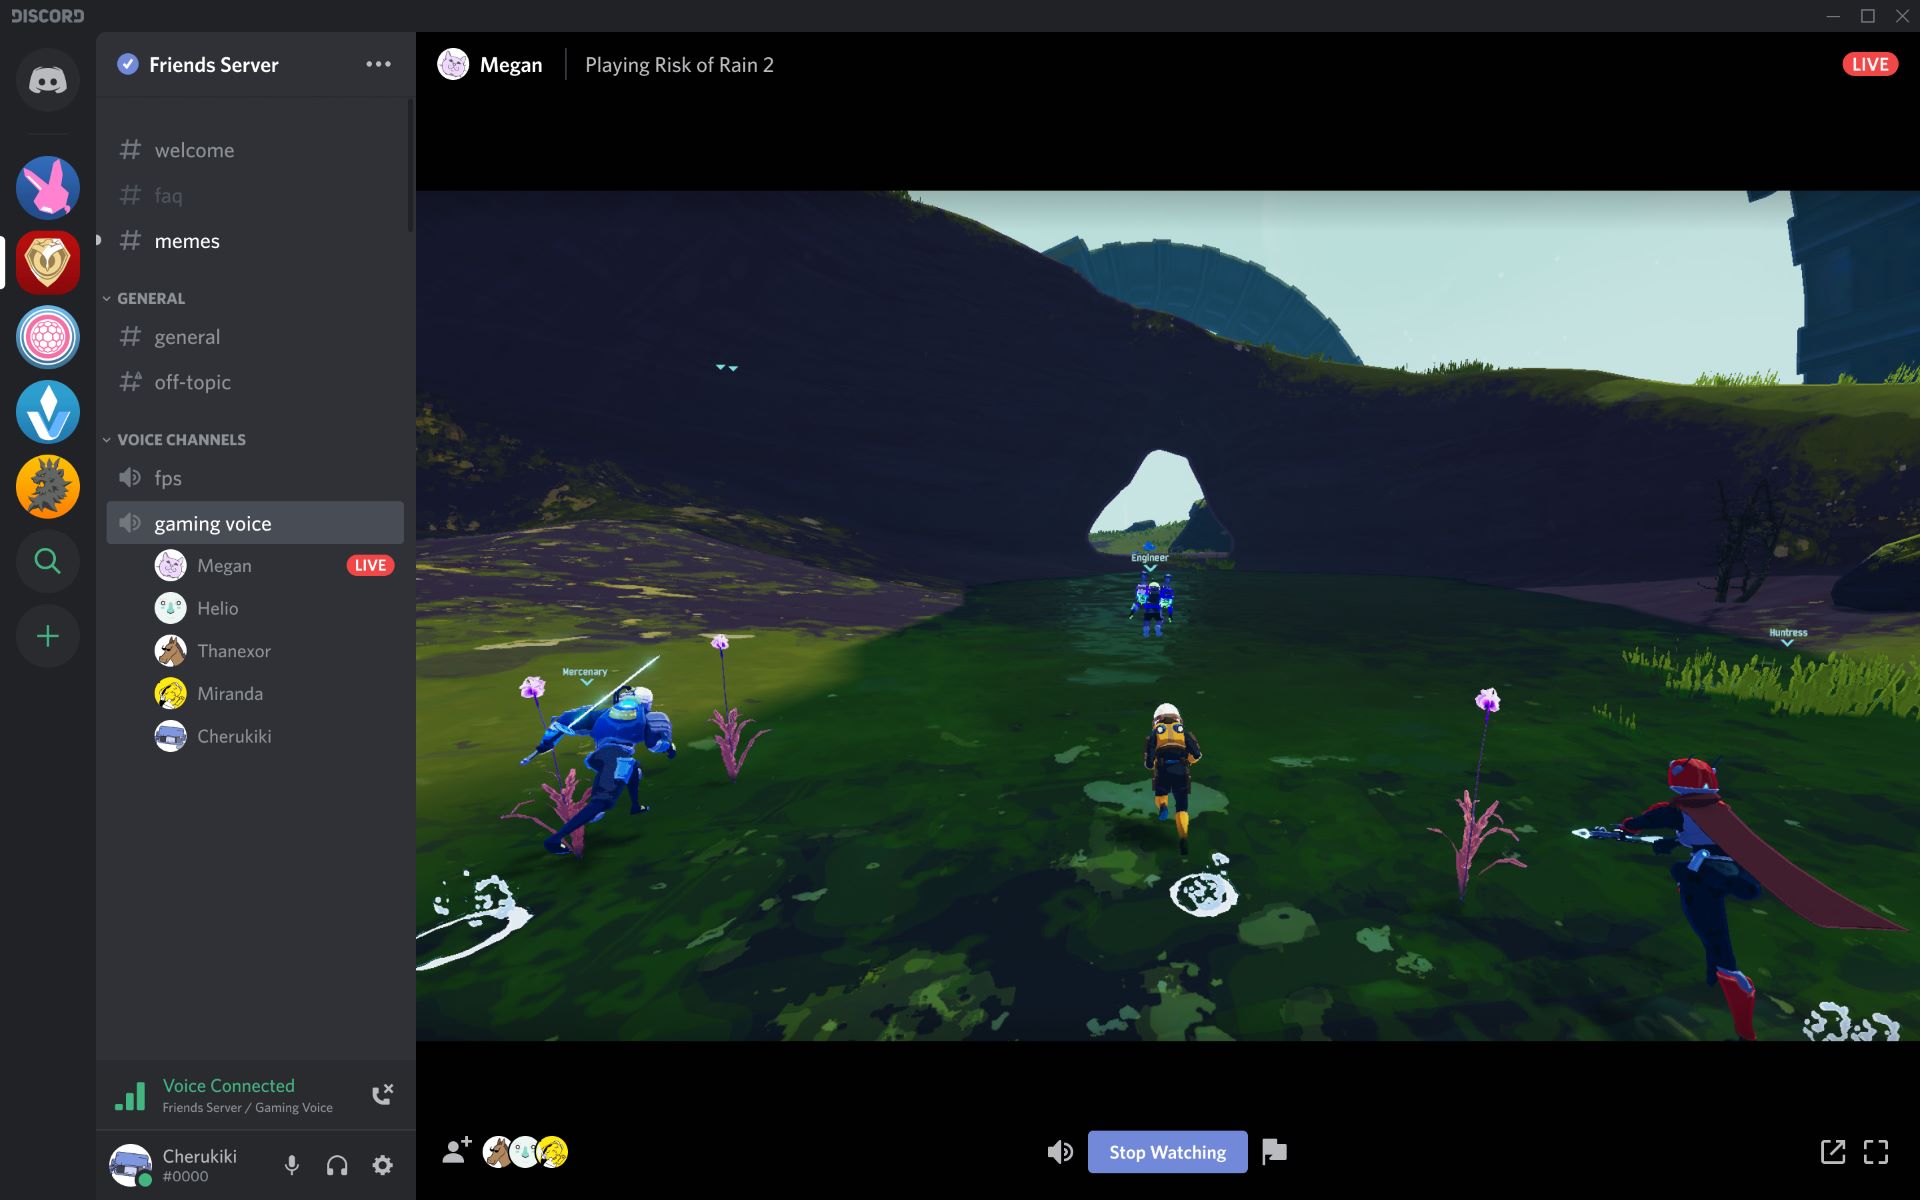
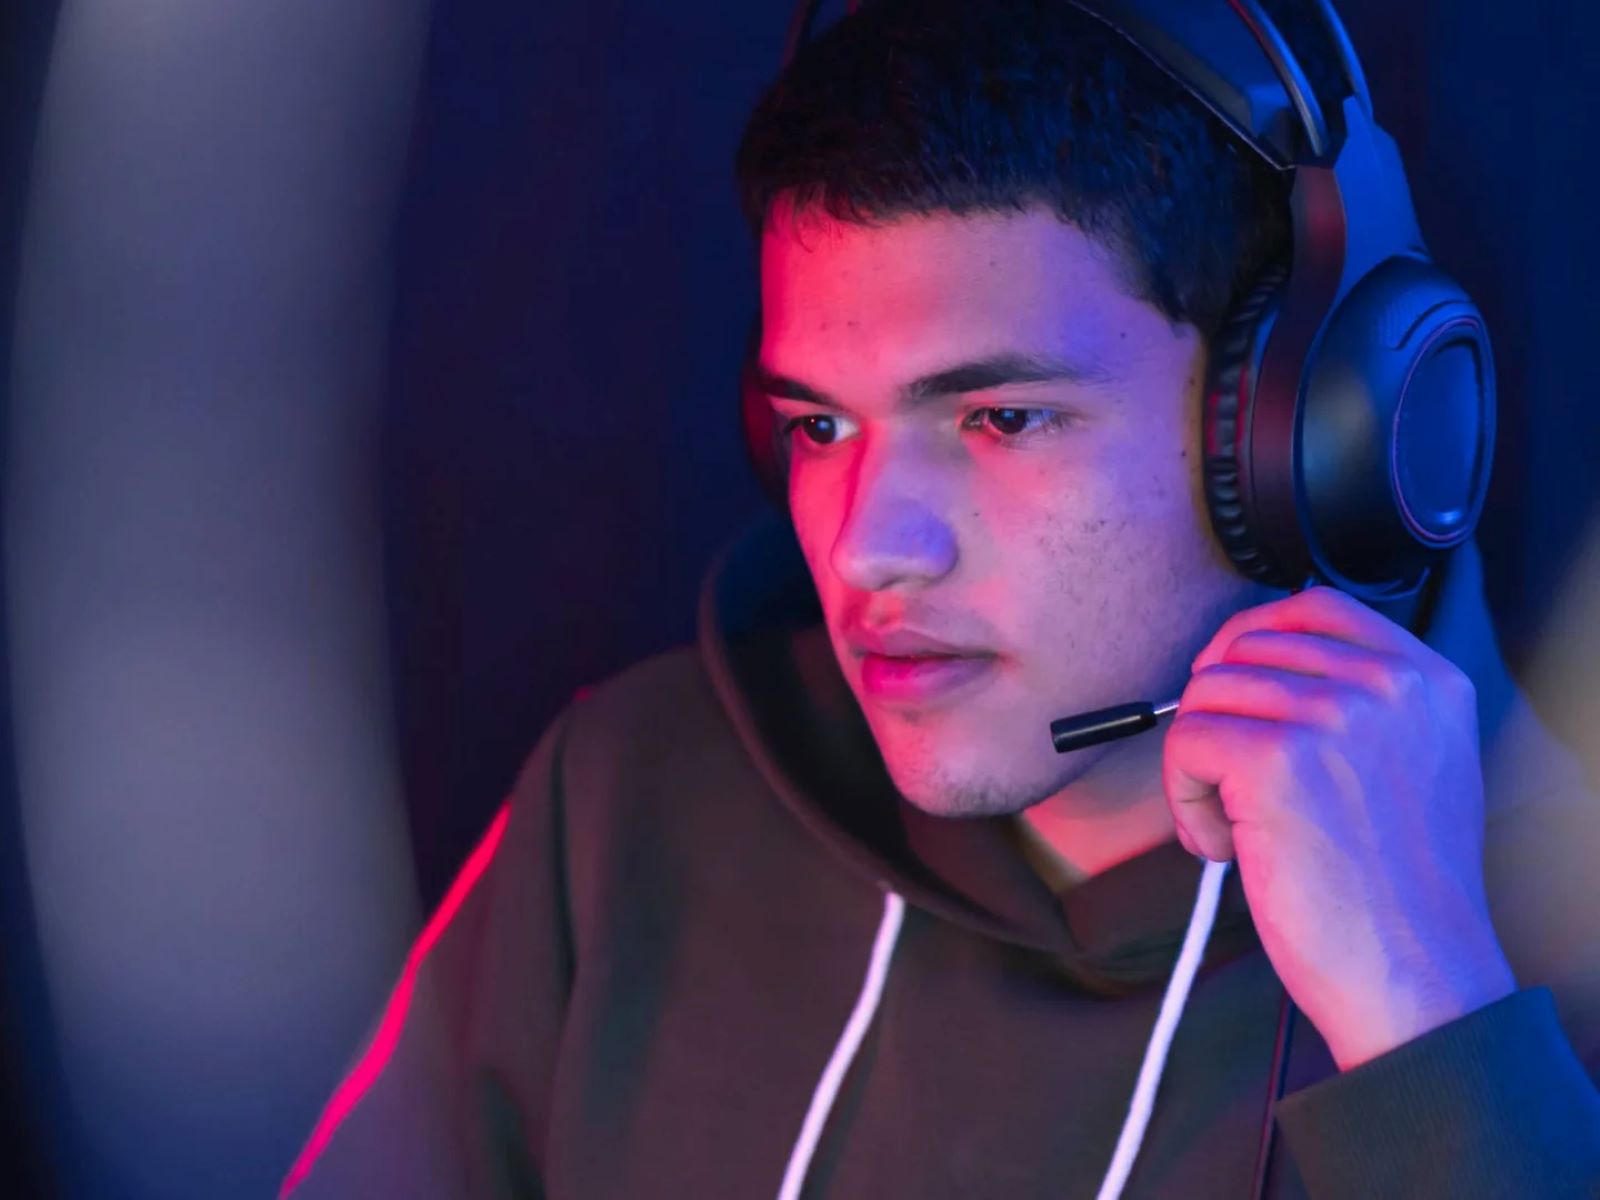
Discord is a popular communication platform among gamers, allowing them to chat with friends, join gaming communities, and participate in voice calls. Many gamers also stream their gameplay on platforms like Twitch or YouTube using streaming software like OBS (Open Broadcaster Software).
However, capturing audio from Discord while streaming can be a challenge. By default, OBS only captures audio from the computer’s system output, not individual applications. This means that if you want to include Discord audio in your streams or recordings, you need to configure OBS to capture it separately.
In this article, we will guide you through the steps to capture Discord audio in OBS. Whether you’re a streamer looking to interact with your audience or a gamer who wants to save memorable conversations, this guide will help you achieve that.
In the following sections, we’ll go through each step in detail, from setting up OBS to configuring the necessary audio settings. By the end of this guide, you’ll be able to seamlessly capture Discord audio in your OBS streams.
Step 1: Set up OBS
Before we can start capturing Discord audio in OBS, we need to ensure that OBS is properly set up on your computer. If you haven’t already installed OBS, you can download it for free from the official OBS website.
Once OBS is installed, launch the program and take some time to familiarize yourself with the user interface. OBS may seem a bit overwhelming at first, but with a little practice, you’ll become comfortable navigating through its various settings and options.
The main window of OBS is divided into different sections, including the preview area, sources, mixer, and scene collection. These sections allow you to configure the different elements of your stream and customize your output. Make sure to explore each section and understand its functionality before moving on.
If you’re new to OBS, there are plenty of tutorials available online that provide detailed explanations of OBS’s features and how to use them. Watching some of these tutorials can help you gain a better understanding of how OBS works and speed up your learning process.
Once you’re comfortable with the basics of OBS, you can proceed to the next step, which involves installing the Virtual Audio Cable (VAC). This software will allow us to route Discord audio to OBS without interfering with the rest of the computer’s audio.
Remember, taking the time to familiarize yourself with OBS and its features will make the rest of the process smoother and more enjoyable. Don’t rush through this step as it lays the foundation for capturing Discord audio in OBS.
Step 2: Install the Virtual Audio Cable (VAC)
In order to capture the audio from Discord and route it to OBS, we need to install a software called Virtual Audio Cable (VAC). VAC creates virtual audio devices on your computer that can be used to redirect audio streams from one application to another.
To install VAC, follow these steps:
- Visit the official website for Virtual Audio Cable and download the software installer.
- Run the installer and follow the on-screen instructions to complete the installation process.
- After the installation is complete, you will need to restart your computer for the changes to take effect.
Once your computer has restarted, you can proceed to the next step of configuring VAC to capture the audio from Discord and send it to OBS.
Installing VAC may seem like an additional step, but it is crucial for capturing Discord audio in OBS. VAC acts as a bridge between Discord and OBS, allowing the audio to flow seamlessly between the two applications.
Before moving on to the next step, make sure that VAC is installed correctly and that your computer recognizes the virtual audio devices created by the software. You can check this by going to your computer’s audio settings and verifying the presence of the VAC devices.
Now that VAC is installed and ready to use, we can proceed to the next step of configuring it to capture audio from Discord.
Step 3: Configure VAC
Now that Virtual Audio Cable (VAC) is installed on your computer, we need to configure it to capture the audio from Discord and route it to OBS.
Follow these steps to configure VAC:
- Open the Windows Sound settings by right-clicking on the speaker icon in the taskbar and selecting “Sounds”.
- In the “Playback” tab, set one of the virtual audio cable devices (e.g., “CABLE Output”) as the default playback device.
- In the “Recording” tab, set another virtual audio cable device (e.g., “CABLE Input”) as the default recording device.
- Click “OK” to save the changes.
These settings ensure that any audio played through the default playback device will be captured by VAC’s virtual audio cable and can be sent to OBS for recording or streaming.
Now that VAC is properly configured, the audio from Discord will be routed through the virtual audio cable devices. In the next steps, we will configure Discord and OBS to use these devices for capturing and broadcasting the audio.
It’s important to note that VAC offers additional configuration options and advanced settings that you can explore based on your specific needs. However, for the purpose of capturing Discord audio in OBS, the default configuration should be sufficient.
With VAC configured, we are now ready to proceed to the next steps and set up Discord and OBS to work together seamlessly.
Step 4: Configure Discord audio settings
In order to capture Discord audio in OBS, we need to configure the audio settings within the Discord application. This will ensure that Discord uses the Virtual Audio Cable (VAC) devices we set up earlier as the input and output devices.
Follow these steps to configure Discord audio settings:
- Open the Discord application on your computer.
- Click on the gear icon located at the bottom left corner to open the User Settings menu.
- In the User Settings menu, navigate to the “Voice & Video” tab.
- Under the “Input Device” section, select the virtual audio cable device (e.g., “CABLE Output”) that you set as the default recording device in the Windows Sound settings.
- Under the “Output Device” section, select the virtual audio cable device (e.g., “CABLE Input”) that you set as the default playback device in the Windows Sound settings.
- Adjust the input and output volume sliders as per your preference.
- Click on the “Save Changes” button to apply the settings.
By configuring Discord to use the virtual audio cable devices, we ensure that the audio from Discord will be captured and routed to OBS through VAC.
It’s worth mentioning that Discord may have additional audio settings and options that you can explore based on your specific needs. However, for capturing Discord audio in OBS, these basic audio settings should be sufficient.
Now that Discord is configured to use the Virtual Audio Cable devices, we can move on to the next step of configuring OBS to capture and stream the audio from Discord.
Step 5: Configure OBS audio settings
In order to capture and stream the audio from Discord, we need to configure the audio settings within OBS. This will ensure that OBS recognizes the audio coming from the Virtual Audio Cable (VAC) devices we set up earlier.
Follow these steps to configure OBS audio settings:
- Open OBS on your computer.
- Click on the gear icon next to the Mixer section to open the audio settings.
- In the Audio settings, make sure that the correct audio devices are selected for both desktop and microphone audio.
- Under the Desktop Audio section, select the virtual audio cable device (e.g., “CABLE Output”) that you set as the default playback device in the Windows Sound settings.
- If you plan to include your microphone audio as well, select the appropriate microphone device in the Microphone/Auxiliary Audio section.
- Adjust the audio levels as per your preference.
- Click on the “Apply” or “OK” button to save the changes.
Configuring the audio settings in OBS ensures that the audio from Discord, routed through VAC, is recognized and captured by OBS for streaming or recording purposes.
It’s important to note that OBS offers various advanced audio settings and filters that you can further explore to enhance the audio quality and customize your streaming setup. However, for capturing Discord audio in OBS, these basic audio settings should be sufficient.
Now that OBS is configured to capture the audio from Discord, let’s move on to the next steps to add an audio source in OBS and adjust the audio levels.
Step 6: Add an audio source in OBS
Now that we have configured the audio settings in OBS, we can proceed to add an audio source that will capture the audio from Discord.
Follow these steps to add an audio source in OBS:
- In the OBS main window, right-click in the “Sources” box and select “Add” from the dropdown menu.
- From the list of available sources, select “Audio Output Capture”.
- In the “Audio Output Capture Properties” window, give the source a descriptive name (e.g., “Discord Audio”).
- Under the “Device” dropdown menu, select the virtual audio cable device (e.g., “CABLE Output”) that you set as the default playback device in the Windows Sound settings.
- Click on the “OK” or “Apply” button to add the audio source to your OBS scene.
With the audio source added, OBS will now capture the audio from Discord as it is transmitted through the Virtual Audio Cable (VAC) device.
It’s worth mentioning that OBS offers various additional audio source options and customization settings that you can explore based on your specific needs. For example, you can adjust the audio levels, apply filters, or configure multi-track audio recording.
Now that we have added an audio source in OBS, let’s move on to the next step of adjusting the audio levels to ensure a balanced and clear audio output.
Step 7: Adjust audio levels in OBS
After adding the audio source for Discord in OBS, it’s important to check and adjust the audio levels to ensure a balanced and clear audio output in your streams or recordings.
Follow these steps to adjust the audio levels in OBS:
- In the OBS main window, locate the Mixer section.
- Ensure that the audio source for Discord (e.g., “Discord Audio”) is visible in the Mixer section.
- Click and drag the slider next to the audio source to increase or decrease the volume.
- Monitor the audio levels by observing the audio meters in the Mixer section. Aim to avoid audio clipping (when the audio level exceeds the maximum value) and maintain a consistent audio level.
- You can also right-click on the audio source and select “Properties” to access advanced audio settings, such as filters and noise suppression, if needed.
By adjusting the audio levels, you can ensure that the audio from Discord is well-balanced with other audio sources in your streams or recordings. This will prevent any audio distortion or inconsistencies that may distract or compromise the viewer’s experience.
Remember to periodically test your audio levels by listening to your stream or recording and making adjustments if necessary. It’s a good practice to test different scenarios, such as having multiple people talking in a Discord call, to ensure that all audio is captured and balanced accordingly.
Now that you have adjusted the audio levels in OBS, you are ready to move on to the next step of testing and troubleshooting your setup to ensure that the Discord audio is correctly captured.
Step 8: Test and Troubleshoot
After configuring OBS to capture Discord audio and adjusting the audio levels, it’s important to test your setup to ensure everything is working as intended. This step will help you identify any issues and allow you to troubleshoot them if necessary.
Follow these steps to test and troubleshoot your Discord audio capture in OBS:
- Start a Discord voice call or join a Discord server to simulate a real-time conversation.
- Open OBS and start your stream or recording as you normally would.
- Monitor the audio levels and ensure that the audio from Discord is being captured and mixed properly with other audio sources.
- Listen to your stream or recording playback to check if the Discord audio is clear and synchronized with the other audio sources.
- If you encounter any issues, double-check your settings in OBS, Discord, and the Windows Sound settings to ensure consistency.
- Make sure that the correct virtual audio cable devices are selected in all applications involved in the audio routing process.
- If necessary, refer back to the previous steps in this guide to verify that each configuration has been properly implemented.
- Consider consulting online forums or communities for troubleshooting tips specific to your setup or reaching out to support channels for assistance.
By thoroughly testing your setup and troubleshooting any issues, you can ensure that your Discord audio is correctly captured in OBS. This will provide a seamless and immersive experience for your viewers or recordings.
Remember to periodically re-test your setup, especially after making any changes or updates to your software or hardware, to ensure the continued functionality of your Discord audio capture in OBS.
With your Discord audio successfully captured in OBS, you are now ready to stream your gaming sessions or create recordings that include high-quality audio from Discord conversations.
Conclusion
Capturing Discord audio in OBS allows gamers and streamers to seamlessly integrate their conversations into their streams or recordings. It enhances the overall viewer experience and enables better communication during gaming sessions.
In this guide, we covered the step-by-step process to capture Discord audio in OBS:
- Set up OBS and familiarize yourself with its user interface.
- Install the Virtual Audio Cable (VAC) software to route audio between Discord and OBS.
- Configure VAC to capture audio from Discord.
- Adjust the audio settings in Discord to use the VAC devices as input and output.
- Configure the audio settings in OBS to recognize the audio from Discord.
- Add an audio source in OBS for Discord audio.
- Adjust the audio levels in OBS to ensure a balanced output.
- Test and troubleshoot your setup to ensure proper capture and synchronization.
By following these steps, you can successfully capture Discord audio in OBS and create engaging content for your viewers. Remember to periodically test and adjust your setup to maintain optimal audio quality.
Feel free to experiment with additional features and settings offered by OBS and other related tools to further enhance your streaming experience. There are various tutorials and resources available online to help you customize your setup to suit your specific needs.
Now that you have mastered the process of capturing Discord audio in OBS, you can enjoy seamless communication and elevate the quality of your gaming streams or recordings. Happy streaming!