Introduction
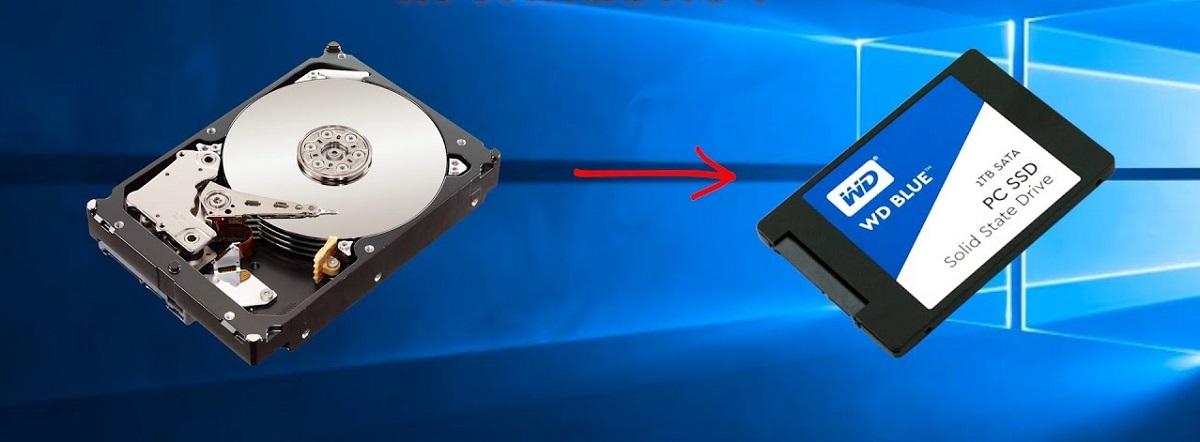
Are you tired of your slow computer and looking for ways to boost its performance? Upgrading from a traditional HDD (Hard Disk Drive) to a faster SSD (Solid State Drive) might be the solution you’ve been searching for. In this guide, we will explore the benefits of migrating to an SSD and provide you with step-by-step instructions on how to make the transition smoothly.
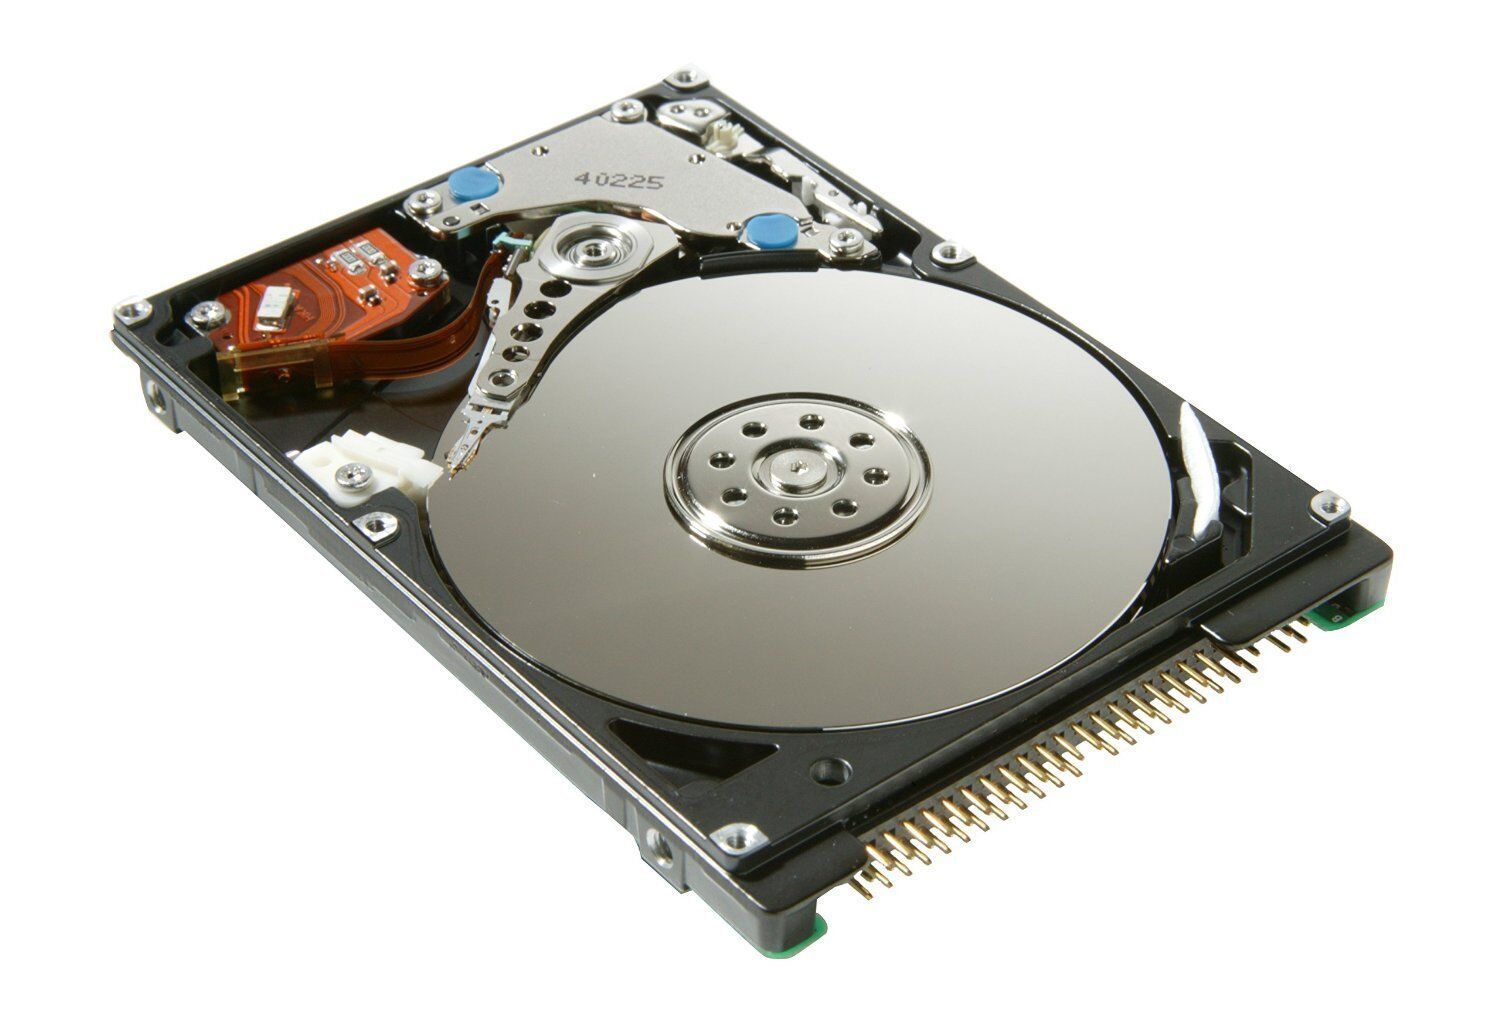
So, what exactly is an SSD? Unlike HDDs, which use spinning magnetic disks to store data, SSDs rely on flash memory to store information. This technology eliminates the mechanical limitations of HDDs, resulting in lightning-fast data access and transfer speeds. By upgrading to an SSD, you can experience a significant improvement in your computer’s overall performance.
There are several benefits to upgrading to an SSD. First and foremost, the speed increase is undeniable. The difference in boot times, application launches, and file transfers can be night and day. With an SSD, you can enjoy reduced load times, seamless multitasking, and a more responsive system overall.
Another advantage of SSDs is their durability. Traditional HDDs are susceptible to damage from bumps, drops, and vibrations due to their mechanical components. SSDs, on the other hand, have no moving parts, making them more resistant to physical shocks. This makes them particularly well-suited for laptops and portable devices.
Additionally, SSDs are energy-efficient. Since they do not require the same amount of power to run as HDDs, using an SSD can help increase battery life on laptops and reduce energy consumption on desktop computers.
Before diving into the migration process, there are a few things you should consider. First, you need to determine the compatibility of your computer with an SSD. Check the specifications of your device, including the interface type and available drive bays, to ensure it can accommodate an SSD.
Next, think about the storage capacity you need. While SSDs offer faster speeds and enhanced performance, they typically come in smaller storage capacities compared to HDDs. Evaluate your storage requirements and consider if an SSD with lower storage capacity combined with external storage options would suit your needs.
In the following sections, we will guide you through the steps necessary to migrate from your HDD to an SSD. We will cover everything from backing up your data to configuring BIOS settings. So, let’s get started and give your computer the performance boost it deserves!
What is an SSD?
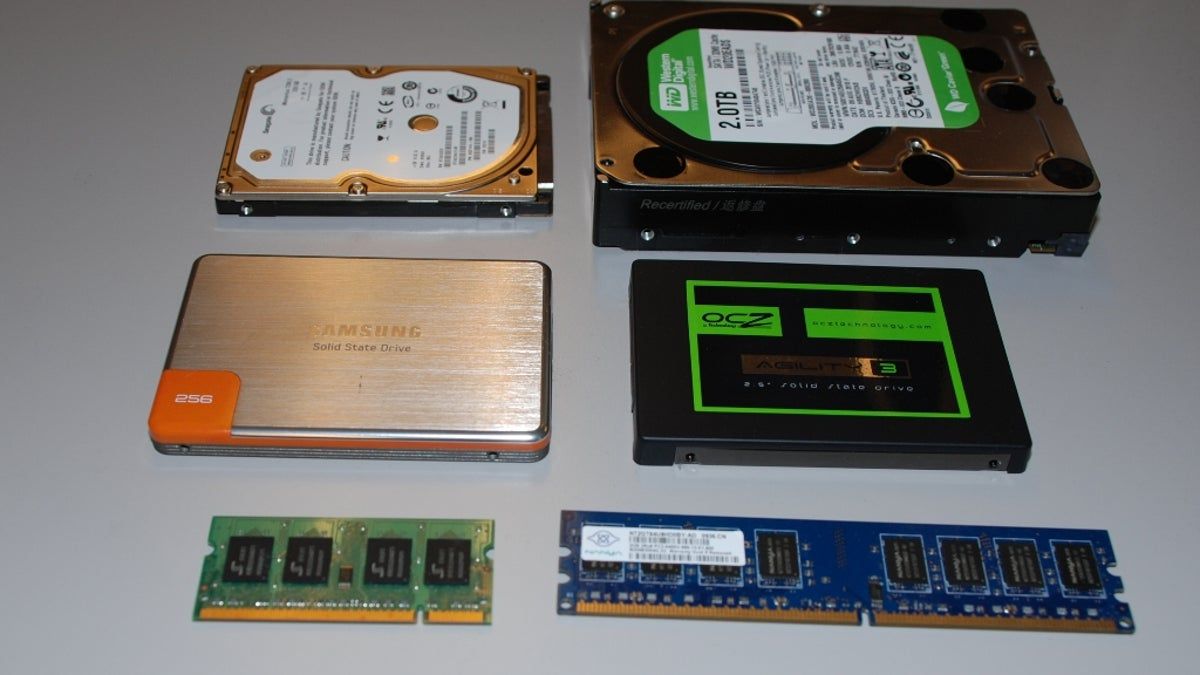
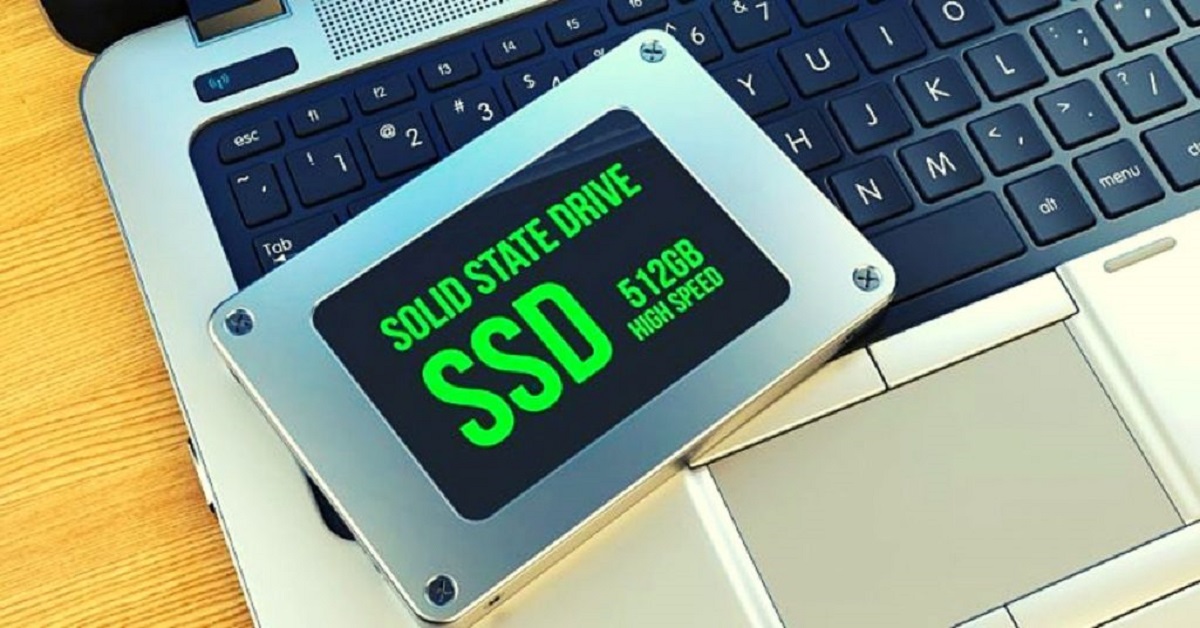
An SSD, or Solid State Drive, is a type of storage device that has become increasingly popular in recent years. Unlike traditional Hard Disk Drives (HDDs), which use spinning magnetic disks to read and write data, SSDs use flash memory technology. This means that there are no moving parts involved in the storage process.
One of the primary advantages of an SSD is its speed. HDDs are limited by the mechanical movements required to access data, while SSDs can provide significantly faster read and write speeds. This translates to quicker boot times, faster application launches, and overall snappier system performance.
SSDs also offer improved durability compared to HDDs. Without any moving parts, there is less chance of mechanical failure or damage from physical shocks. This makes SSDs ideal for portable devices like laptops, as they can withstand accidental drops or bumps without risking data loss.
In addition to speed and durability, SSDs are also energy-efficient. Due to their solid-state nature, they consume less power compared to HDDs, resulting in longer battery life for laptops and reduced electricity usage for desktop computers. This energy efficiency makes SSDs not only great for performance but also environmentally friendly.
Another notable feature of SSDs is their silent operation. Since there are no spinning disks or moving components, SSDs produce almost no noise while in use. This can be especially appreciated in noise-sensitive environments such as offices or recording studios.
When it comes to capacity, SSDs generally have smaller storage capacities compared to HDDs. However, with advancements in technology, SSDs of larger capacities have become more affordable and accessible. It is worth noting that you can always use external storage options in conjunction with an SSD to increase your overall storage capacity.
Overall, SSDs are a significant upgrade from traditional HDDs in terms of performance, durability, energy efficiency, and silent operation. By replacing your HDD with an SSD, you can give your computer a much-needed boost and enhance your computing experience.
Benefits of Upgrading to an SSD
Upgrading from a traditional HDD to an SSD can bring about a multitude of benefits that will greatly enhance your computing experience. Let’s explore some of the key advantages of making the switch:
1. Faster Performance: One of the primary benefits of upgrading to an SSD is the significant boost in performance. The absence of moving parts allows SSDs to access and retrieve data much faster than HDDs. This results in faster boot times, quicker application launches, and seamless multitasking. Whether you’re loading large files or running resource-intensive applications, an SSD can handle it with ease.
2. Improved Load Times: With an SSD, you no longer have to endure long loading times when opening programs or games. Applications and files load almost instantaneously, allowing you to be more productive and spend less time waiting.
3. Enhanced Reliability: SSDs have no mechanical components, which makes them more reliable and resistant to physical damage. Traditional HDDs are prone to failure due to their delicate construction, whereas SSDs can withstand shock and vibrations, making them ideal for laptops and portable devices.
4. Energy Efficiency: SSDs consume less power compared to HDDs, making them more energy-efficient. Not only does this result in longer battery life for laptops, but it also reduces energy consumption, leading to lower electricity bills and a more eco-friendly computing experience.
5. Noiseless Operation: Since SSDs have no moving parts, they operate silently. This creates a quieter working environment without the distracting whirring or clicking sounds associated with HDDs. Enjoy a more peaceful and focused computing experience, especially in noise-sensitive environments.
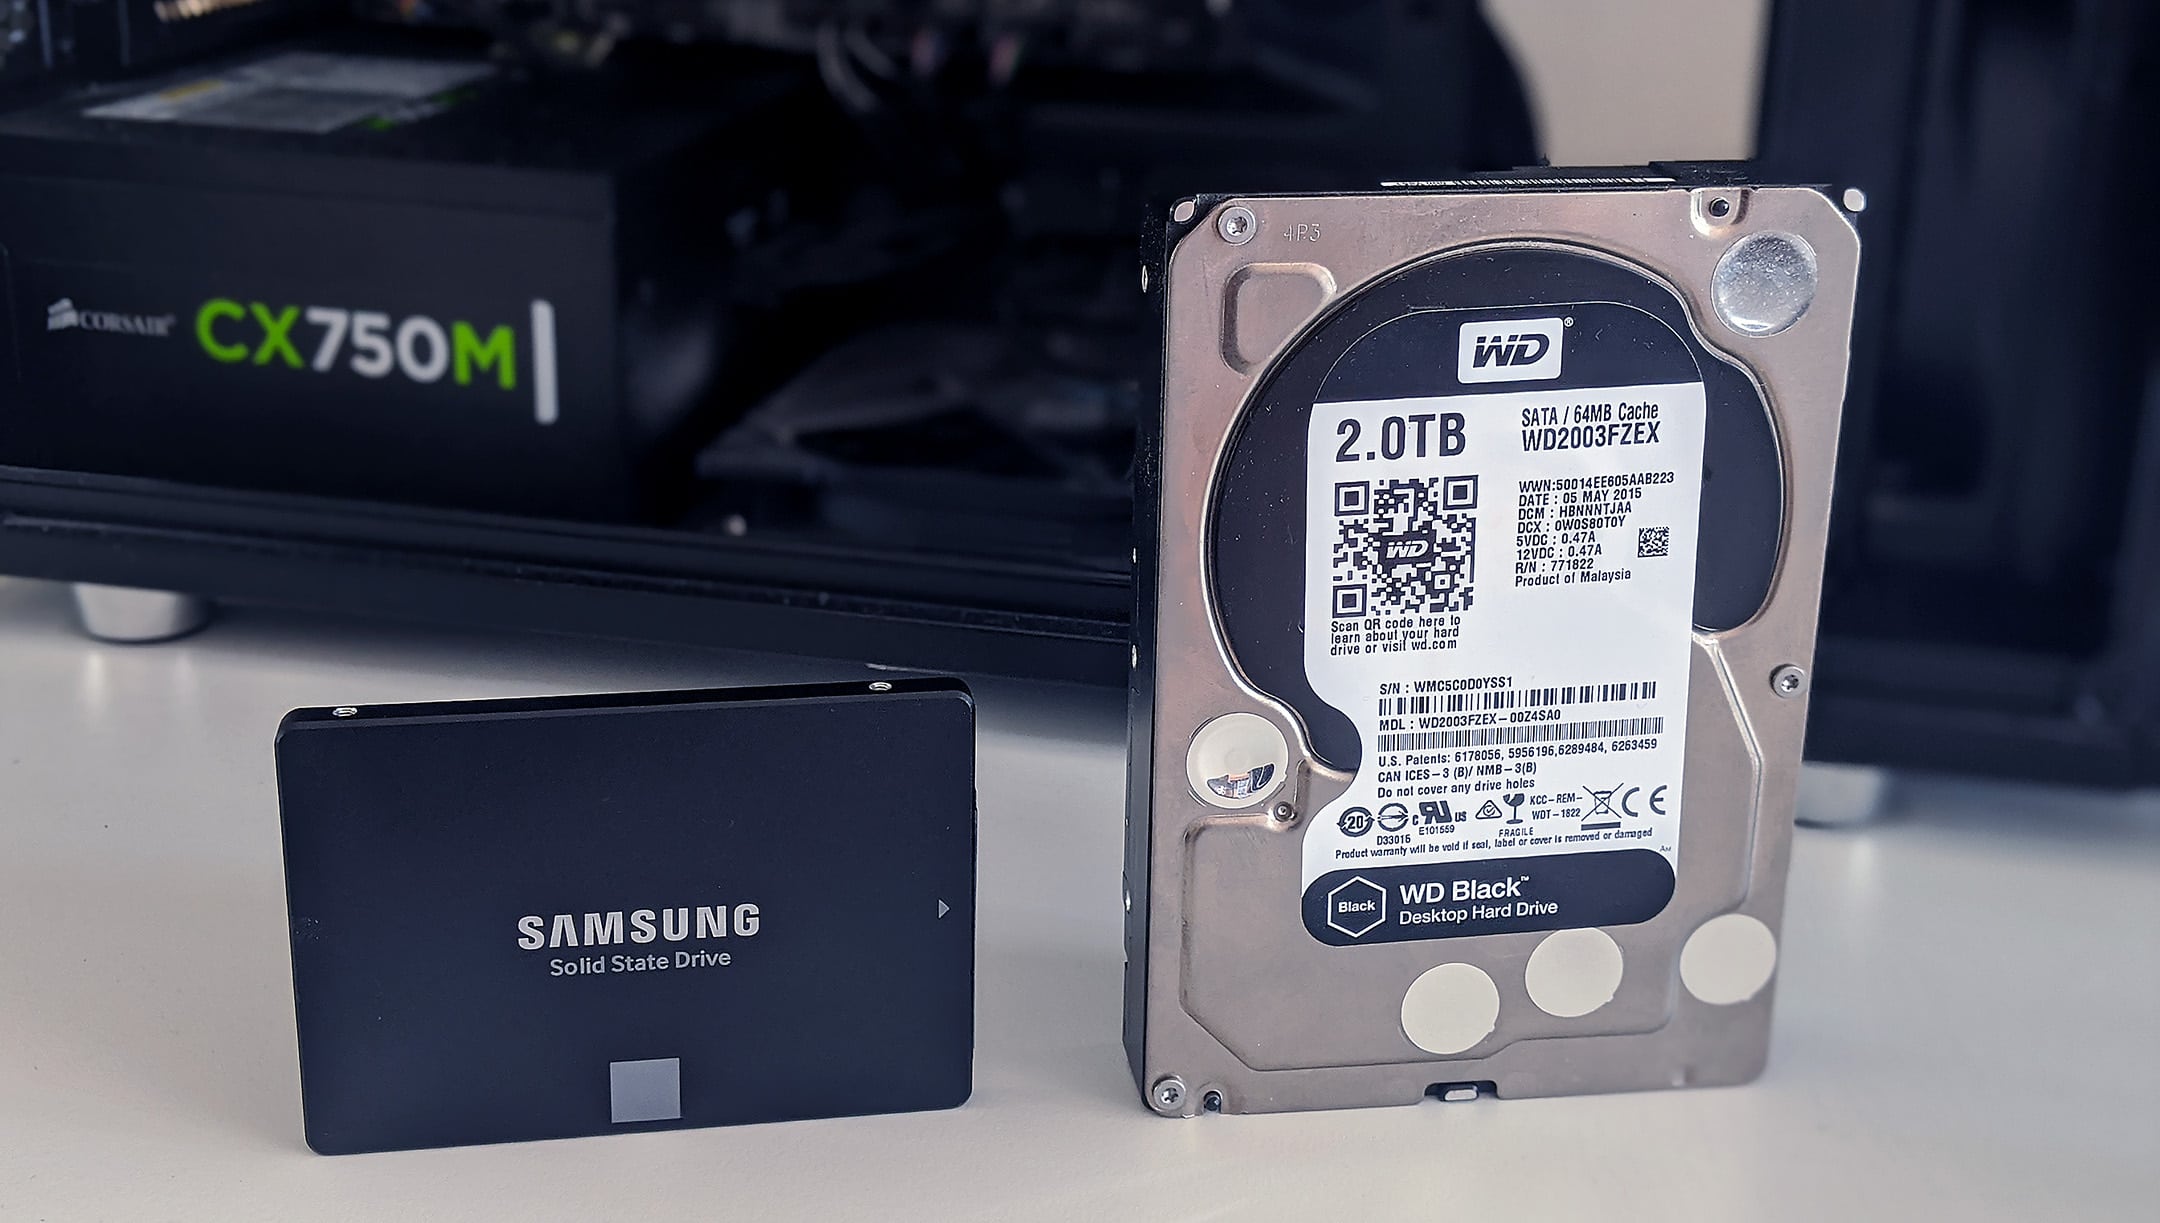
6. Compact and Lightweight: SSDs are typically smaller and lighter than HDDs, making them a perfect fit for ultra-thin laptops and compact desktop systems. The space-saving nature of SSDs allows for more flexibility when it comes to designing and assembling your computer setup.
7. Reduced Heat Generation: SSDs generate less heat compared to HDDs. This is attributed to the absence of moving parts, resulting in lower power consumption and reduced heat dissipation. A cooler system leads to better overall performance and can prolong the lifespan of your computer’s components.
By upgrading to an SSD, you can take advantage of these benefits and revolutionize your computing experience. The speed, reliability, energy efficiency, and silent operation of an SSD will undoubtedly enhance your productivity and enjoyment of using your computer.
Things to Consider Before Migrating to an SSD
Before making the decision to migrate from a traditional HDD to an SSD, there are a few important factors to consider. Taking these into account will ensure a smooth transition and optimal performance. Here are some things to keep in mind:
1. Compatibility: It is essential to ensure that your computer or laptop is compatible with an SSD. Check the specifications of your device, including the interface type (SATA, NVMe, etc.), available drive bays, and form factor compatibility. This information will help you determine the type of SSD that is compatible with your system.
2. Storage Capacity: Unlike HDDs, SSDs generally come with smaller storage capacities. Consider your storage requirements and evaluate if an SSD with a smaller capacity, combined with external storage options, would be sufficient for your needs. It may be worthwhile to prioritize speed and performance over storage capacity and manage your files efficiently.
3. Cost: SSDs tend to be more expensive compared to HDDs, especially when it comes to larger capacities. Consider your budget and balance it with your storage and performance requirements. It may be beneficial to invest in a smaller SSD for your operating system and frequently used applications, while relying on external storage or cloud solutions for additional file storage.
4. Data Backup: Before migrating to an SSD, it is crucial to back up your data. There is always a risk of data loss during the migration process. Ensure you have a comprehensive backup plan in place to protect your important files and documents. This can involve creating a full system backup, copying important files to an external storage device, or utilizing cloud backup services.
5. Operating System and Software Compatibility: Verify that your operating system and critical software are compatible with SSDs. SSDs typically require specific drivers or firmware updates for optimal performance. Check the manufacturer’s website for any necessary updates or consult the operating system’s documentation to ensure compatibility.
6. Cloning Software: If you plan to clone your existing HDD to the new SSD, ensure you have access to reputable cloning software. There are various third-party applications available that simplify the migration process, allowing you to transfer your entire operating system, files, and applications seamlessly.
7. Reinstallation Considerations: Alternatively, you may decide to perform a clean installation of your operating system and software on the SSD. This allows for a fresh start and eliminates any potential issues from the previous system configuration. Keep in mind that this option requires reinstalling all applications and transferring files manually.
By considering these factors before migrating to an SSD, you will be well-prepared for the transition. Taking the time to evaluate compatibility, storage capacity, cost, data backup, software compatibility, and the preferred migration method will ensure a successful and hassle-free upgrade to an SSD.
How to Choose the Right SSD for Your Needs
Choosing the right SSD (Solid State Drive) for your needs requires considering various factors that will impact performance, storage capacity, and compatibility with your system. Here are some key points to consider when selecting the right SSD:
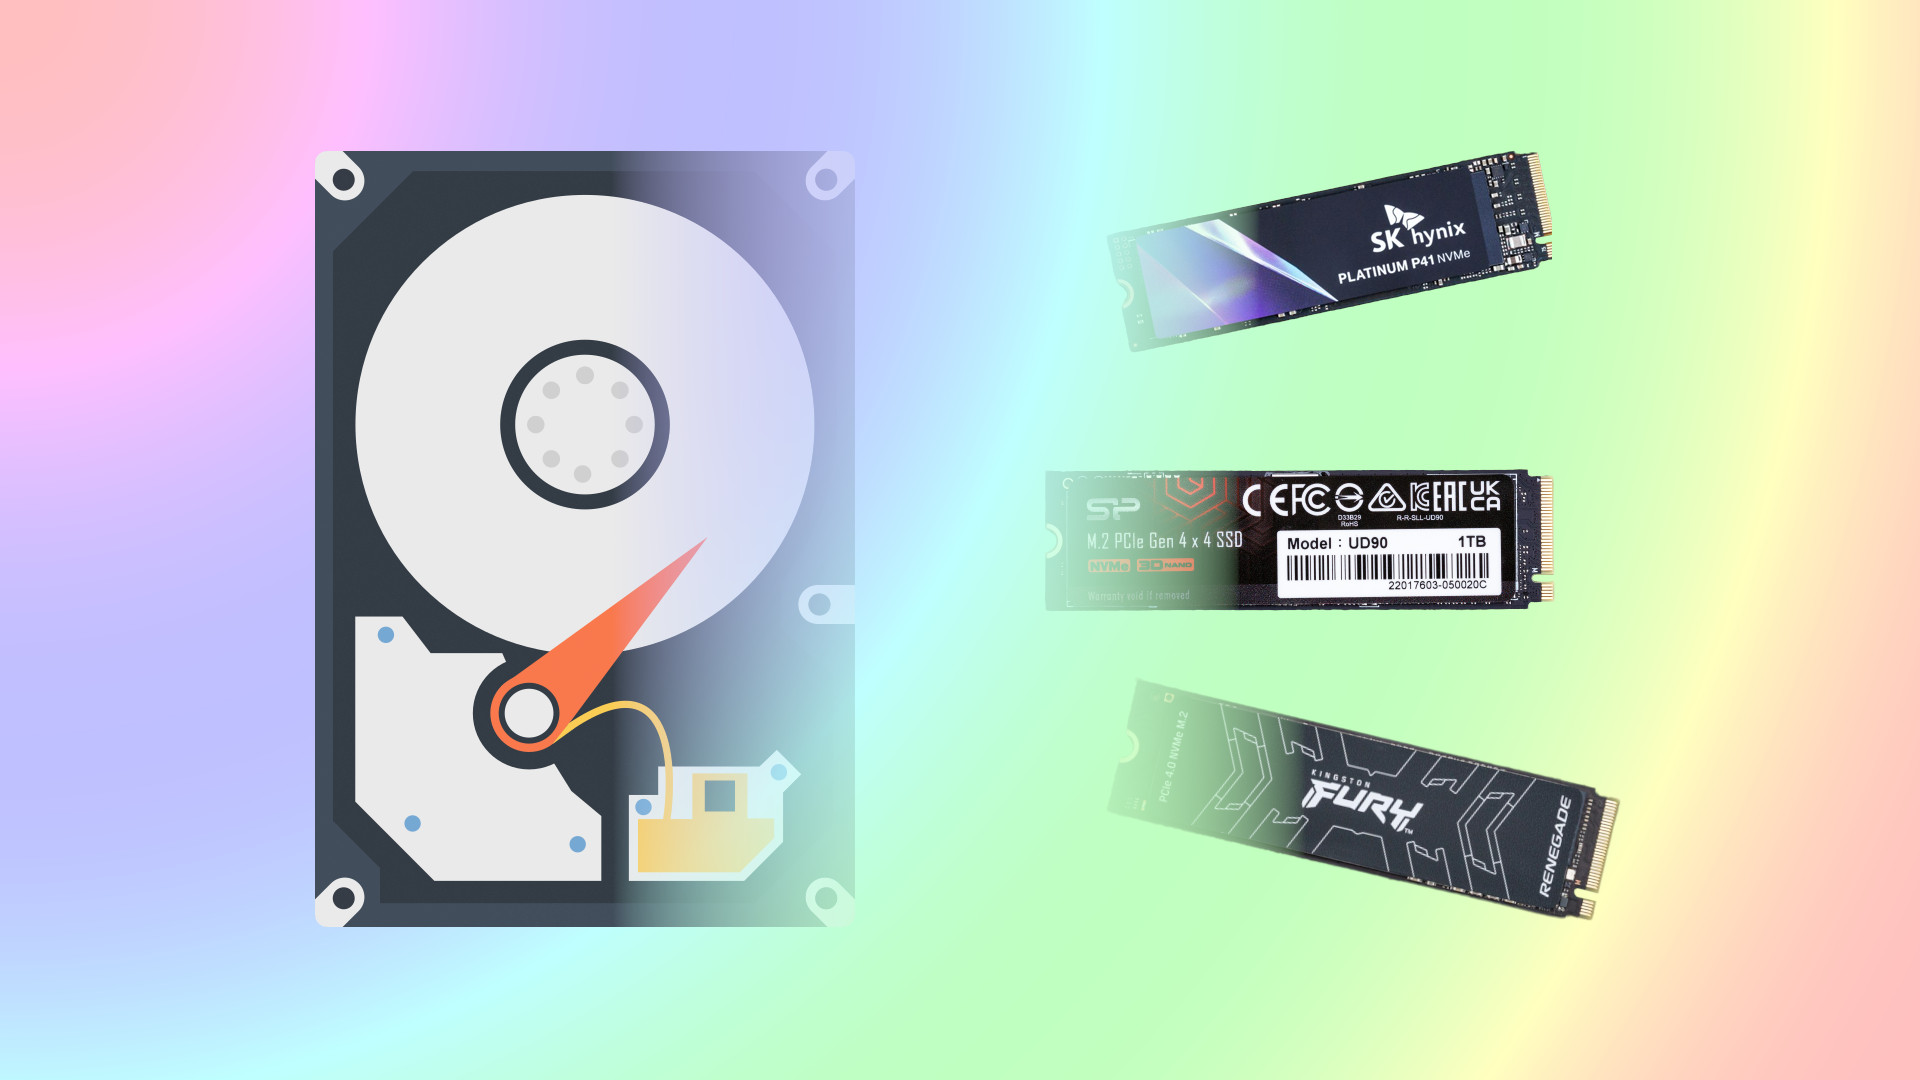
1. Interface Type: The interface type determines how the SSD connects to your computer and affects its speed and compatibility. The most common interface types are SATA (Serial ATA) and NVMe (Non-Volatile Memory Express). NVMe SSDs provide faster speeds compared to SATA SSDs but may require a compatible motherboard. Check your system’s specifications to determine which interface type is supported.
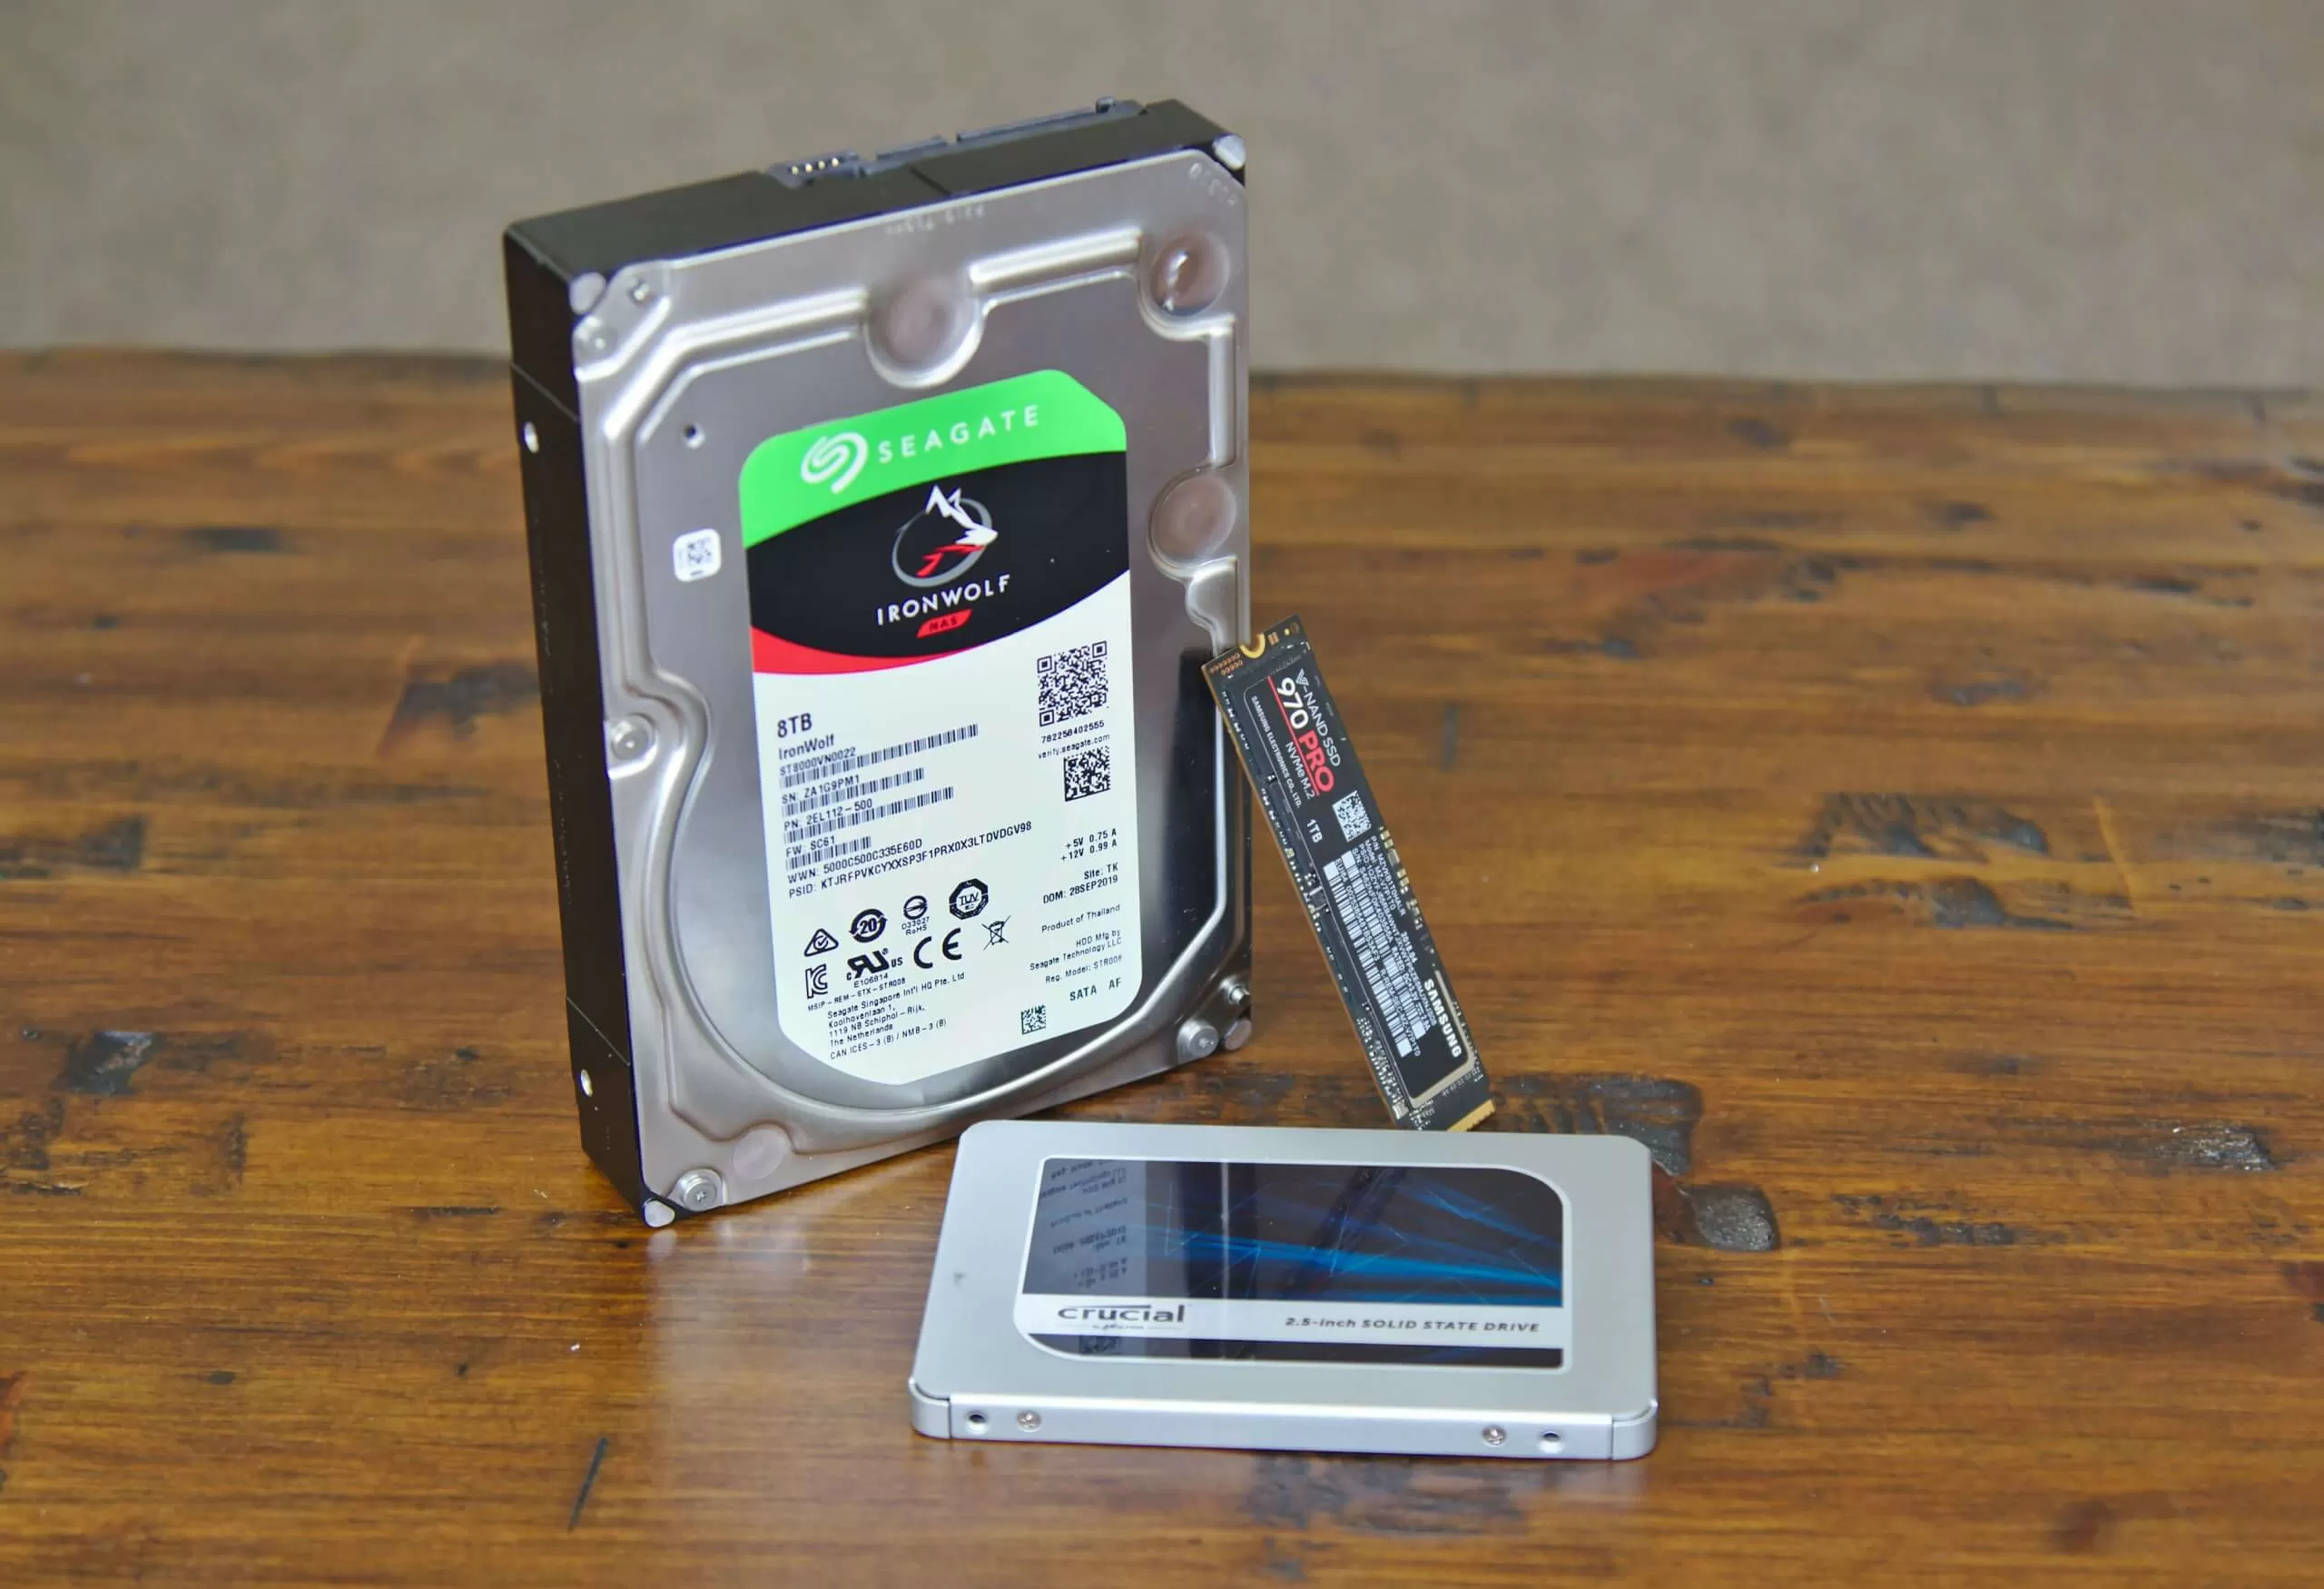
2. Form Factor: SSDs come in various form factors to fit different devices. The most common form factors for consumer SSDs are 2.5-inch, M.2, and PCIe cards. The form factor you choose should be compatible with the drive bay or slot in your device.
3. Storage Capacity: Consider your storage needs when choosing the SSD capacity. SSDs typically come in smaller capacities than traditional HDDs, so it’s important to evaluate how much storage space you require for your operating system, applications, and files. Prioritize frequently accessed data on the SSD and utilize external storage or cloud solutions for less-used files.
4. Performance: Look for SSDs with high read and write speeds for optimal performance. Read reviews and compare the performance benchmarks of different SSD models to ensure you’re getting the best speed possible within your budget. Additionally, consider an SSD with a higher endurance rating if you’ll be performing heavy read/write operations or need long-term durability.
5. Brand and Reliability: Choose a reputable brand when selecting an SSD. Well-established brands often offer better reliability, customer support, and warranty coverage. Read customer reviews and professional recommendations to gauge the overall reliability and quality of the SSD before making a purchase.
6. Price: Set a budget for your SSD purchase and compare prices from different retailers. While SSDs are generally more expensive than HDDs, the price can vary based on brand, capacity, and performance. Look for SSDs that offer the best combination of price and features within your budget.
7. Warranty: Check the warranty period and terms offered by the SSD manufacturer. A longer warranty provides peace of mind and may indicate the manufacturer’s confidence in the durability and reliability of their product. Ideally, look for SSDs with at least a three-year warranty.
By considering the interface type, form factor, storage capacity, performance, brand reliability, price, and warranty, you can choose the right SSD that meets your needs and provides the desired performance boost for your system. Take the time to research and compare options before making your final decision.
Backing Up Your Data
Before proceeding with the migration from an HDD to an SSD, it is essential to back up your data. This step ensures that your important files, documents, and media are protected in case of any unexpected issues during the migration process. Here are some steps you can follow to back up your data:
1. Identify Important Files: Take the time to identify and locate the files that are critical to you. This includes documents, photos, videos, music, and any other data that you cannot afford to lose. Create a list or make a mental note of these files to ensure they are included in the backup.
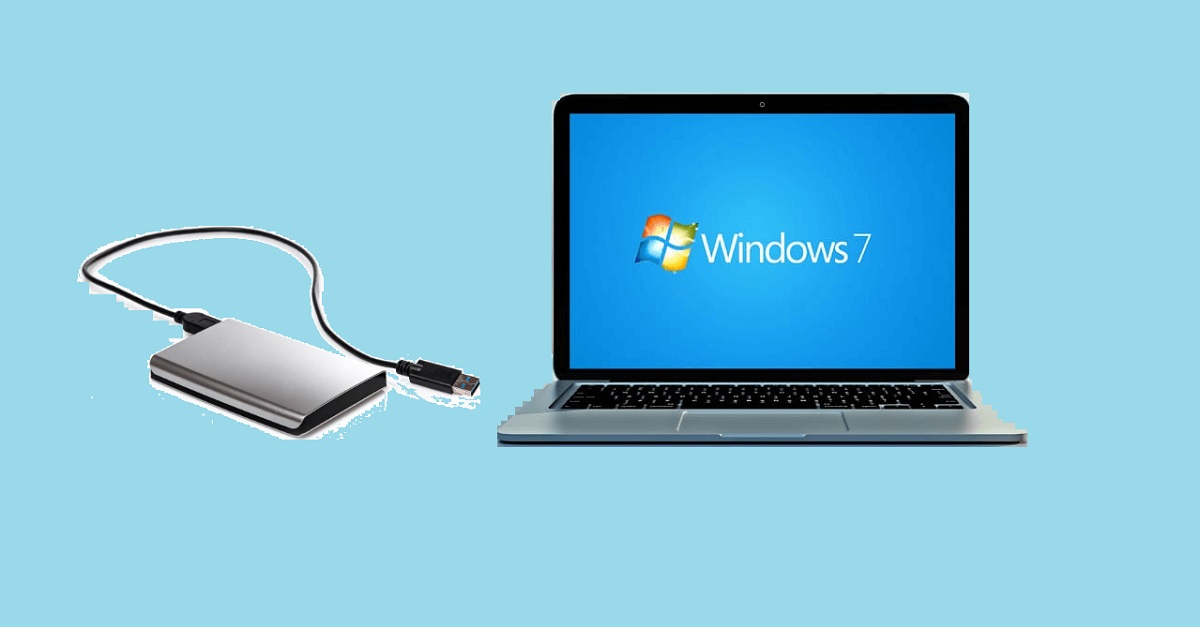
2. External Storage: Obtain an external storage device with sufficient capacity to hold your data. This could be an external hard drive, a USB flash drive, or even a network-attached storage (NAS) device. Make sure the chosen storage device is compatible with your computer.
3. Cloud Storage: Consider utilizing cloud storage services as a backup option. Providers like Google Drive, Dropbox, or Microsoft OneDrive offer secure and convenient storage options for your files. Upload your important files to the cloud to ensure they are easily accessible and protected from local hardware failures.
4. File Transfer: Copy your identified files to the chosen backup storage device. Connect the external device to your computer and use a file manager or drag-and-drop method to transfer your files. Organize them in a structured manner to make it easier to locate them in the future.
5. Full System Backup: If you prefer a complete system backup, consider using backup software or built-in system tools to create a full image of your current HDD. This image can be stored on an external storage device, allowing you to restore your system to its previous state if needed.
6. Verification: After the backup process is complete, verify the integrity of the backed-up data. Ensure that you can access and open the files without any errors. This step provides peace of mind in knowing that your data has been successfully backed up and can be restored if necessary.
7. Regular Backup Schedule: Establish a regular backup schedule to ensure that your data remains up to date. Consider automating the backup process using backup software or cloud services to create scheduled backups that occur automatically at specified intervals.
8. Test the Backup: Periodically test your backup by restoring some files to confirm that the backup is functioning correctly. This ensures that you are prepared and confident in the event of a data loss situation.
Backing up your data is a crucial step before migrating to an SSD. By following these steps and ensuring that your important files are safely backed up before the migration, you can embark on the SSD upgrade process with peace of mind, knowing that your data is protected.
Cloning Your HDD to SSD
When migrating from an HDD (Hard Disk Drive) to an SSD (Solid State Drive), one popular method is to clone your existing HDD to the new SSD. Cloning allows you to replicate your entire system, including the operating system, installed applications, and files, onto the SSD. Here is a step-by-step guide on how to clone your HDD to an SSD:
1. Backup Your Data: Before proceeding with the cloning process, make sure you have a backup of your important data. This ensures that your files are protected in case of any unforeseen issues during the cloning process.
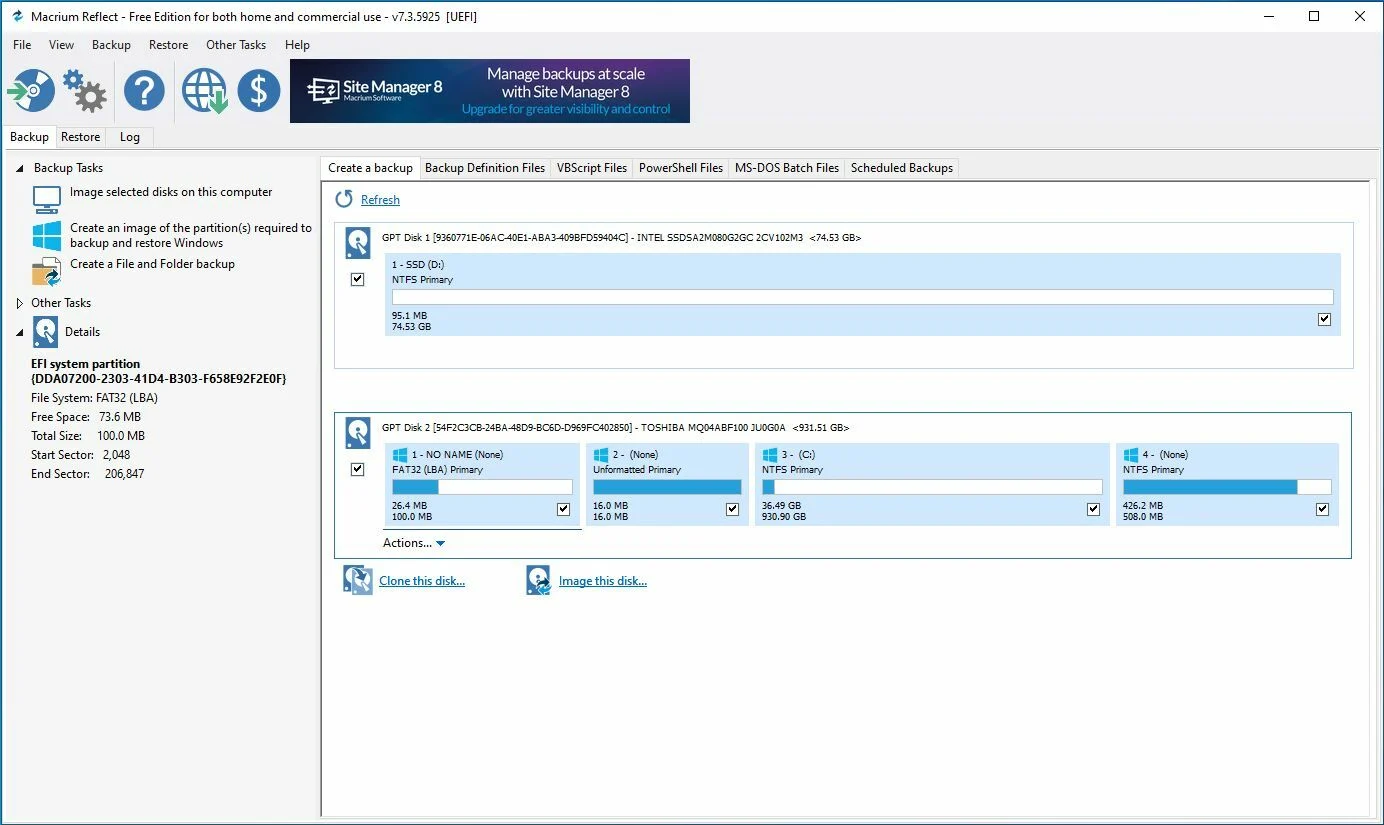
2. Choose Cloning Software: Select a reputable and reliable cloning software that supports HDD to SSD migration. There are both free and paid options available, such as Clonezilla, Macrium Reflect, and Acronis True Image. Download and install the cloning software of your choice.
3. Connect the SSD: Connect the SSD to your computer. This can be done by using an external SSD enclosure or connecting the SSD directly to an available SATA port on your motherboard. Ensure that the SSD is properly recognized by your system.
4. Run the Cloning Software: Launch the cloning software and follow the instructions provided. Most cloning software will have a user-friendly interface that guides you through the process. Select the HDD as the source drive and the SSD as the destination drive.
5. Adjust Partition Sizes (Optional): If the SSD has a smaller capacity than the HDD, you may need to adjust the partition sizes during the cloning process. Some cloning software allows you to resize partitions to fit the new SSD’s capacity. Alternatively, you can manually adjust the partition sizes later using disk management tools.
6. Start the Cloning Process: Double-check that you have selected the correct source and destination drives, as the cloning process will overwrite the destination drive. Start the cloning process and wait for it to complete. The length of time will depend on the size of the data being cloned and the speed of your drives.
7. Verify the Cloned SSD: Once the cloning process is finished, verify that the SSD has been successfully cloned. Shut down your computer and disconnect the HDD. Connect only the SSD and power on your computer. Ensure that the SSD is bootable and that your operating system and files are accessible.
8. Configure Boot Order (if necessary): If the SSD is not set as the primary boot device, you may need to adjust the boot order in your computer’s BIOS or UEFI settings. Set the SSD as the first boot option to ensure that your system boots from the SSD.
By following these steps, you can successfully clone your HDD to an SSD and enjoy the benefits of faster boot times, improved system performance, and enhanced reliability. Remember to consult your specific cloning software’s documentation for detailed instructions and additional options that may be available to you.
Transferring Files Manually
If you prefer not to clone your HDD to an SSD or have specific files you want to transfer, you can manually transfer your files from your HDD to the new SSD. Here’s a step-by-step guide on how to transfer files manually:
1. Backup your Data: Before proceeding with the file transfer, ensure you have a backup of your important files. This ensures that your data is protected in case of any unforeseen issues during the transfer process.
2. Connect the SSD: Connect the new SSD to your computer. This can be done by using an external SSD enclosure or connecting the SSD directly to an available SATA port on your motherboard. Ensure that the SSD is properly recognized by your system.
3. Identify and Organize Files: Identify the files you want to transfer from your HDD to the SSD. This may include documents, photos, videos, music, and any other important data. Organize the files into separate folders or locations to make the transfer process more manageable.
4. Copy and Paste: Open both the HDD and SSD drives on your computer. Navigate to the files or folders you want to transfer on the HDD drive and use the copy (Ctrl+C) and paste (Ctrl+V) commands to transfer them to the corresponding location on the SSD drive. You can also drag and drop files between the HDD and SSD drives.
5. Verify File Integrity: Once the file transfer is complete, verify the integrity of the transferred files. Open the transferred files on the SSD drive to ensure they are accessible and intact. Compare them to the original files on the HDD to ensure no data loss or corruption occurred during the transfer process.
6. Update File Paths (if necessary): If you have transferred files that are linked to other applications or stored in specific directories, you may need to update the file paths. For example, if you transferred a document that was linked to a spreadsheet, you may need to update the link to point to the new location on the SSD drive.
7. Repeat the Process (if needed): If you have additional files or folders to transfer, repeat the copy and paste process until all desired files are transferred to the SSD drive. Take your time to ensure that all important files are successfully moved to the new SSD.
By following these steps, you can manually transfer your files from your HDD to an SSD. This method gives you more control over the files you transfer and allows you to organize them on the new SSD as desired. Remember to double-check the integrity of the transferred files and update any necessary file paths to ensure they work seamlessly on the new SSD.
Updating Your Operating System and Drivers
After migrating from an HDD to an SSD, it is essential to update your operating system and drivers to ensure optimal performance and compatibility with the new hardware. Here are steps to follow when updating your operating system and drivers:
1. Check for Updates: Open the settings or control panel in your operating system and check for updates. Most operating systems have a built-in update feature that automatically detects and installs the latest updates. Ensure that your operating system is up to date before proceeding.
2. Update Device Drivers: Visit the website of your computer’s manufacturer or the individual hardware component manufacturers to download the latest drivers. Focus on drivers related to critical components such as the motherboard, graphics card, network adapter, and storage devices. Install the updated drivers to ensure compatibility with the new SSD.
3. Firmware Updates: Check if there are any firmware updates available for your SSD. SSD manufacturers occasionally release firmware updates to address performance improvements, bug fixes, and compatibility issues. Visit the manufacturer’s website and follow their instructions to update the firmware of your SSD, if applicable.
4. BIOS Updates (if necessary): In some cases, a BIOS update may be required to fully support your SSD. Check the manufacturer’s website for your computer’s motherboard and download the latest BIOS update, if available. Follow the provided instructions on how to flash the BIOS to ensure compatibility with the new SSD.
5. Verify Compatibility: Before proceeding with any updates, verify the compatibility of the new hardware components, including the SSD, with your operating system. Check the documentation provided by the operating system and hardware manufacturers to ensure that the upgrades are supported.
6. Backup Your System: It is always recommended to create a backup of your system before performing major updates. This provides a safety net in case any issues arise during the update process. Create a full system backup using backup software or utilizing built-in system recovery tools.
7. Restart Your Computer: Once all updates are installed, restart your computer to apply the changes. This allows the updated operating system and drivers to take effect and ensures that your system recognizes and optimally utilizes the new SSD.
8. Test System Stability: After updating your operating system and drivers, test the stability and performance of your computer. Ensure that all components, including the SSD, are functioning correctly and that no compatibility or performance issues have arisen as a result of the updates.
By updating your operating system and drivers, you ensure that your system is optimized for the newly installed SSD. This will help maximize your system’s performance and compatibility, ensuring a smooth transition and an improved computing experience.
Configuring BIOS Settings
After migrating to an SSD, it’s important to configure the BIOS (Basic Input/Output System) settings to ensure the optimal performance and functionality of your new SSD. The BIOS is responsible for managing hardware settings and initializing your computer’s components. Here are steps to consider when configuring your BIOS settings:
1. Access the BIOS: Restart your computer and enter the BIOS setup utility. The specific key to access the BIOS varies depending on your computer’s manufacturer, but it is typically one of the function keys (F1, F2, F10, or Del). Consult your computer’s manual or look for on-screen prompts during startup to determine the correct key.
2. Enable AHCI Mode: Ensure that the SSD is set to AHCI (Advanced Host Controller Interface) mode in the BIOS. AHCI mode enables the full capabilities of your SSD and improves overall performance. Locate the SATA configuration settings in the BIOS and set it to AHCI if it is not already enabled.
3. Disable Disk Defragmentation: With an SSD, disk defragmentation is not necessary and can even contribute to unnecessary wear on the drive. Look for any settings related to disk defragmentation in the BIOS and disable them. This prevents the operating system from attempting to defragment the SSD.
4. Set Boot Order: Adjust the boot order in the BIOS to prioritize the SSD as the primary boot device. This ensures that your computer boots from the SSD instead of the old HDD. Rearrange the boot order sequence so that the SSD is listed first in the list of boot devices.
5. Enable TRIM (if necessary): Verify if your SSD supports TRIM, a command that helps maintain SSD performance by informing the drive which blocks of data are no longer in use. If your SSD supports TRIM, locate the relevant setting in the BIOS and enable it. This improves the overall longevity and performance of your SSD.
6. Save and Exit: Once you have made the necessary changes in the BIOS, save the updated settings and exit the BIOS setup utility. The computer will restart, and the updated BIOS settings will take effect.
7. Verify Settings: After the computer restarts, verify that the SSD is recognized as the primary boot device. Double-check that the AHCI mode is enabled and that other relevant settings are configured correctly. This ensures that the BIOS settings are properly applied and that the SSD is functioning optimally.
8. Test System Stability: Finally, test the stability and performance of your system to ensure that the BIOS settings changes have not introduced any issues. Verify that the SSD is performing as expected and that your computer is booting quickly and smoothly from the new SSD.
Configuring the BIOS settings after migrating to an SSD is crucial for achieving the best performance and compatibility. By following these steps and ensuring that the correct settings are applied, you can optimize your system’s performance and make the most of your newly installed SSD.
Troubleshooting Common Issues
While migrating to an SSD can greatly improve your computer’s performance, it’s important to be aware of potential issues that may arise. Here are common issues that may occur during or after the migration process, along with troubleshooting steps to resolve them:
1. SSD Not Detected: If the system does not recognize the SSD, check the physical connections to ensure they are secure. Try reconnecting the cables or trying a different SATA port. If the SSD still isn’t detected, it may indicate a compatibility issue. Verify that the SSD is compatible with your system’s hardware and BIOS version.
2. Operating System Not Booting: If the operating system fails to boot from the SSD, ensure that the SSD is set as the primary boot device in the BIOS. Check the boot order settings and adjust them if necessary. Additionally, verify that the operating system was properly installed on the SSD and that all necessary drivers are installed.
3. System Freezing or Crashing: If your system experiences frequent freezes or crashes after migrating to an SSD, it may indicate compatibility issues or driver conflicts. Ensure that all hardware drivers are up to date, including those related to the SSD. Check for any known compatibility issues with your specific hardware configuration and update the BIOS if necessary.
4. Reduced Storage Capacity: If the storage capacity of your SSD appears smaller than expected, it could be due to the way the drive is formatted or the presence of hidden system files. Use disk management tools within your operating system to verify the partitioning and formatting of the SSD and adjust it if needed.
5. Slow Performance: If your SSD is not performing as expected, check if the correct drivers and firmware updates are installed. Some SSD manufacturers provide specific optimization software that can improve performance. Also, ensure that TRIM is enabled, as it helps maintain the efficiency of the SSD over time.
6. Incompatibility with Sleep/Hibernate Modes: Some SSDs may have compatibility issues with sleep or hibernate modes, causing issues when resuming from these modes. Check for firmware or driver updates specifically addressing sleep or hibernate mode compatibility. Alternatively, consider disabling sleep or hibernate mode if the issue persists.
7. Data Corruption: If you encounter data corruption on the SSD, first make sure that the SSD firmware is up to date. Run disk checks using built-in operating system tools or third-party software to scan and fix any errors on the drive. Regularly back up your data to protect against potential data loss.
8. Heat and Power Management: Monitor the temperature of the SSD to ensure it is running within a safe operating range. If the SSD becomes excessively hot, ensure that it has adequate airflow and is not obstructed. Additionally, adjust power management settings to balance performance and power consumption, ensuring that the SSD’s power-saving features are enabled if desired.
If you experience any of these issues during or after the migration process, try troubleshooting with the provided steps. It’s important to consult the documentation or support resources from your SSD manufacturer or computer manufacturer for further assistance in resolving specific issues.
Conclusion
Upgrading from a traditional HDD to an SSD can significantly enhance your computer’s performance and user experience. The speed, durability, energy efficiency, and silent operation of SSDs make them an appealing choice for those who seek a faster and more reliable computing environment.
Before migrating to an SSD, it is crucial to consider factors such as compatibility, storage capacity, cost, data backup, and the preferred migration method. Taking these into account will help ensure a successful and seamless transition.
If you choose to clone your HDD to an SSD, make use of reliable cloning software to replicate your entire system onto the new drive. On the other hand, manually transferring files allows for greater control over which files and folders are moved to the SSD.
Remember to update your operating system, drivers, and BIOS settings after migrating to an SSD to maximize its performance and compatibility. This ensures that your system is optimized and takes full advantage of the new hardware.
Throughout the migration process, be aware of potential issues that may arise. Troubleshoot any common problems that arise, such as detection issues, booting problems, system instability, and slow performance. Consult support resources or seek assistance from manufacturers if needed.
By following the guidelines and recommendations presented in this guide, you can successfully navigate the journey from an HDD to an SSD and experience the numerous benefits that come with it. Enjoy faster speeds, improved reliability, and a more efficient computing experience with your new SSD!


