Introduction
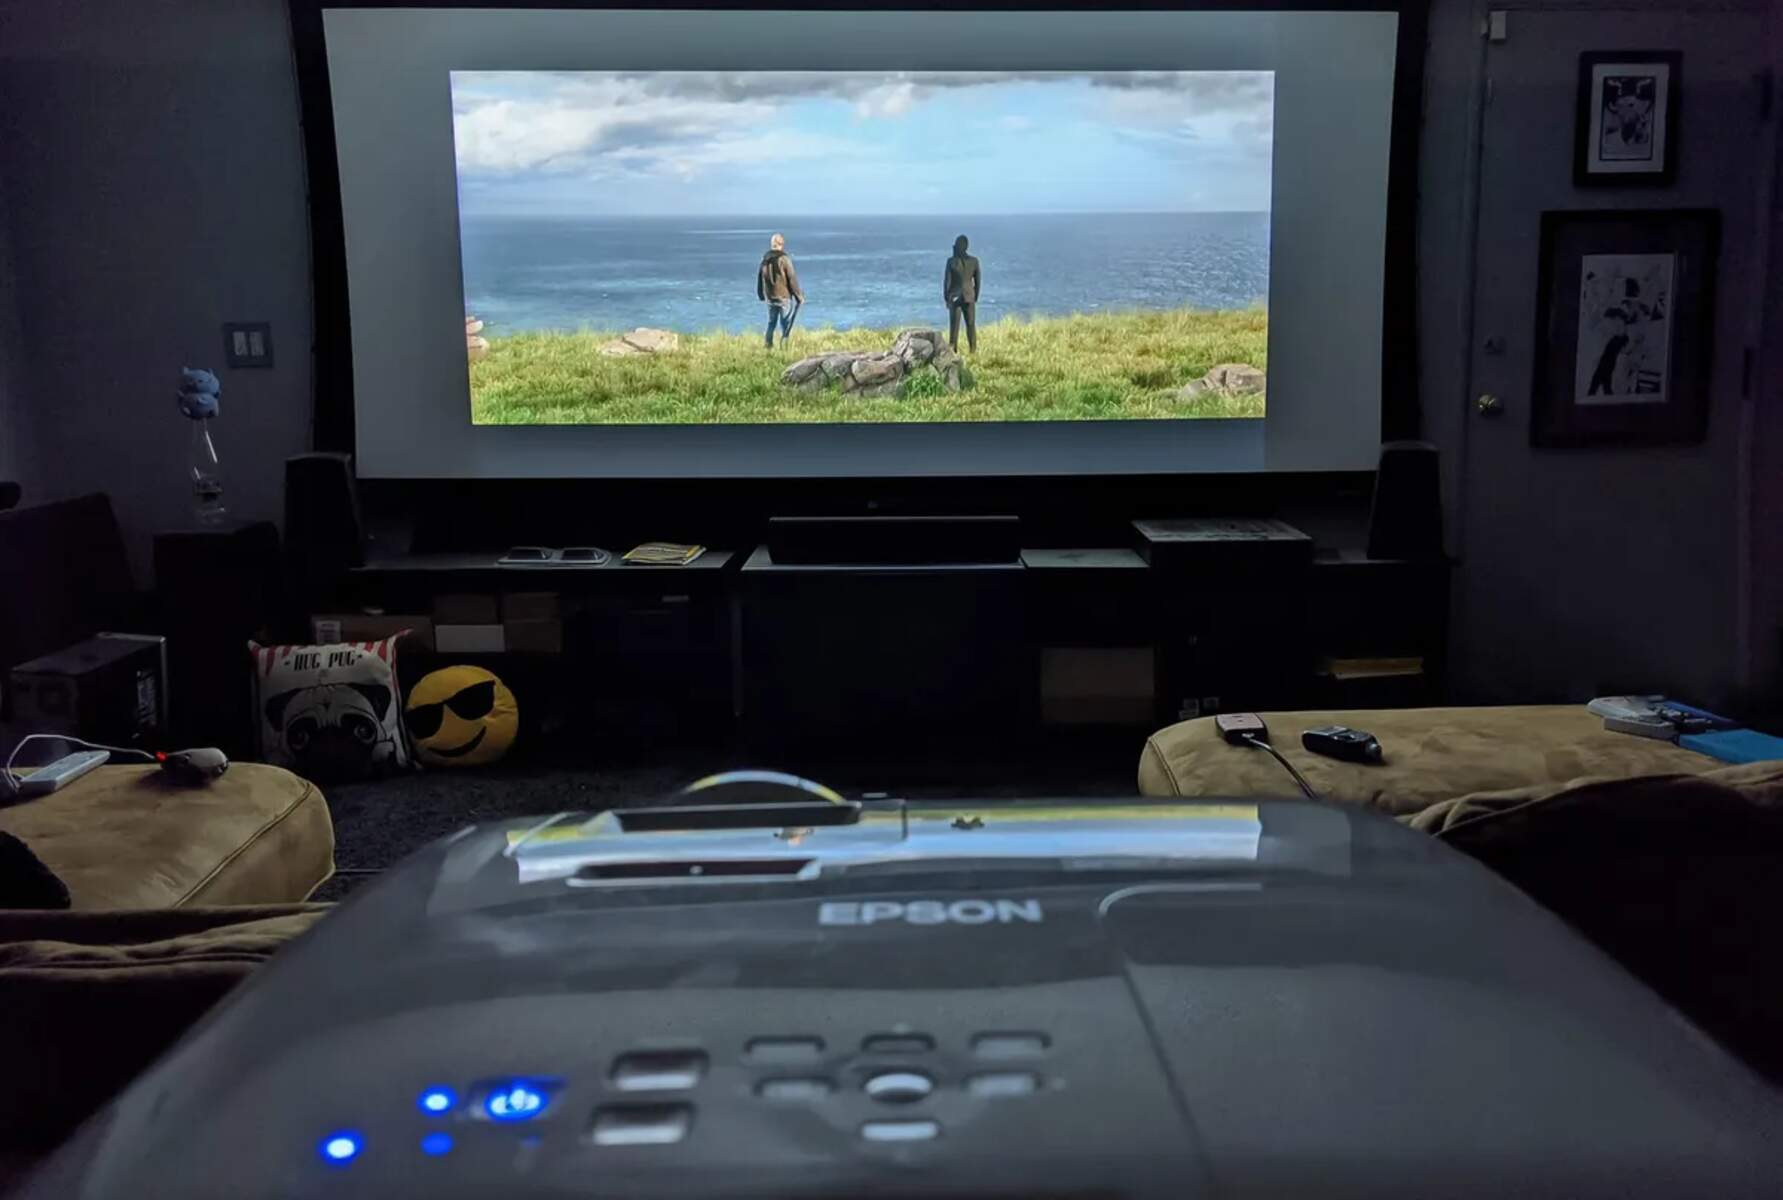
Welcome to the wonderful world of projectors! Whether you’re a movie lover, a gamer, or someone who needs to give presentations, projectors provide a fantastic way to bring your content to life on a big screen. However, to ensure the best viewing experience, it’s crucial to make sure that the projector is properly aligned with the screen. In this article, we will guide you through the process of making the projector fit the screen perfectly.
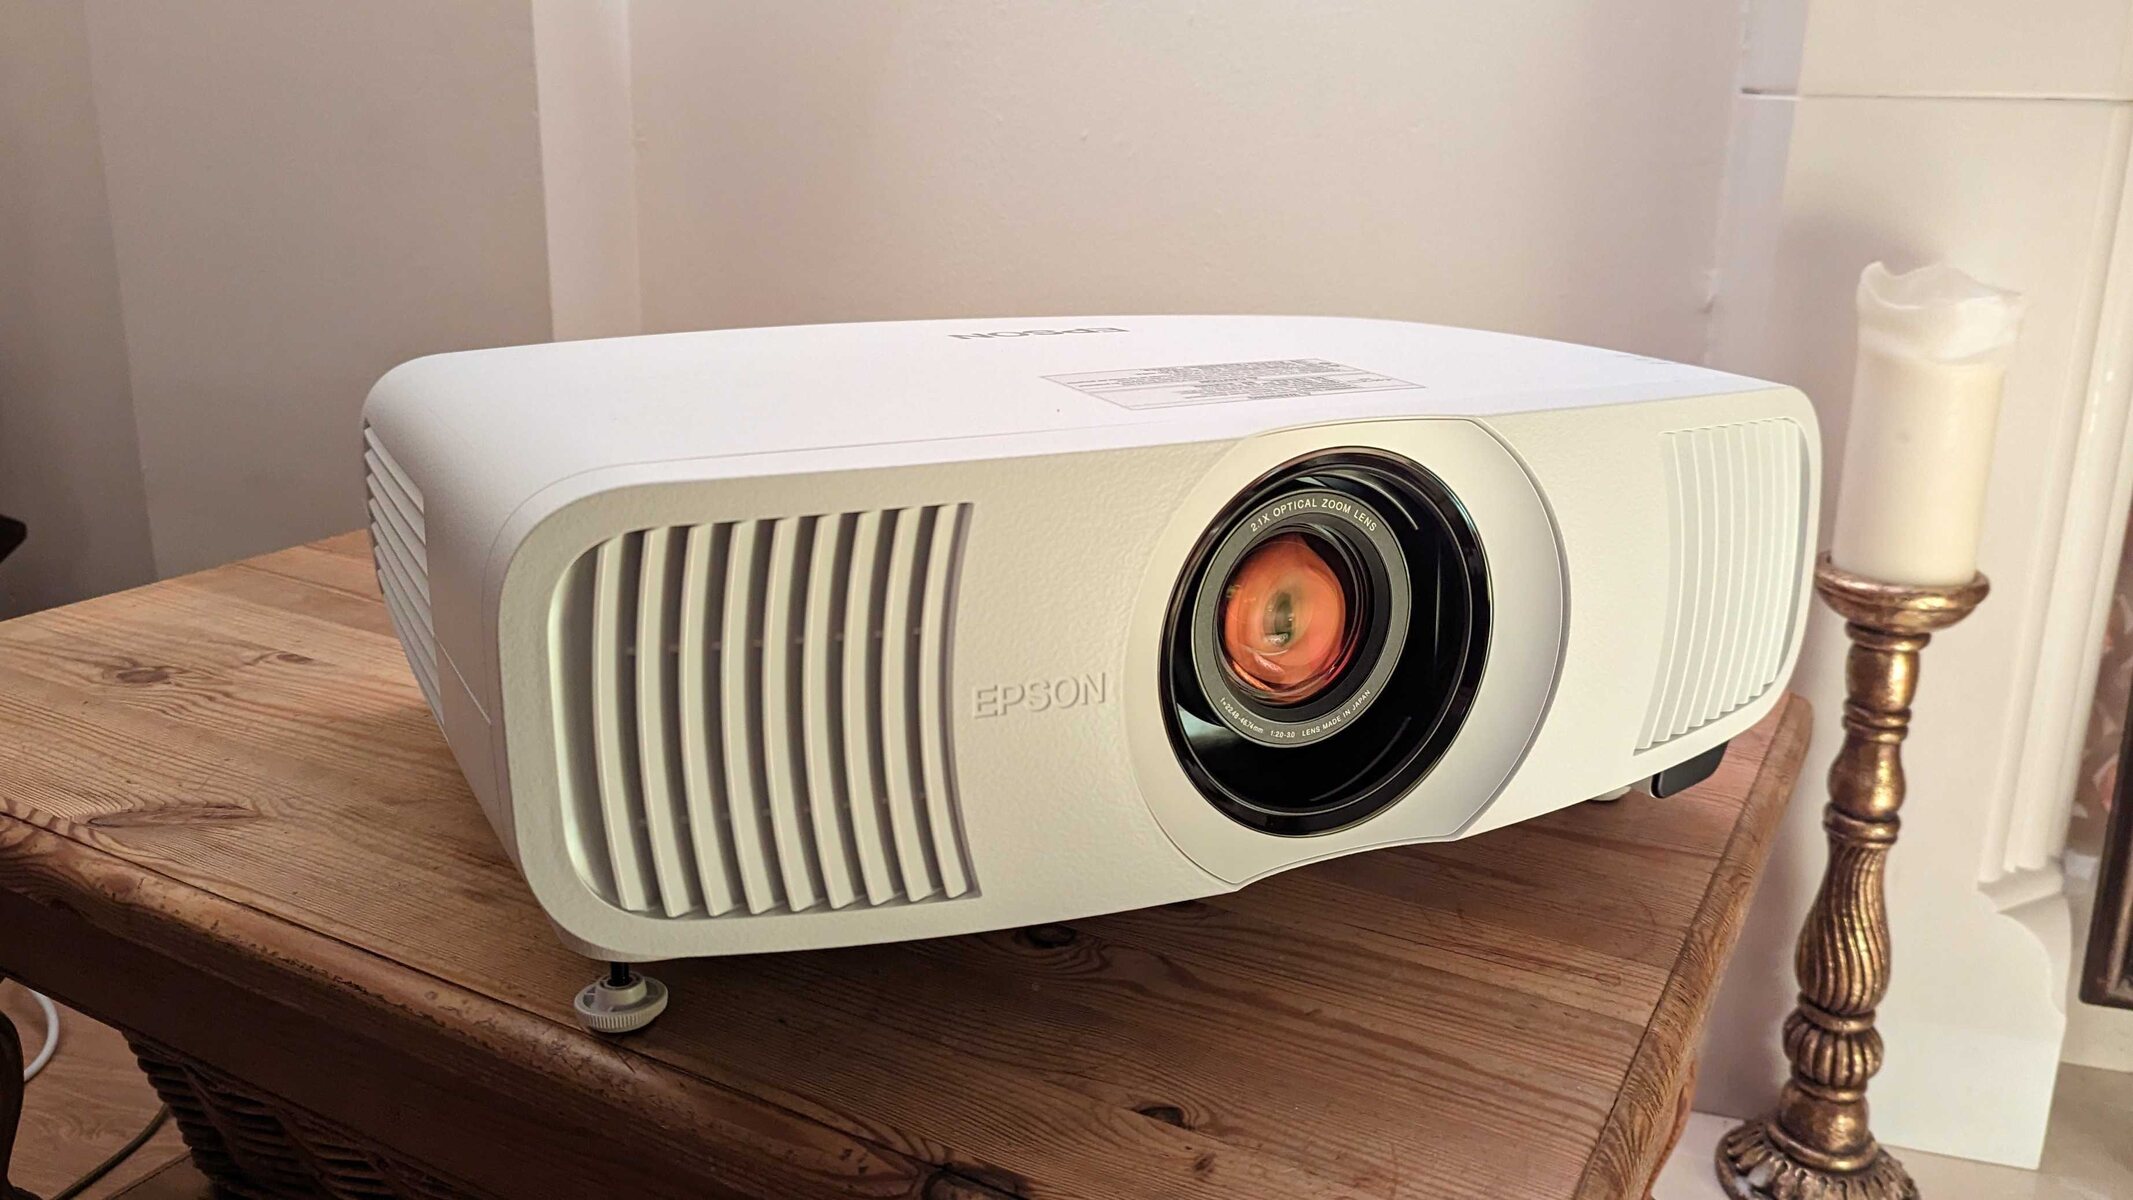
Choosing the right projector for your needs is the first step towards achieving an optimal viewing experience. Consider factors such as brightness, resolution, and throw distance. Brightness is measured in lumens and determines how well the projector can display visuals in varying lighting conditions. Higher-resolution projectors deliver sharper images, so opt for a resolution that suits your preferences. Throw distance refers to the distance from the projector to the screen; make sure to choose a projector with a throw ratio that is compatible with your desired setup.
Once you have chosen the perfect projector, it’s time to adjust the projection distance. Measure the distance from the projector to the screen and ensure it matches the recommended distance specified in the projector’s manual. Take into account any mounting options or constraints in your space. Adjusting the projection distance correctly ensures that you achieve the desired size for your projected image without distortion.
Now, let’s set up the screen. A smooth, flat surface is essential for displaying a clear and crisp image. Choose a proper screen material that suits your needs, whether it’s a retractable screen or a fixed frame screen. Make sure the screen is level and positioned at the desired height for optimal viewing. Take your time to properly install and secure the screen, as any wrinkles or unevenness can negatively impact image quality.
Next, let’s dive into adjusting the keystone correction. Keystone correction helps to correct image distortion caused by the projector’s angle in relation to the screen. Most projectors have keystone correction settings that allow you to adjust horizontal and vertical alignment. Use these settings to straighten the image and ensure a perfectly rectangular projection.
Choosing the Right Projector
Choosing the right projector for your needs is crucial for getting the best out of your viewing experience. There are several factors to consider when selecting a projector, such as brightness, resolution, and throw distance.
Brightness is a key factor to ensure that the projected image is clear and vibrant. The brightness of a projector is measured in lumens. The higher the lumen count, the brighter the projected image will be. If you plan on using the projector in a room with ambient light or during the daytime, opt for a projector with a higher lumen output to counteract the external lighting conditions.
Another important consideration is the resolution of the projector. The resolution determines the clarity and sharpness of the projected image. Common resolutions include 1080p (Full HD), 4K, and 8K. Higher resolution projectors will deliver more precise and detailed visuals, but they may come at a higher price point. Consider what types of content you will be projecting and choose a resolution that suits your needs and budget.
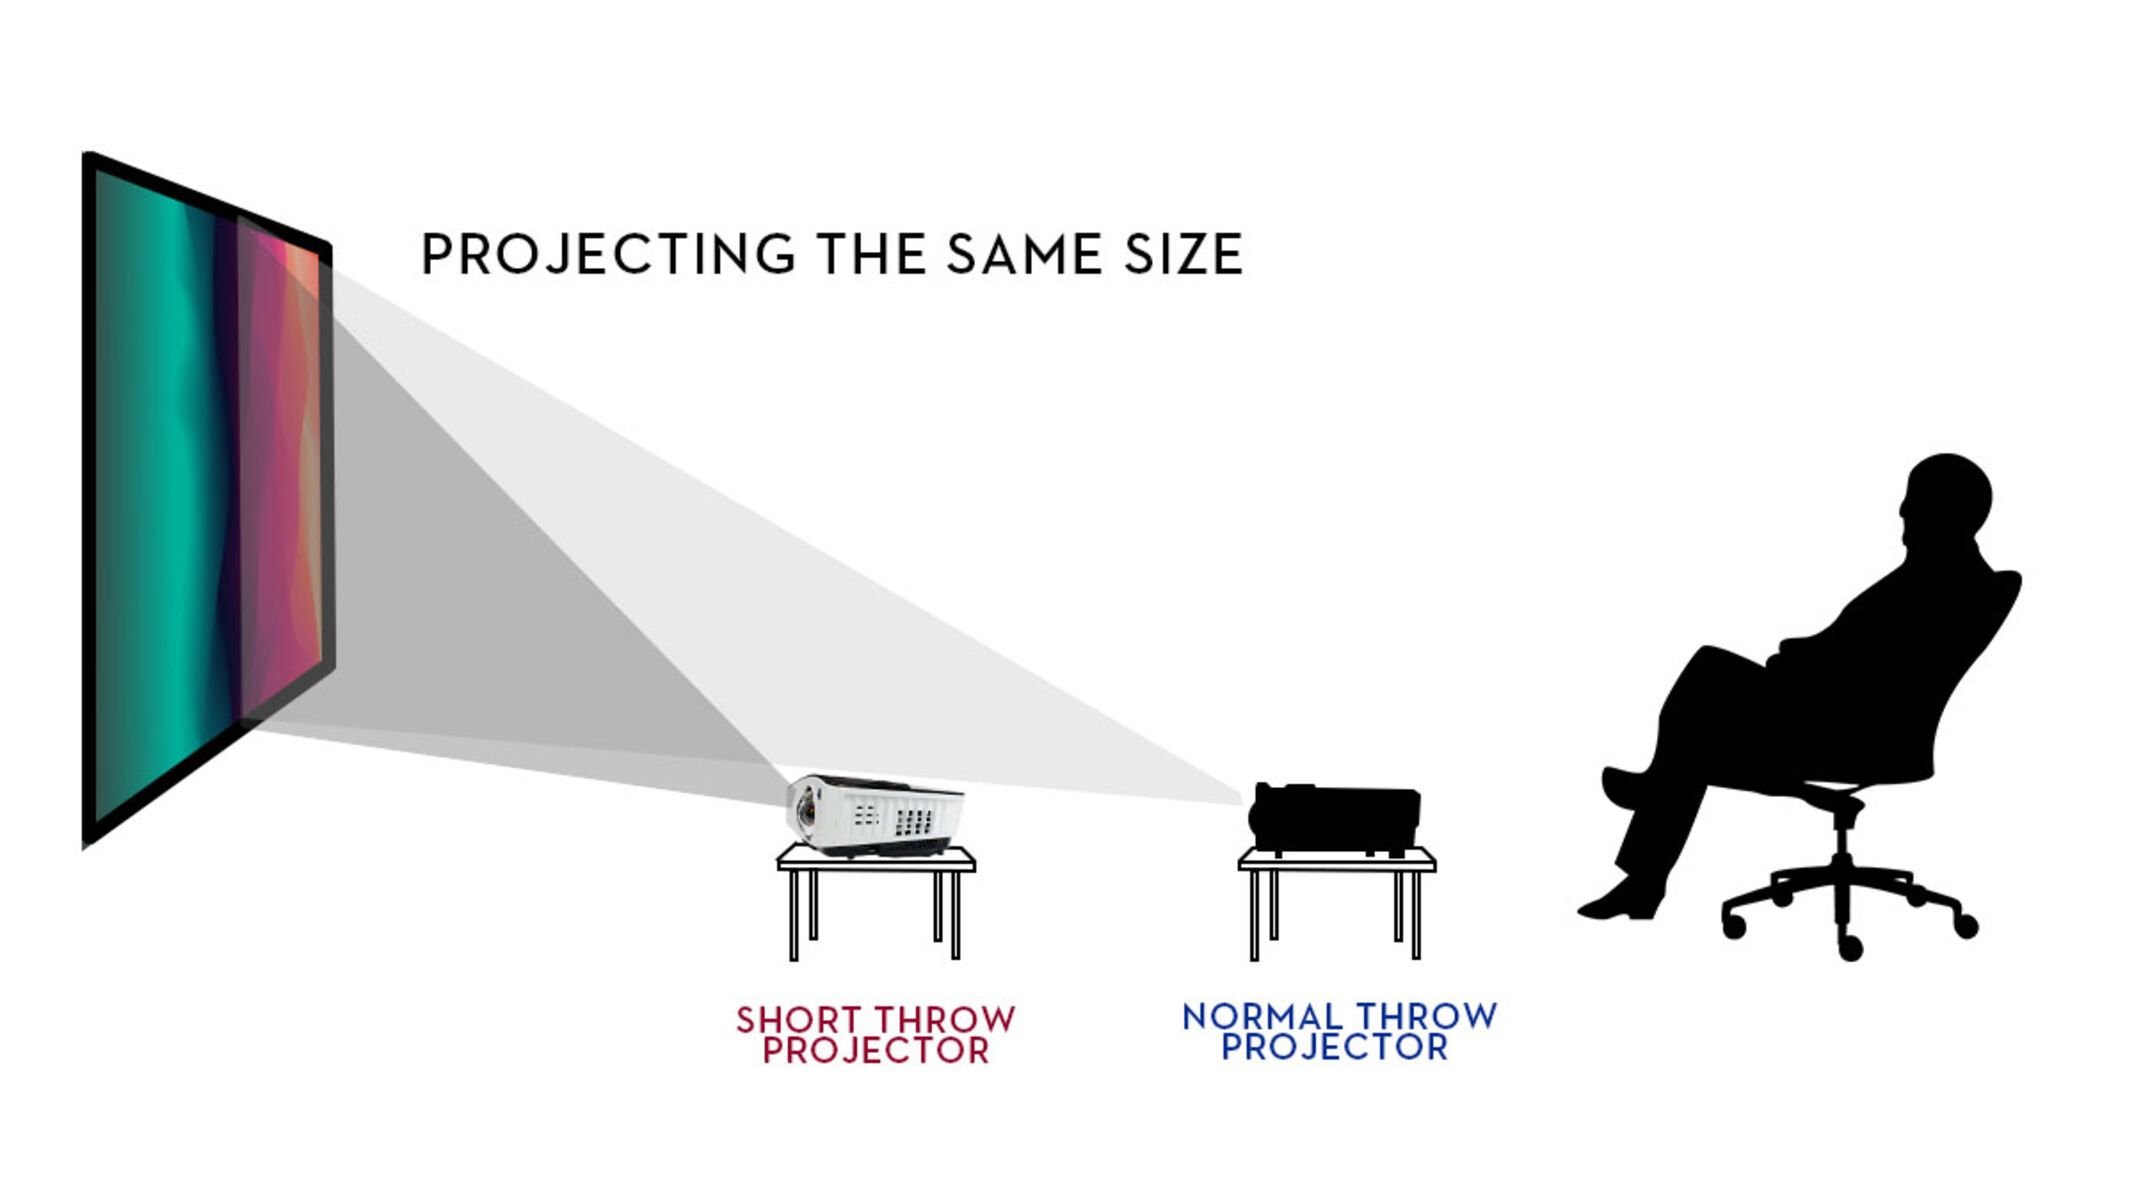
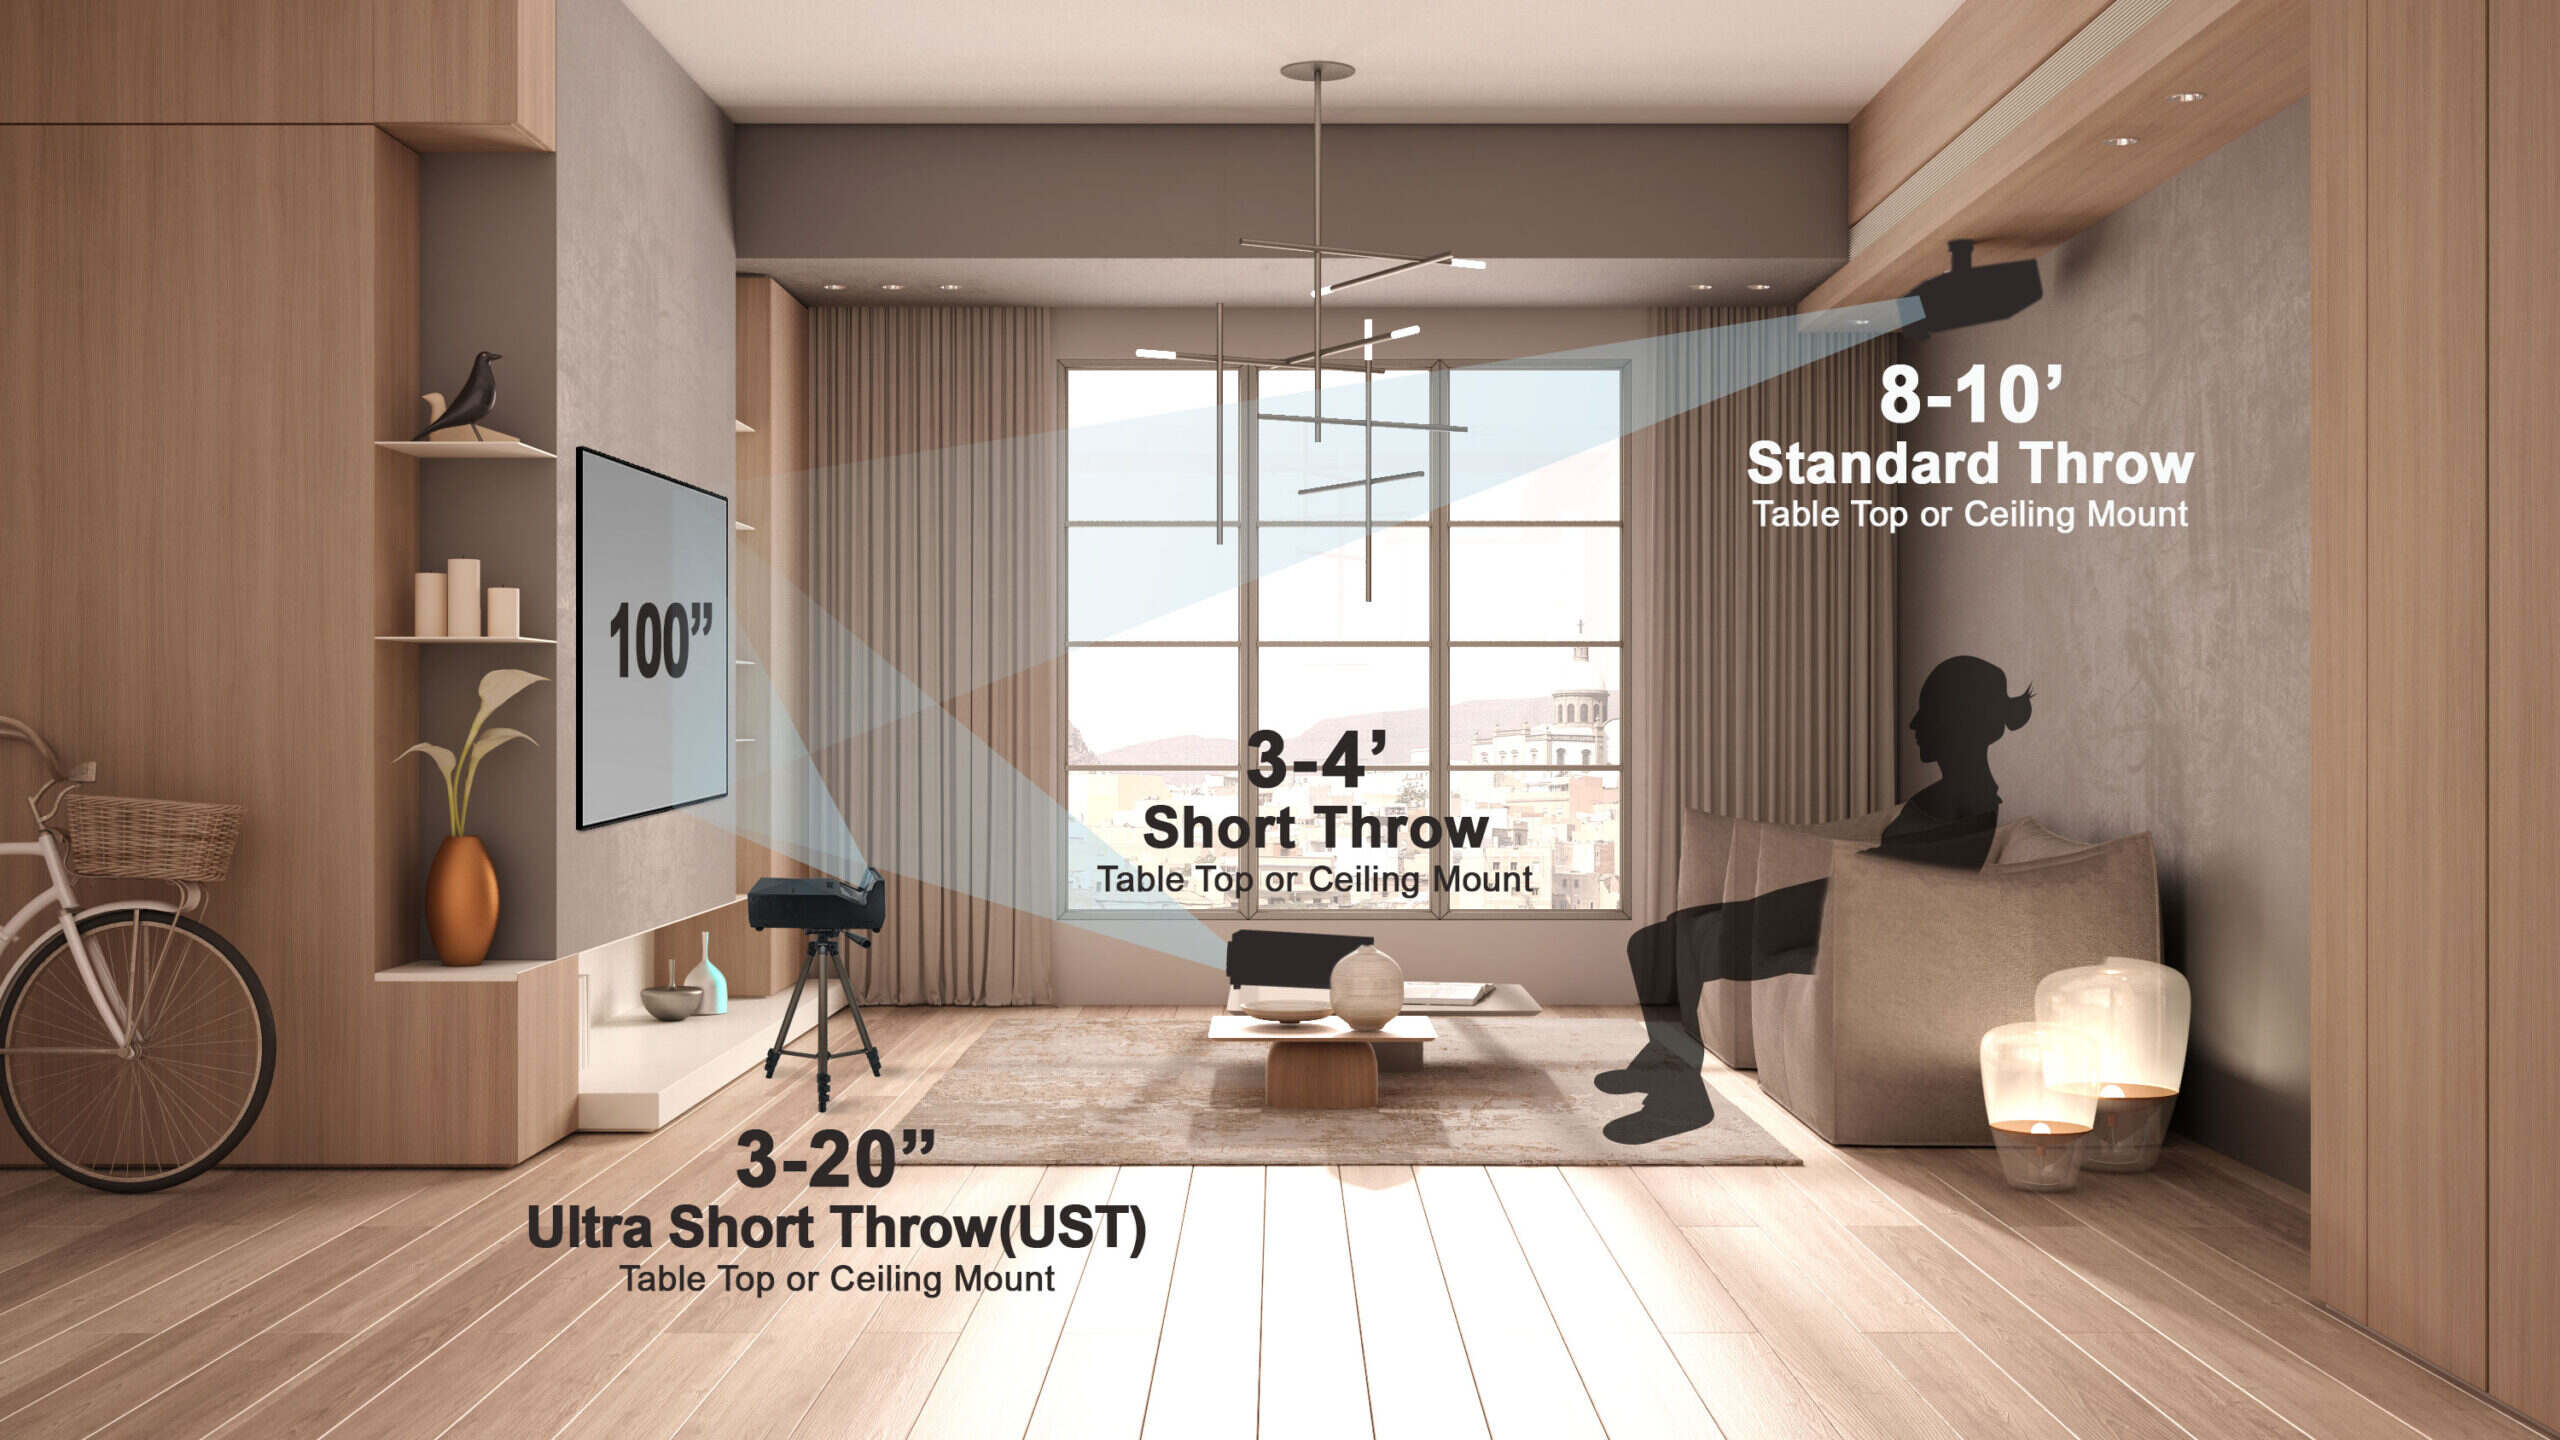
The throw distance is the distance between the projector and the screen. It is crucial to choose a projector with a throw distance that matches your desired setup. If you have limited space, consider a short-throw or ultra-short-throw projector, which can project a large image from a short distance. On the other hand, if you have ample space, a standard or long-throw projector may be more suitable. Be sure to consult the projector’s manual or specifications to determine the recommended throw distance.
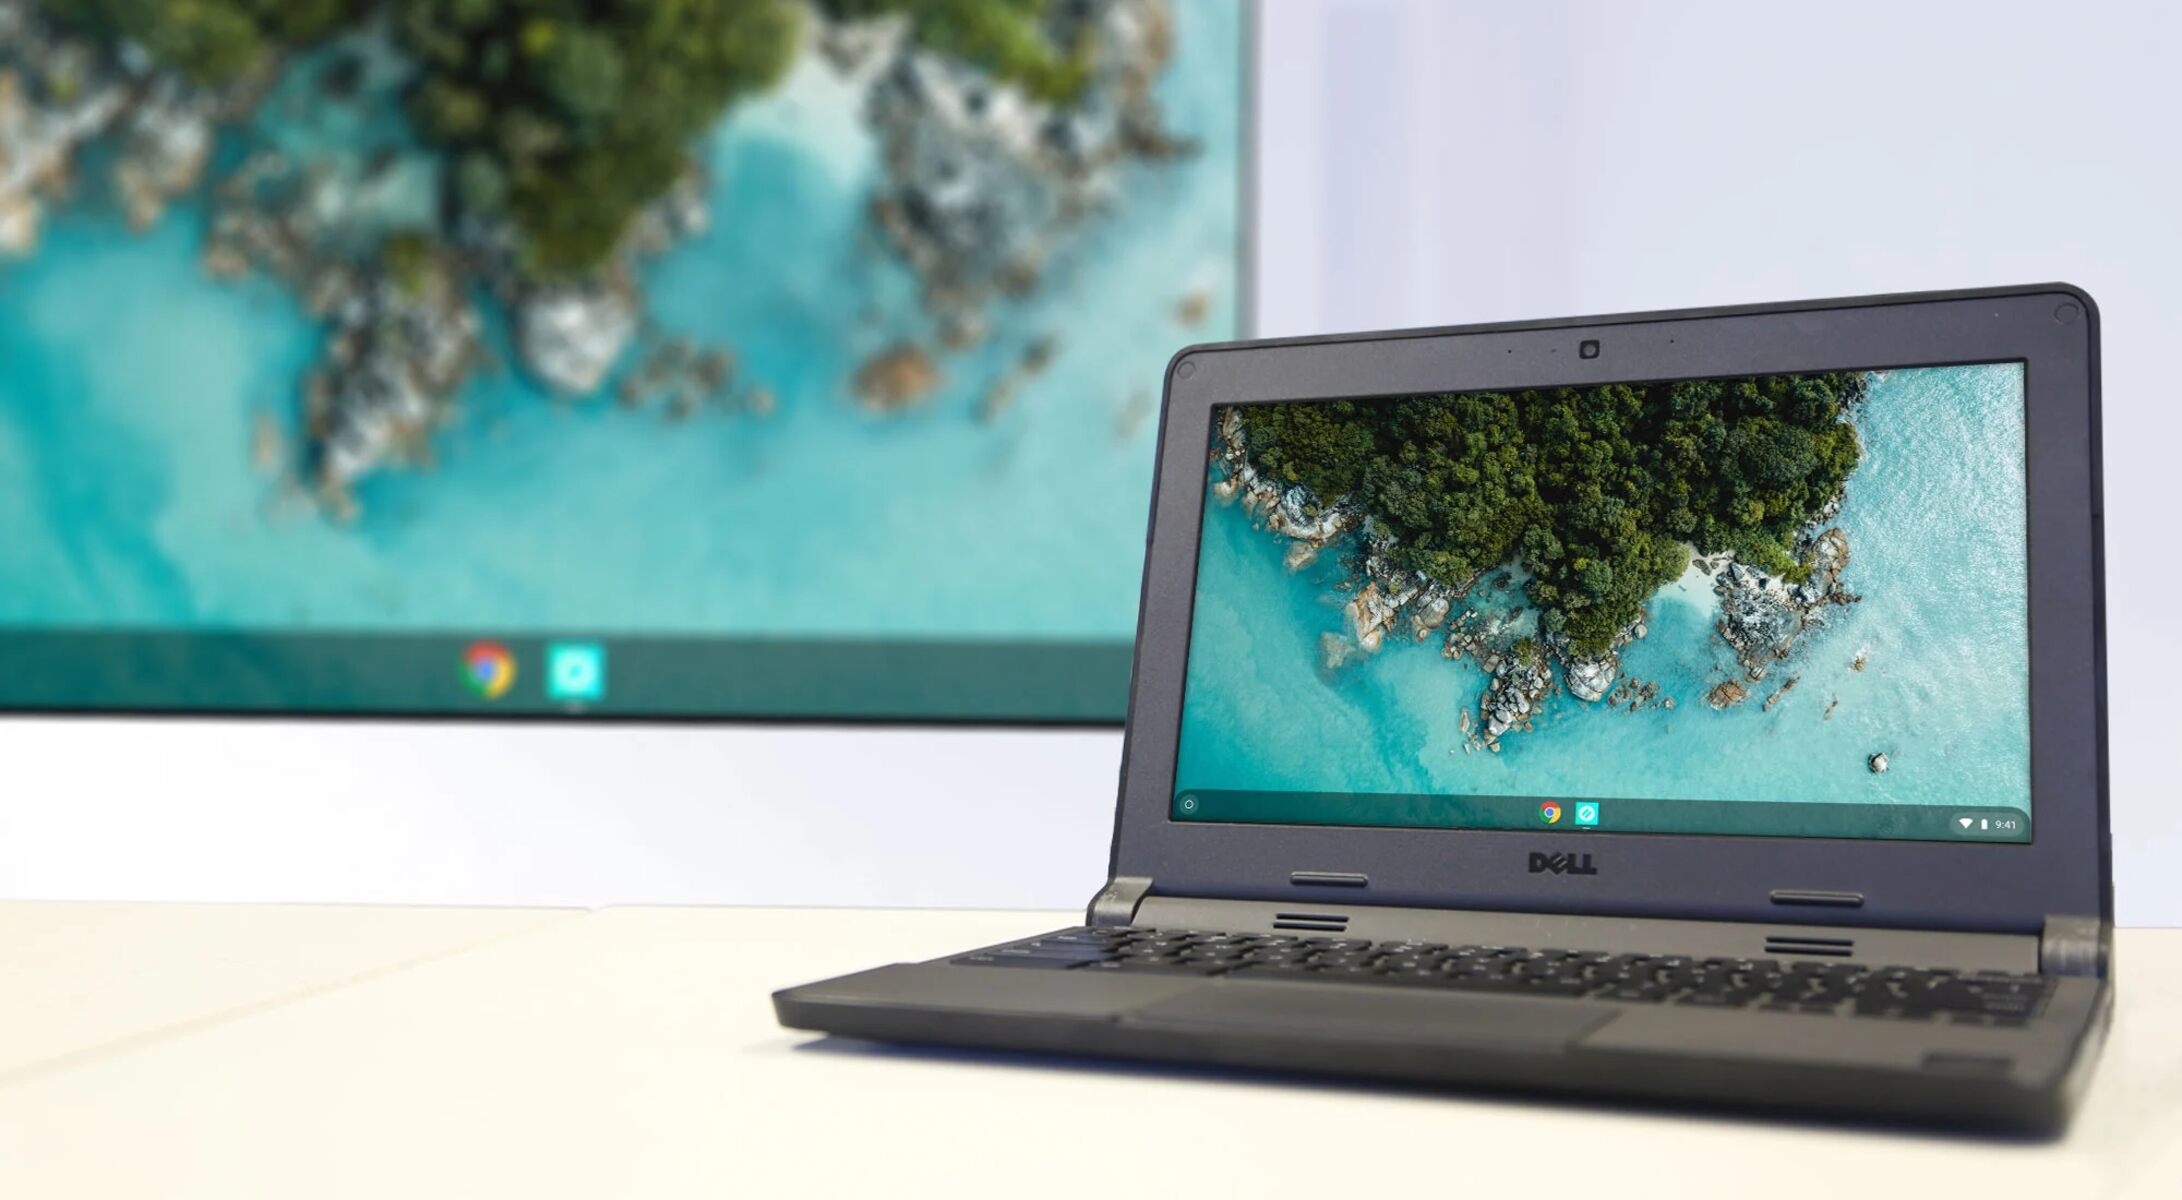
Additionally, consider the connectivity options of the projector. Look for projectors with multiple input ports, such as HDMI, USB, and VGA, so that you can easily connect various devices like laptops, gaming consoles, and Blu-ray players. Wireless connectivity options are also becoming more popular, allowing for a hassle-free setup and the ability to stream content effortlessly.
Budget is often a significant factor when choosing a projector. Set a budget range and narrow down your options accordingly. Keep in mind that projectors with higher lumens, resolutions, and advanced features tend to be more expensive. Strike a balance between your budget and the desired specifications to find the best projector for your needs.
By carefully considering factors like brightness, resolution, throw distance, connectivity options, and budget, you can confidently choose the right projector that will provide a stunning and immersive viewing experience.
Adjusting the Projection Distance
Once you’ve selected the perfect projector, it’s time to adjust the projection distance to ensure the optimal viewing experience. The projection distance refers to the distance between the projector and the screen. Properly adjusting this distance is essential for achieving the desired image size and clarity.
Start by measuring the distance from the projector to the screen. Consult the projector’s manual or specifications for the recommended projection distance. This information will vary depending on the projector model and the desired screen size. It’s important to take into account any limitations or constraints in your space, such as the size of the room or existing furniture.
Once you have measured the projection distance, make any necessary adjustments. If the distance is too short, the image may appear small and may not cover the entire screen. On the other hand, if the distance is too long, the image may be stretched and lose clarity. Achieving the optimal projection distance will result in a clear, well-defined image.
Keep in mind that different projectors have different throw ratios, which determine the relationship between the projection distance and the screen size. Some projectors have a fixed throw ratio, while others offer adjustable zoom and lens shift features, which allow for more flexibility in placement and projection distance. Take advantage of these features to fine-tune the projection distance and achieve the desired screen size without compromising image quality.
During the adjustment process, consider the mounting options available for your projector. Depending on your setup, you may choose to mount the projector on the ceiling or use a projector stand. Ensure that the projector is securely mounted and aligned with the screen to avoid any stability or alignment issues. Take care to follow the manufacturer’s instructions for safe installation and usage.
Once you have adjusted the projection distance and mounted the projector, take a step back and evaluate the image quality. Check for any distortions, such as a trapezoidal or keystone effect, which can occur if the projector is not aligned properly with the screen. Make any necessary adjustments using the keystone correction or lens shift controls on the projector to correct these distortions and achieve a rectangular image.
By carefully adjusting the projection distance and considering the specific features of your projector, you can ensure that your projected image is the perfect size and clarity for an immersive viewing experience.
Setting Up the Screen
Setting up the screen is a crucial step in creating the perfect projection setup. The screen plays a vital role in delivering a clear and crisp image. Follow these steps to ensure a seamless and immersive viewing experience.
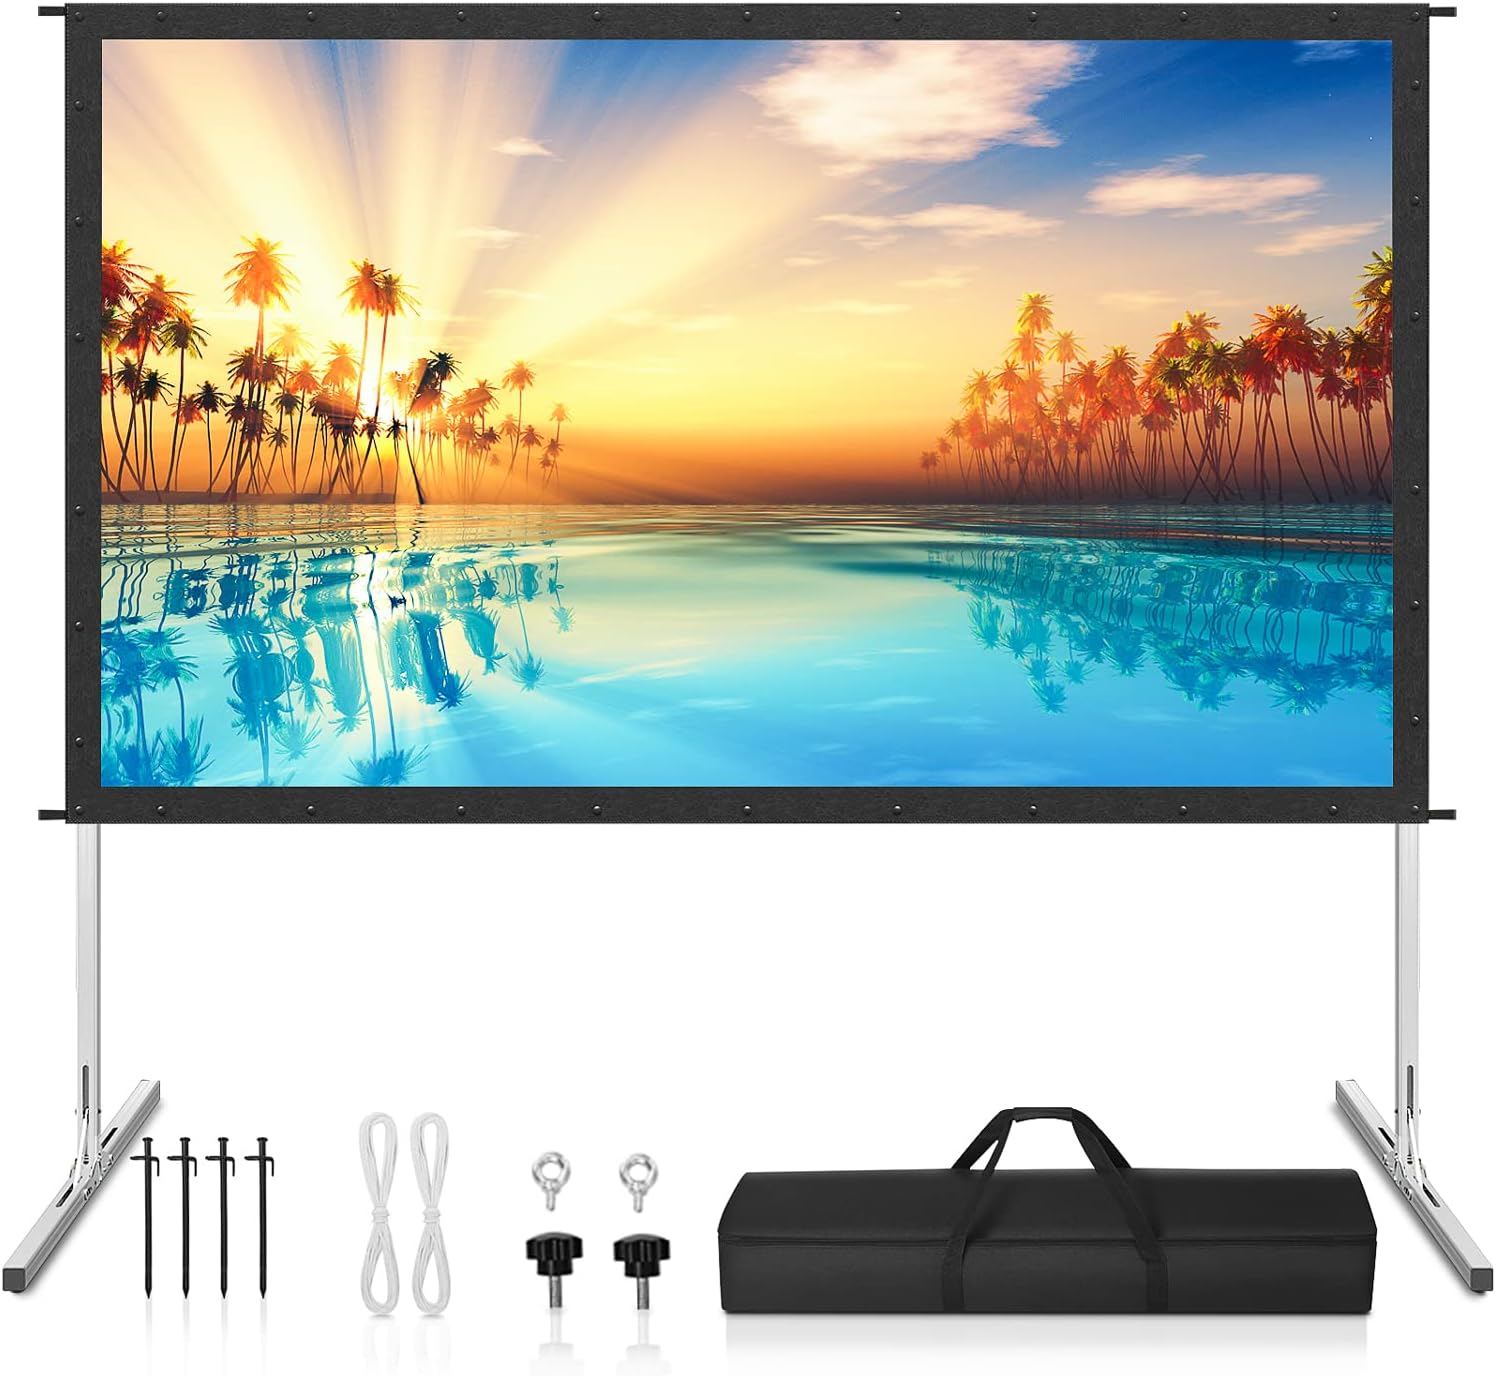
Firstly, consider the type of screen that suits your needs. There are various options available, including retractable screens, fixed frame screens, and portable screens. Retractable screens are ideal for spaces where the screen needs to be hidden when not in use. Fixed frame screens provide a sturdy and permanent setup, ensuring a flat surface for optimal image quality. Portable screens are convenient for on-the-go setups or temporary installations.
Once you’ve chosen the type of screen, it’s important to select the right screen material. The material of the screen can impact the brightness, color accuracy, and viewing angles. Options include white vinyl, grey and silver screens, and ambient light rejecting screens. Consider your viewing environment and the ambient lighting conditions to select the most suitable screen material.
Before installing the screen, ensure that the surface is smooth and level. Even small bumps or imperfections can cause distortions in the projected image. Use a level and a measuring tape to position the screen correctly and adjust it to the desired height. It’s recommended to have the screen at eye level for comfortable viewing and to avoid straining the neck.
When installing a retractable or fixed frame screen, make sure to follow the manufacturer’s instructions precisely. Securely mount the screen to the wall or ceiling, ensuring it is stable and properly aligned with the projected image. Ensure that any tensioning mechanisms, such as springs or rods, are properly adjusted to keep the screen taut and wrinkle-free.
Additionally, take precautions to prevent any ambient light from affecting the projected image. Close curtains or blinds and dim the lights in the room to create a dark and immersive viewing environment. If you are unable to control the ambient light, consider investing in an ambient light-rejecting screen, which can absorb and reject ambient light, resulting in a better contrast and clarity.
Lastly, periodically clean the screen to maintain optimal image quality. Dust and dirt can accumulate on the screen’s surface, leading to a loss of brightness and a decrease in image quality. Use a soft, lint-free cloth or screen cleaning solution to gently clean the screen, following the manufacturer’s instructions.
By carefully selecting and setting up the screen, you can ensure that the projected image is clear, vibrant, and free from any distortions, resulting in an immersive and enjoyable viewing experience.
Adjusting the Keystone Correction
Keystone correction is a valuable feature that helps to eliminate image distortion caused by the projector’s angle in relation to the screen. When the projector is not positioned directly in front of the screen, the resulting image may appear trapezoidal or skewed. Luckily, nearly all projectors on the market today include keystone correction settings to help rectify this issue.
Start by accessing the keystone correction settings on your projector. These settings can usually be found in the projector’s menu or remote control. There are typically two types of keystone correction available: horizontal and vertical. Horizontal keystone correction is used when the projector is angled to the left or right of the screen. Vertical keystone correction is employed when the projector is positioned above or below the center of the screen.
To adjust the keystone correction, use the arrow keys or navigation buttons on the projector’s remote control to move the image horizontally or vertically, based on your specific needs. As you make adjustments, observe the projected image on the screen and aim to straighten any distortions. The goal is to achieve a rectangular, evenly proportioned image.
However, it’s important to note that excessive keystone correction can adversely affect image quality. The more correction applied, the more the image may lose sharpness and details. It’s always best to minimize the need for keystone correction by positioning the projector as close to center as possible. This ensures the most accurate representation of the content being projected.
In some cases, if the projector is positioned at a severe angle, keystone correction alone may not be sufficient to achieve a rectangular image. Consider using adjustable mounts or platforms to physically position the projector in a way that reduces the need for excessive correction. These mounts allow you to adjust the projector’s angle and height, ensuring a more accurate projection.
Keep in mind that not all projectors have equal keystone correction capabilities. Some may have limited adjustment range or only vertical keystone correction available. Advanced projectors may offer advanced keystone correction features, such as keystone auto-adjustment, which automatically detects and corrects image distortions.
After making the necessary keystone corrections, step back and evaluate the image on the screen. Ensure that the projected image appears rectangular with straight lines and maintains proper aspect ratios. Fine-tune the keystone correction as needed until you achieve the desired result.
By utilizing the keystone correction settings on your projector and making careful adjustments, you can eliminate image distortions and enjoy a crisp, rectangular projection, ensuring an immersive viewing experience.
Fine-tuning the Picture Size
Once you have positioned the projector and adjusted the projection distance, it’s time to fine-tune the picture size to achieve the desired display. Fine-tuning the picture size ensures that the content is presented on the screen in the optimal size and aspect ratio. Here are some tips to help you achieve the perfect picture size.
Most projectors offer zoom controls that allow you to adjust the size of the projected image. Use the zoom feature to increase or decrease the size of the picture until it fills the screen appropriately. This is especially useful if the projection distance is fixed and you want to achieve a specific screen size. Be mindful not to zoom too much, as this may compromise image quality.
Alternatively, if your projector does not have a zoom feature, you can physically move the projector closer or farther from the screen to adjust the picture size. Moving the projector closer to the screen will result in a smaller image, while moving it farther away will enlarge the image. It may take some trial and error to find the optimal position.
Consider the aspect ratio of the content you will be projecting. The aspect ratio is the width-to-height ratio of the image. Common aspect ratios include 16:9 (widescreen) and 4:3 (standard). Ensure that the projector and the content you are displaying have matching aspect ratios to prevent any stretching or distortion of the image. Adjust the picture size accordingly to maintain the correct aspect ratio.
To accurately gauge the picture size, you can use the projector’s built-in test patterns or a reference image. Many projectors include test patterns that display grids or measurements on the screen. Utilize these patterns to align and size the picture precisely. Alternatively, you can use a reference image, such as a known-size object or a pre-set digital image that you can compare to the projected image size.
It’s important to note that if you are using a projector with a fixed lens, the picture size and throw distance are directly related. Adjusting one will affect the other. Consider these limitations when fine-tuning the picture size and make adjustments accordingly.
After adjusting the picture size, step back and evaluate the image to ensure that it fills the screen appropriately without any cropping or overspill. Check for any distortions or unevenness in the image and make further adjustments as necessary. Take the time to fine-tune the picture size until it meets your preferences and provides the best viewing experience.
By utilizing the zoom controls, adjusting the projection distance, considering the aspect ratio, and utilizing test patterns or reference images, you can fine-tune the picture size to achieve the perfect screen-filling display.
Using Zoom and Focus Controls
Zoom and focus controls are essential features of projectors that allow you to further adjust and optimize the image quality and clarity. These controls enable you to fine-tune the projection to achieve the sharpest and most visually appealing display. Here’s how you can effectively use the zoom and focus controls to enhance your viewing experience.
The zoom control on a projector allows you to adjust the size of the projected image without physically moving the projector. It is particularly useful when you want to maintain a specific projection distance but need to fit the image to a different screen size. If you desire a bigger image, zoom out by reducing the zoom level. Conversely, zoom in by increasing the zoom level to achieve a smaller image on the screen. Be mindful not to overextend the zoom, as this can compromise image quality.
Using the focus control, you can fine-tune the sharpness and clarity of the projected image. Begin by displaying a test pattern or a reference image on the screen. Adjust the focus control until the lines and details appear crisp and well-defined. Take your time to carefully adjust the focus until you are satisfied with the image quality.
It’s important to note that different projectors may have different zoom and focus mechanisms. Some projectors may have manual zoom and focus rings located on the projector itself, while others may offer motorized zoom and focus controls that can be adjusted via remote control. Familiarize yourself with the specific controls and features of your projector to effectively utilize these adjustments.
During the adjustment process, it can be helpful to have a viewing distance that matches where your audience will be positioned. This allows you to assess the quality of the projected image from their perspective. Step back and view the image from different angles to ensure that it remains sharp and in focus from various vantage points.
If you are projecting onto a curved or irregularly shaped screen, the focus may vary across different areas. In such cases, adjust the focus control to find a compromise that provides the best overall sharpness and clarity across the entire projected image. Some projectors also offer keystone correction, which can help to compensate for the projection on curved surfaces.
Remember to make frequent adjustments to the zoom and focus controls if you change the projection distance, screen size, or content being displayed. This ensures that you continuously optimize the image quality for the best viewing experience.
By utilizing the zoom and focus controls in combination with test patterns or reference images, you can fine-tune the size and clarity of the projected image to achieve the best possible visual representation. Take your time to experiment and make adjustments until you are satisfied with the final result.
Troubleshooting Common Issues
While projectors can provide an immersive viewing experience, they can sometimes encounter common issues that can impact the quality of the projected image. In this section, we will explore some troubleshooting tips to help address these issues and ensure a smooth projection.
One common issue is a blurry or out-of-focus image. If the projected image appears fuzzy, first check the focus adjustment on the projector. Use the focus control to fine-tune the sharpness and clarity of the image until it appears crisp and well-defined. Also, ensure that the projector is positioned at the proper distance from the screen, as incorrect projection distance can cause blurriness. Finally, clean the projector lens and screen surfaces regularly to remove any dust or smudges that may affect clarity.
Another issue is image distortion or a trapezoidal shape caused by the projector’s angle in relation to the screen. This can be resolved by utilizing the keystone correction feature available on most projectors. Access the keystone correction settings and adjust the vertical and horizontal keystone until the projected image appears properly aligned and rectangular. Remember to minimize the use of keystone correction whenever possible, as excessive correction can degrade image quality.
If you notice color discrepancies or inaccurate color reproduction, check the color settings on the projector. Adjust the color temperature, brightness, and contrast settings to achieve more accurate colors. You can also consult the projector’s manual for any advanced color calibration options that may be available.
Another issue that may arise is a dim or washed-out image. If the projected image appears lacking in brightness or contrast, check the projector’s settings for any energy-saving or eco modes. These modes may reduce brightness to conserve power. Disable these settings to increase the overall brightness of the image. Additionally, ensure that the projector is in a darkened environment and that there are no external light sources interfering with the projection.
If you encounter issues with the projector not displaying any image or showing a “no signal” message, check the connection between the projector and the video source. Ensure that all cables are securely connected and that the correct input source is selected on the projector. Also, confirm that the video source, such as a laptop or media player, is powered on and transmitting a signal.
Lastly, if you experience overheating or the projector shutting down unexpectedly, check for any obstructions that may be blocking the airflow around the projector. Ensure that the projector’s vents are not covered or clogged with dust. Clean the vents and ensure proper ventilation to prevent overheating. If the issue persists, consult the manufacturer’s guidelines and consider contacting technical support for further assistance.
By being aware of these common issues and following the troubleshooting tips provided, you can address and resolve most problems that may arise with your projector. Always consult the projector’s manual and manufacturer’s guidelines for specific troubleshooting instructions pertaining to your model.
Conclusion
Congratulations, you have now learned how to make your projector fit the screen perfectly! By following the steps outlined in this article, you can optimize the viewing experience and enjoy crisp, vibrant images on the big screen.
Choosing the right projector, adjusting the projection distance, setting up the screen, and fine-tuning the picture size are all essential factors in achieving an optimal display. Additionally, utilizing the zoom and focus controls, as well as the keystone correction feature, allow you to further enhance the image quality and eliminate any distortions or blurriness.
Remember to troubleshoot common issues, such as blurry images, color discrepancies, or connectivity problems, to ensure a seamless projection experience. Regular maintenance, such as cleaning the projector lens and screen surfaces, and ensuring proper ventilation, can also help maintain the longevity and performance of your projector.
With the knowledge gained from this article, you can confidently set up and adjust your projector to create a cinematic experience in your own home or deliver impactful presentations in a professional setting. Enjoy the immersive visuals, vibrant colors, and crystal-clear images that a properly fitted projector and screen setup can offer.
Now, go ahead and immerse yourself in the world of projection, and enjoy the ultimate viewing experience!