Introduction
Welcome to the world of projectors, where large-scale presentations, immersive movie nights, and impressive visuals come to life. When it comes to projecting images or videos, having the perfect size and focus is crucial for an optimal viewing experience. That’s where the projector zoom feature plays a key role.
In this article, we will explore how to zoom out on a projector to adjust the projection size. Whether you are using a projector for work presentations, home theater setups, or educational purposes, understanding how to utilize this feature can greatly enhance your overall experience.
By zooming out on a projector, you can adjust the size of the projected image according to your needs. This flexibility allows you to adapt to different screen sizes and viewing distances, ensuring that everyone in the audience has a clear and enjoyable view of the content being projected. Whether you need to make the image larger to accommodate a larger audience or smaller to fit within a limited space, the zoom feature provides the necessary versatility.
Throughout this article, we will delve into the various methods of zooming out on a projector, including manual adjustments and utilizing the projector’s remote control. We will also address common issues that may arise during the zooming process and provide troubleshooting tips to help you overcome any challenges you may encounter.
Before we delve into the specifics of zooming out on a projector, it is important to ensure that your projector has the zoom capabilities. Not all projectors come with a zoom feature, so checking the specifications of your device is crucial. By knowing the capabilities of your projector, you can determine the extent to which you can zoom out and adjust the image size.
Now that we have established the importance of the zoom feature and the need to check for the capabilities of your projector, let’s dive into the different methods of zooming out and adjusting the projection size.
Understanding the Projector Zoom Feature
Before we explore the methods of zooming out on a projector, it is important to understand how the zoom feature works. The zoom feature on a projector allows you to adjust the projection size by changing the focal length of the lens. By altering the focal length, you can make the projected image larger or smaller without physically moving the projector or adjusting the distance between the projector and the screen.
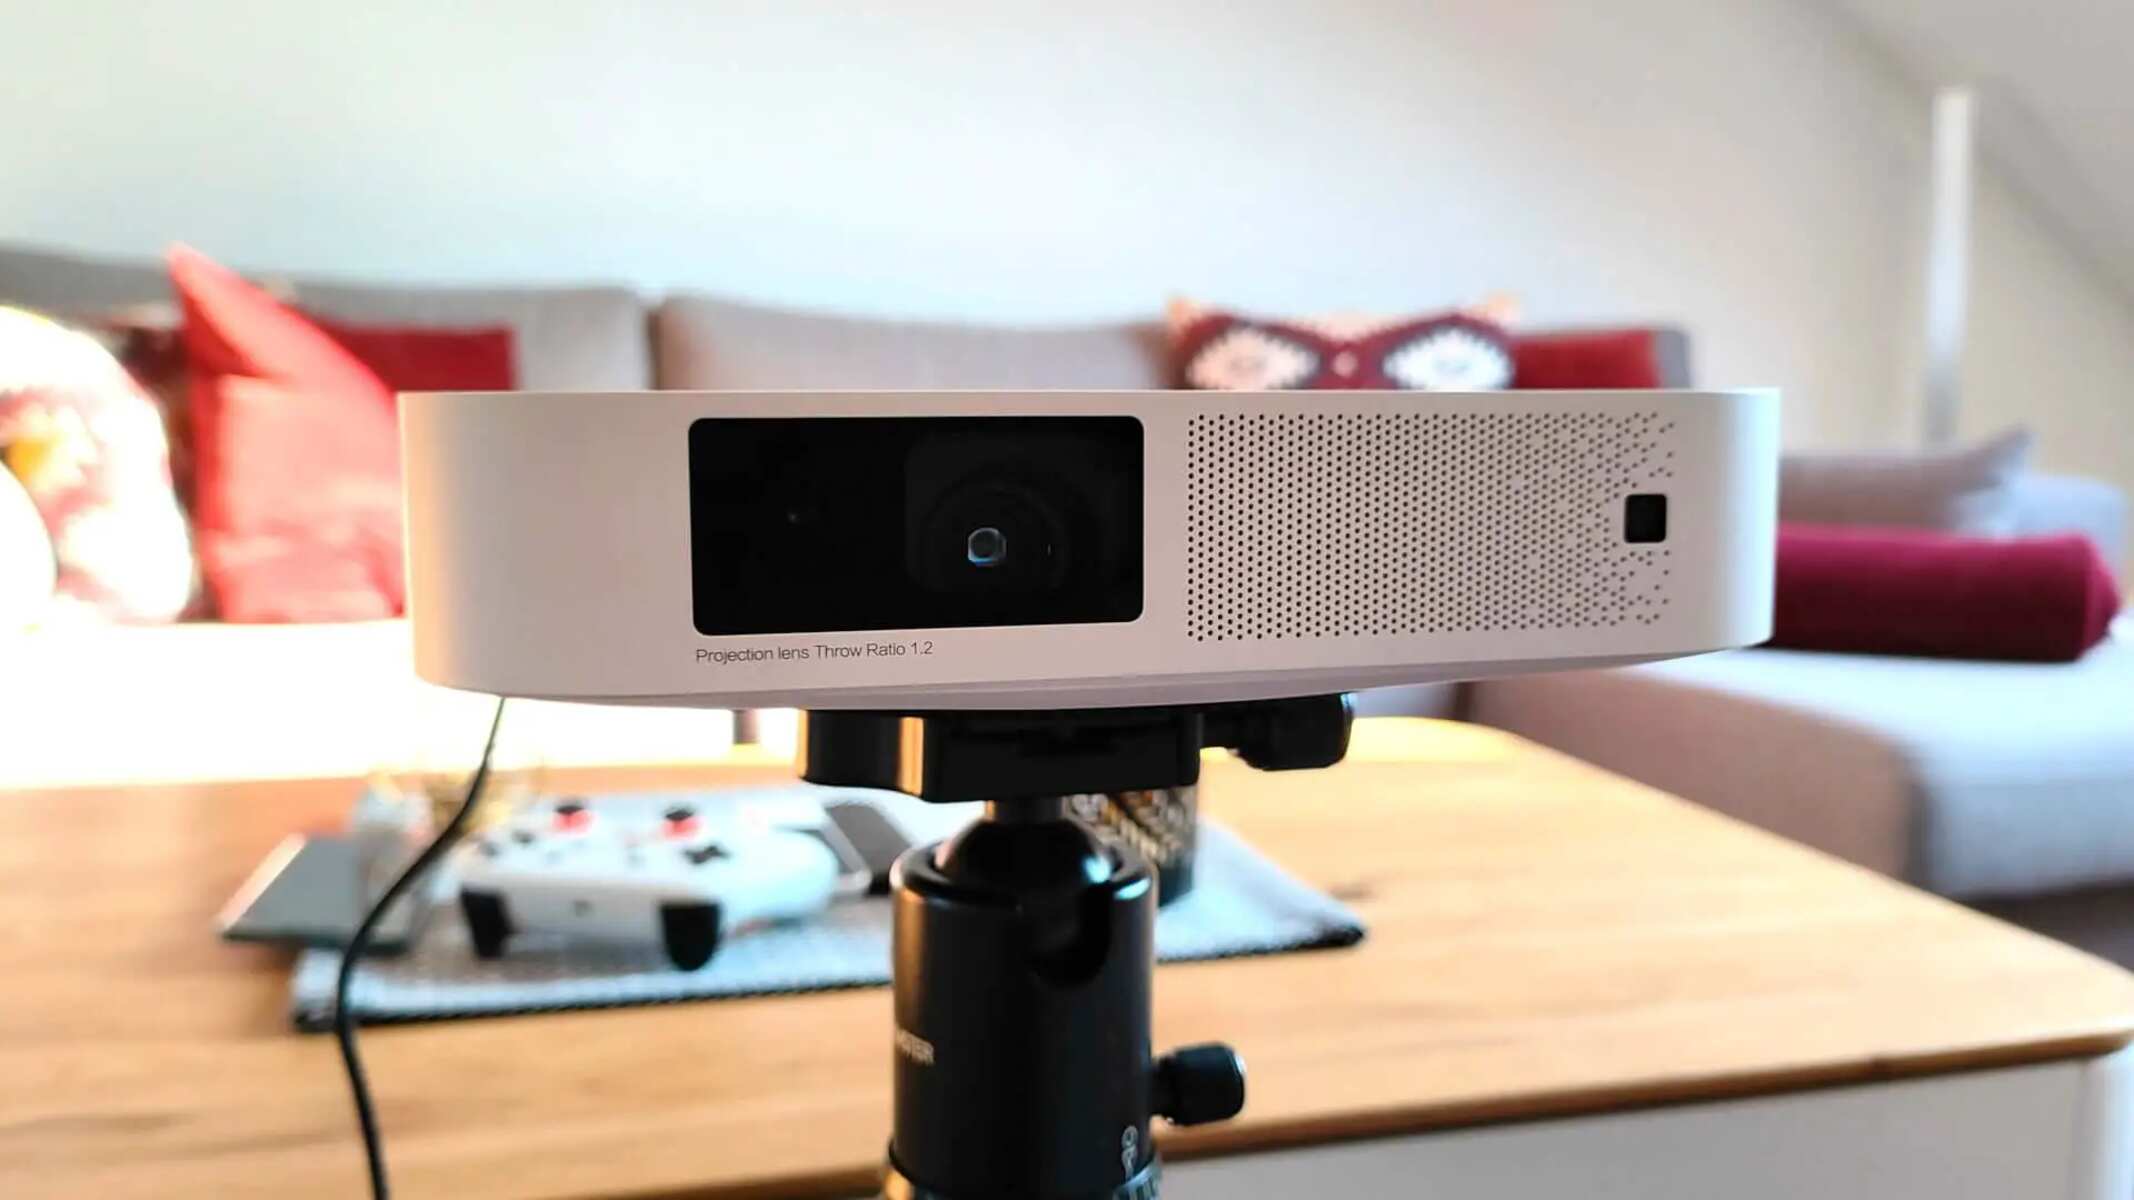
Most projectors come with a zoom lens that offers a range of zoom ratios. The zoom ratio indicates the extent to which you can adjust the image size. For example, a projector with a 1.2x zoom ratio allows you to zoom out to 20% larger or 20% smaller than the original image size. Projectors with higher zoom ratios provide greater flexibility in adjusting the image size.
It’s important to note that the zoom feature does not affect the resolution of the projected image. It simply adjusts the size of the image while maintaining the same number of pixels. This means that zooming out will not result in a loss of image quality, as long as the native resolution of the projector is maintained.
When utilizing the projector zoom feature, it is essential to consider the aspect ratio of the content being projected. The aspect ratio refers to the proportional relationship between the width and height of the projected image. Common aspect ratios include 4:3 (standard) and 16:9 (widescreen). By adjusting the zoom, you can maintain the correct aspect ratio and avoid distortion or cropping of the image.
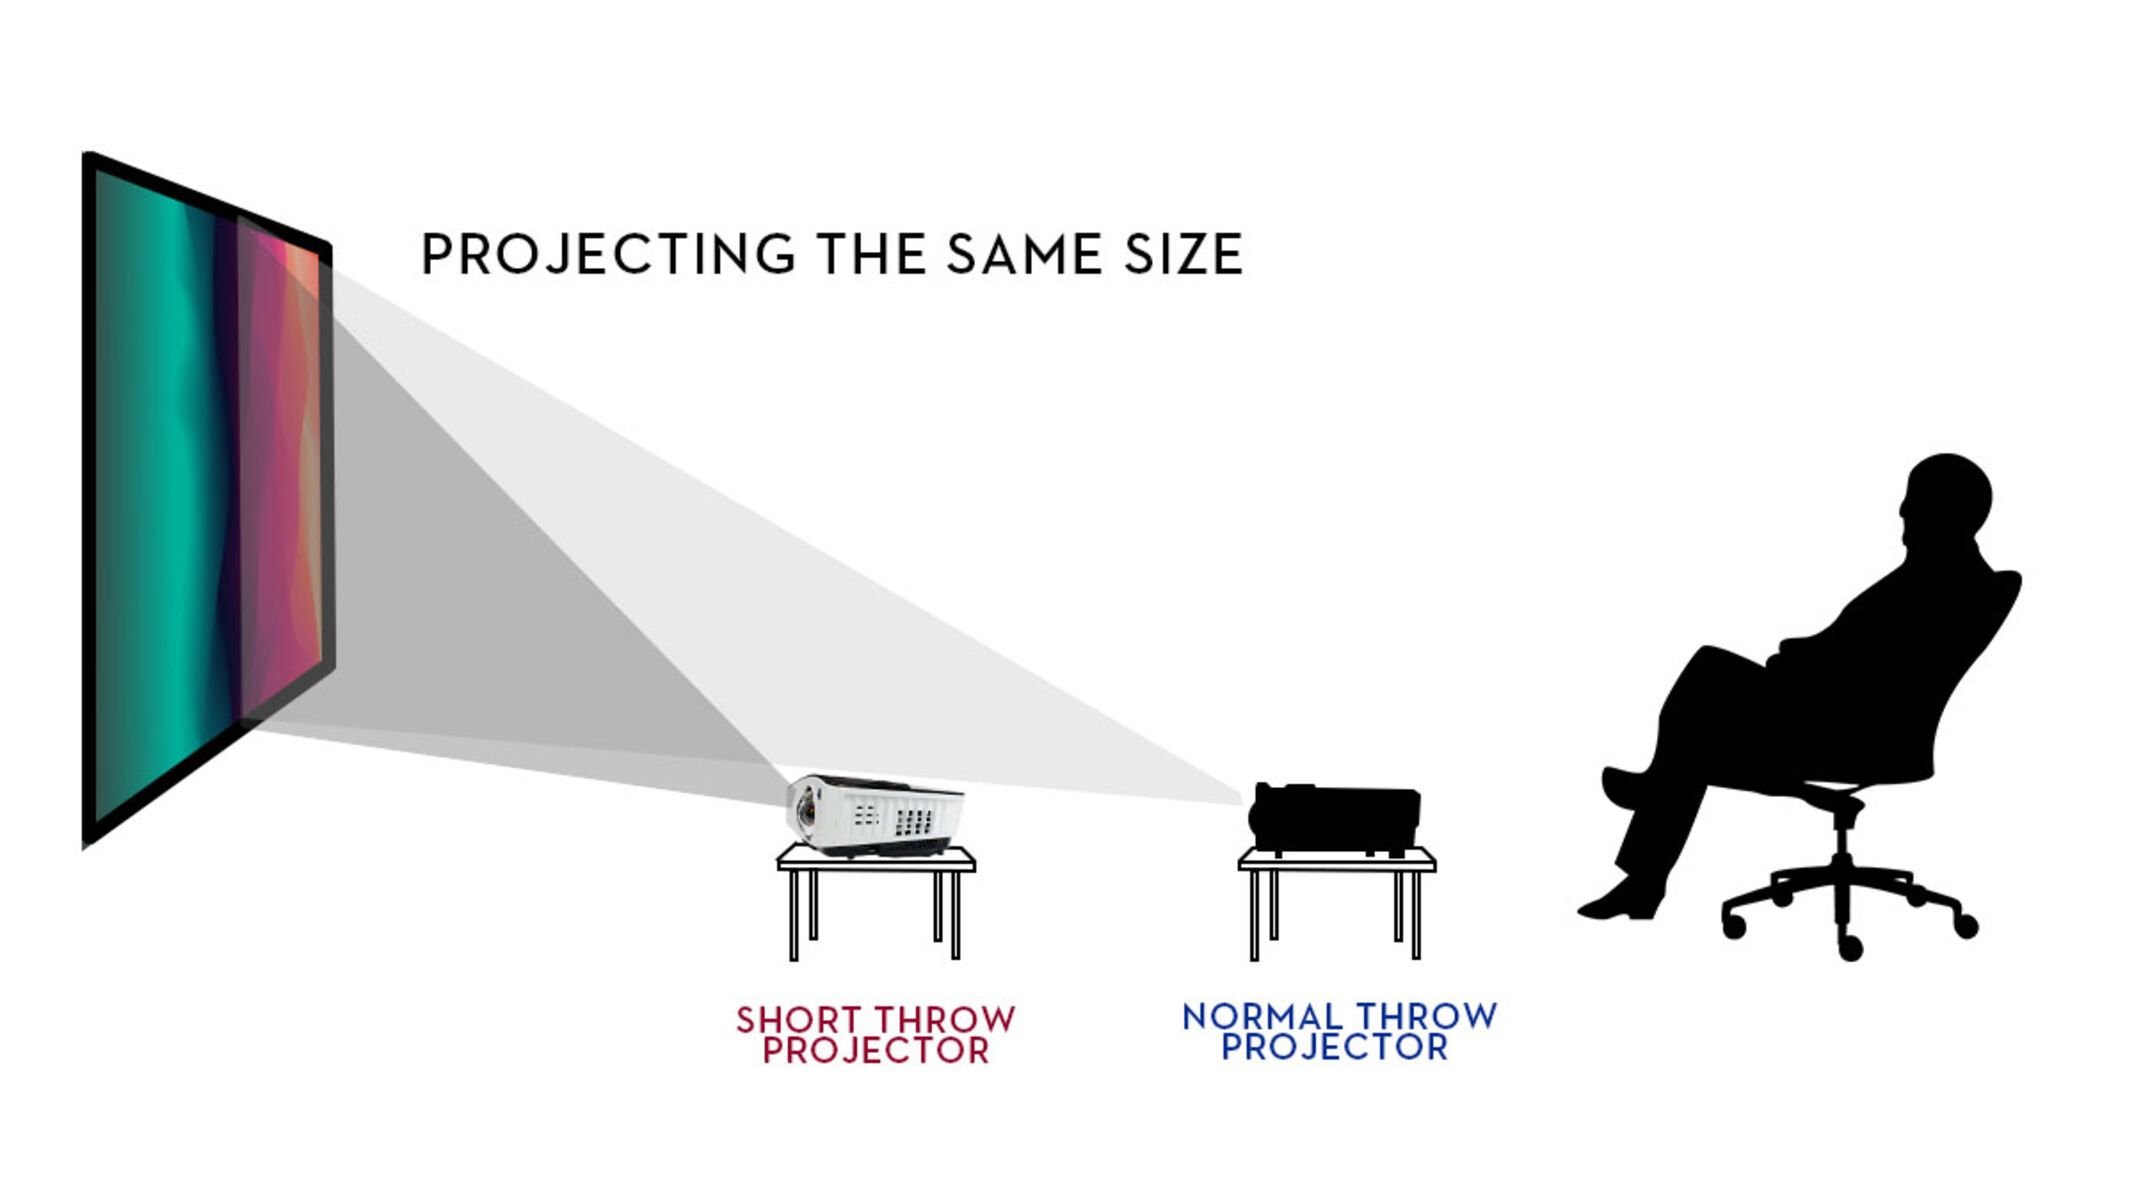
Another important aspect to be aware of is the throw distance of the projector. The throw distance refers to the distance between the projector and the screen. When zooming out, the throw distance remains the same, ensuring that the image is projected at the desired location. The zoom feature allows you to maintain the appropriate throw distance while adjusting the image size to fit your specific requirements.
Understanding the projector zoom feature gives you the foundation to effectively utilize this functionality. By grasping the concept of zoom ratios, resolution preservation, aspect ratios, and throw distance, you can make informed decisions when adjusting the image size on your projector.
Checking for Zoom Capabilities
Before attempting to zoom out on your projector, it is essential to confirm whether your specific model has the zoom feature. Not all projectors come equipped with this functionality, so it’s important to check the specifications of your device to ensure its zoom capabilities.
The easiest way to determine if your projector has the zoom feature is to consult the user manual that came with your projector. The manual should provide detailed information about the features and functionality of your particular model, including whether it has a zoom lens. Look for keywords such as “zoom,” “zoom lens,” or “zoom ratio” to identify if your projector has this capability.
If you don’t have the user manual or cannot find the information you need, you can also search for your projector model online. Visit the manufacturer’s website or search for product reviews and specifications. The product details or specifications page should clearly indicate whether the projector includes the zoom feature.
In some cases, the zoom feature may be listed as an adjustable lens or a specific zoom ratio. Make sure to check if the zoom ratio meets your requirements. A higher zoom ratio provides more flexibility in adjusting the image size, allowing for greater customization.
If you determine that your projector does not have the zoom feature, don’t fret. There are alternative methods to adjust the image size, such as physically moving the projector closer or further away from the screen. While this may require more effort and adjustments, it can still achieve the desired projection size.
Checking for zoom capabilities before attempting to adjust the image size on your projector ensures that you have the necessary features and tools to achieve your desired outcome. Before moving on to the next step, take the time to confirm the zoom capabilities of your specific projector model.
Adjusting the Zoom Manually
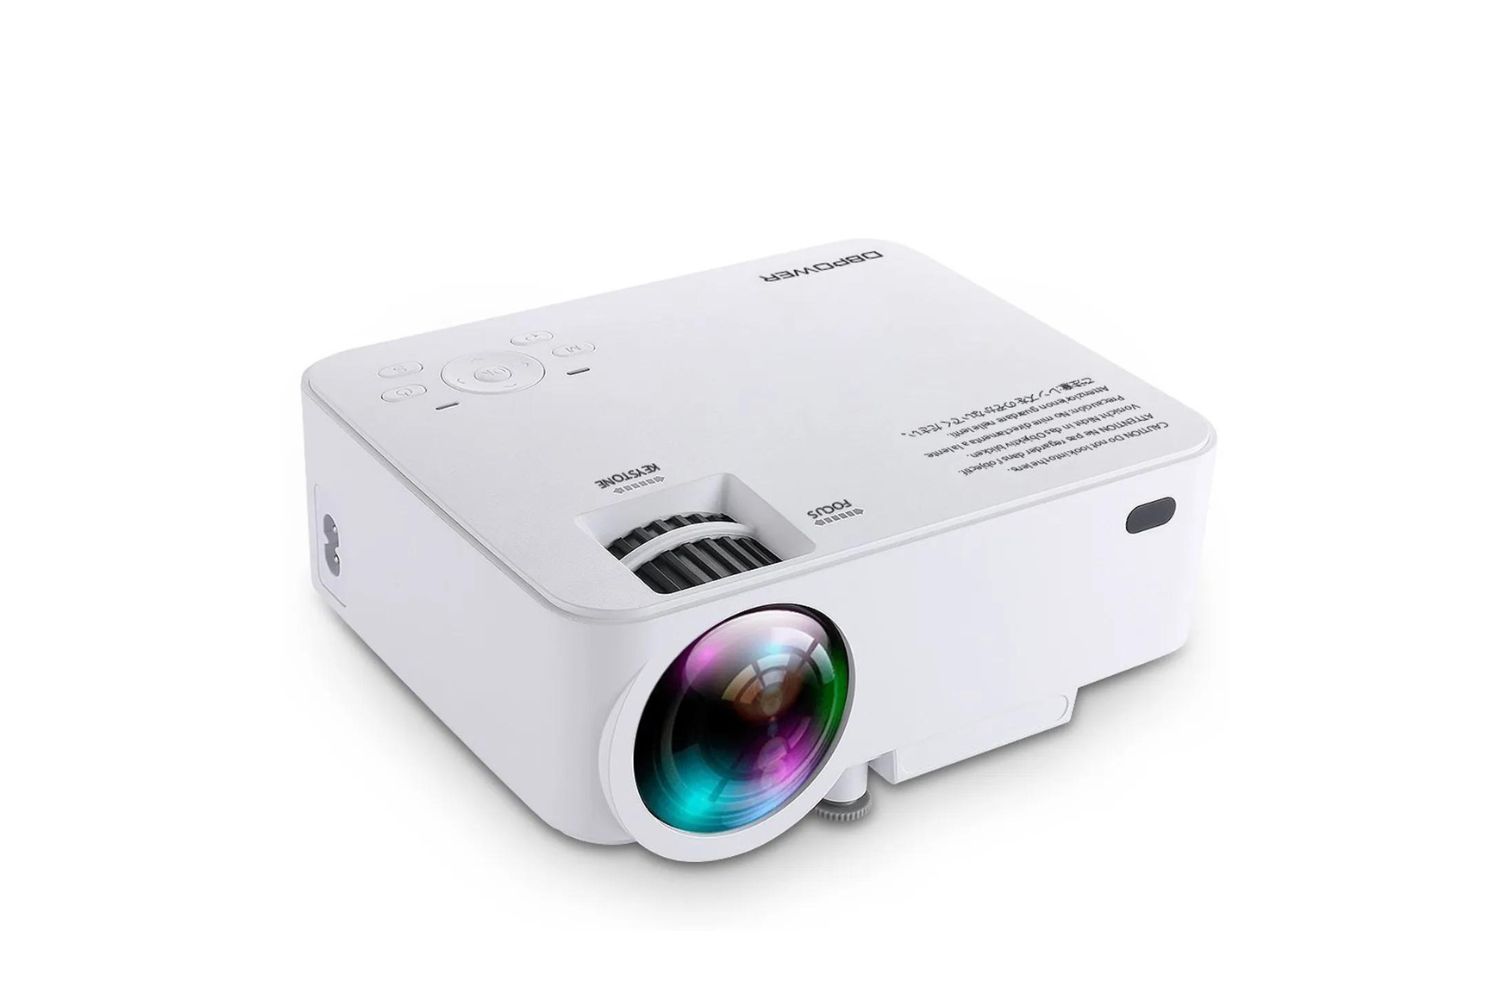
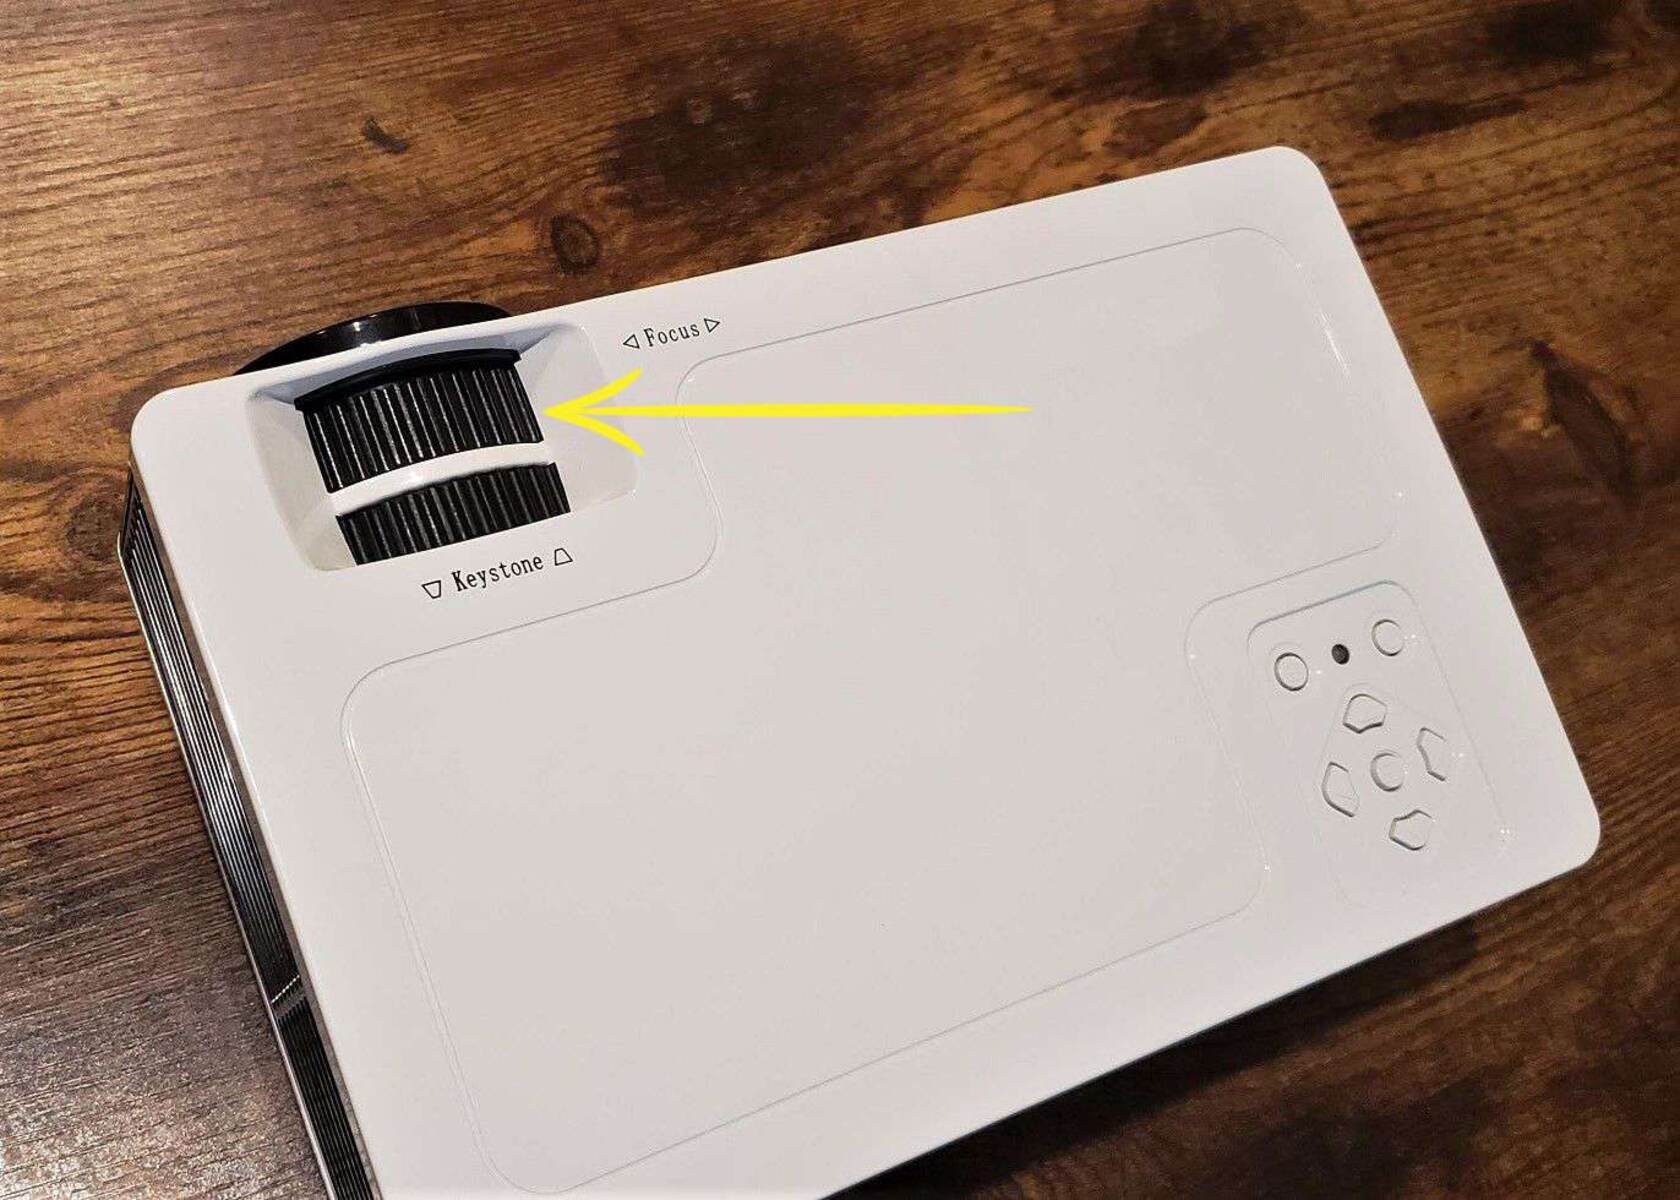
If your projector has the zoom feature, you can adjust the image size manually by manipulating the zoom ring or lever located on the projector lens. Here’s a step-by-step guide on how to adjust the zoom manually:
- Locate the zoom ring or lever on your projector lens. It is typically labeled with a plus (+) and minus (-) sign, indicating the zoom-in and zoom-out directions.
- Gently rotate or slide the zoom ring/lever in the appropriate direction to achieve the desired zoom level. Turning it clockwise usually zooms in, while turning it counterclockwise zooms out.
- As you adjust the zoom, keep an eye on the projected image to see the changes in size. Take your time to find the perfect size that fits your screen or projection area.
- Once you are satisfied with the zoom level, make sure to lock the zoom ring/lever in place to prevent any accidental adjustments during operation. This usually involves sliding a lock switch or pushing the zoom lever back into a locked position.
It’s important to note that when you adjust the zoom manually, you may also need to adjust the focus and keystone settings to ensure a clear and well-aligned image. The focus ring is usually located next to the zoom ring/lever and is used to sharpen the projected image. The keystone correction feature helps to correct any distortion caused by the angle at which the projector is positioned.
By adjusting the zoom manually, you have full control over the image size, allowing you to customize it according to your specific needs and preferences. Experiment with different zoom levels to find the optimal projection size that suits your screen, environment, and audience.
Now that you know how to adjust the zoom manually, let’s explore another method to zoom out on your projector – using the remote control.
Using the Remote Control to Zoom Out
If your projector comes with a remote control, you may be able to adjust the zoom using the remote control itself. Here’s how you can use the remote control to zoom out:
- Ensure that the projector is powered on and the remote control is functioning properly.
- Locate the “Zoom” or “Zoom Out” button on your remote control. It may be represented by a magnifying glass icon with a minus (-) sign.
- Aim the remote control at the projector and press the “Zoom” or “Zoom Out” button.
- Observe the projected image and see if it zooms out to your desired size. If not, you may need to press the button multiple times to achieve the desired zoom level.
- If your remote control has a dedicated zoom lever or slider, adjust it in the appropriate direction to zoom out.
- Once you have achieved the desired zoom level, you can lock the zoom setting by pressing the “Zoom Lock” or a similar button on the remote control. This prevents accidental adjustments during operation.
Using the remote control to adjust the zoom provides convenience, especially if you need to make frequent adjustments or if the projector is mounted at a height or distance that is difficult to reach.
It’s important to note that the availability of zoom control on the remote control may vary depending on your projector model. Some remote controls may only include basic functions, while others may offer more advanced options. Consult your projector’s user manual or remote control guide to understand the specific zoom control features available.
Now that you know how to use the remote control to zoom out, let’s address some common issues that you may encounter during the zooming process and provide troubleshooting tips to overcome them.
Troubleshooting Common Issues with Zooming Out
While adjusting the zoom on your projector, you may encounter some common issues that can affect the quality of the projected image. Here are a few troubleshooting tips to help you overcome these issues:
1. Blurriness or Lack of Focus: If the projected image appears blurry or lacks focus after zooming out, it may be due to the need for additional manual focus adjustment. Locate the focus ring on the projector lens and gently rotate it until the image becomes clear and sharp.
2. Image Distortion or Keystone Effect: When zooming out significantly, you may notice image distortion or a keystone effect, where the projected image appears wider at the top or bottom. Most projectors offer keystone correction settings to adjust the shape of the image. Refer to your projector’s manual or remote control for the keystone correction options and make the necessary adjustments to correct the distortion.
3. Overscan or Underscan: Overscan occurs when the edge of the projected image is cropped, while underscan happens when the entire image is not fully displayed on the screen. To correct this issue, refer to your projector’s settings menu and adjust the overscan or underscan options to ensure that the entire image is properly displayed on the screen.
4. Image Quality Changes: Sometimes, when zooming out, you may notice changes in the image quality, such as decreased brightness or color accuracy. This can be attributed to the optics of the projector lens when adjusting the image size. Experiment with different zoom levels and take note of the optimal image quality. Additionally, adjusting the projector’s brightness, contrast, and color settings may help compensate for any quality changes that occur when zooming out.
5. Incompatible Aspect Ratio: If the aspect ratio of the content being projected is different from the aspect ratio of your screen, you may experience distorted or stretched images. Ensure that the projector is set to the correct aspect ratio, matching that of the content, to avoid any distortion or loss of image proportions.
6. Zoom Limitations: Some projectors have limitations on how much you can zoom out, especially if they have a lower zoom ratio. If you are unable to achieve the desired zoom level, consider other alternatives, such as adjusting the projector’s position or screen size, to better fit your requirements.
By troubleshooting these common issues, you can overcome any challenges that may arise during the zooming process and ensure a satisfactory viewing experience. Now that we have covered troubleshooting tips, let’s explore some general tips for an optimal zooming experience on your projector.
Tips for Optimal Zooming Experience
When using the zoom feature on your projector, there are several tips you can follow to enhance your overall zooming experience and ensure the best possible projection quality. Consider the following tips:
1. Experiment with Different Zoom Levels: Don’t be afraid to try different zoom levels to find the perfect balance for your specific needs. Test different sizes and distances to determine the optimal projection size for your screen or desired viewing area.
2. Maintain the Native Resolution: To ensure the best image quality, it’s important to maintain the native resolution of your projector. Avoid excessively zooming in or out, as this can result in a loss of image sharpness and clarity.
3. Adjust Distance and Screen Size Accordingly: When zooming out, consider adjusting the distance between the projector and the screen or the size of the projection area to maintain a balanced and focused image. Ensure that the image is not too large or small for the screen or viewing space.
4. Use Keystone Correction When Needed: If you notice any distortion or the keystone effect while zooming out, utilize the keystone correction feature on your projector to align the image properly. This will help eliminate any skewed or uneven visuals.
5. Pay Attention to Lighting Conditions: Brightness and contrast can have a significant impact on the perceived image quality. Adjust the lighting conditions in the room to ensure optimal viewing, avoiding excessive brightness or glare that may affect the projected image.
6. Keep the Projection Surface Clean: Dust or smudges on the projection surface can distort the image and degrade the overall quality. Regularly clean the screen or projection surface to maintain a clear and sharp image during zooming.
7. Consider the Viewing Angle: Take into account the viewing angle of your audience when adjusting the zoom. Ensure that everyone in the room has a clear line of sight and can comfortably view the projected content without straining their necks or eyes.
8. Document Camera or Laptop Accessibility: If you are incorporating a document camera or connecting a laptop to your projector, ensure easy access to these devices when zoomed out. Confirm that they are positioned appropriately and within reach for seamless presentation or media playback.
9. Double-Check Settings and Presets: It’s worth reviewing your projector’s settings and presets to ensure that the zoom and other display-related options are correctly configured. This will help optimize the zooming experience and streamline your projection setup.
By following these tips, you can maximize the benefits of the projector’s zoom feature and create a captivating visual experience for your audience. Now that we have explored tips for optimal zooming, let’s summarize the key points discussed in this article.
Conclusion
In conclusion, the projector zoom feature is a valuable tool that allows you to adjust the projection size to fit your specific needs. Whether you are conducting presentations, hosting movie nights, or teaching in a classroom, understanding how to use the zoom feature effectively can greatly enhance your overall viewing experience.
We started by understanding the projector zoom feature, which involves manipulating the focal length of the lens to adjust the image size without physically moving the projector. We explored the concept of zoom ratios, resolution preservation, aspect ratios, and throw distance, which are important factors to consider when utilizing the zoom functionality.
We then highlighted the importance of checking for zoom capabilities in your specific projector model. By consulting the user manual or researching online, you can confirm whether your projector is equipped with the zoom feature.
Next, we discussed two methods of zooming out on a projector. The first method is adjusting the zoom manually by rotating or sliding the zoom ring/lever on the projector lens. The second method involves using the remote control to control the zoom settings conveniently. We also provided troubleshooting tips for common issues with zooming out, including blurriness, image distortion, overscan/underscan, changes in image quality, and incompatible aspect ratios.
Lastly, we shared tips for an optimal zooming experience, such as experimenting with different zoom levels, maintaining the native resolution, adjusting distance and screen size accordingly, using keystone correction when needed, paying attention to lighting conditions, keeping the projection surface clean, considering the viewing angle, and double-checking settings and presets.
By following these guidelines, you can make the most out of your projector’s zoom feature and achieve the perfect projection size for every occasion. So go ahead, adjust the zoom, and enjoy an immersive viewing experience that suits your needs.