Introduction
Do you crave the creamy, refreshing taste of homemade ice cream? If so, then strawberry ice cream is an absolute must-try! Bursting with the delightful flavor of fresh strawberries, this ice cream is sure to satisfy your sweet tooth and leave you craving for more.
While buying strawberry ice cream from the store is always an option, there’s something magical about making it yourself. And the best part is, you don’t need to be a professional chef to whip up a batch of delicious strawberry ice cream. With the help of an ice cream maker, you can create your own homemade version that’s even better than store-bought.
In this article, we will take you through a step-by-step process of making strawberry ice cream using an ice cream maker. From selecting the perfect strawberries to properly freezing the ice cream, we’ll cover all the essential details you need to know. So, get ready to embark on a delightful journey of homemade ice cream making.
Before we dive into the process, let’s talk about the key ingredients and equipment you’ll need:
Ingredients
To make delicious strawberry ice cream, you’ll need the following ingredients:
- 2 cups of fresh strawberries
- 1 cup of granulated sugar
- 2 cups of heavy cream
- 1 cup of whole milk
- 1 teaspoon of vanilla extract
- A pinch of salt
The star ingredient, of course, is the fresh strawberries. Make sure to choose ripe strawberries that are sweet and fragrant. They should be firm but not too mushy. Organic strawberries are always a great option if you can find them.
The sugar adds sweetness to the ice cream and helps to bring out the natural flavor of the strawberries. You can adjust the amount of sugar based on your preference. If you prefer a less sweet ice cream, you can reduce the amount of sugar slightly.
The heavy cream and whole milk are the base of the ice cream mixture. The heavy cream provides richness and creaminess to the ice cream, while the whole milk helps to balance the consistency. Using both ingredients together gives the ice cream a smooth texture.
The vanilla extract adds a hint of floral flavor and enhances the overall taste of the ice cream. Make sure to use pure vanilla extract for the best results.
A pinch of salt may seem like a small addition, but it actually helps to bring out the flavors and balance the sweetness of the ice cream.
Now that we have our ingredients ready, let’s move on to the equipment needed to make strawberry ice cream.
Equipment Needed
To make strawberry ice cream, you’ll need the following equipment:
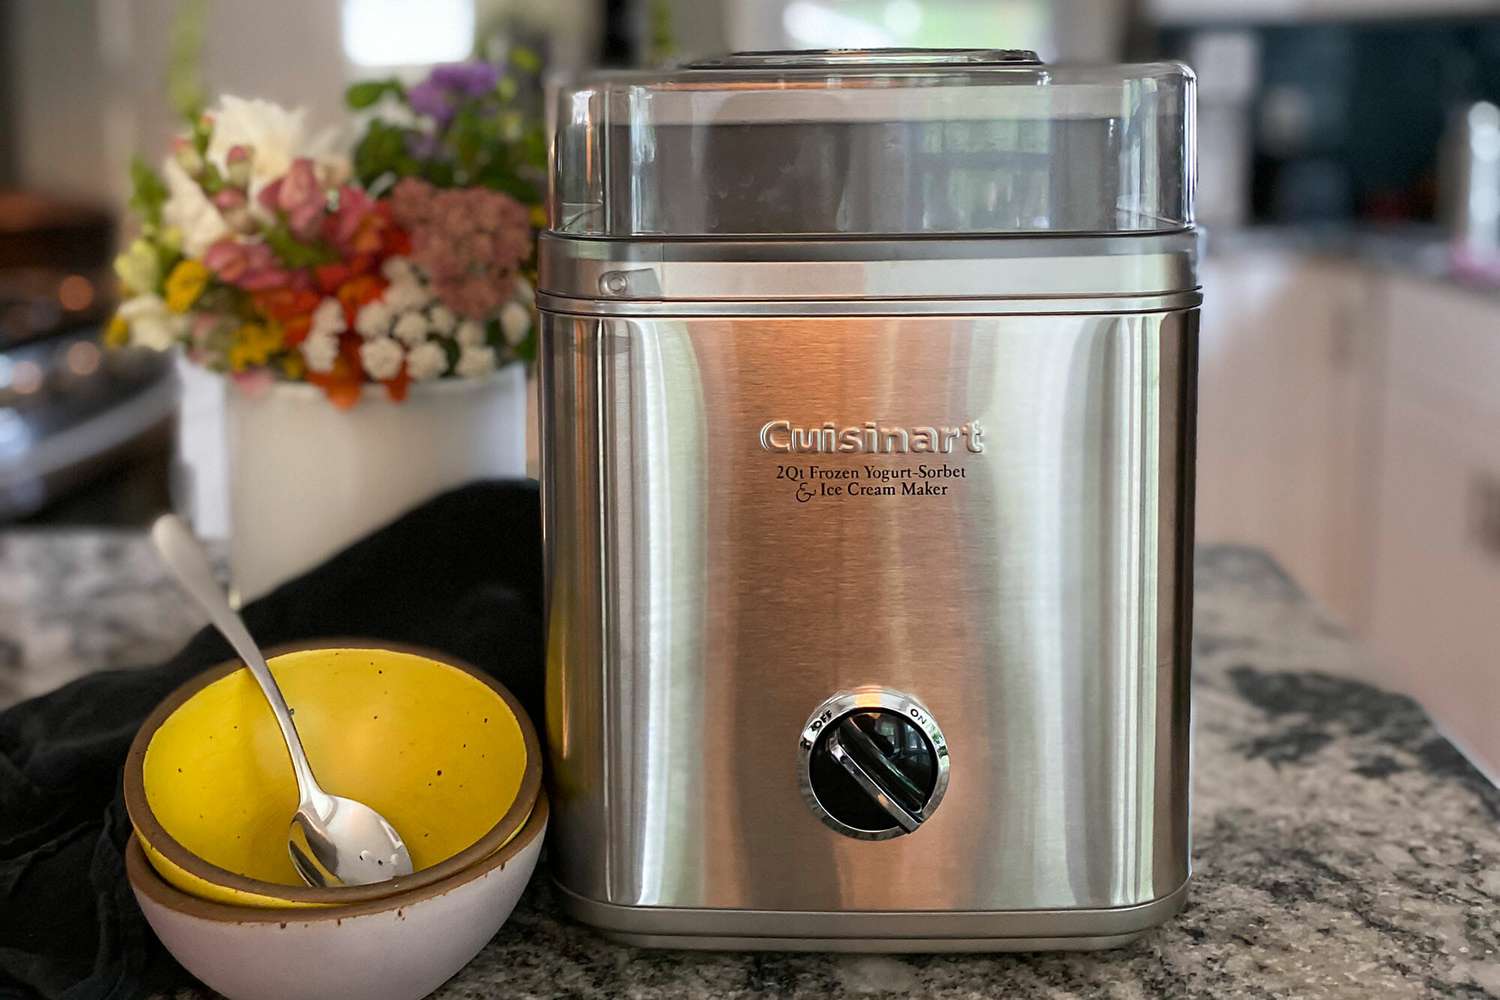
- An ice cream maker – This is an essential tool for creating the perfect texture and consistency of the ice cream. There are various types of ice cream makers available, including manual ones that require hand-cranking and electric ones that automate the process. Choose the type that suits your preference and budget.
- A blender or food processor – This will be used to puree the strawberries and create a smooth strawberry paste that will be incorporated into the ice cream mixture. If you don’t have a blender or food processor, you can also use a fork or potato masher to mash the strawberries by hand, although the texture may not be as smooth.
- A saucepan – This will be used to heat the milk and cream mixture. Make sure to choose a saucepan with a capacity large enough to hold the liquid without overflowing.
- A mixing bowl – This will be used to combine the strawberry puree, sugar, and cream mixture. Choose a mixing bowl that is large enough to comfortably stir and mix the ingredients.
- A spatula or whisk – This will be used to mix the ingredients together and ensure a smooth and uniform consistency.
- An airtight container – This will be used to store the finished ice cream. Choose a container with a tight-fitting lid to prevent any freezer burn or odors from seeping in.
Having these essential tools and equipment ready will make the process of making strawberry ice cream much easier and enjoyable. Now that you have everything prepared, it’s time to dive into the step-by-step process of making strawberry ice cream in an ice cream maker.
Step 1: Prepare the Strawberries
The first step in making delicious strawberry ice cream is to prepare the strawberries. Follow these simple steps:
- Wash the strawberries – Start by rinsing the strawberries under cold water to remove any dirt or debris. Gently pat them dry with a clean kitchen towel.
- Remove the stems – Take a sharp knife and carefully cut off the green stems from the top of each strawberry. Discard the stems or save them for other uses.
- Slice the strawberries – Place the strawberries on a cutting board and slice them into small pieces. You can adjust the size of the slices based on your preference. If you prefer a smoother texture in the ice cream, you can also dice the strawberries into smaller chunks.
Once you have prepared the strawberries, it’s time to move on to the next step of making the strawberry puree.
Step 2: Make the Strawberry Puree
Now that you have prepared the strawberries, it’s time to turn them into a luscious strawberry puree. Follow these steps:
- Transfer the sliced strawberries into a blender or food processor. If you don’t have a blender or food processor, you can also use a fork or potato masher to mash the strawberries by hand.
- Puree the strawberries until smooth – Blend or process the strawberries until they are completely pureed and have a smooth consistency. Make sure to scrape down the sides of the blender or food processor as needed to ensure that all the strawberries are evenly blended.
The strawberry puree will be used to add the vibrant strawberry flavor to the ice cream mixture. It’s important to have a smooth and uniform puree for the best results. Once you have achieved the desired consistency, set the strawberry puree aside and move on to the next step of preparing the ice cream mixture.
Step 3: Prepare the Ice Cream Mixture
Now that you have the strawberry puree ready, it’s time to prepare the ice cream mixture. Follow these steps:
- In a saucepan, combine the heavy cream and whole milk. Place the saucepan over medium heat and heat the mixture until it begins to steam, but do not let it come to a boil.
- Once the mixture is steaming, remove it from the heat and add the granulated sugar. Stir well until the sugar is completely dissolved.
- Add a pinch of salt and the vanilla extract to the mixture. Stir again to combine all the ingredients.
- Next, pour the strawberry puree into the cream and sugar mixture. Stir gently until the puree is fully incorporated.
It’s important to heat the cream and milk mixture to allow the flavors to meld together and for the sugar to dissolve properly. Adding the strawberry puree at this stage ensures that it gets evenly distributed throughout the ice cream mixture.
Once the ice cream mixture is well combined, it’s time to chill it before freezing it in the ice cream maker.
Step 4: Chill the Mixture
After preparing the ice cream mixture, it’s crucial to chill it before freezing it in the ice cream maker. Follow these steps to properly cool down the mixture:
- Transfer the ice cream mixture to a mixing bowl or a container with a lid.
- Cover the bowl or container with plastic wrap or a lid to prevent any air or moisture from getting in.
- Place the mixture in the refrigerator and let it chill for at least 2 hours, but preferably overnight.
Chilling the ice cream mixture allows the flavors to meld together and results in a smoother texture. It also helps to ensure that the mixture is at the proper temperature when it goes into the ice cream maker, which is essential for achieving a perfect scoopable consistency.
Once the mixture is thoroughly chilled, it’s time to move on to the next step of freezing it in the ice cream maker.
Step 5: Freeze the Mixture in an Ice Cream Maker
Now that the ice cream mixture is properly chilled, it’s time to transform it into creamy, delightful strawberry ice cream using an ice cream maker. Follow these steps:
- Set up your ice cream maker according to the manufacturer’s instructions. Make sure the freezer bowl is properly frozen in advance.
- Take the chilled ice cream mixture out of the refrigerator and give it a quick stir to ensure the ingredients are well combined.
- Pour the mixture into the ice cream maker while it’s running. It’s essential to pour the mixture slowly to avoid spills and ensure even freezing.
- Allow the ice cream maker to churn the mixture for about 20-30 minutes, or according to the manufacturer’s instructions. The mixture will gradually thicken and transform into a soft, creamy ice cream consistency.
- Once the ice cream is thickened to your desired consistency, turn off the ice cream maker and remove the freezer bowl carefully from the machine.
It’s important to note that the freezing time may vary depending on the type and model of your ice cream maker. Make sure to follow the manufacturer’s instructions for the best results.
Now that the ice cream has reached its initial soft-serve consistency, it’s time to transfer it to a container and continue the freezing process to achieve a firmer texture.
Step 6: Transfer the Ice Cream to a Container
Now that your strawberry ice cream has reached its soft-serve consistency, it’s time to transfer it to a container for the next stage of freezing. Follow these steps:
- Get a clean, airtight container ready. You can use a plastic or metal container that has a tight-fitting lid.
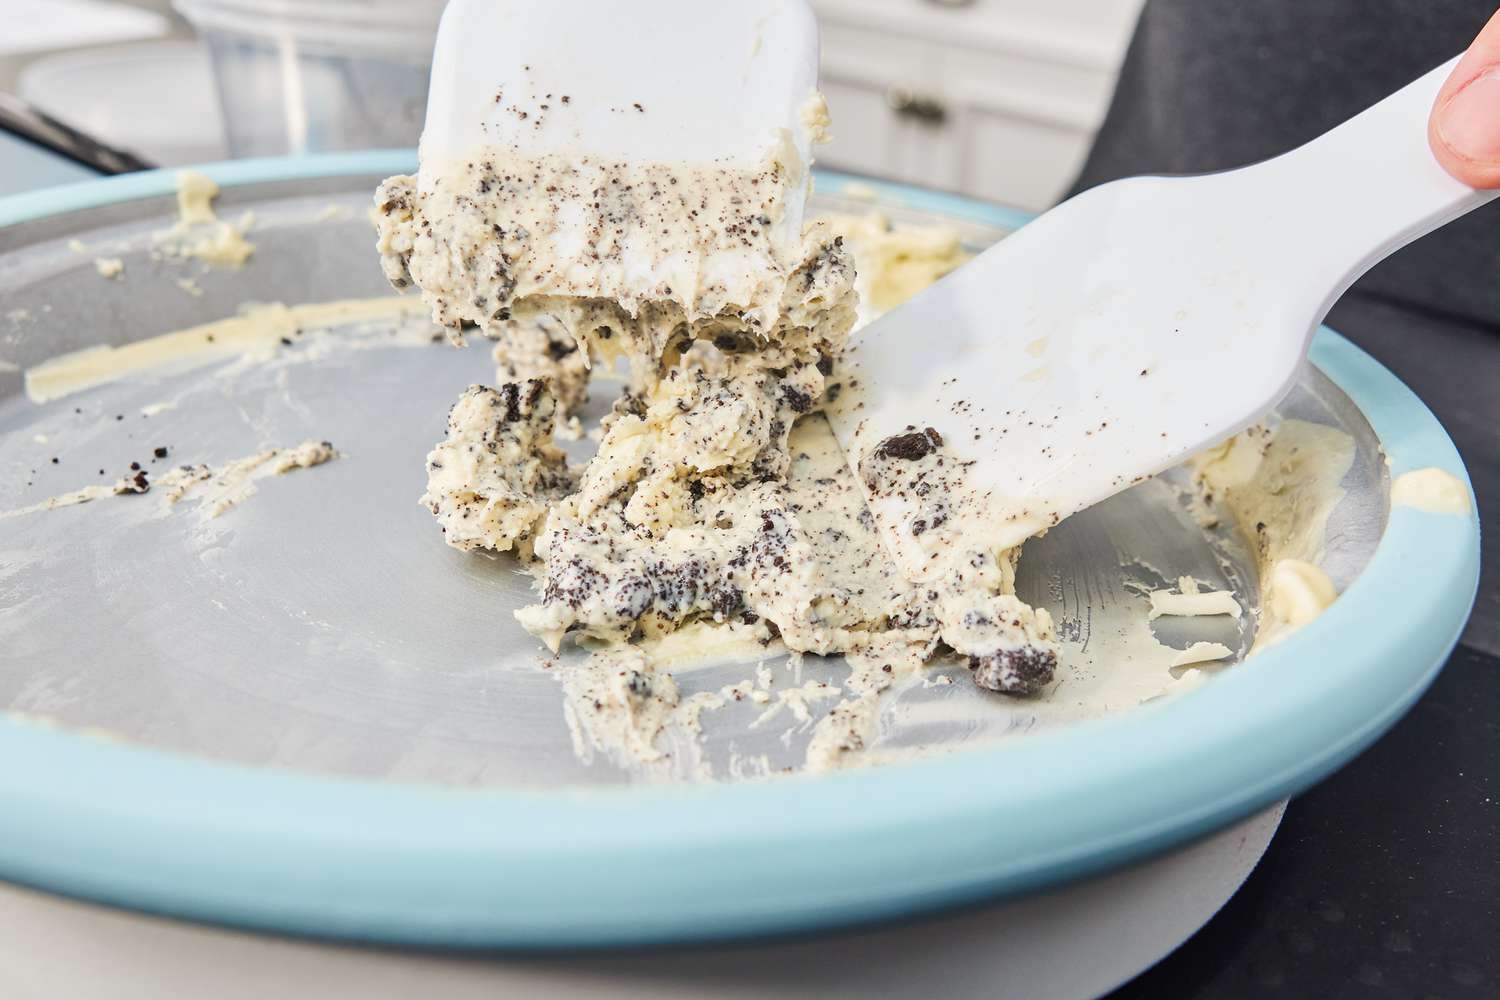
- Using a spatula or a large spoon, carefully transfer the soft, churned ice cream from the ice cream maker into the container.
- Smooth the surface of the ice cream with the spatula or the back of a spoon to create an even layer.
- Place a piece of parchment paper or plastic wrap directly on the surface of the ice cream. This will help prevent ice crystals from forming.
- Close the container tightly with the lid, ensuring a secure seal to prevent any air from getting in.
Transferring the ice cream to a container allows it to continue freezing and solidifying to achieve a scoopable texture. The parchment paper or plastic wrap placed directly on the surface of the ice cream helps create a barrier and maintain the quality of the ice cream during storage.
Now that your strawberry ice cream is securely transferred into a container, it’s time to move on to the final step of freezing it to perfection.
Step 7: Freeze the Ice Cream
After transferring the ice cream to a container, it’s time to freeze it so that it reaches the perfect firmness and can be enjoyed at its best. Follow these steps for proper freezing:
- Place the container with the ice cream in the coldest part of your freezer, ideally in the back.
- Allow the ice cream to freeze undisturbed for at least 4-6 hours, or until it reaches the desired firmness. For a firmer consistency, you can leave it in the freezer overnight.
- Avoid opening the freezer frequently during this time. This will help maintain a consistent temperature and prevent ice crystals from forming.
Freezing the ice cream allows it to solidify and develop a scoopable texture. This process also enhances the flavors and ensures that the ice cream is thoroughly chilled all the way through.
Once the ice cream has reached the desired firmness, it’s time to scoop it into bowls or cones and enjoy its irresistible strawberry goodness!
Step 8: Serve and Enjoy!
The time has finally come to indulge in the mouthwatering delight of your homemade strawberry ice cream. Follow these steps to serve and enjoy your creation:
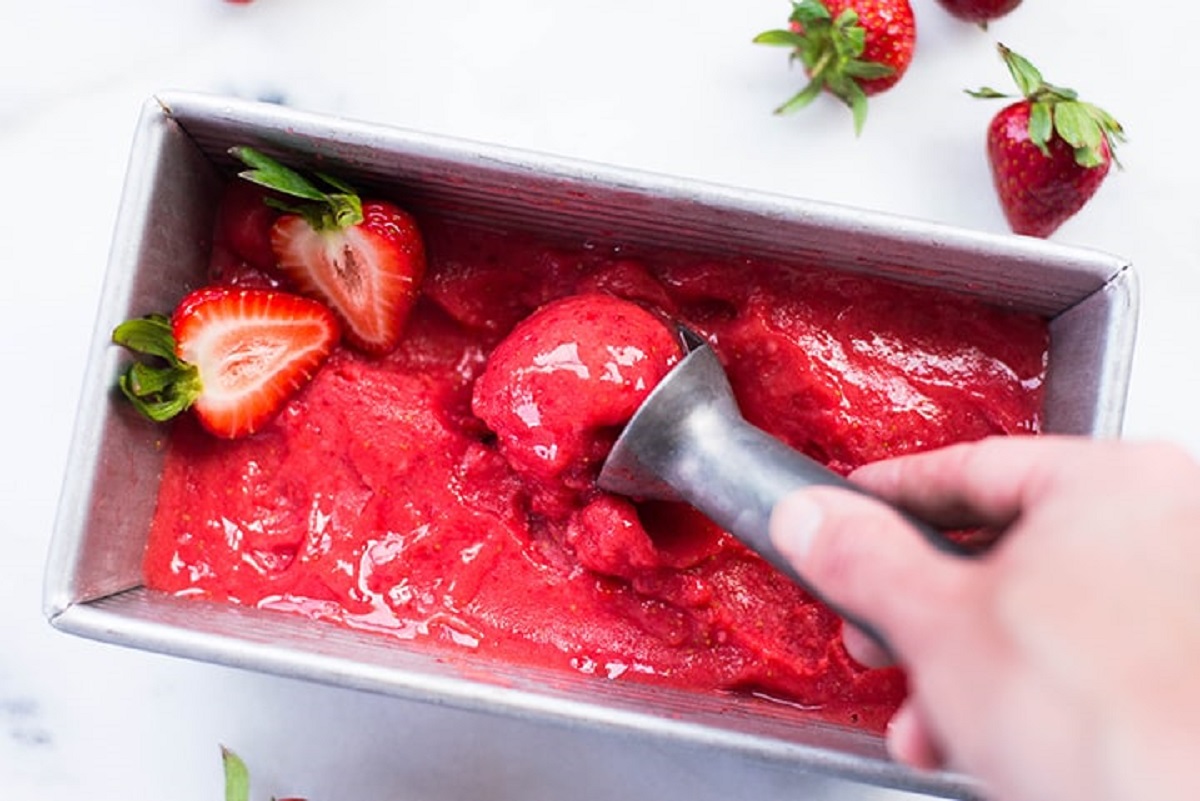
- Remove the container of frozen strawberry ice cream from the freezer and let it sit at room temperature for a few minutes to soften slightly. This will make it easier to scoop.
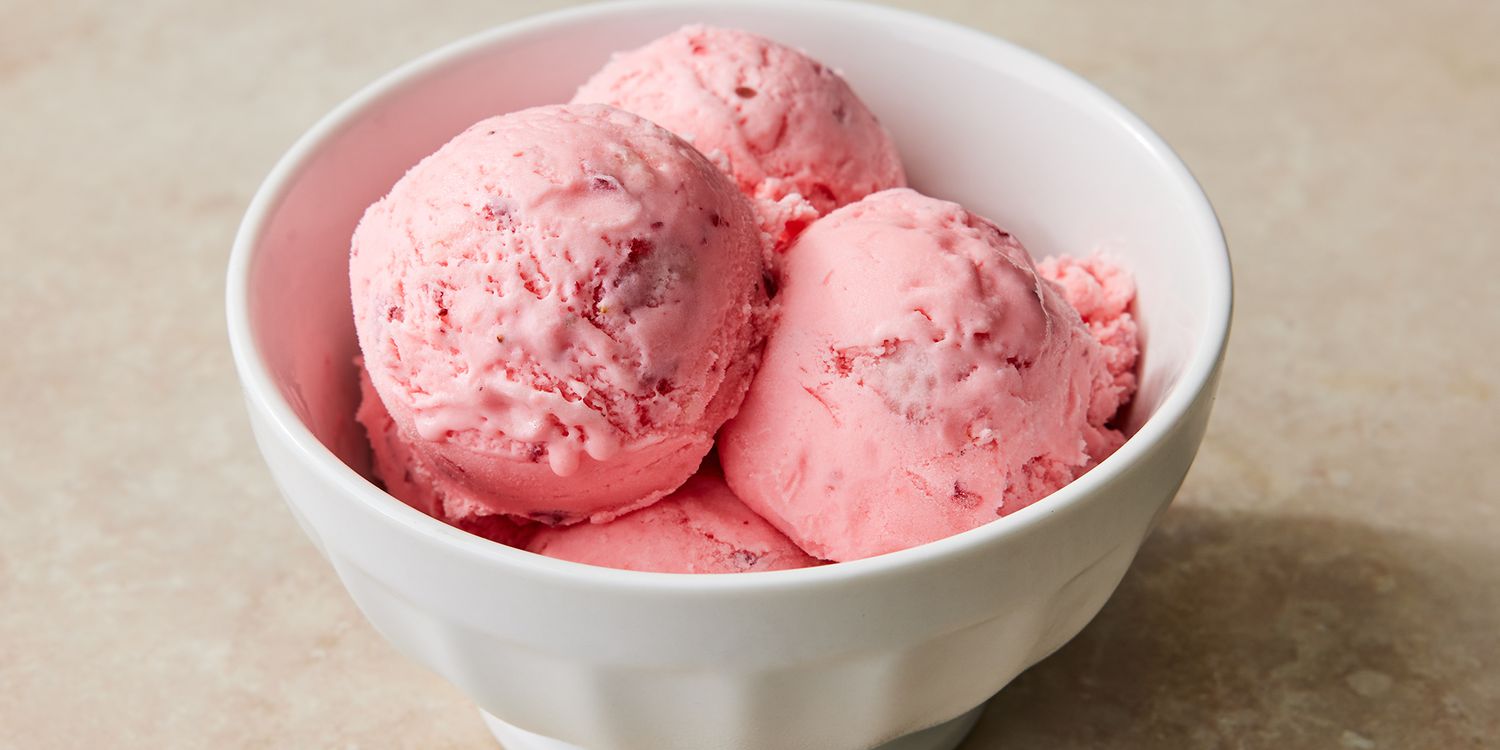
- Using an ice cream scoop, portion out generous scoops of the strawberry ice cream into bowls or onto cones.
- Garnish the ice cream with fresh strawberry slices, a drizzle of chocolate sauce, or any other toppings of your choice to add some extra flair.
- Grab a spoon and dig into the decadent creamy goodness of your homemade strawberry ice cream.
As you savor each spoonful, appreciate the burst of fresh strawberry flavor and the silky smooth texture that you’ve created with your own hands. Whether you enjoy it on a hot summer day or as a sweet treat after a meal, nothing beats the satisfaction of homemade ice cream.
Remember to store any remaining ice cream in the freezer. Securely cover the container with the lid to prevent freezer burn and maintain the quality of the ice cream for future enjoyment.
Now that you know the step-by-step process of making strawberry ice cream in an ice cream maker, don’t hesitate to experiment with different flavors and variations. You can add in chocolate chips, crushed cookies, or even swirl in some homemade berry sauce for a unique twist. The possibilities are endless!
So gather your ingredients, grab your ice cream maker, and embark on a delicious ice cream-making adventure. Treat yourself and your loved ones to the incredible flavor of homemade strawberry ice cream. Enjoy!
Conclusion
Congratulations on successfully making your very own strawberry ice cream using an ice cream maker! By following the step-by-step process outlined in this article, you have unlocked the secret to creating a creamy and delectable treat that is sure to impress your taste buds.
From preparing the strawberries to churning the ice cream in the machine, each step is crucial in achieving the perfect texture and flavor. The use of fresh strawberries and quality ingredients ensures a delightful burst of fruity sweetness in every bite.
By taking the time to chill the mixture, freezing it in the ice cream maker, and properly storing it in the freezer, you ensure that the ice cream reaches its optimal consistency, allowing for easy scooping and a smooth, luscious mouthfeel.
Making your own ice cream not only allows you to customize the flavors and ingredients to suit your preferences but also provides a rewarding and enjoyable experience. Homemade strawberry ice cream is perfect for family gatherings, summer parties, or simply as a special indulgence for yourself.
So why settle for store-bought ice cream when you can create a superior version right in your own kitchen? With the right equipment, ingredients, and a little bit of patience, the possibilities for homemade ice cream creations are endless.
Now that you’ve mastered the art of making strawberry ice cream, feel free to venture into other flavors and experiment with different combinations to elevate your ice cream-making skills. With practice, you’ll discover your own signature recipes and techniques that will have everyone asking for seconds.
So go ahead, unleash your creativity, and enjoy the sweet rewards of homemade ice cream. Treat yourself and your loved ones to the irresistible charm of a delicious, refreshing scoop of strawberry heaven.
Happy ice cream making and indulge in the delightful world of homemade frozen treats!