Introduction
A wireless bridge is a powerful networking tool that allows you to extend the range and efficiency of your home or office network. By connecting two routers together, you can create a bridge that enables seamless connectivity between devices in different areas of your space without the need for messy cables.
Whether you’re looking to connect devices in separate buildings, extend your Wi-Fi range to reach the far corners of your home, or simply improve network performance, a wireless bridge can be the ideal solution. In this guide, we’ll walk you through the process of creating a wireless bridge using two routers.
Setting up a wireless bridge can seem intimidating at first, but with the right equipment and some basic knowledge, anyone can accomplish it. By following a few simple steps, you’ll be able to enjoy a seamless and robust network connection throughout your space.
In the following sections, we’ll explain what a wireless bridge is, highlight the benefits of using one, outline the basic requirements, and guide you through the step-by-step setup process. Additionally, we’ll provide troubleshooting tips to help you overcome any potential hurdles along the way.
So, if you’re ready to take your network to the next level and unleash the full potential of your devices, let’s dive into the world of wireless bridges and learn how to set one up in your own environment.
What is a wireless bridge?
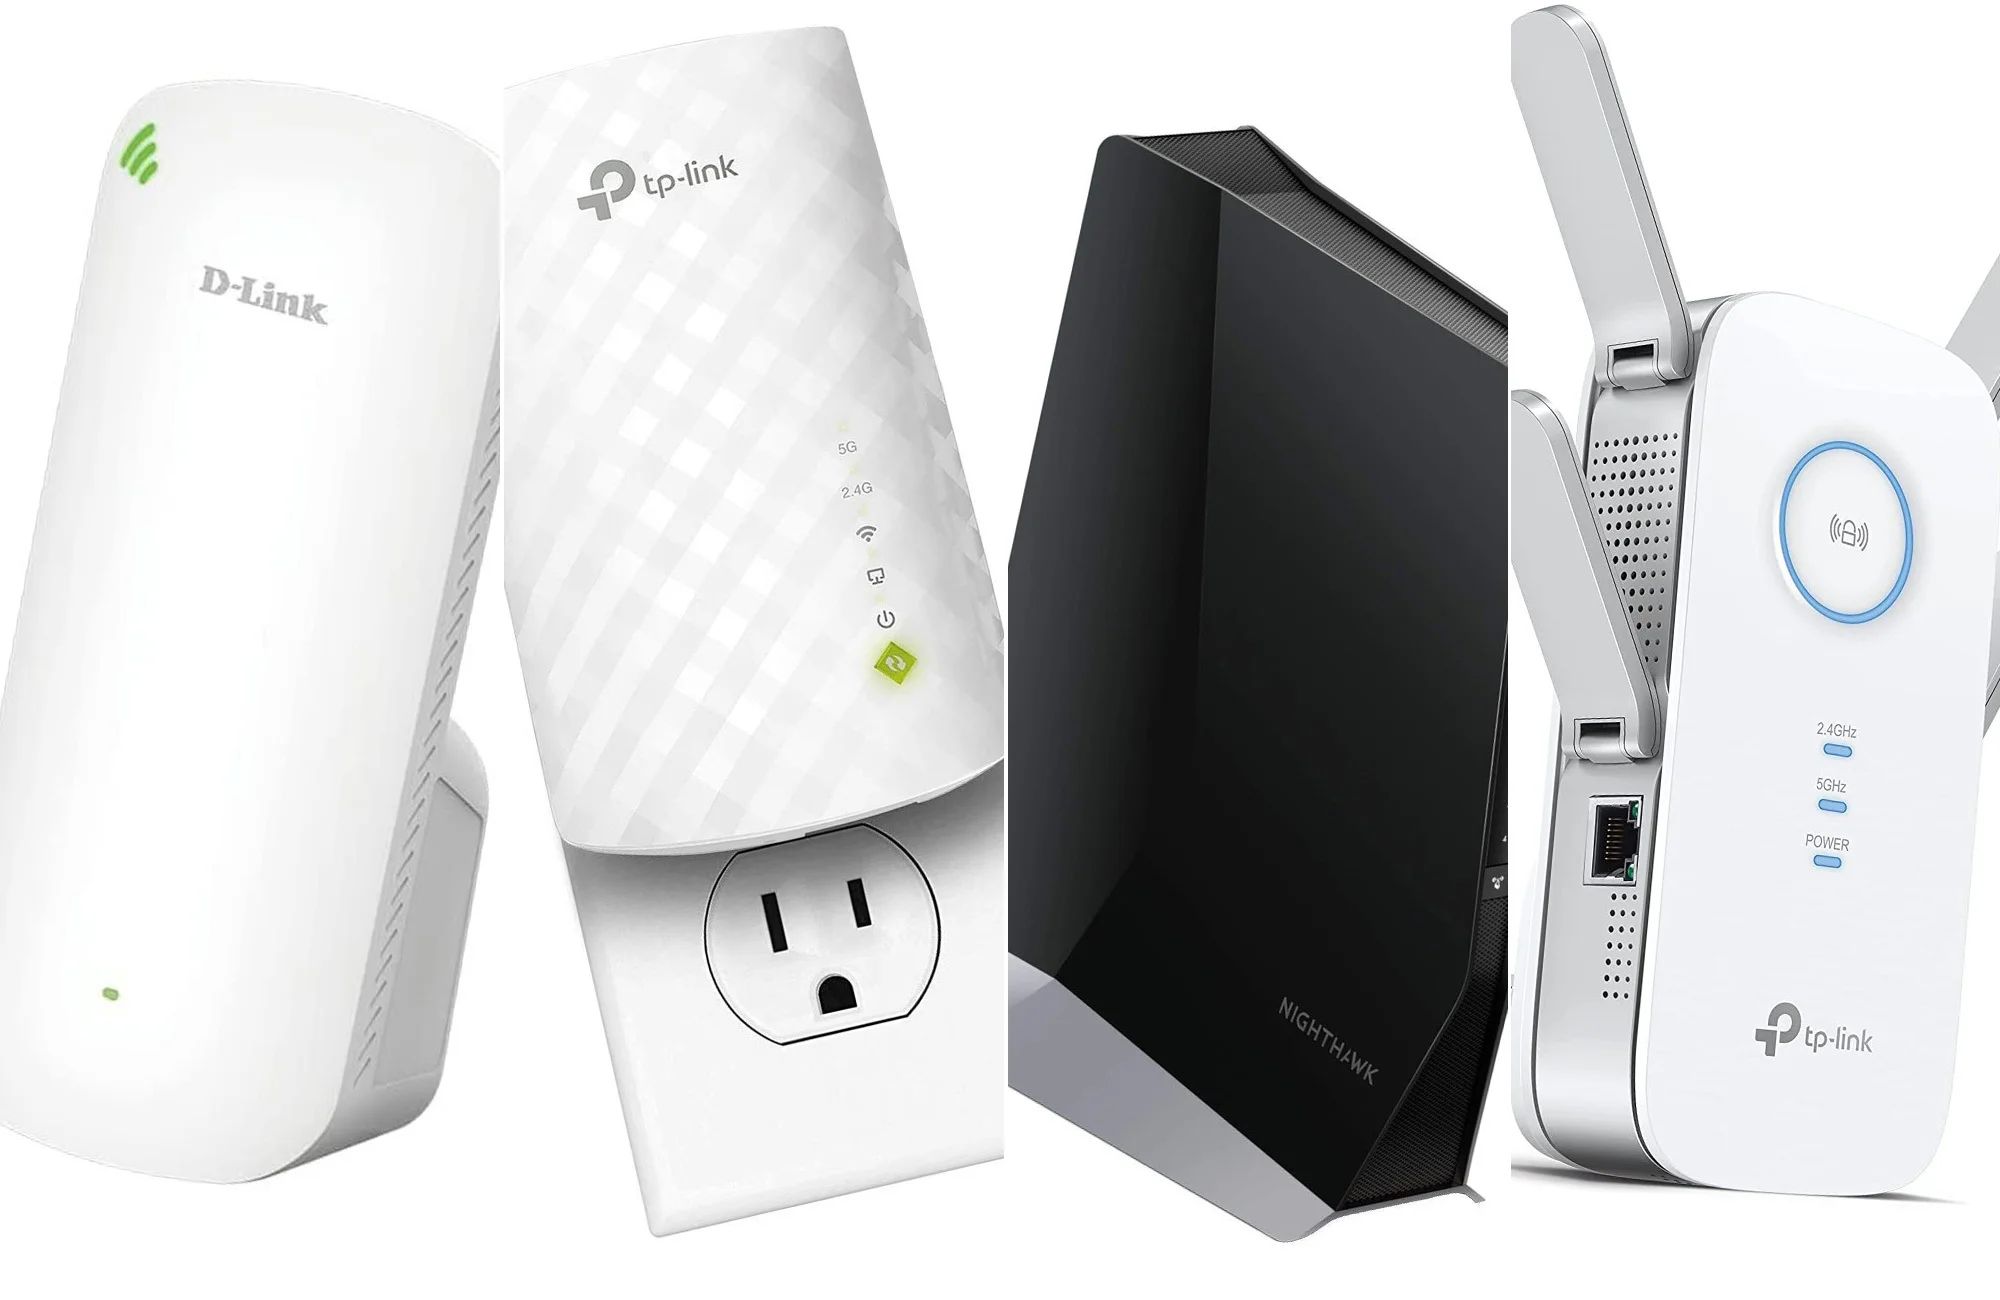
A wireless bridge is a networking device that allows you to connect two separate networks wirelessly, effectively extending the range and connectivity of your network. It acts as a bridge between the primary router and a secondary router, enabling seamless communication between devices in different areas of your space without the need for physical cables.
When you set up a wireless bridge, the primary router serves as the main source of internet connection, while the secondary router acts as a bridge, relaying the signal to devices in its range. This means that you can place the secondary router in a different location, such as a garage or an upstairs office, and still enjoy a strong and reliable network connection.
A wireless bridge is an excellent solution in scenarios where running Ethernet cables is not practical or possible. It eliminates the need for long cables that can be costly, difficult to install, and unsightly. Instead, it utilizes the existing Wi-Fi network to bridge the connection between the routers, creating a seamless network experience.
In addition to extending the range of your network, a wireless bridge also enhances network performance by reducing interference and congestion. It can help improve signal strength, eliminate dead zones, and ensure a stable connection for devices in hard-to-reach areas.
Wireless bridges are commonly used in various situations, such as connecting separate buildings on a property, extending Wi-Fi coverage to outdoor spaces, or establishing a reliable network connection in a multi-story building. They provide flexibility and convenience, allowing you to access the internet and share files seamlessly across different areas of your space.
Overall, a wireless bridge is a versatile and powerful networking tool that can significantly enhance the connectivity and performance of your network. By creating a bridge between routers, you can overcome physical limitations and enjoy a seamless network experience across your entire space.
Benefits of using a wireless bridge
A wireless bridge offers several benefits that make it a valuable addition to your network setup. By utilizing this technology, you can take advantage of the following advantages:
- Extended range: One of the primary benefits of using a wireless bridge is the ability to extend the range of your network. By connecting multiple routers, you can effectively increase the coverage area and enjoy a reliable network connection even in areas that were previously out of reach.
- Improved network performance: A wireless bridge can improve network performance by reducing congestion and interference. By distributing the network load across multiple routers, you can ensure a stable and consistent connection, even with multiple devices connected simultaneously.
- Flexibility and scalability: Wireless bridges offer flexibility and scalability, allowing you to expand your network as needed. You can easily add additional routers to extend the coverage area or connect more devices without the need for complex wiring installations.
- Cost-effective solution: Using a wireless bridge is a cost-effective solution compared to running Ethernet cables or installing additional network infrastructure. It eliminates the need for costly and time-consuming wiring projects, making it an ideal choice for both residential and commercial environments.
- Elimination of dead zones: Wireless bridges can eliminate dead zones in your space, ensuring that every area has a strong and reliable network connection. By strategically placing secondary routers, you can overcome physical obstacles and provide seamless connectivity throughout your home or office.
- Convenient set up and management: Setting up a wireless bridge is relatively simple, even for those with limited technical knowledge. Most routers offer user-friendly interfaces and step-by-step guides, allowing you to configure and manage the bridge effortlessly.
- Seamless integration: A wireless bridge seamlessly integrates with your existing network infrastructure. It works with your current Wi-Fi network, allowing devices to connect without any complicated configurations.
Overall, using a wireless bridge provides numerous benefits, including extended range, improved network performance, flexibility, cost-effectiveness, and convenience. It’s an excellent solution for expanding your network coverage, overcoming physical limitations, and ensuring a seamless and reliable network connection throughout your space.
Things you’ll need
Before you start setting up a wireless bridge, make sure you have the following items:
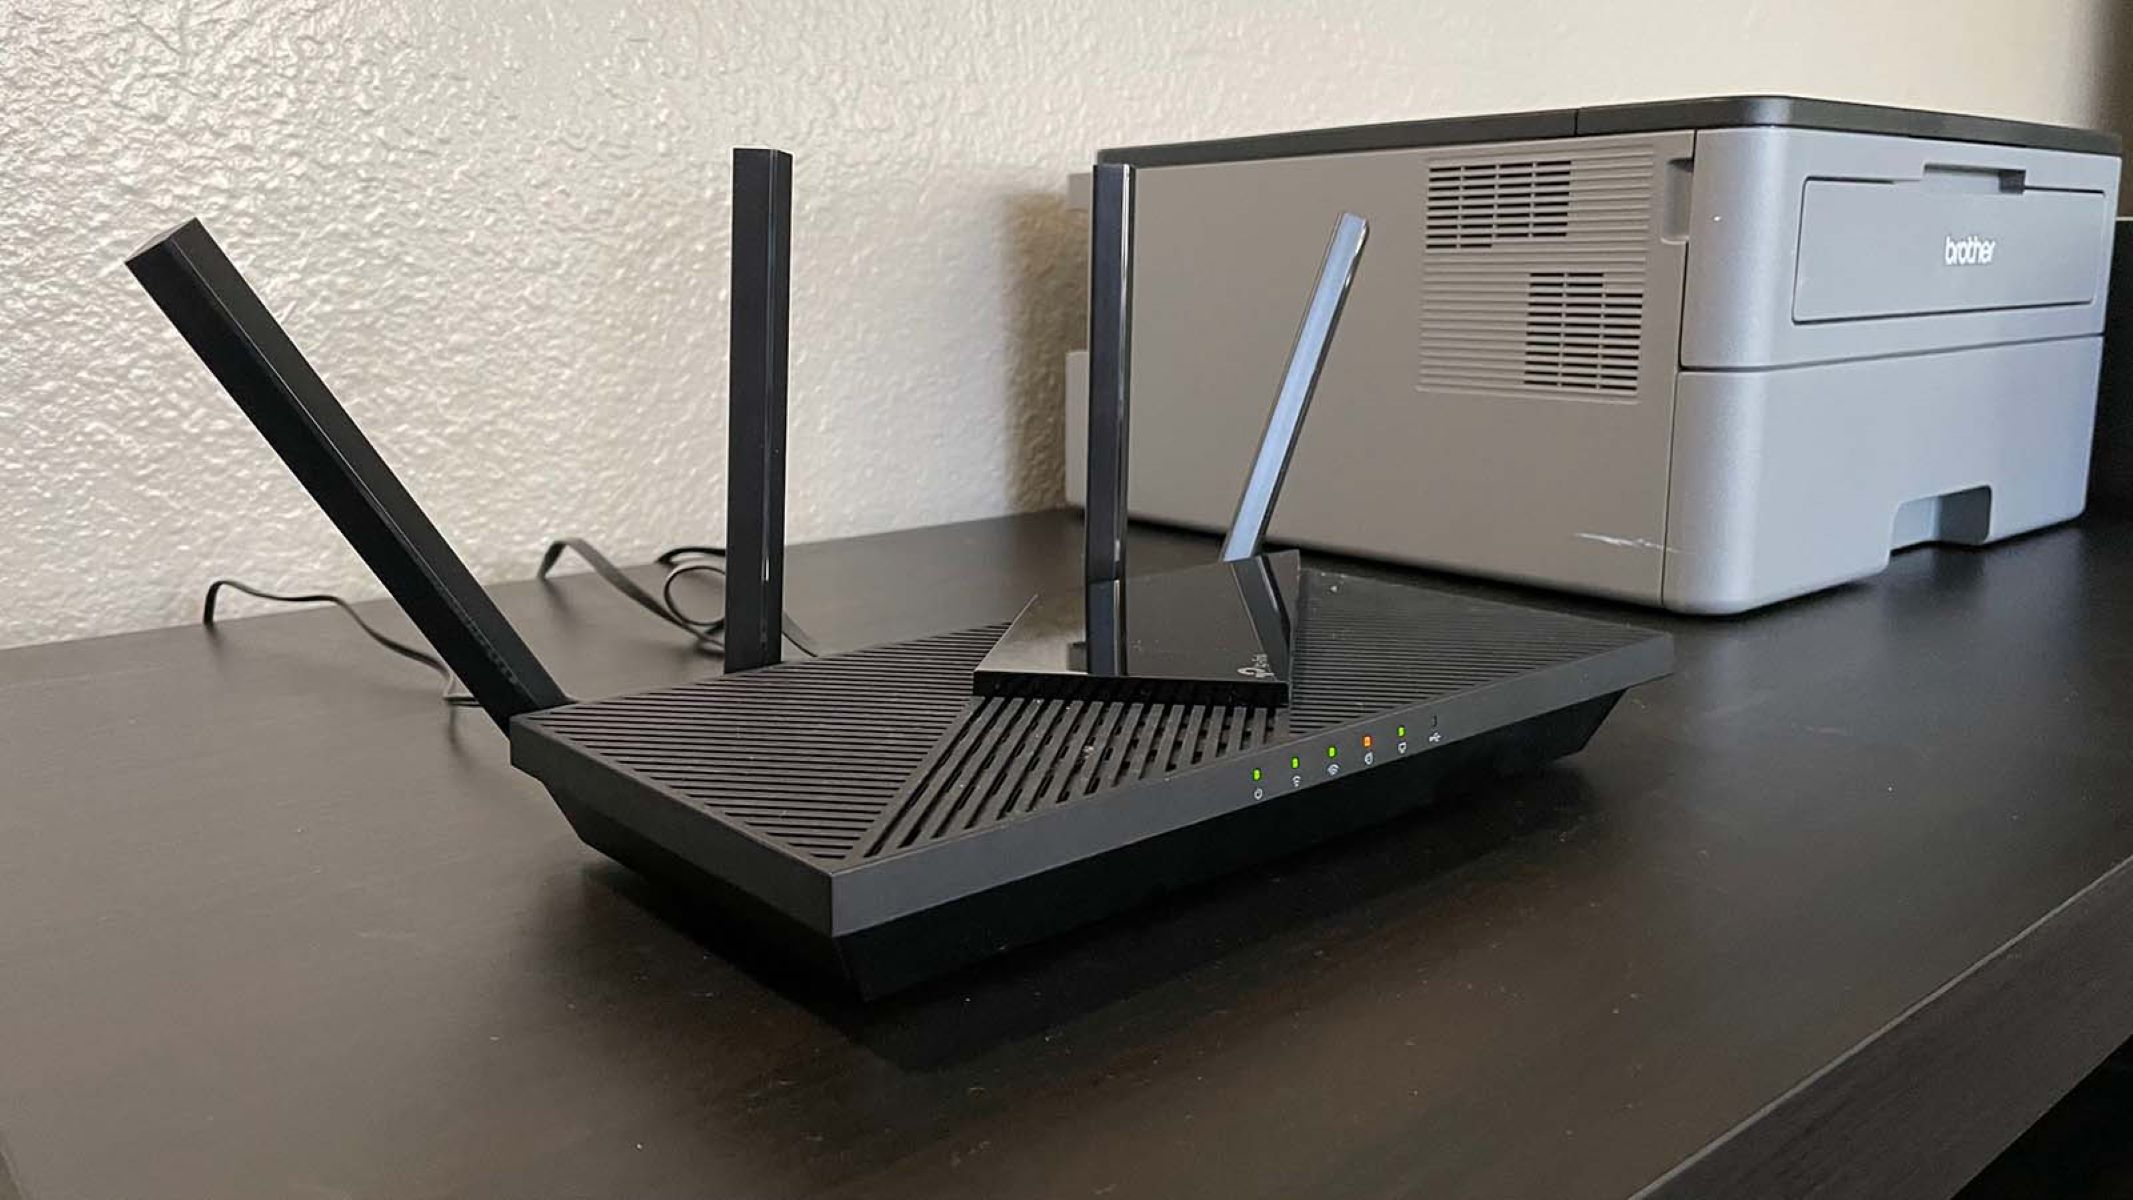
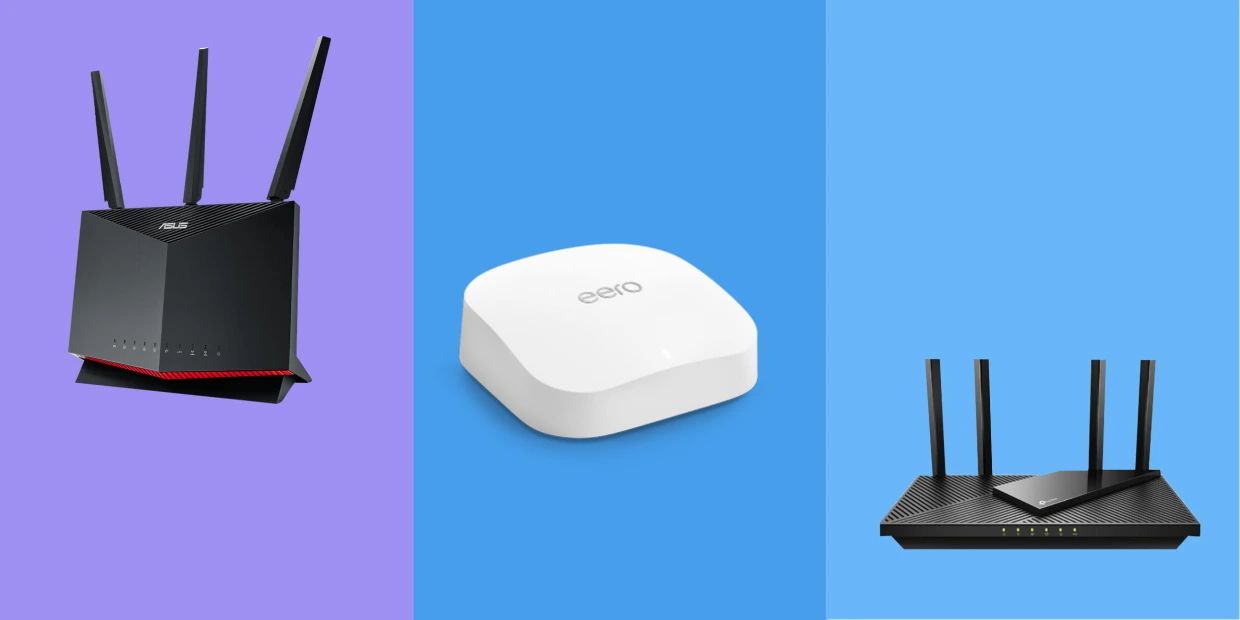
- Two wireless routers: You will need two routers to create the wireless bridge. The primary router will be connected to your modem and serve as the main source of internet connection. The secondary router will act as the bridge and extend the network.
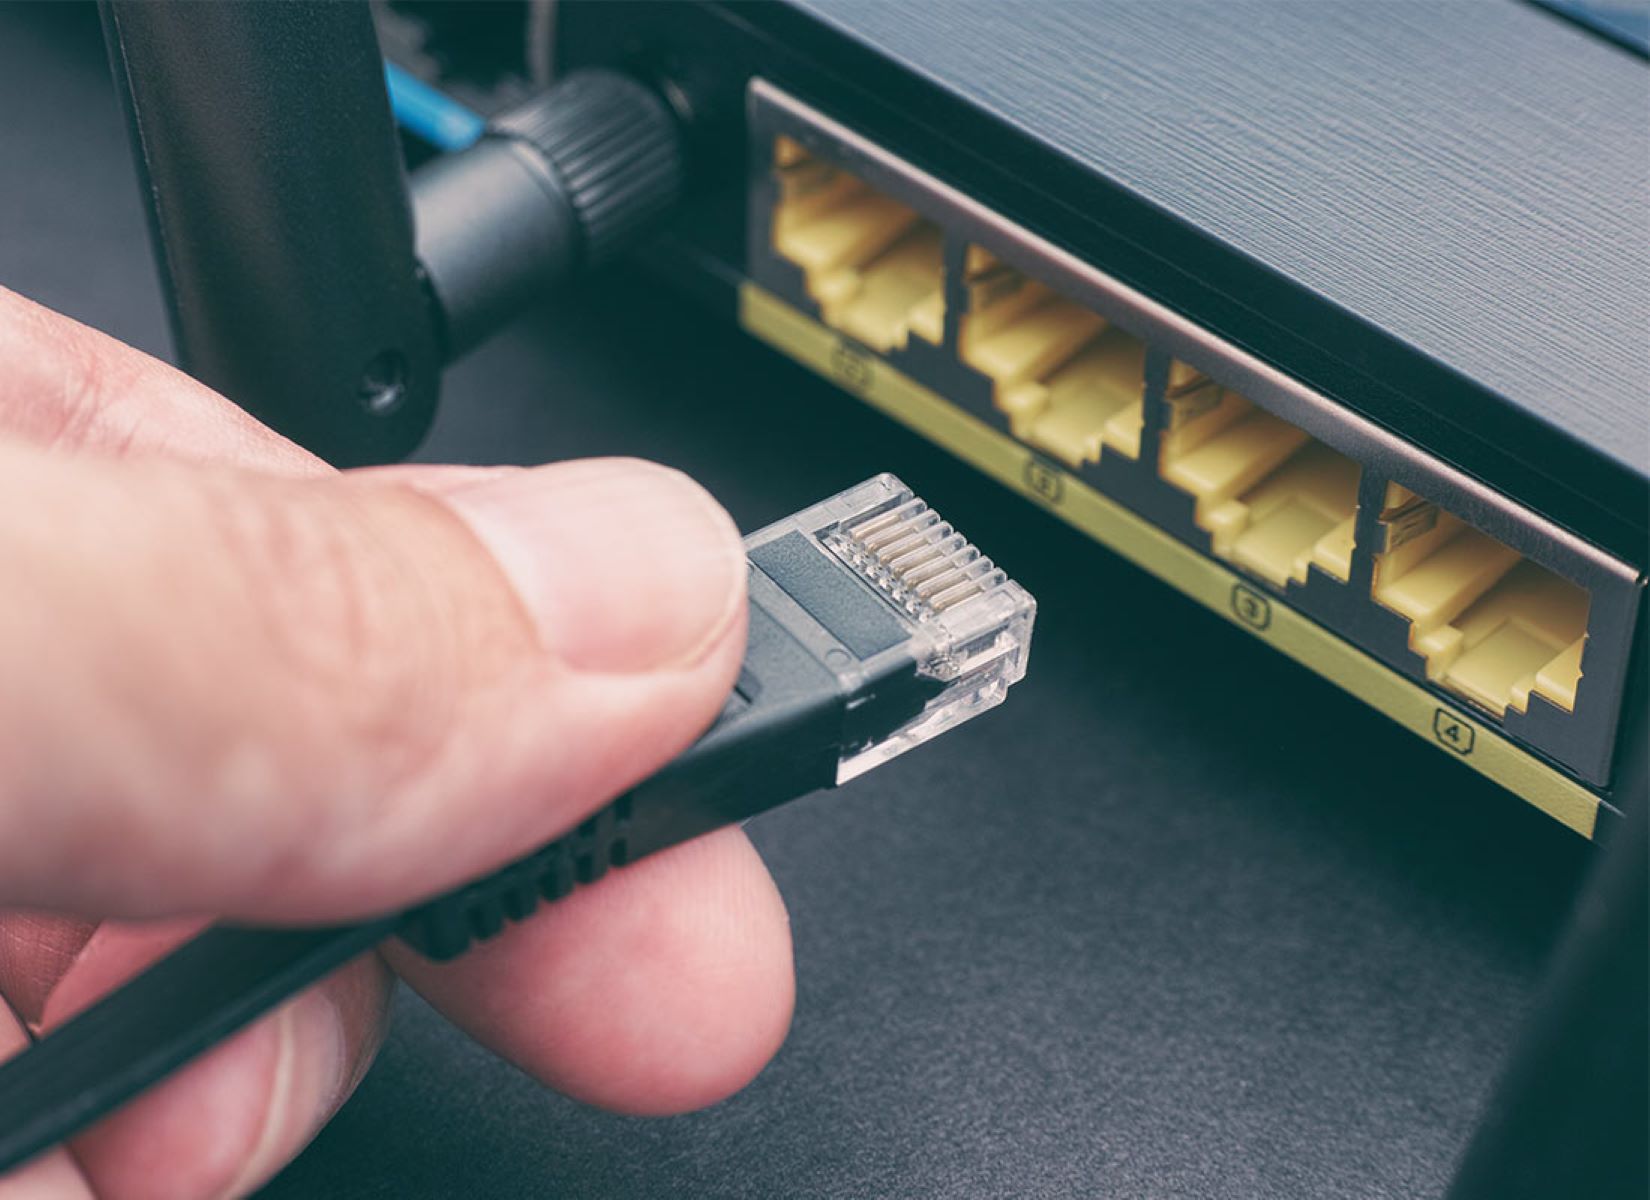
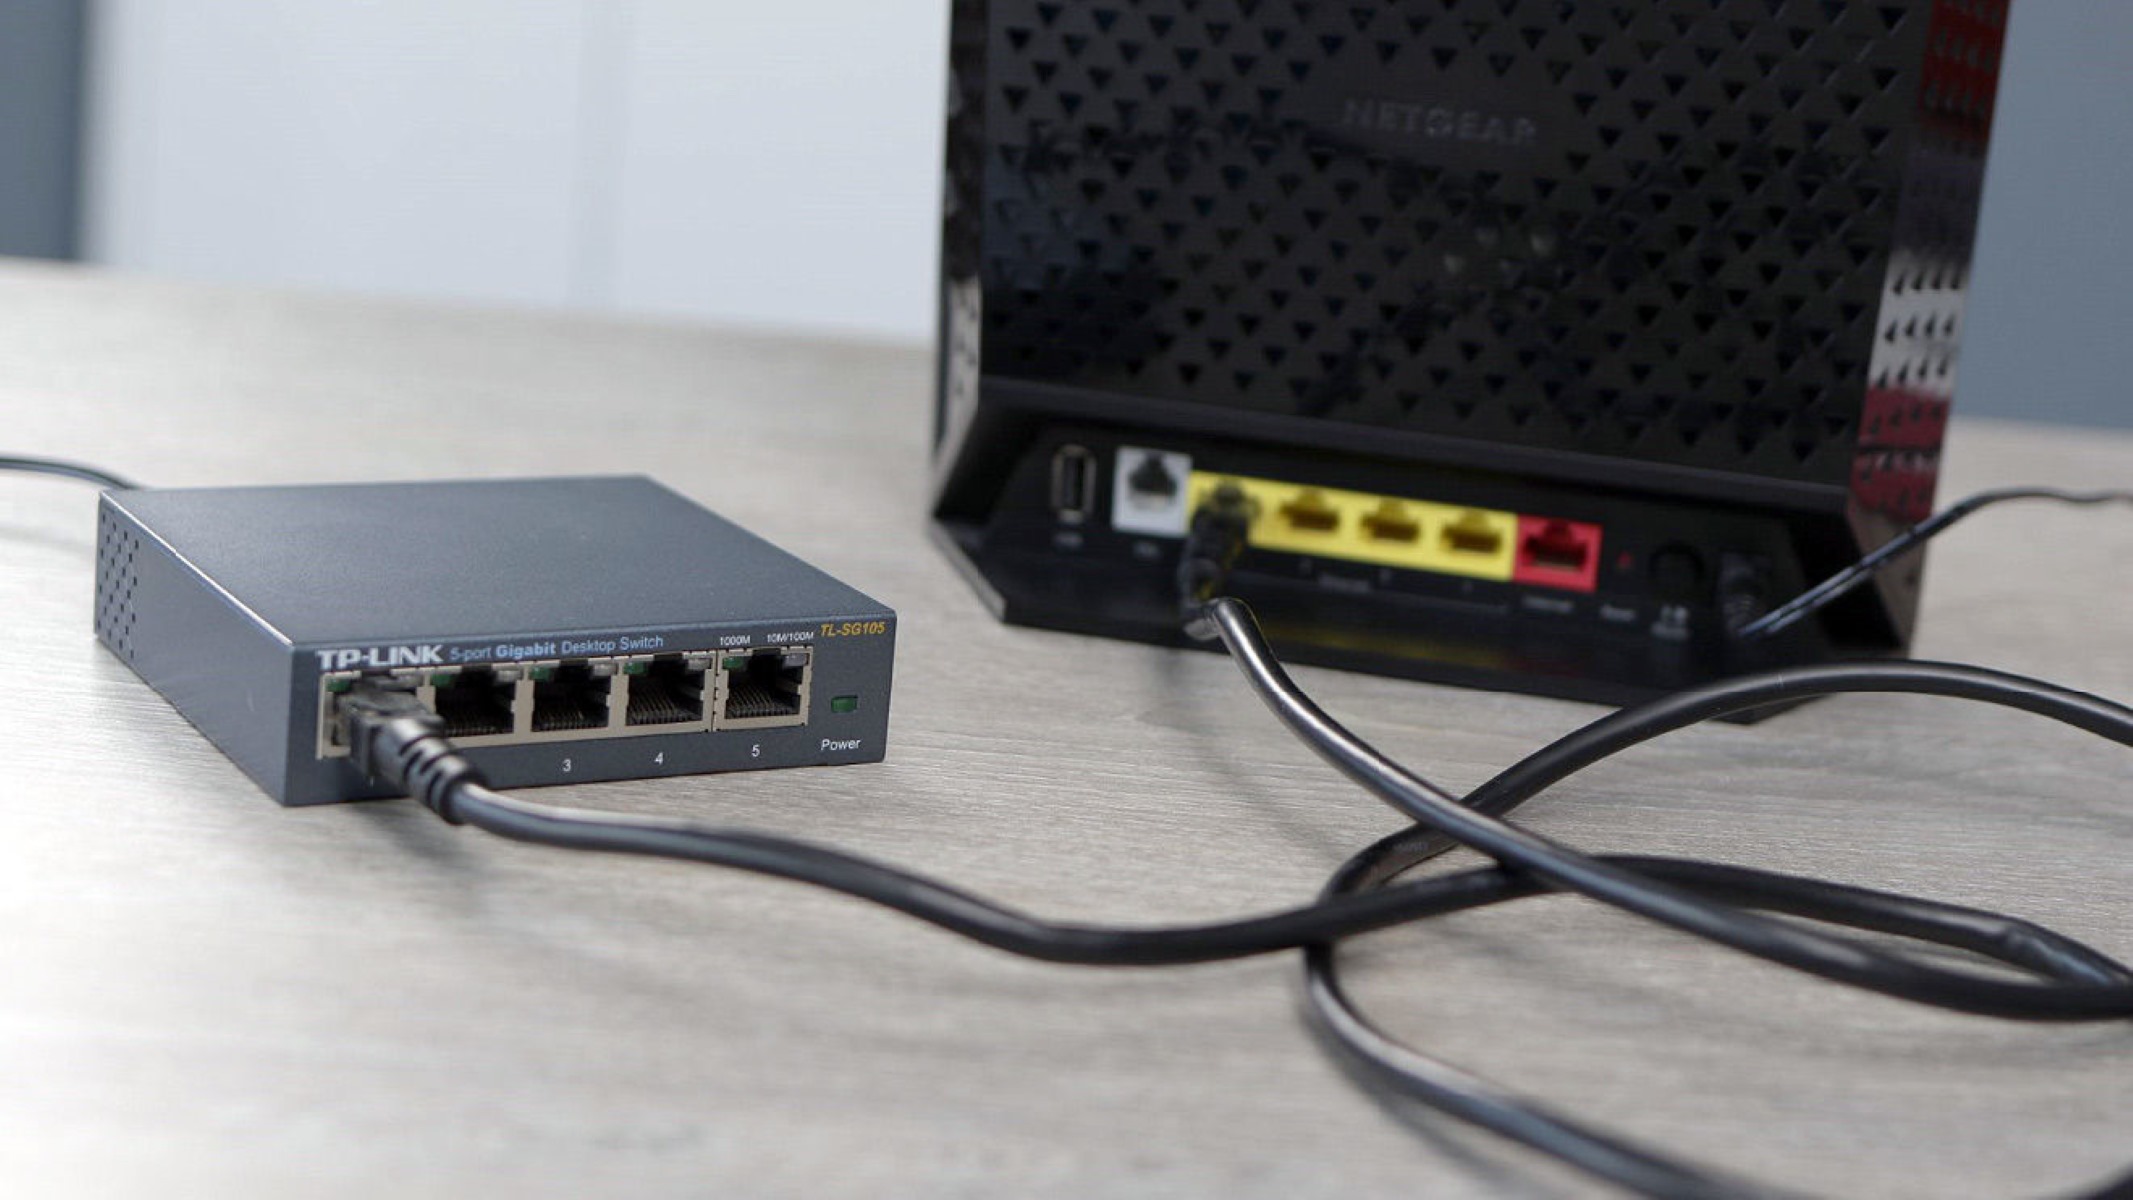
- Ethernet cables: You will need Ethernet cables to connect the routers. Make sure you have enough cables of appropriate length to connect the primary router to the modem and to connect the secondary router to the primary router.
- Computer or mobile device: You will need a computer or mobile device to access the router settings and configure the bridge. Ensure that your computer or device is compatible with the router’s web-based interface.
- Access to router settings: You will need access to the router settings to configure the wireless bridge. Ensure that you have the username and password for both routers, as you will need them during the setup process.
- Network information: Gather the necessary network information, such as the network name (SSID) and password. This information is typically found on the back or bottom of the routers or in the documentation that came with the devices.
- Patience: Setting up a wireless bridge may require some troubleshooting and adjustment. Patience and persistence are key to successfully configuring the bridge and ensuring a stable network connection.
Once you have gathered all the necessary equipment and information, you’ll be ready to proceed with the setup process. Having everything prepared beforehand will ensure a smoother and more efficient installation of the wireless bridge.
Step 1: Connect to your main router
The first step in setting up a wireless bridge is to connect to your main router. This router is connected to your modem and serves as the primary source of internet connection for your network. Follow these steps to connect to your main router:
- Power on your main router and make sure it is connected to your modem.
- Using an Ethernet cable, connect your computer or mobile device to one of the LAN ports on the main router. It’s important to use a LAN port and not the WAN port, as the WAN port should be reserved for the connection to your modem.
- Open a web browser on your computer or mobile device and enter the IP address of the main router in the address bar. This address is typically printed on the router or can be found in the documentation provided by the manufacturer.
- Enter the username and password for the router when prompted. If you haven’t changed the default login credentials, refer to the documentation to find the default username and password for your specific router model.
- Once logged into the router’s settings interface, navigate to the wireless settings section. Here, you can configure the wireless network settings, such as the network name (SSID) and password. Make a note of these settings for future reference.
- Save the changes made to the main router’s settings and exit the interface.
By following these steps, you have successfully connected to your main router and accessed its settings. Now you can proceed to the next step of setting up your wireless bridge.
Step 2: Set up your secondary router
After connecting to your main router, the next step in creating a wireless bridge is to set up your secondary router. This router will act as the bridge, extending the network coverage and allowing seamless connectivity to devices in different areas of your space. Follow these steps to set up your secondary router:
- Power on your secondary router and connect it to your computer or mobile device using an Ethernet cable. Make sure the cable is plugged into one of the LAN ports on the secondary router.
- Open a web browser on your computer or mobile device and enter the IP address of the secondary router in the address bar. Again, consult the documentation provided by the manufacturer to find the specific IP address for your router model.
- When prompted, enter the login credentials for the secondary router. If you haven’t changed the default username and password, refer to the documentation for this information.
- Once logged into the router’s settings interface, navigate to the wireless settings section. Disable the DHCP functionality on the secondary router. DHCP (Dynamic Host Configuration Protocol) is responsible for assigning IP addresses to devices on the network. Disabling DHCP will prevent conflicts with the main router.
- Configure the wireless network settings on the secondary router, making sure to use the same network name (SSID) and password as the main router. This will allow devices to seamlessly connect to the network as they move between the routers.
- Save the changes made to the secondary router’s settings and exit the interface.
By completing these steps, you have successfully set up your secondary router, which will now act as the bridge in your wireless network. It’s now time to proceed to the next step and configure your wireless bridge.
Step 3: Configure your wireless bridge
Now that you have set up both your main and secondary routers, it’s time to configure your wireless bridge. This step involves connecting the secondary router to the main router wirelessly, allowing devices to seamlessly communicate between the two routers. Follow these steps to configure your wireless bridge:
- Place the secondary router in a location where it can receive a strong Wi-Fi signal from the main router. Ensure that the distance between the routers is within the range of the Wi-Fi signal.
- Power on the secondary router and wait for it to establish a connection with the main router.
- Access the settings interface of the secondary router by entering its IP address in a web browser.
- Navigate to the wireless settings section and look for the option to set the router mode. Select “Wireless Bridge” or a similar option.
- Specify the SSID (network name) and password of the main router in the wireless bridge settings on the secondary router. This will establish a wireless connection between the two routers.
- Save the changes made to the secondary router’s settings and allow it to restart if necessary.
- Ensure that both the main and secondary routers are powered on and operational. The secondary router should now be connected to the main router wirelessly, acting as a bridge for devices to connect.
By completing these steps, you have successfully configured your wireless bridge. Devices connected to either router will now be able to communicate seamlessly, allowing for an extended network range and improved connectivity. Now, let’s move on to the final step and connect your devices to the wireless bridge.
Step 4: Connect your devices to the wireless bridge
Now that you have configured your wireless bridge, it’s time to connect your devices and enjoy the extended network coverage and seamless connectivity. Follow these steps to connect your devices to the wireless bridge:
- Ensure that your devices (such as laptops, smartphones, or tablets) are within the range of the wireless bridge signal.
- On your device, navigate to the Wi-Fi settings menu and search for available networks.
- Locate the network name (SSID) of your wireless bridge in the list of available networks.
- Select the wireless bridge network and enter the password when prompted. This password should be the same as the password of the main router’s network.
- Once connected, your device will now be able to seamlessly communicate with other devices on the network, whether they are connected to the main router or the secondary router acting as the bridge.
- Repeat these steps for each device you want to connect to the wireless bridge.
By following these steps, you have successfully connected your devices to the wireless bridge. Your devices will now be able to enjoy the extended network range and improved connectivity provided by the bridge. You can now move freely throughout your space without worrying about losing the network connection.
If you encounter any issues with connectivity or if some devices are not able to connect to the wireless bridge, refer to the troubleshooting tips section for assistance.
Troubleshooting tips
While setting up a wireless bridge can greatly enhance your network connectivity, it’s possible to encounter some challenges along the way. Here are some troubleshooting tips to help you overcome common issues:
- Ensure both routers are compatible: Double-check that both your main and secondary routers support the wireless bridge mode. Not all routers have this feature, so verify compatibility before proceeding.
- Check wireless signal strength: Ensure that the secondary router is located within a reasonable distance from the main router to receive a strong Wi-Fi signal. Weak signal strength can cause connection issues.
- Confirm correct network settings: Check that the SSID (network name) and password for both routers are correctly entered in the wireless bridge settings. Even a minor mistake can prevent devices from connecting to the bridge.
- Power cycle the routers: Sometimes, simply power cycling the routers can help resolve connectivity issues. Turn off both routers, wait a few seconds, and then turn them back on.
- Reset to factory defaults: If you’re still experiencing problems, consider resetting both routers to their factory default settings. Consult the documentation or manufacturer’s website for instructions on how to perform a reset.
- Update router firmware: Check if there are any firmware updates available for your routers. Keeping the firmware up to date can improve performance and fix known issues.
- Disable conflicting settings: Make sure there are no conflicting settings enabled on either router, such as MAC address filtering or firewall rules that block communication between the routers.
- Use different channels: If there are other neighboring Wi-Fi networks causing interference, try changing the wireless channels on both routers to avoid signal conflicts.
- Seek professional assistance: If you’ve tried all troubleshooting steps and still can’t resolve the issue, consider contacting technical support for your routers or consult a professional networking technician for further assistance.
Remember to remain patient and methodical during troubleshooting. It may take some trial and error to identify and resolve any issues, but with persistence, you’ll be able to enjoy the benefits of a fully functioning wireless bridge.
Conclusion
Setting up a wireless bridge with two routers can greatly enhance your network coverage and connectivity in your home or office. By following the step-by-step process outlined in this guide, you can extend your network range, improve network performance, and eliminate dead zones.
A wireless bridge offers several benefits, including extended range, improved network performance, flexibility, cost-effectiveness, and convenience. It allows you to connect devices in different areas of your space without the need for physical cables, reducing clutter and simplifying your network setup.
Throughout the setup process, it’s important to gather the necessary equipment, such as two routers and Ethernet cables, and familiarize yourself with your router’s settings interface. With patience, persistence, and attention to detail, you’ll be able to successfully create a wireless bridge and connect your devices seamlessly.
If you encounter any issues during the setup or face connectivity problems, refer to the troubleshooting tips provided in this guide. These tips can help you overcome common challenges and resolve any issues that may arise.
Now that you have learned how to set up a wireless bridge, you can take full advantage of the extended network coverage and enjoy a seamless network experience throughout your space. So go ahead, connect your devices, and enjoy a robust and reliable network connection.


