Reasons to Make a New SSD the Primary Drive
Upgrading to a new SSD (Solid State Drive) can greatly enhance the performance and speed of your computer. Making the new SSD the primary drive offers several key advantages. Here are some compelling reasons to consider:
- Faster Boot Time: One of the primary benefits of using an SSD as the primary drive is its significantly faster boot time. Compared to traditional hard drives, SSDs can start your operating system in a matter of seconds. This means you can get up and running with your computer more quickly, saving you valuable time.
- Improved System Performance: SSDs are much faster than mechanical hard drives in accessing and retrieving data. This translates to improved overall system performance, including faster loading times for applications, smoother multitasking, and quicker file transfers. With an SSD as the primary drive, you can experience a noticeable boost in the responsiveness and efficiency of your computer.
- Enhanced Reliability: SSDs have no moving parts like traditional hard drives, making them more resistant to physical shock and less prone to mechanical failure. This increased durability means that your data is safer and less likely to be lost due to drive malfunction. By making the SSD your primary drive, you can enjoy a higher level of reliability, ensuring the safety of your valuable files.
- Extended Battery Life: SSDs consume less power compared to mechanical hard drives, which can contribute to longer battery life for laptops and portable devices. By utilizing an SSD as the primary drive, you can extend the runtime of your laptop, allowing you to work or play without constantly searching for power outlets.
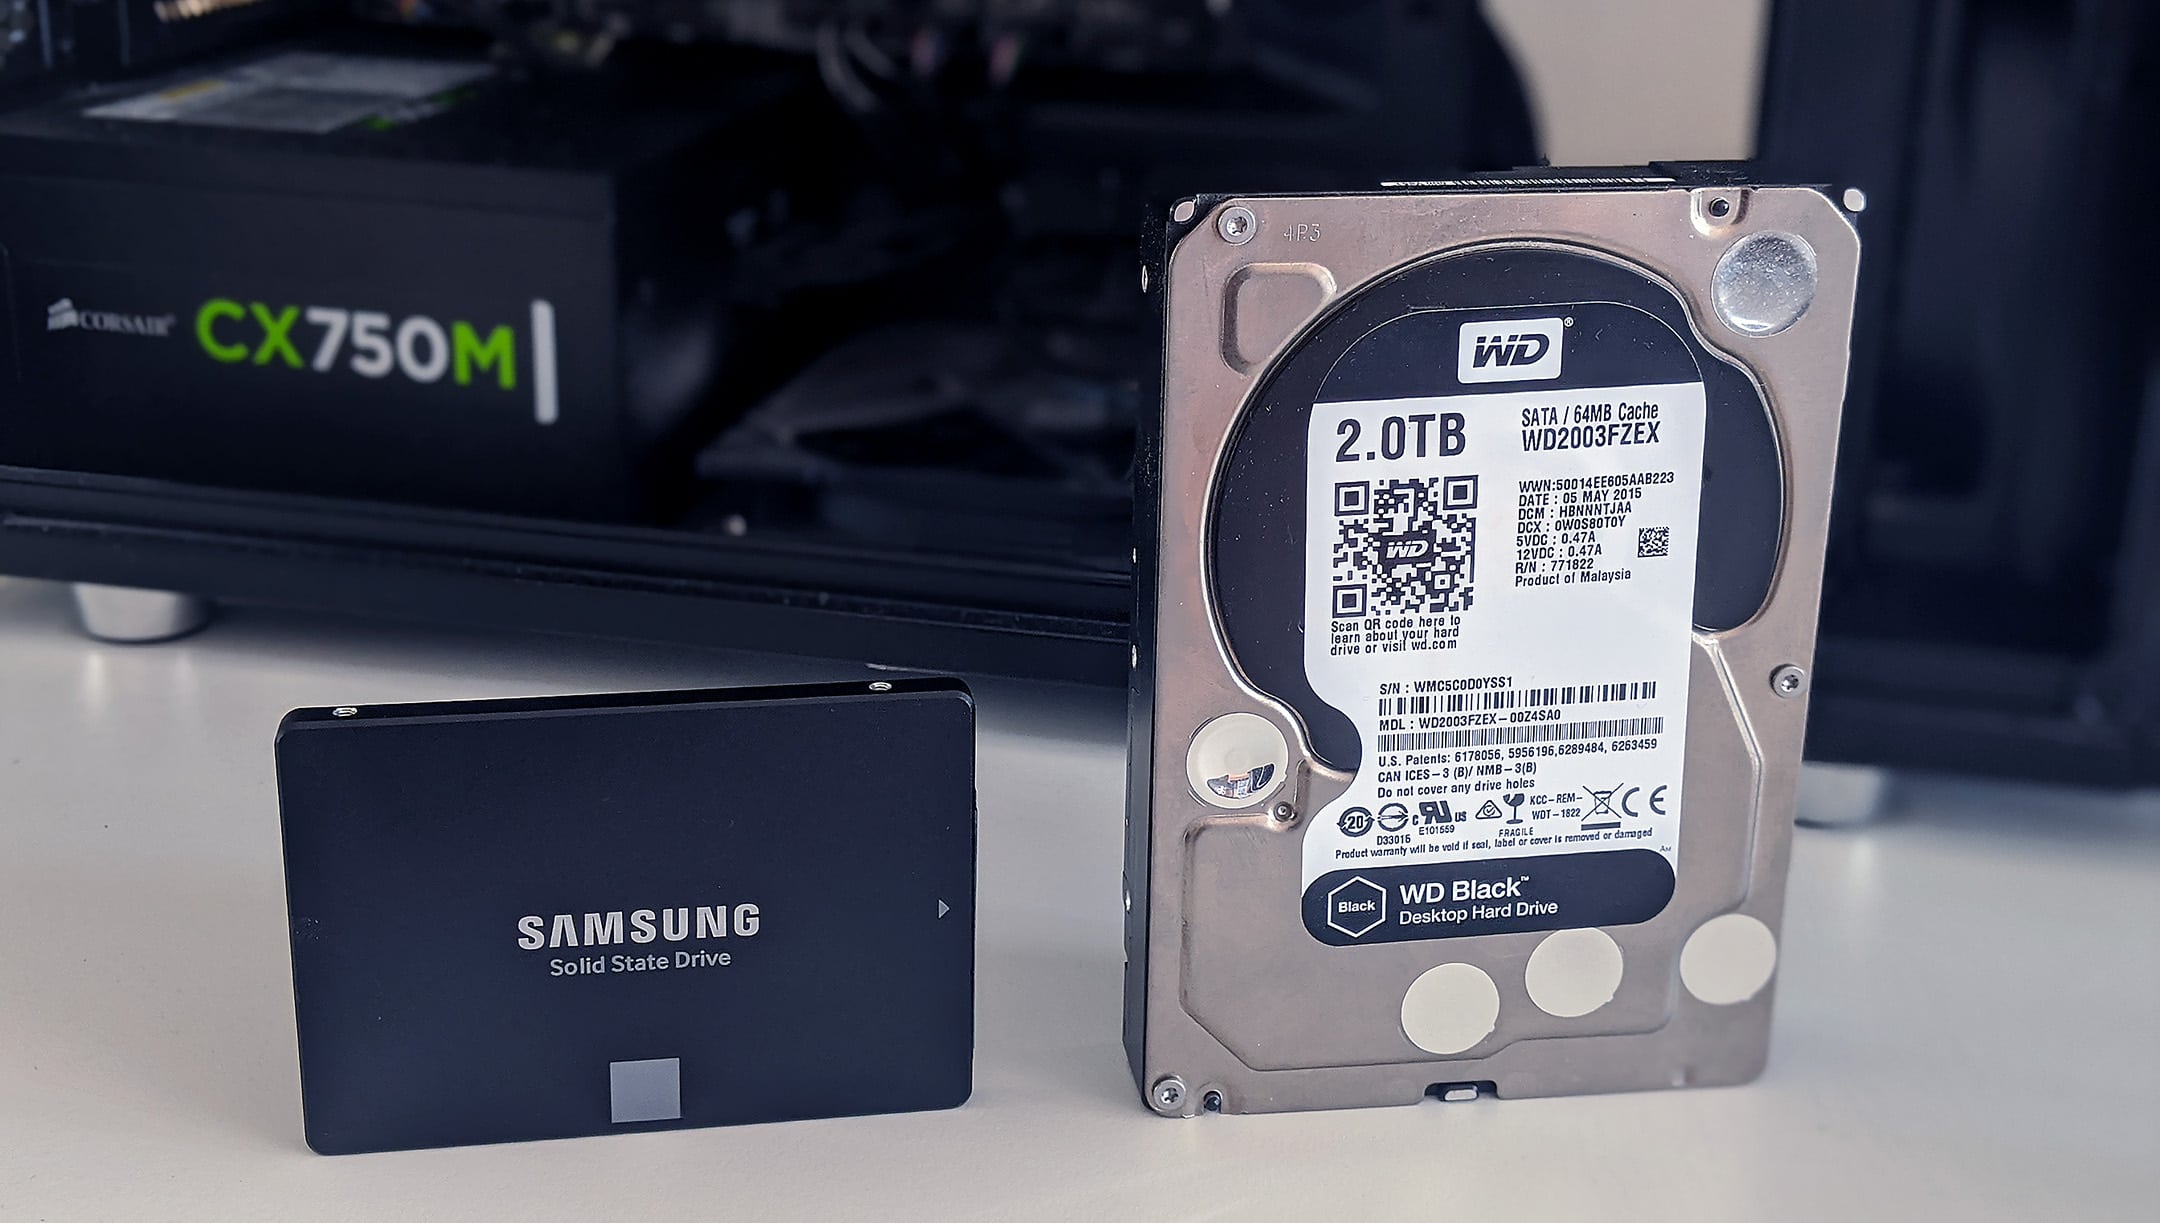
- Space Efficiency: SSDs are typically smaller and more compact than traditional hard drives, offering a space-saving advantage. This can be particularly useful if you have a limited amount of physical space within your computer or if you need to install multiple drives. By making the SSD the primary drive, you can optimize your storage layout and maximize the available space in your system.
These reasons showcase the numerous benefits of making a new SSD the primary drive in your computer. Whether you’re seeking faster performance, improved reliability, or extended battery life, upgrading to an SSD and setting it as your primary drive is a decision that can greatly enhance your overall computing experience.
Backup Important Data
Before making the new SSD the primary drive, it is crucial to backup your important data. This ensures that you have a copy of your files in case anything goes wrong during the installation process. Here are some key steps to follow when backing up your data:
- Identify Important Files: Take the time to identify the files and folders that contain important data on your current primary drive. This includes documents, photos, videos, music, and any other files that you cannot afford to lose.
- Choose a Backup Method: There are several backup methods to consider, such as using an external hard drive, cloud storage services, or a combination of both. Evaluate which method works best for you in terms of convenience, accessibility, and security.
- Create a Backup: Depending on the method you choose, follow the instructions to create a backup of your important data. This may involve copying the files to an external hard drive, uploading them to a cloud storage service, or using backup software to automate the process.
- Verify the Backup: Once the backup is complete, it is crucial to verify that the files have been successfully copied or stored. Check to ensure that all the important data is intact and accessible from the backup location.
Backup your important data is a necessary precaution that gives you peace of mind during the process of setting up a new SSD as the primary drive. Whether it’s an unforeseen technical issue or a simple human error, having a backup ensures that your valuable files are protected.
Keep in mind that you should also create a system image or a clone of your current primary drive. This allows you to restore the entire operating system, applications, and settings to the new SSD, saving you time and effort in reinstalling everything individually.
By following these steps and making a backup of your important data, you can proceed with setting up the new SSD as the primary drive with confidence, knowing that your files are safe and secure.
Choose the Right SSD
Choosing the right SSD (Solid State Drive) is crucial to ensure optimal performance and compatibility with your system. With numerous options available, it’s essential to consider the following factors when selecting an SSD:
- Capacity: Determine the storage capacity that meets your needs. SSDs are available in various sizes, ranging from 128GB to multiple terabytes. Consider your usage requirements, such as the number of programs, files, and multimedia you plan to store on the SSD.
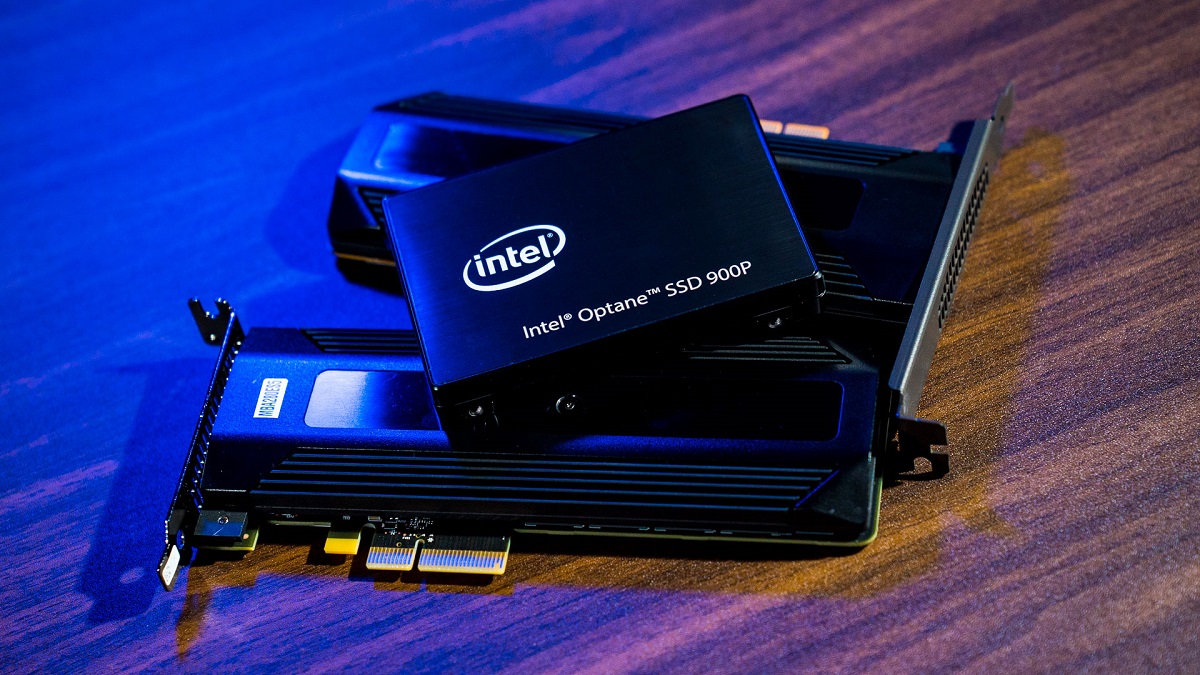
- Interface: Check the interface compatibility of the SSD with your computer’s motherboard. The most common interfaces are SATA, PCIe, and NVMe. Make sure your system supports the chosen interface to avoid any compatibility issues.
- Read/Write Speed: Take note of the SSD’s read and write speed specifications. This determines how quickly data can be retrieved from or written to the drive. Higher read/write speeds result in faster loading times for applications and improved overall system performance.
- Endurance and Reliability: Consider the endurance and reliability of the SSD, as these factors play a crucial role in the drive’s lifespan. Look for SSDs with high endurance ratings (measured in terabytes written or TBW) and reliable brands known for producing durable and long-lasting drives.
- Price: Compare prices across different SSD models and brands, taking into account the features and specifications offered. Consider your budget and prioritize value for money when making your decision.
- Brand Reputation: Research the reputation of the SSD brand and read customer reviews to gauge the reliability and quality of the product. Choose a renowned and trusted brand with a track record of producing high-performance and reliable SSDs.
Selecting the right SSD ensures that you not only experience the advantages of using an SSD as the primary drive but also avoid potential compatibility or performance issues. By considering factors like capacity, interface, read/write speed, endurance, price, and brand reputation, you can make an informed decision and choose an SSD that best suits your requirements.
Remember to check the recommended hardware specifications for your computer or consult with a knowledgeable professional if you are unsure about the compatibility of the chosen SSD with your system.
Installing the New SSD
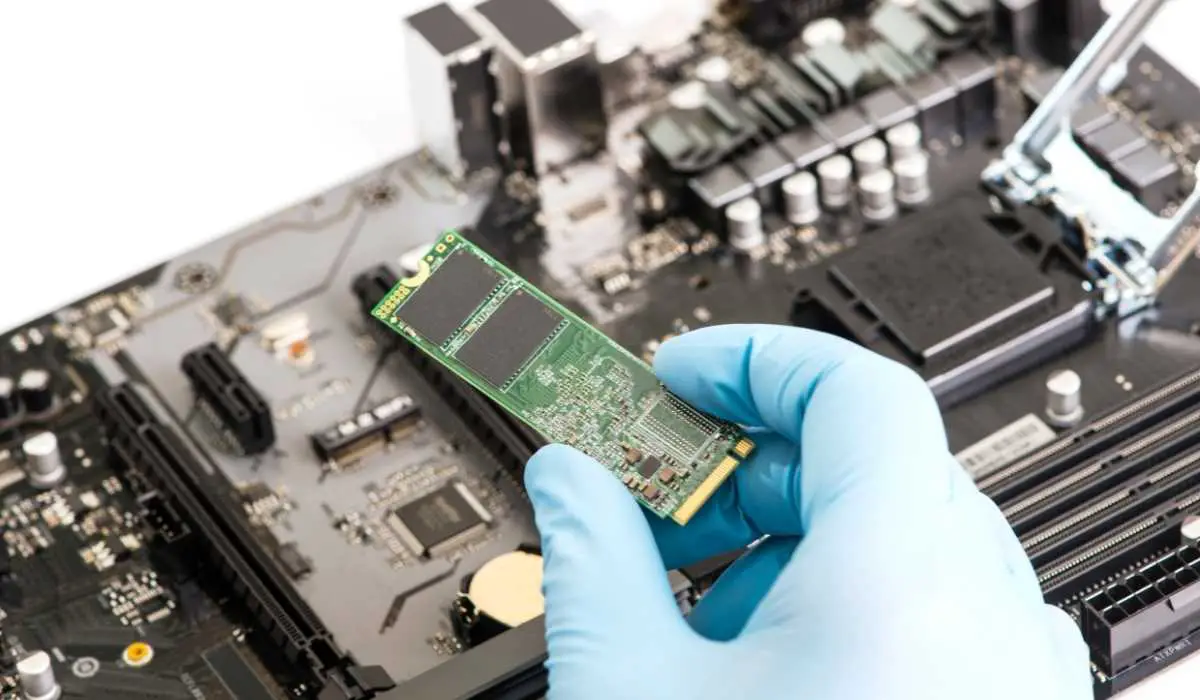
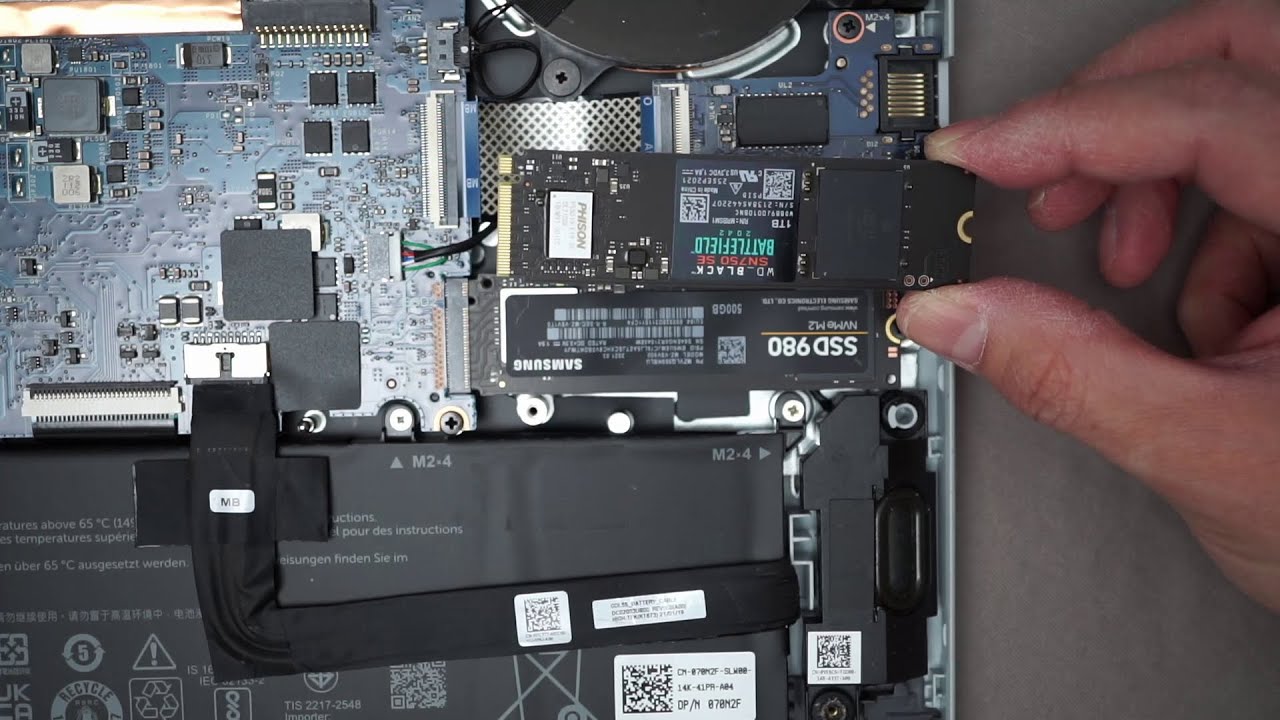
Installing a new SSD (Solid State Drive) requires a few simple steps to ensure a smooth and successful installation process. Here’s a guide to help you through the installation:
- Gather the Required Tools: Before starting the installation, gather the necessary tools such as a screwdriver (if needed), antistatic wristband (to prevent static discharge), and any additional cables or brackets that may be required for your specific computer setup.
- Prepare the Computer: Power off your computer and unplug it from the power source. Open the computer case by removing the side panel or accessing the appropriate compartment to access the drive bays.
- Locate an Available Drive Bay: Identify an available drive bay where you can install the new SSD. Most computer cases have designated bays specifically for SSDs or additional hard drives.
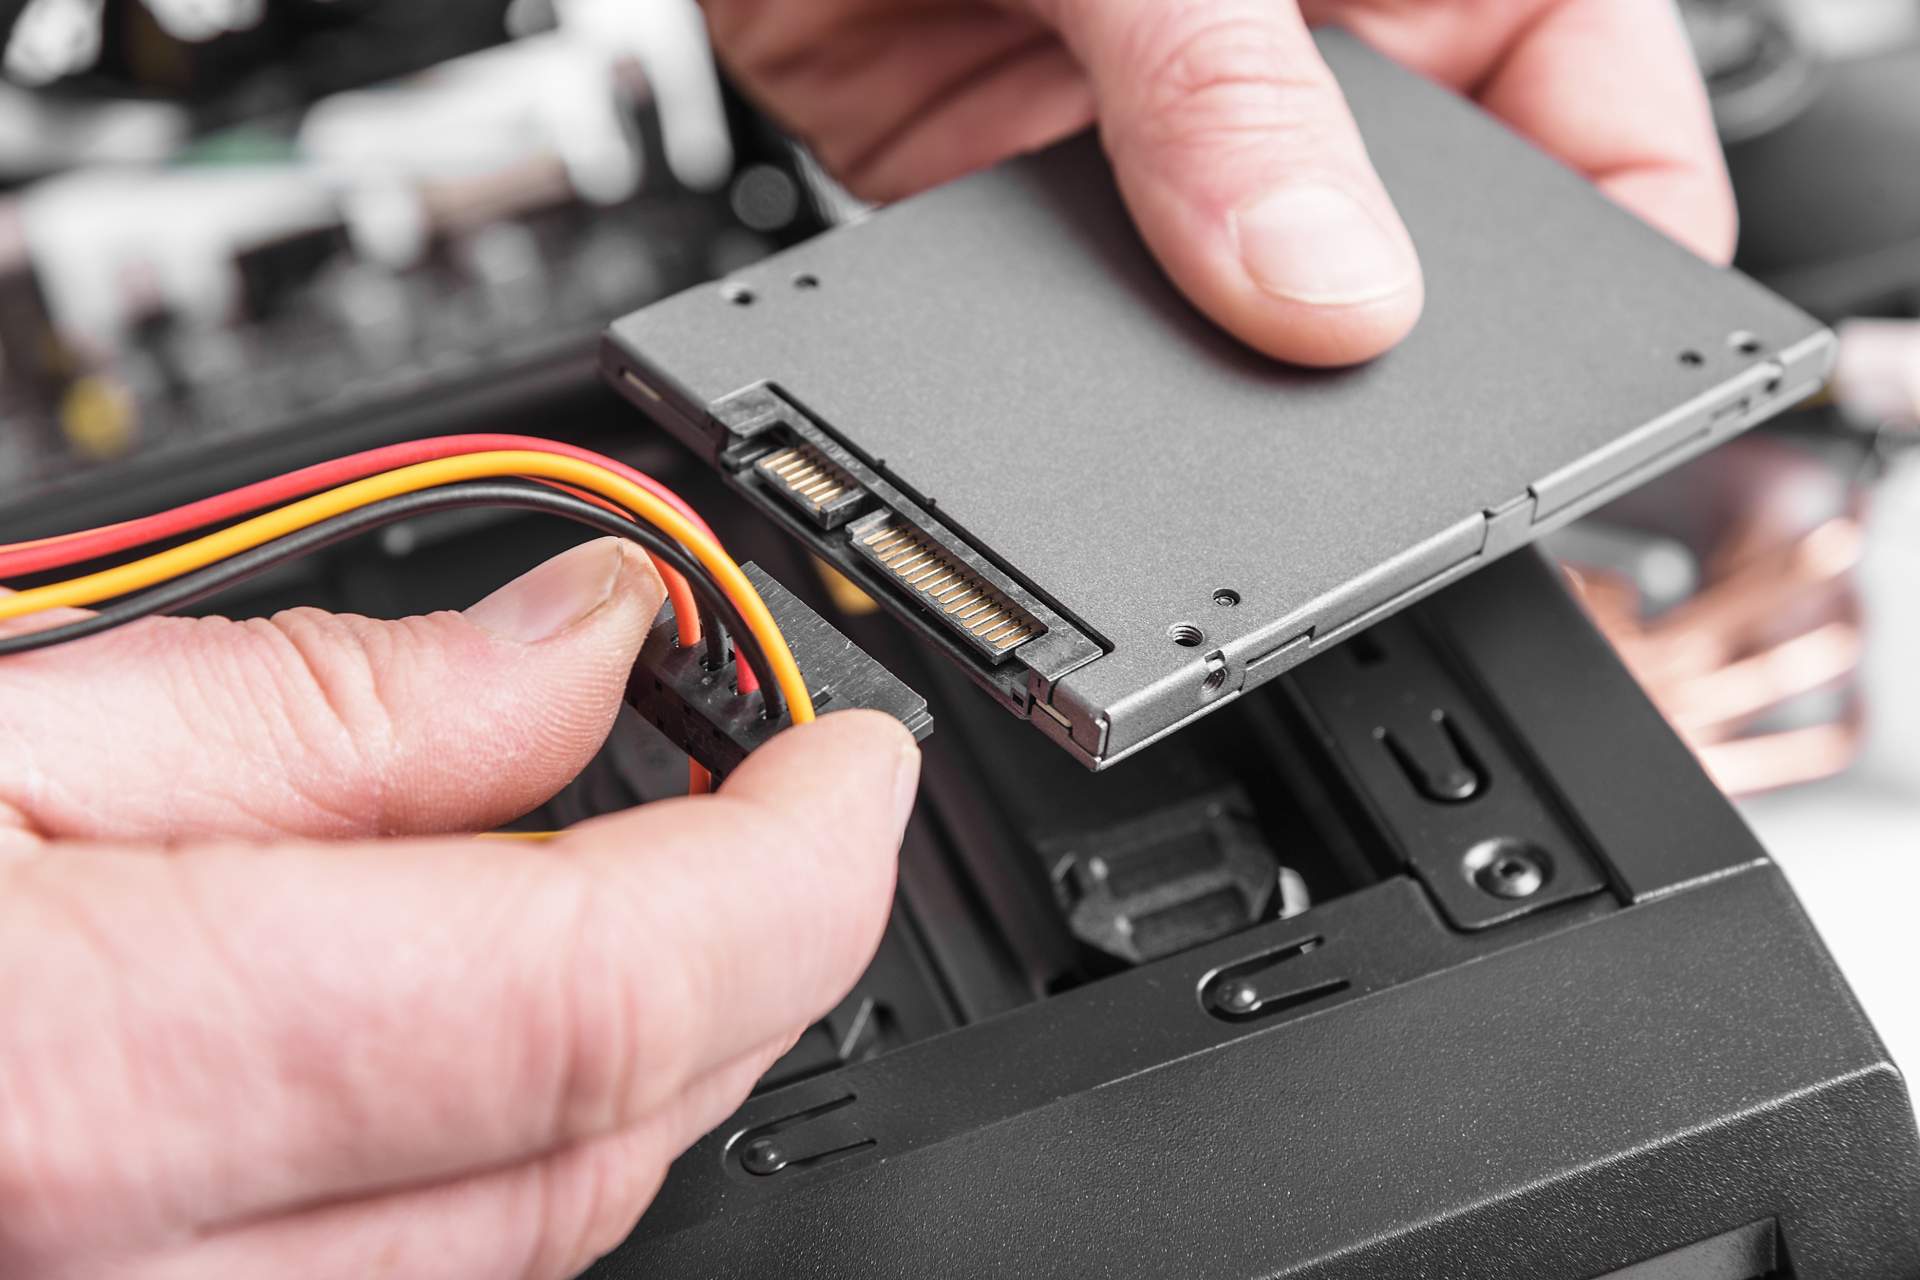
- Mount the SSD: Depending on your computer case, you may need to use brackets or mounting screws to secure the SSD in the designated drive bay. Carefully align the SSD with the connectors facing the appropriate direction, and secure it in place.
- Connect the Cables: Connect the necessary cables to the SSD. This typically involves attaching a SATA cable to the SSD’s SATA port and connecting the other end to an available SATA port on the motherboard. If your SSD requires additional power, connect the appropriate power cable as well.
- Secure the SSD: Ensure that the SSD is securely connected and properly mounted in the drive bay. Double-check all connections and screws to prevent any loose or unstable connections.
- Close the Computer Case: Once the SSD is installed and properly secured, close the computer case by replacing the side panel or closing any compartments. Make sure all cables are neatly organized to avoid any obstructions or interference.
- Power On and Verify: Plug your computer back into the power source and power it on. Enter the BIOS or UEFI settings to ensure that the SSD is recognized and detected by the system. If necessary, make any adjustments in the BIOS to set the new SSD as the primary drive.
By following these steps, you can successfully install the new SSD in your computer. It’s important to exercise caution while handling computer components and ensure that all connections are secure to avoid any damage to the SSD or other system components. If you’re not confident in carrying out the installation yourself, it’s recommended to seek the assistance of a qualified professional.
Migrate Operating System to the New SSD
Migrating the operating system from your current drive to the new SSD (Solid State Drive) allows you to enjoy the benefits of improved speed and performance. Here are the steps to migrate your operating system:
- Backup Your Data: Before migrating the operating system, ensure that you have a backup of all your important files and data. This ensures that you have a copy in case of any unexpected issues during the migration process.
- Choose a Migration Tool: There are several migration tools available, both paid and free, that can help you transfer your operating system to the new SSD. Research and choose a reliable tool that is compatible with your current operating system.
- Connect the SSD: Connect the new SSD to your computer. This can be done by using an external enclosure, a USB to SATA adapter, or by temporarily installing the SSD in an available drive bay inside your computer case.
- Run the Migration Tool: Launch the chosen migration tool and follow the on-screen instructions. Typically, you will be prompted to select the source drive (your current drive) and the target drive (the new SSD). Make sure to select the correct drives to avoid any data loss.
- Configure the Migration Settings: Depending on the migration tool, you may be given options to clone the entire drive or specific partitions. Choose the appropriate settings based on your preferences and requirements. You may also have the option to resize partitions to utilize the full capacity of the new SSD.
- Start the Migration Process: Once you have configured the settings, initiate the migration process. The tool will begin copying the operating system, files, and settings from the source drive to the new SSD. The time it takes will depend on the amount of data being transferred.
- Verify the Migration: After the migration is complete, restart your computer and access the BIOS or UEFI settings. Ensure that the new SSD is recognized as the primary drive. If necessary, adjust the boot order to prioritize the SSD.
- Test the New SSD: Reboot your computer and verify that the operating system loads successfully from the new SSD. Open applications and files to confirm that everything is functioning as expected. If any issues arise, refer to the documentation provided by the migration tool or seek technical assistance.
Migrating the operating system to the new SSD allows you to enjoy the improved performance and speed while retaining all your files and settings. It’s advisable to keep your original drive as a backup until you are confident that the migration was successful and all data has been transferred appropriately.
Remember to follow the instructions provided by the migration tool and exercise caution when selecting drives and configuring settings. If you are unsure about any step in the process, it’s recommended to seek the guidance of a professional or consult the documentation of the migration tool for further clarification.
Set the New SSD as Primary Drive
Setting the new SSD (Solid State Drive) as the primary drive ensures that your computer boots from the SSD and maximizes its performance benefits. Here’s how to set the new SSD as the primary drive:
- Enter the BIOS or UEFI Settings: Restart your computer and enter the BIOS or UEFI settings. The key to access the settings varies depending on your computer manufacturer. Common keys include F2, F10, Del, or Esc. Consult the computer’s manual or look for on-screen prompts during startup to identify the correct key.
- Navigate to the Boot Menu: Once inside the BIOS or UEFI settings, navigate to the boot menu. This section may be labeled “Boot,” “Boot Options,” or similar variations. Look for the option to set the boot order or select the boot device.
- Change the Boot Order: In the boot menu settings, change the boot order to prioritize the new SSD as the primary device. Move the SSD to the top of the boot order list or select it as the first boot device. This ensures that the computer boots from the SSD before checking other devices.
- Save and Exit: After making the changes, save the new settings and exit the BIOS or UEFI settings. Look for an option to save and exit or press the designated key (such as F10) to save the changes and reboot the computer.
- Restart the Computer: Once the computer restarts, it should now boot from the new SSD as the primary drive. You may notice a significant improvement in boot time and overall system performance.
- Verify the Changes: After the computer has booted up, check the system information or access the BIOS or UEFI settings again to confirm that the new SSD is recognized as the primary drive. Ensure that the newly installed operating system and all files are accessible from the SSD.
By following these steps, you can successfully set the new SSD as the primary drive, harnessing its speed and performance benefits. However, it’s important to note that the process can vary slightly depending on the computer’s manufacturer and specific BIOS or UEFI version. Consult the computer’s manual or the manufacturer’s website for detailed instructions specific to your system.
Remember that if you encounter any difficulties or are unsure about any step in the process, it’s recommended to seek assistance from a technical professional or consult the support resources provided by your computer’s manufacturer.


