Introduction
Chromebooks are popular laptops that run on Chrome OS, an operating system developed by Google. They offer a user-friendly interface and are known for their fast and secure browsing capabilities. If you own a Chromebook, you may be wondering how to make a folder to better organize your files and documents.
Creating folders on a Chromebook is a simple and efficient way to keep your files organized and easily accessible. Whether you want to categorize your work documents, store your favorite photos, or keep your personal files separate from your professional ones, folders can help you achieve a clutter-free digital space.
In this article, we will guide you step-by-step on how to create folders on a Chromebook, name them, move files into them, and organize and manage your folders effectively.
By following these instructions, you’ll be able to optimize your file management experience on your Chromebook, making it easier to find and access the files you need, when you need them. So, let’s get started with the first step: opening the Files app on your Chromebook.
Step 1: Opening the Files App
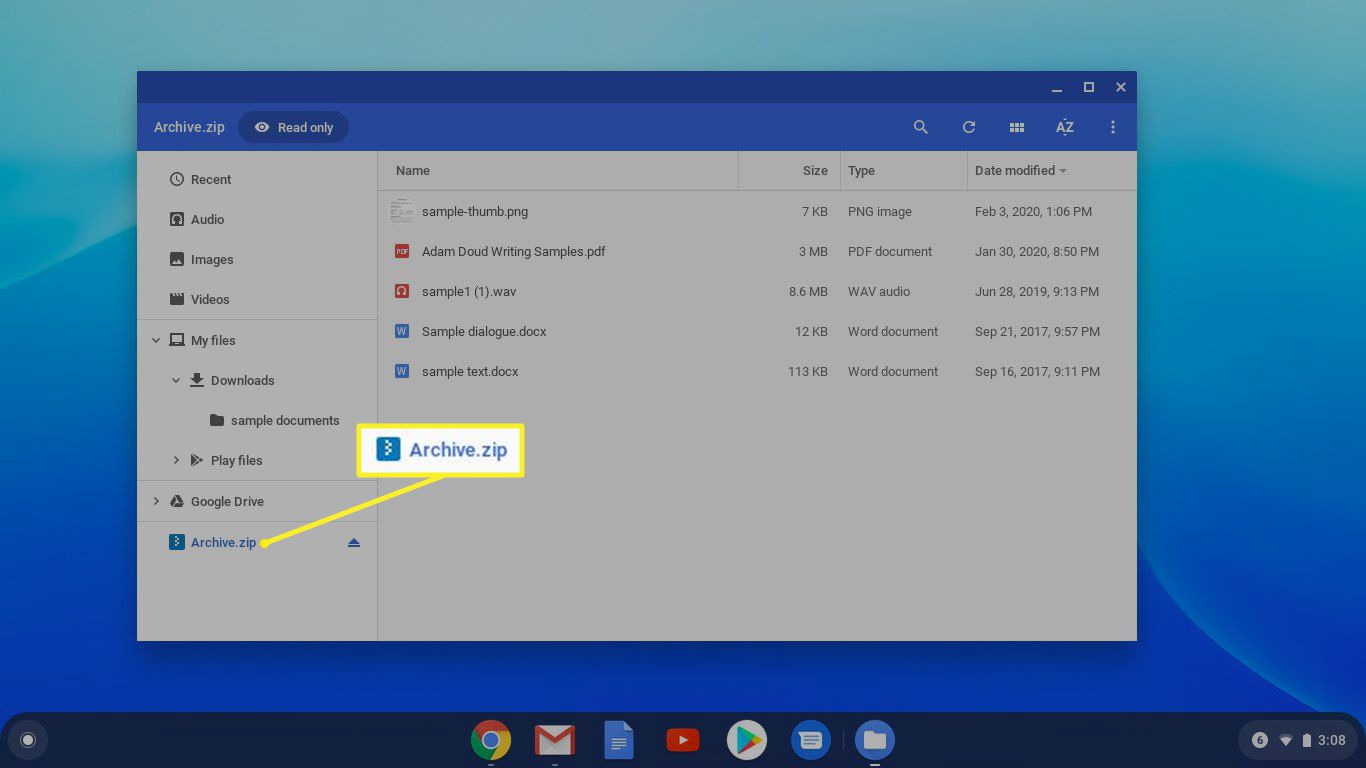
To create a folder on your Chromebook, you’ll need to open the Files app, which acts as a central hub for managing your files and folders. Here’s how you can access it:
- Click on the “Launcher” button located in the bottom-left corner of your Chromebook’s screen. It typically displays the search bar, and an icon that resembles a circle with a small dot in the center.
- Once you click the “Launcher” button, a menu will pop up. Look for the “Files” app among the list of apps. It is represented by an icon that looks like a yellow folder with a blue clip.
- Click on the “Files” app to open it. This will launch the file manager on your Chromebook, where you can create, edit, and manage your folders.
Once you have successfully opened the Files app, you’re ready to move on to the next step of creating a new folder. So, follow along to learn how to create a folder on your Chromebook.
Step 2: Creating a New Folder
Now that you have the Files app open on your Chromebook, it’s time to create a new folder. Follow these simple steps:
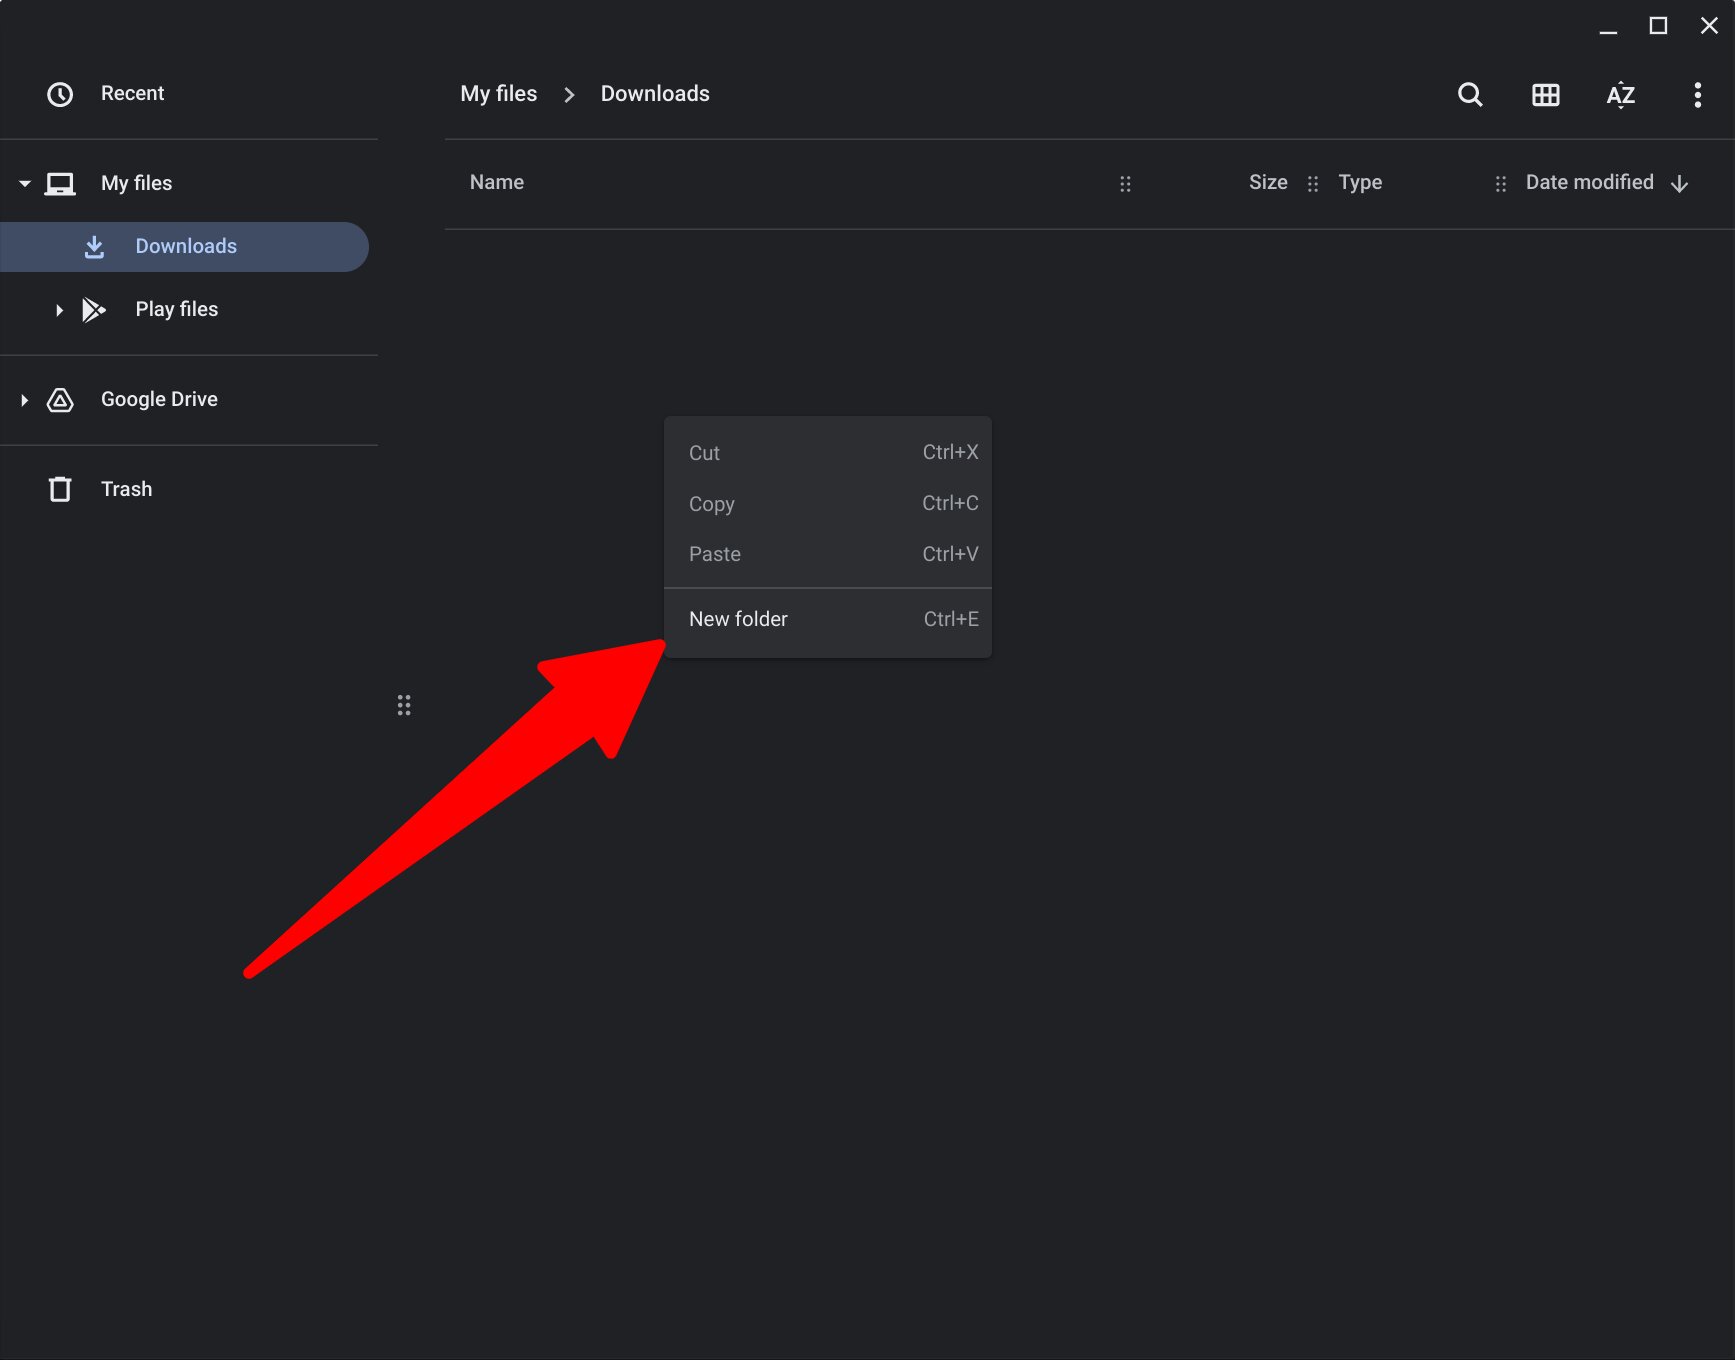
- Within the Files app, navigate to the location where you want to create the folder. This could be in your “Downloads” folder, Google Drive, or any other directory you prefer.
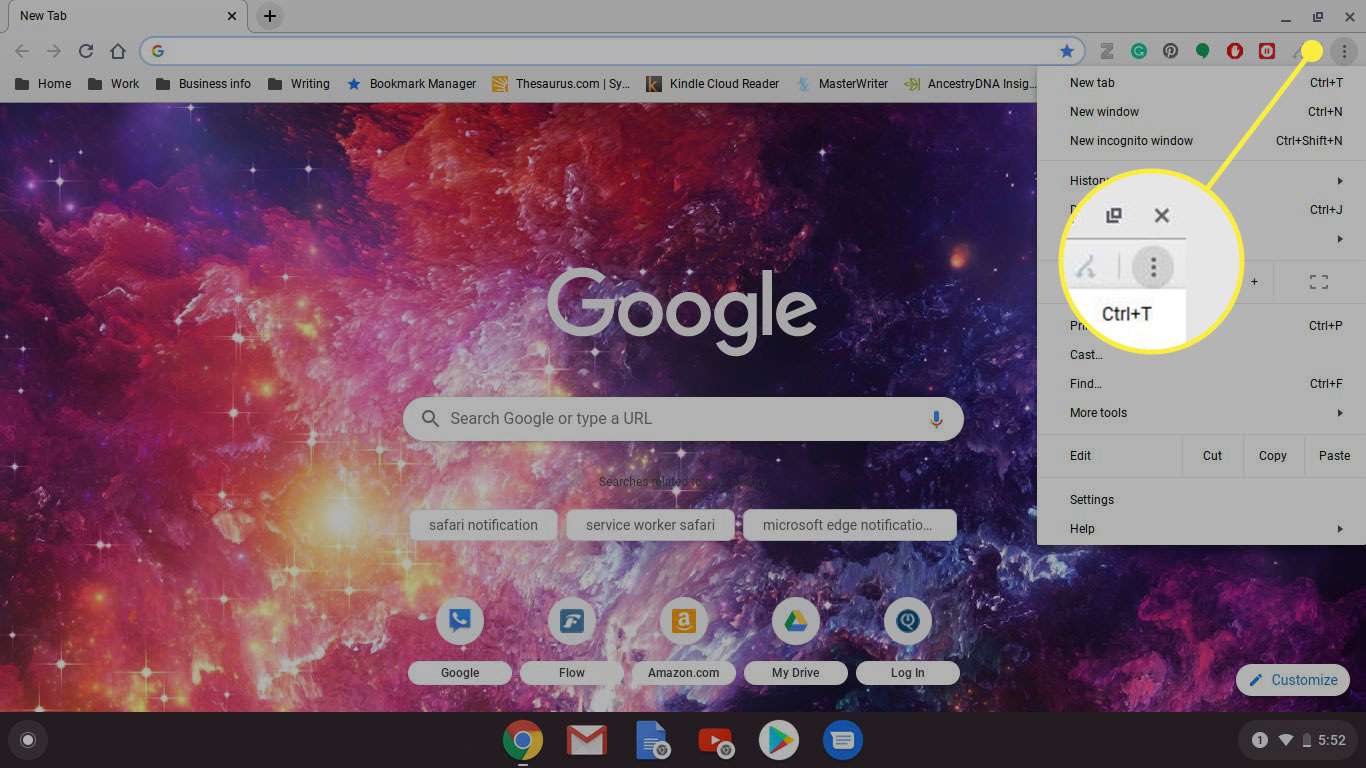
- Once you’re in the desired location, right-click anywhere on the screen. A context menu will appear with various options.
- In the context menu, hover your cursor over “New” to reveal additional options. From the submenu, click on “Folder.”
Alternatively, you can also create a new folder by clicking on the “New Folder” button located in the top-left corner of the Files app. It resembles an icon with a yellow folder and a “+” symbol.
After completing these steps, you will notice that a new folder has been created in the selected location. By default, Chrome OS assigns a generic name to the folder, such as “New Folder” or “Untitled Folder.” To rename the folder, proceed to the next step.
Step 3: Naming the Folder
Once you have created a new folder on your Chromebook, it’s a good practice to give it a meaningful name. This will make it easier for you to identify and locate the folder later on. Follow these steps to rename the folder:
- Locate the newly created folder within the Files app. You can do this by navigating to the location where you created the folder.
- Right-click on the folder to bring up the context menu.
- In the context menu, select the “Rename” option. A text field will appear, allowing you to edit the folder’s name.
- Type in a descriptive name for the folder. For example, if you’re creating a folder to store your vacation photos, you could name it “Vacation 2022” or something similar.
- Press Enter on your keyboard or click outside the text field to save the new name.
By following these steps, you can customize the name of your folder to suit your specific needs. Having a well-named folder can help you easily discern its content and locate it quickly when you need it.
Now that you have given your folder a meaningful name, let’s move on to the next step of organizing and managing the files within the folder.
Step 4: Moving Files into the Folder
Now that you have created a folder and named it, it’s time to start organizing your files by moving them into the folder. Follow these steps to move files into the newly created folder:
- Within the Files app, navigate to the location where the files you want to move are located.
- Select the files you want to move by either clicking and dragging a selection box around them or holding down the Ctrl key (or Command key on a Mac) while clicking on individual files.
- Once the files are selected, right-click on any of the selected files to bring up the context menu.
- In the context menu, hover your cursor over the “Move to” option. A submenu will appear with a list of available locations.
- In the submenu, click on the name of the folder that you want to move the files into.
Alternatively, you can also move files into a folder by clicking and dragging them directly onto the folder within the Files app.
After completing these steps, the selected files will be moved into the folder you specified. You can now access them within the folder, making it easier to find and manage related files in one place.
Now that you have successfully moved files into the folder, let’s move on to the next step of organizing and managing your folders effectively.
Step 5: Organizing and Managing Folders
Now that you have created folders and moved files into them, it’s important to master the art of organizing and managing your folders effectively. Here are some tips to help you stay organized:
- Create subfolders: If your folder starts to accumulate a large number of files, consider creating subfolders within it to further categorize and organize your files. For example, within a folder named “Work Documents,” you could create subfolders for different projects or departments.
- Use descriptive names: When naming your folders, aim for clear and specific names that reflect the contents within. This will make it easier for you to find and identify the folder later on.
- Color-code folders: Chrome OS allows you to assign colors to your folders, making it visually appealing and helping you quickly distinguish between different folders. Right-click on a folder, select “Color Label,” and choose a color from the available options.
- Utilize folder hierarchy: If you have a large number of folders, consider creating a logical hierarchy by organizing them into parent and child folders. This can help streamline your file management and make it more efficient.
- Sort and arrange folders: Within the Files app, you can sort and arrange your folders based on different criteria such as name, date modified, or size. Simply click on the “Sort” button in the top-right corner of the app to choose your preferred sorting option.
- Backup and sync: To ensure the safety of your files, consider backing up your folders to cloud storage services like Google Drive. This way, you can access your files from any device and keep them synchronized.
By implementing these organization and management techniques, you will have better control over your file structure, making it easier to locate, retrieve, and maintain your important documents and files.
Now that you have learned how to organize and manage your folders effectively, let’s move on to the final step—deleting a folder.
Step 6: Deleting a Folder
In some cases, you may need to remove a folder that is no longer needed or has become obsolete. Follow these steps to delete a folder on your Chromebook:
- Within the Files app, locate the folder you wish to delete.
- Right-click on the folder to bring up the context menu.
- In the context menu, select the “Delete” option. A confirmation dialog box will appear.
- Review the contents of the folder to make sure you’re deleting the correct one. Keep in mind that deleting a folder will also delete all the files and subfolders contained within it.
- Click on the “Delete” button in the dialog box to confirm the deletion. Alternatively, you can press the Enter key on your keyboard to proceed.
Once you have completed these steps, the selected folder will be permanently deleted from your Chromebook. Be cautious when deleting folders, as the process is irreversible.
It’s a good practice to periodically review your folders and remove any that are no longer needed. This will help keep your file structure organized and clutter-free.
Now that you have learned how to delete a folder, you have mastered the essential steps of creating, naming, moving, organizing, and managing folders on your Chromebook. Enjoy the benefits of a well-organized and efficient digital workspace!
Conclusion
Creating and managing folders on your Chromebook is a straightforward process that can greatly improve your file organization and productivity. By following the step-by-step instructions outlined in this article, you have learned how to open the Files app, create new folders, name them, move files into them, organize and manage your folders effectively, and even delete unnecessary folders when needed.
Implementing these folder management techniques will help you stay organized, find files quickly, and maintain a clutter-free digital workspace on your Chromebook. Whether you’re a student, professional, or simply someone who wants to keep their files neatly organized, having well-structured folders is key.
Remember to use descriptive names, utilize subfolders for further organization, and consider color-coding your folders for visual distinction. Utilizing folder hierarchy, sorting options, and cloud backup will also enhance your file management experience.
Now that you are equipped with the knowledge to create and manage folders effectively on your Chromebook, take some time to reorganize your files and enjoy the benefits of a streamlined and efficient file system.
So, grab your Chromebook and start implementing these folder management techniques today. Your digital organization and productivity will thank you!