Introduction
Changing the wallpaper on your school Chromebook is a great way to personalize your device and make it feel more like your own. Whether you’re tired of the default wallpaper or simply want to add a touch of your own style, the process is simple and can be done in just a few easy steps.
While some school Chromebooks may have certain restrictions or limitations when it comes to customization, many devices still offer the option to change the wallpaper. By following the steps outlined in this guide, you’ll be able to navigate through the settings and choose a new wallpaper that reflects your personality and aesthetic preferences.
Customizing your device can also have a positive impact on your productivity and motivation. Research has shown that personalized workspaces can boost creativity and overall satisfaction, so why not add a personal touch to your school-issued Chromebook?
In this guide, we will walk you through the steps to change the wallpaper on your school Chromebook. Whether you’re a student looking to add some flair to your device or a teacher wanting to create a more engaging classroom environment, this tutorial will help you achieve your desired look.
Step 1: Accessing the settings
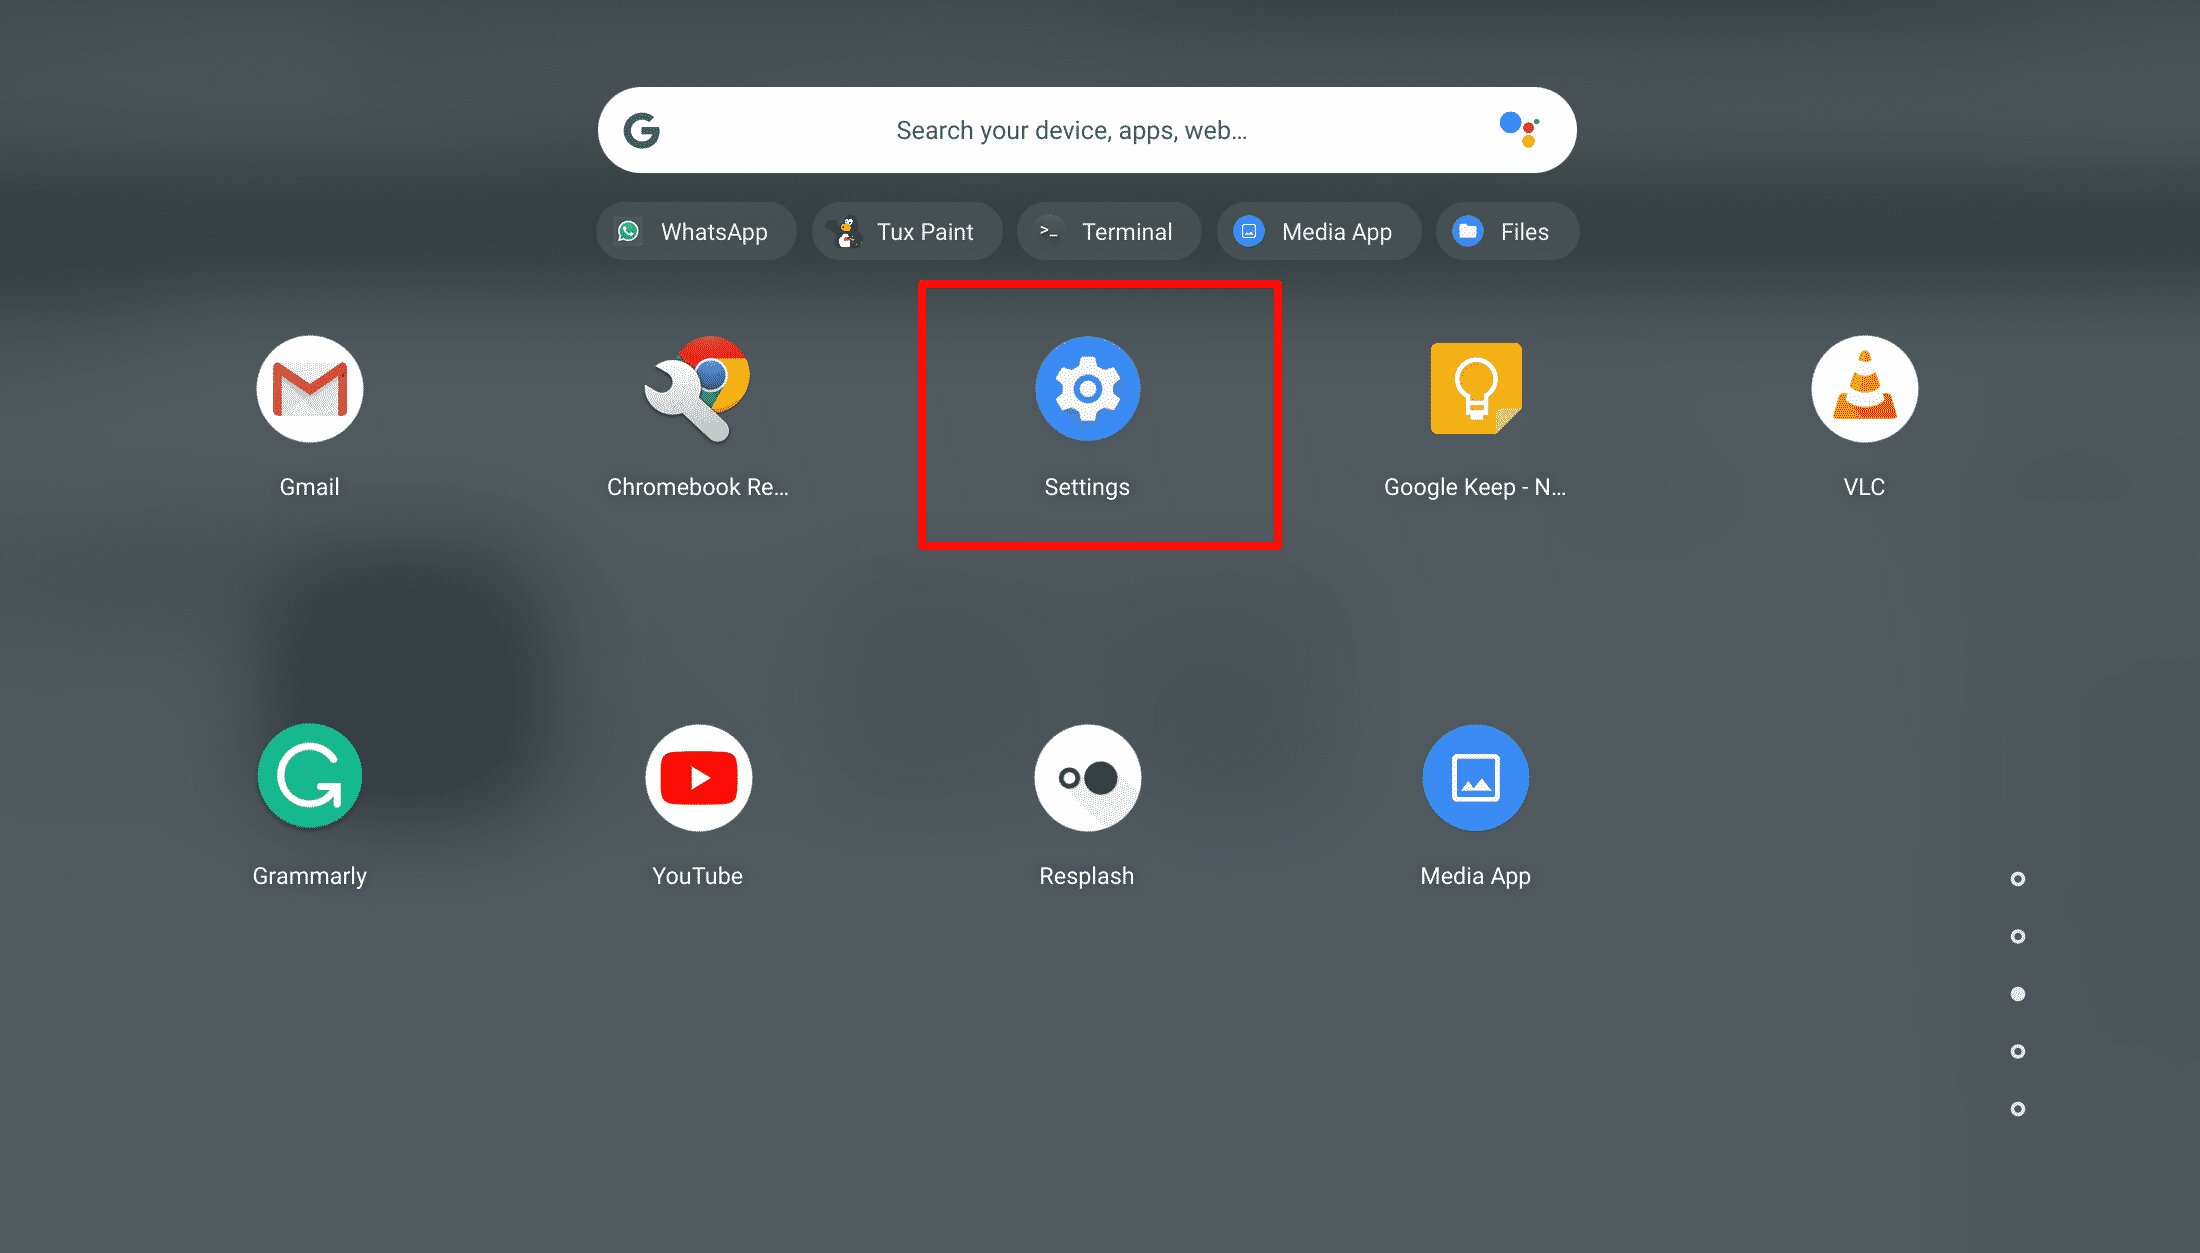
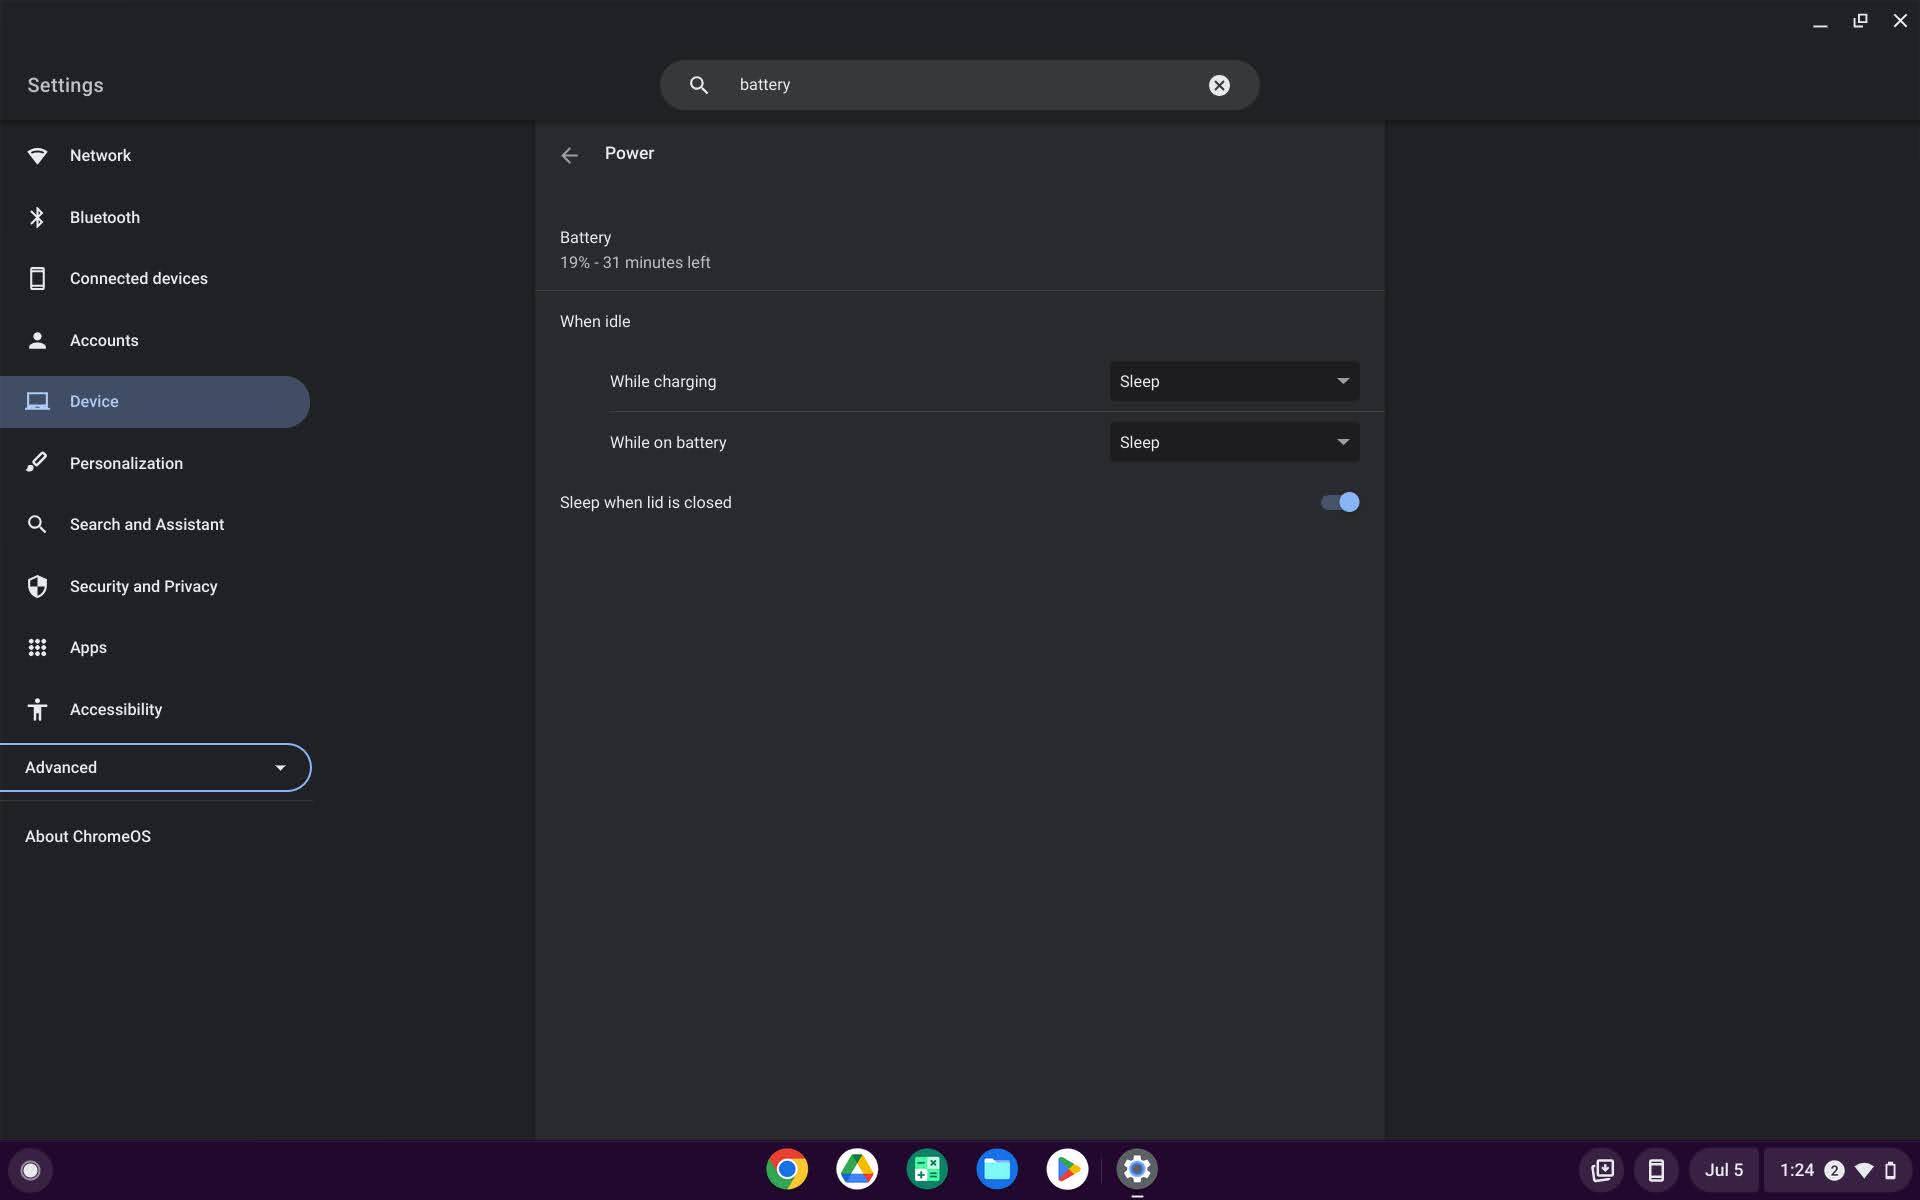
The first step to changing the wallpaper on your school Chromebook is accessing the settings. To do this, locate the “Settings” icon on your Chromebook’s taskbar. It is represented by a gear or wrench icon. Click on this icon to open the settings menu.
If you can’t find the settings icon on the taskbar, you can also access the settings by clicking on the system tray in the bottom-right corner of the screen. Look for the gear or wrench icon in the quick settings menu and click on it to open the settings window.
Once you have opened the settings menu, you will be presented with various options and categories. This is where you can customize different aspects of your Chromebook. Look for the section labeled “Personalization” or “Appearance.” The location and name of this section may vary depending on the version of Chrome OS on your device.
Click on the “Personalization” or “Appearance” section to expand it and reveal more options. Here, you will find settings related to the overall look and feel of your Chromebook, including the wallpaper.
It’s worth noting that some school Chromebooks may have restricted access to the settings menu. If you find that you are unable to access the settings or make changes to the wallpaper, it’s best to check with your school’s IT department or consult the device’s user manual.
Once you have successfully accessed the settings menu and located the personalization section, you’re ready to move on to the next step: navigating to the wallpaper settings.
Step 2: Navigating to the wallpaper section
After accessing the settings menu on your school Chromebook, the next step is to navigate to the wallpaper section. This is where you can make changes to the background image of your device.
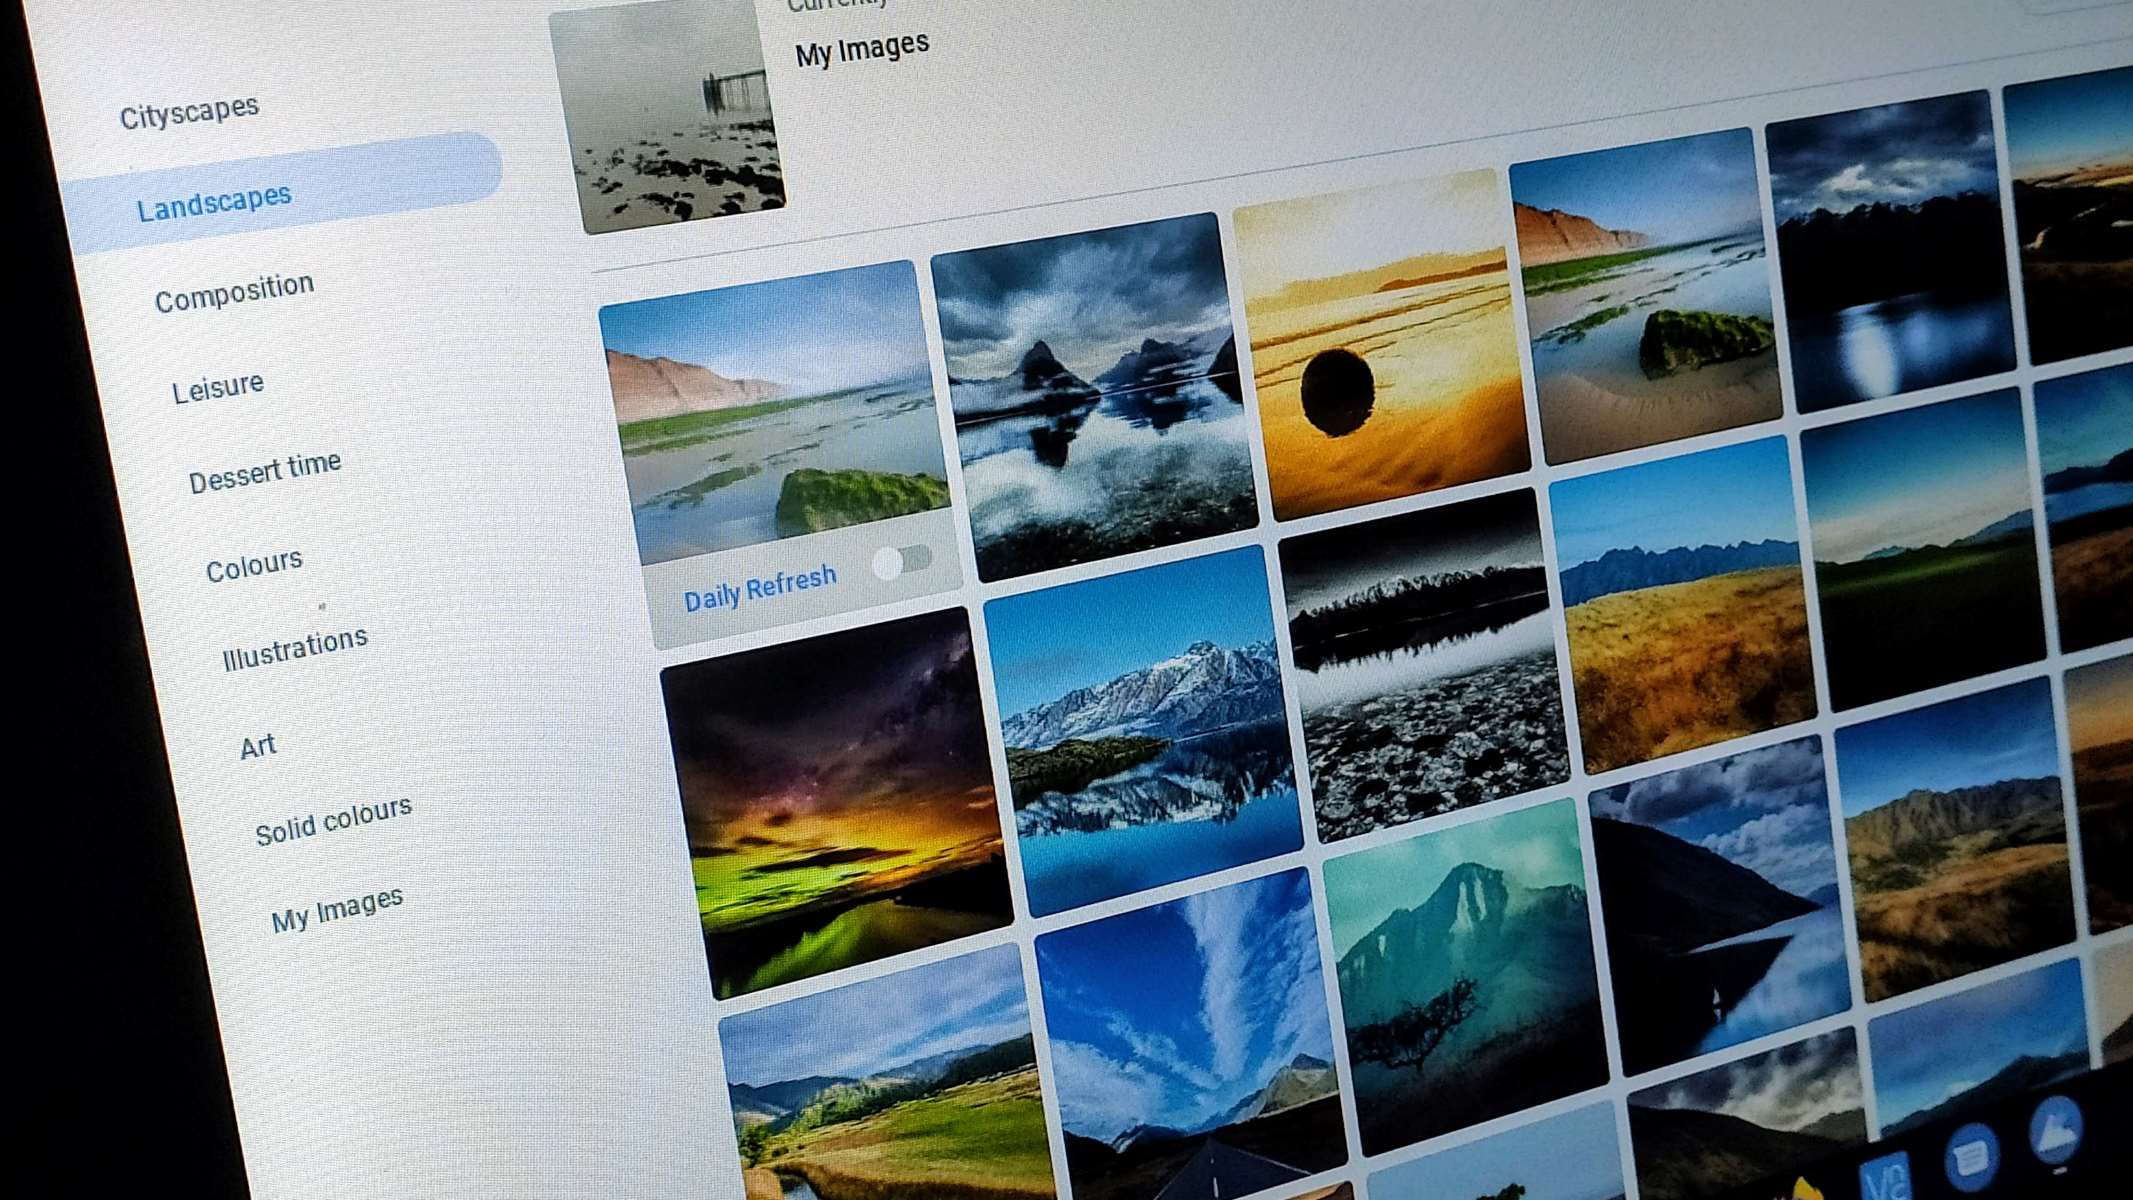
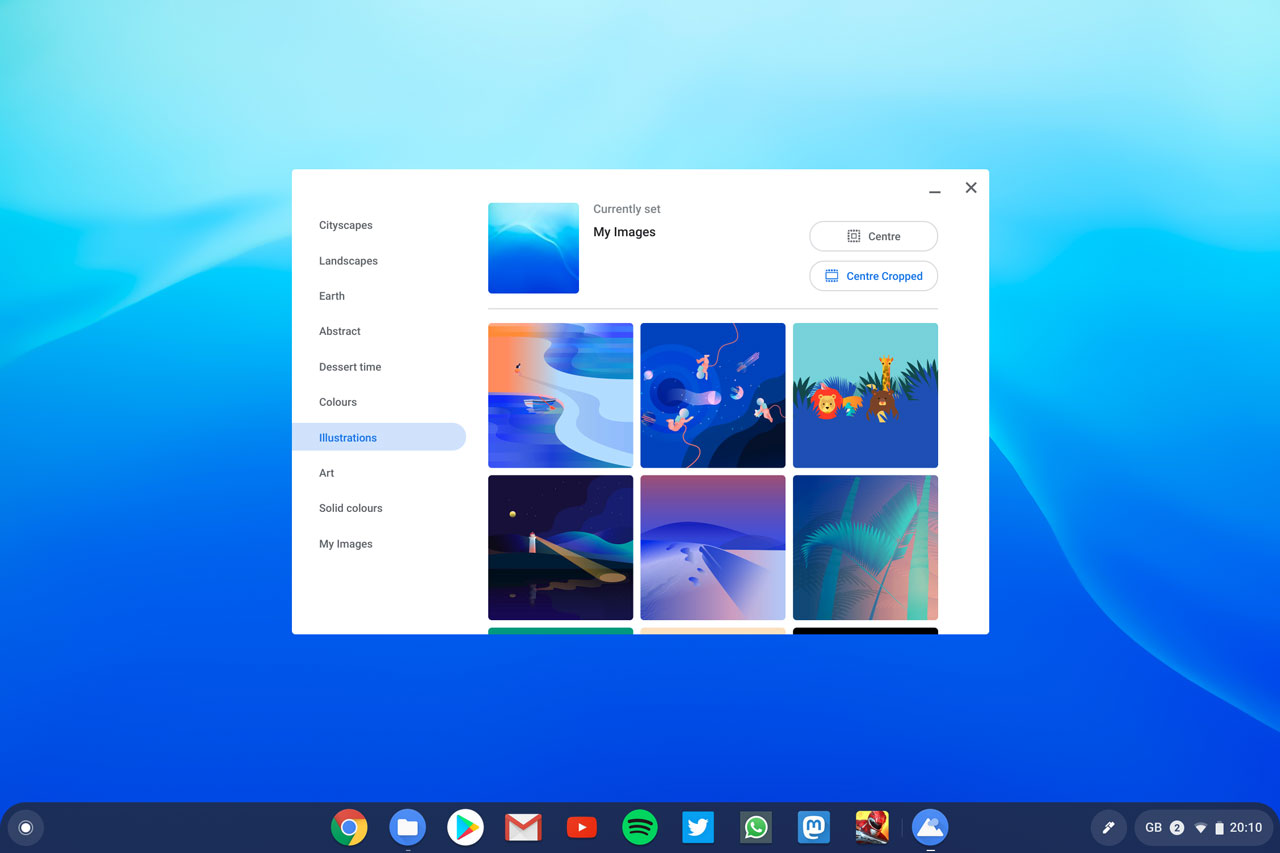
In the personalization or appearance section of the settings menu, look for an option specifically related to wallpaper. It may be labeled as “Wallpaper,” “Background,” or something similar. Click on this option to enter the wallpaper settings.
Once you’ve entered the wallpaper settings, you will see a variety of pre-installed wallpaper options to choose from. These options may include scenic landscapes, abstract designs, or patterns. Take a moment to browse through the available wallpapers and see if any catch your eye.
If the pre-installed wallpapers don’t suit your preferences, don’t worry! There is also an option to choose a custom image as your wallpaper, which we’ll discuss in more detail in the next step.
Some Chromebooks may offer additional customization options in the wallpaper settings, such as the ability to select different wallpapers for different profiles or workspaces. Explore these options if they are available on your device and select the one that best suits your needs.
Remember, the purpose of this step is to navigate to the specific section where you can make changes to the wallpaper. Once you have successfully reached the wallpaper settings, you’re ready to move on to the next step: choosing a wallpaper option that suits your style.
Step 3: Choosing a wallpaper option
Now that you have reached the wallpaper settings on your school Chromebook, it’s time to choose a wallpaper option that suits your personal style and preferences. You have a few choices in this step, including selecting a pre-installed wallpaper or opting for a custom image.
If you prefer to choose from the pre-installed wallpapers, take some time to browse through the available options. These wallpapers are designed to provide a range of choices, from scenic landscapes to abstract designs and patterns. Click on the wallpaper that catches your eye to preview it on your screen.
Previewing the wallpaper allows you to see how it will look as your background before making a final decision. If you’re happy with the preview, simply click on the “Set Wallpaper” or “Apply” button to apply the selected wallpaper to your school Chromebook.
If the pre-installed wallpapers don’t match your personal style, you also have the option to choose a custom image as your wallpaper. To do this, look for an option that says “Custom Image” or “Upload” in the wallpaper settings. Click on this option to access your device’s file browser.
From the file browser, you can select an image file from your computer or external storage devices such as a USB drive or cloud storage. Once you’ve selected an image, it will be displayed as a preview in the wallpaper settings. If you’re satisfied with the chosen image, click on the “Set Wallpaper” or “Apply” button to set it as your background.
Keep in mind that some school Chromebooks may have restrictions on uploading custom images or may limit the file formats that can be used as wallpapers. If you encounter any restrictions or difficulties during this step, it’s best to consult your school’s IT department for assistance.
Whether you choose a pre-installed wallpaper or a custom image, this step allows you to select a wallpaper that reflects your personal style and preferences. Once you’ve made your choice, you’re ready to move on to the next step: adjusting the wallpaper settings.
Step 4: Selecting a custom image
If none of the pre-installed wallpapers on your school Chromebook appeal to you, or if you want to add a personal touch to your device, you can select a custom image to use as your wallpaper. Here’s how:
1. Within the wallpaper settings, look for an option that says “Custom Image” or “Upload.” Click on this option to open the file browser on your Chromebook.
2. Navigate to the location where your desired image is stored. This could be in your downloads folder, on a connected USB drive, or in a cloud storage service like Google Drive or Dropbox.
3. Once you’ve found the image you want to use, click on it to select it, and then click the “Open” or “Choose” button (or a similar button) in the file browser. The selected image will now appear as a preview within the wallpaper settings.
4. Take a moment to adjust the image if necessary. You may have the option to zoom in or out, rotate the image, or position it within the frame. This can help you ensure that the image fits the screen properly and looks the way you want it to.
5. When you’re satisfied with the appearance of the custom image, click on the “Set Wallpaper” or “Apply” button (or a similar button) to apply it as your new wallpaper on your school Chromebook.
Note that not all school Chromebooks may allow the use of custom images as wallpapers due to security or administrative reasons. If you encounter any restrictions or difficulties during this step, it’s advisable to consult your school’s IT department for guidance.
Selecting a custom image as your wallpaper allows you to personalize your school Chromebook and make it truly your own. Whether it’s a photo of your loved ones, your favorite artwork, or an inspiring quote, having a custom image as your wallpaper can add a touch of personality and create a more enjoyable user experience.
With your custom image selected as your wallpaper, you’re now ready to move on to the next step: adjusting the wallpaper settings to ensure it looks just the way you want it to.
Step 5: Adjusting the wallpaper settings
After selecting a new wallpaper for your school Chromebook, it’s time to fine-tune the settings to ensure it looks perfect on your device. The wallpaper settings provide options to adjust the appearance and behavior of the wallpaper. Follow these steps to make any necessary adjustments:
1. Within the wallpaper settings, look for options related to size, position, and orientation. These settings allow you to customize how the wallpaper is displayed on your screen. You may have options to zoom in or out, adjust the position, or rotate the image. Experiment with these settings until you achieve the desired look.
2. Pay attention to the aspect ratio of the wallpaper. Chromebooks typically have widescreen displays, so it’s best to choose or adjust the wallpaper to match the aspect ratio of your screen. This will prevent any distortion or cropping of the image.
3. Some Chromebooks also offer additional settings, such as the ability to have a slideshow of multiple wallpapers or the option to change the wallpaper at specific intervals. If these options are available, explore them to add some variety or dynamic effects to your device’s wallpaper.
4. Keep in mind that excessively bright or busy wallpapers can make it difficult to read text and icons on your desktop. If your chosen wallpaper is causing visibility issues, consider selecting a more muted or simpler image, or adjust the settings to make it less distracting.
5. Take your time to experiment with different settings and adjustments until you’re satisfied with how the wallpaper looks on your school Chromebook. Don’t be afraid to make multiple changes or try different wallpapers to find the perfect combination that suits both your style and functionality.
Remember that the goal of adjusting the wallpaper settings is to make it visually appealing and easy to use your Chromebook, so take the time to find the right balance.
Once you’re satisfied with the adjustments, you’re ready to move on to the final step: applying the new wallpaper and enjoying your personalized school Chromebook experience.
Step 6: Applying the new wallpaper
Now that you have selected and adjusted your desired wallpaper, it’s time to apply it to your school Chromebook. Follow these final steps to complete the process:
1. Within the wallpaper settings, locate the button or option that allows you to apply or set the wallpaper as your background. It may be labeled as “Apply,” “Set Wallpaper,” or something similar. Click on this button to confirm your selection.
2. Once you click on the apply button, your chosen wallpaper will be set as the background image on your school Chromebook. The change should take effect immediately, and you should be able to see the new wallpaper on your desktop area.
3. Take a moment to enjoy the new look of your school Chromebook. Admire the personalized wallpaper that reflects your style and preferences. Notice how the new wallpaper transforms the overall appearance and feel of your device.
4. If you’re not satisfied with the new wallpaper after applying it, don’t worry! You can always go back to the wallpaper settings and choose a different option or adjust the settings to find a better fit.
5. Remember to keep in mind any school policies or guidelines regarding acceptable wallpapers. It’s important to choose images that are appropriate and respectful in an educational environment.
With the new wallpaper applied, you can now enjoy a more personalized and visually appealing experience on your school Chromebook. Customizing your device in this way can provide a sense of ownership and make your Chromebook feel more like your own.
Now that you’ve completed all the steps, take some time to explore your new wallpaper and enjoy the refreshed look of your school Chromebook. From scenic landscapes to inspiring artwork or a photo of loved ones, your chosen wallpaper can bring a touch of your personality to your everyday digital experience.
Conclusion
Changing the wallpaper on your school Chromebook is a simple and effective way to personalize your device and make it feel more like your own. By following the step-by-step guide provided in this article, you can easily navigate the settings, choose a new wallpaper, and apply it to your Chromebook.
Customizing your device allows you to express your personality, add a touch of style, and create a more engaging digital environment. Whether you opt for a pre-installed wallpaper or select a custom image, the choice is yours to make.
Remember, while personalizing your school Chromebook can be a fun and creative process, it’s important to respect any guidelines or restrictions set by your school. Ensure that the wallpapers you choose are appropriate for an educational setting and adhere to any policies in place.
By changing the wallpaper on your school Chromebook, you can create a more enjoyable and inspiring workspace. A personalized device can boost motivation, increase productivity, and make your school experience more pleasant.
So, why not take a few moments to explore the wallpaper options available on your school Chromebook today? Whether you prefer scenic landscapes, abstract designs, or custom images that hold personal significance, the choice is yours. Allow your Chromebook to reflect your individuality and make your learning or work environment more enjoyable.
Remember, personalization goes beyond just changing the wallpaper. Consider exploring other customization options, such as arranging icons, selecting unique fonts, or adding extensions that cater to your needs and interests.
Embrace the opportunity to make your school Chromebook truly your own and let it inspire you as you embark on your educational journey.