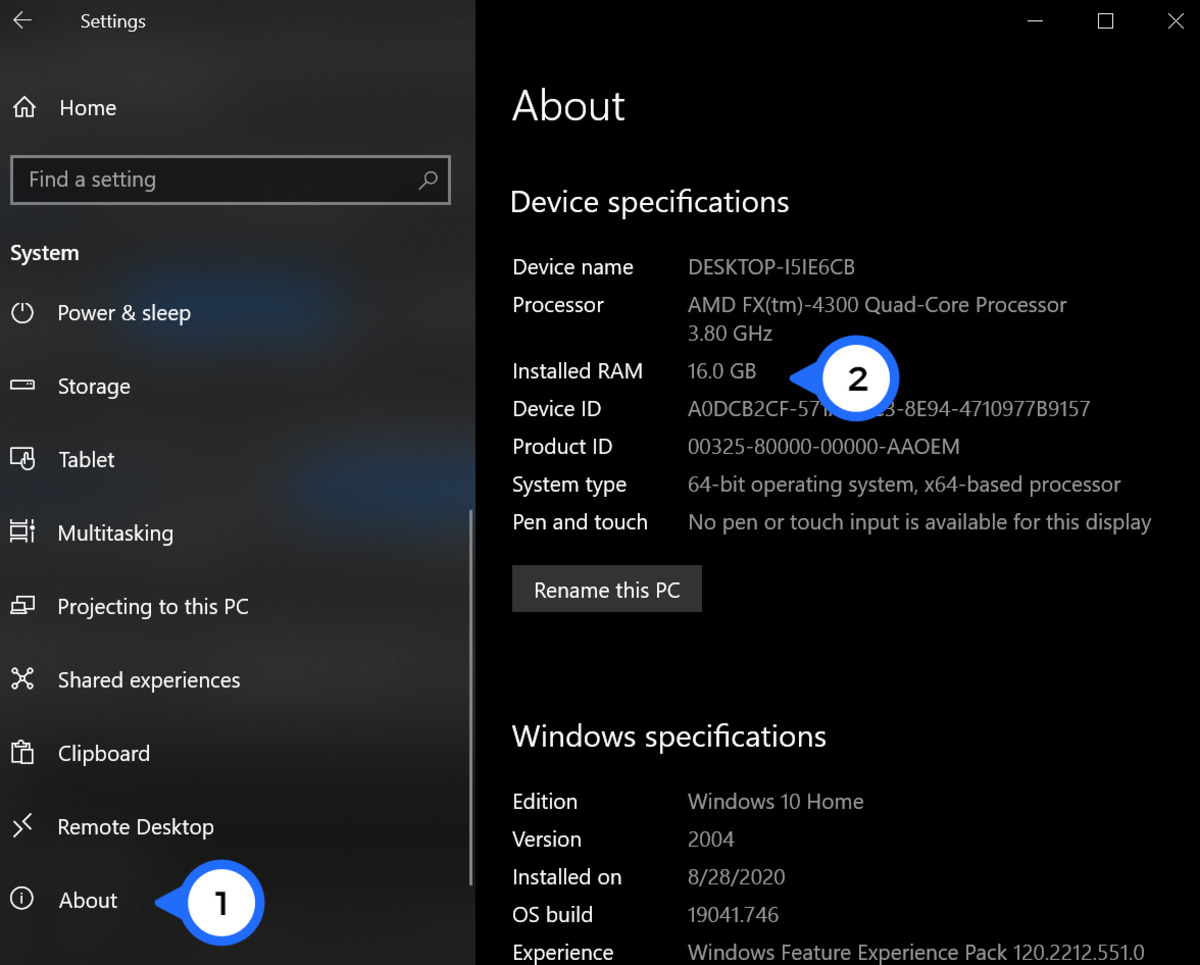
Signs of Incorrectly Installed RAM
Installing RAM correctly in your computer is crucial for optimal performance. If the RAM is not installed correctly, you may encounter various issues that can negatively affect your system’s stability and speed. Here are some common signs that indicate incorrectly installed RAM:
- Frequent System Crashes: If you notice that your computer is crashing frequently or displaying the dreaded “blue screen of death,” it could be due to improperly installed RAM. Faulty RAM can cause system instability and lead to frequent crashes.
- Random Reboots: Another sign of improperly installed RAM is your computer randomly rebooting without any apparent reason. This can be caused by either incompatible RAM or RAM that is not securely connected to the motherboard.
- System Freezes: When your computer freezes or becomes unresponsive frequently, it can also be attributed to incorrectly installed RAM. This occurs when the modules are not seated properly or when there is a mismatch between the RAM modules and the motherboard.
- Slow Performance: If you experience a significant decrease in your computer’s performance, such as slower boot times, laggy applications, or overall sluggishness, it could be due to RAM that is not installed correctly. Insufficient or improperly seated RAM can bottleneck the system’s speed and hinder its performance.
- Unexpected Error Messages: Incorrectly installed RAM can trigger a range of error messages, such as “Memory Management Error” or “Bad Pool Header.” These errors can appear randomly and disrupt your normal computing activities.
It’s important to note that these signs can also be caused by other hardware or software issues. However, if you suspect that RAM installation might be the culprit, it’s essential to check and correct the installation to eliminate any potential problems.
Checking RAM Installation
Ensuring that your RAM is correctly installed is essential for optimal system performance. To check the RAM installation, follow these steps:
- Power Off Your Computer: Turn off your computer completely and disconnect it from the power source. This is necessary to avoid any electrical mishaps during the installation process.
- Open the Computer Case: Carefully remove the screws or latches that hold the computer case together. Gently slide off the side panel to access the internal components.
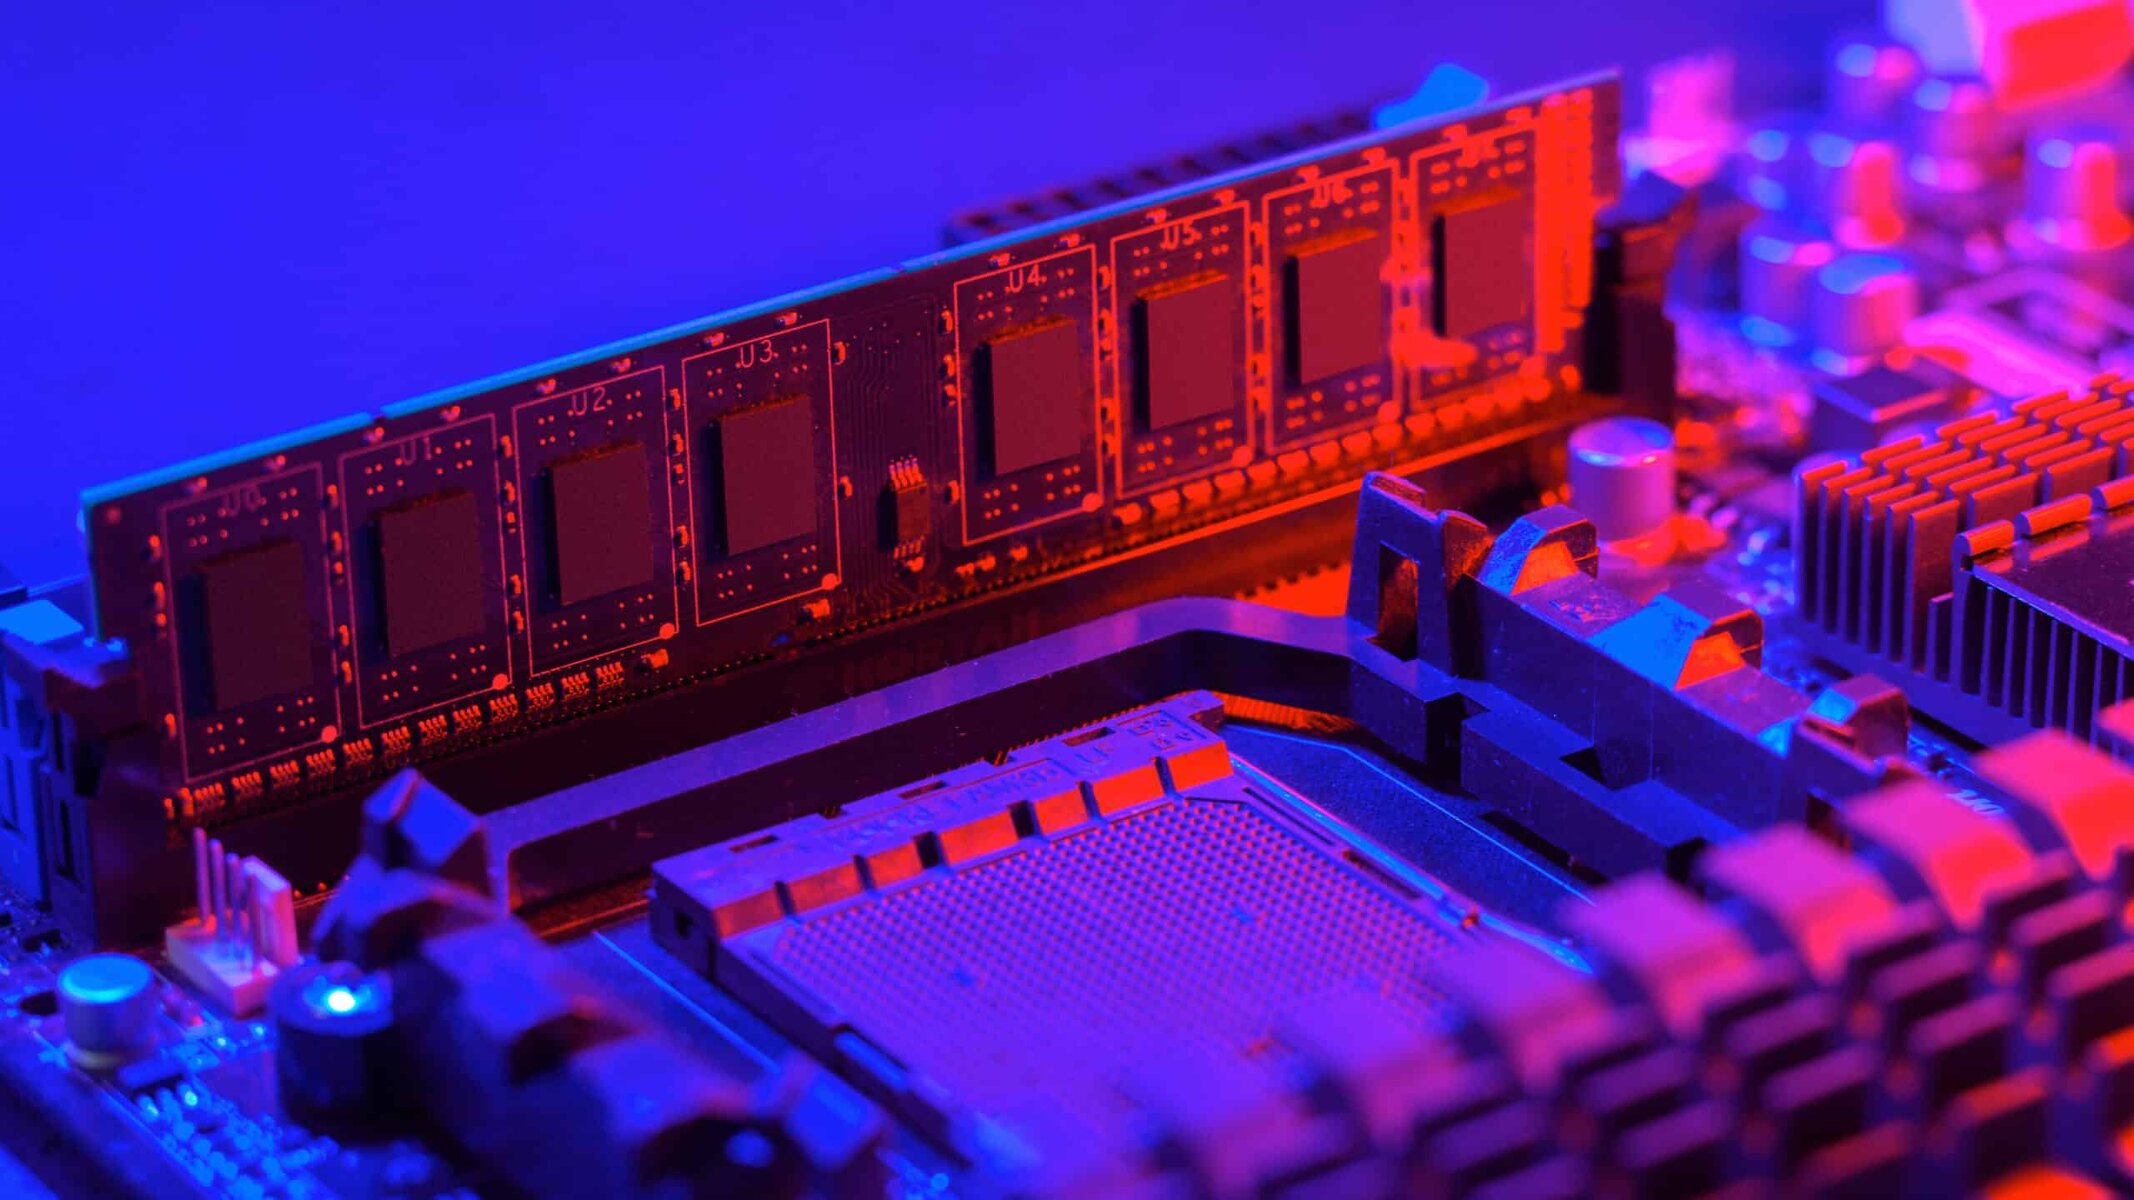
- Locate the RAM Slots: Identify the RAM slots on your motherboard. These slots are usually located near the processor. Refer to your motherboard’s documentation or manual if you’re having trouble locating them.
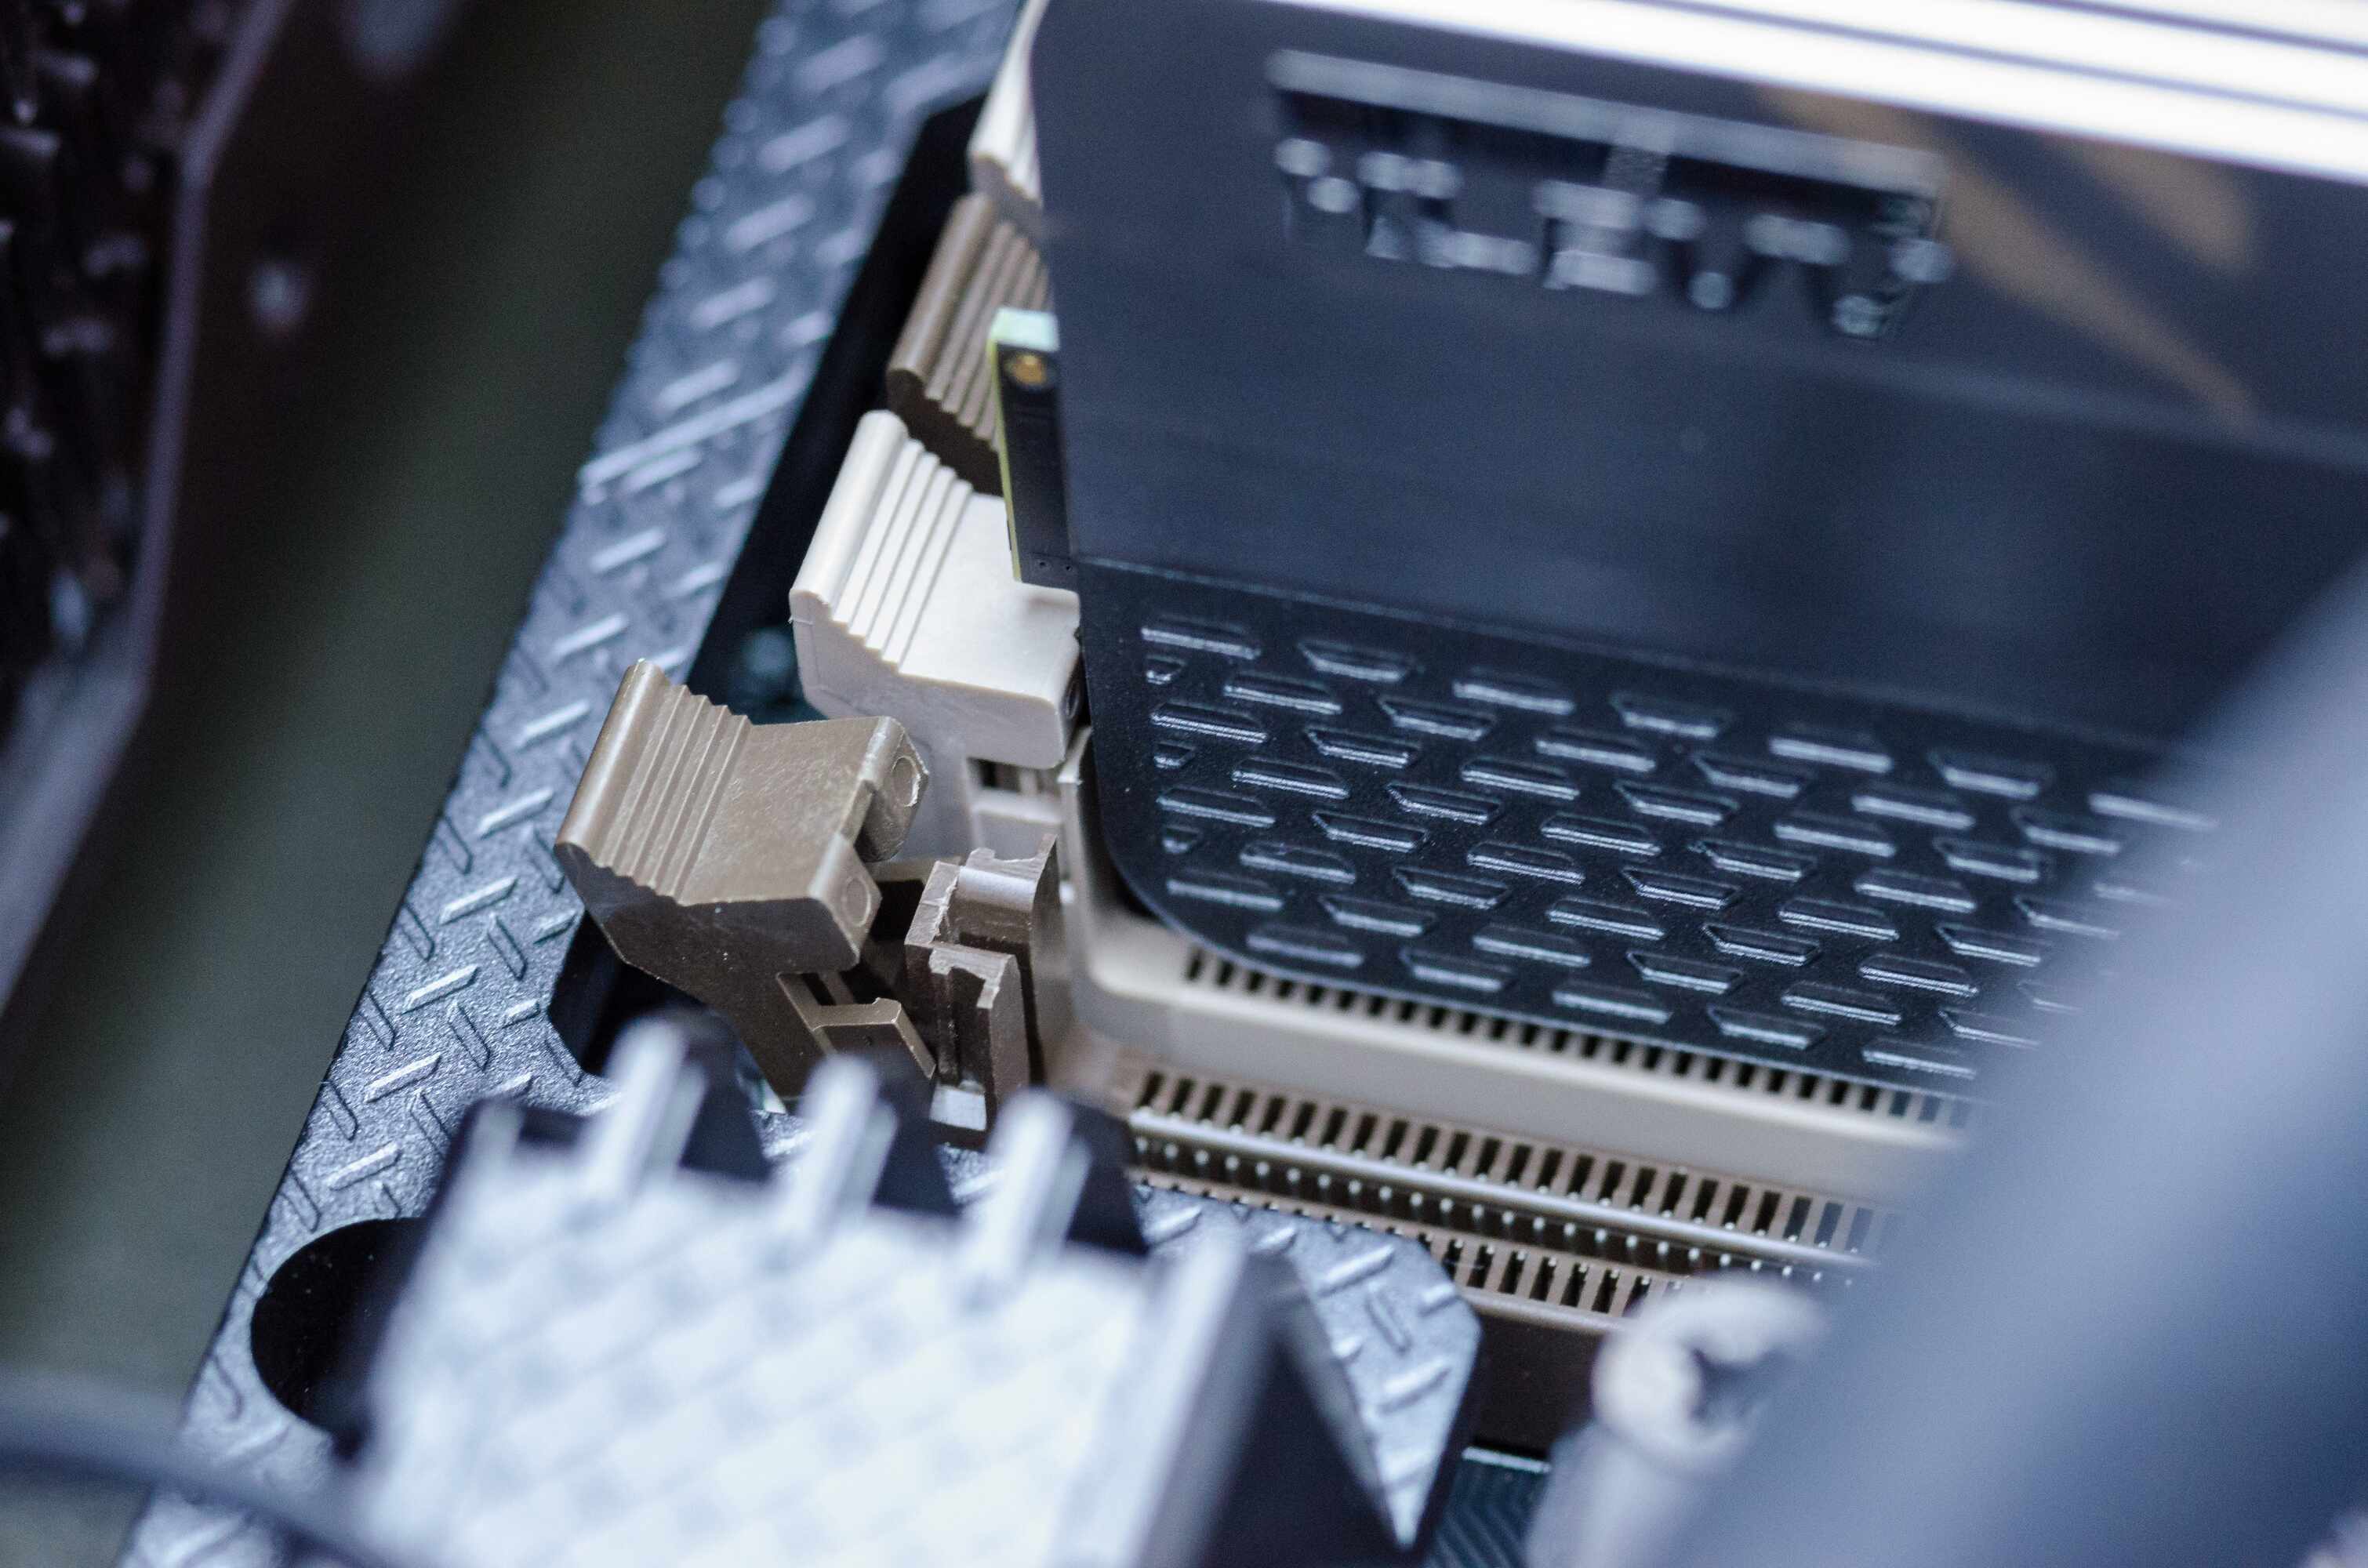
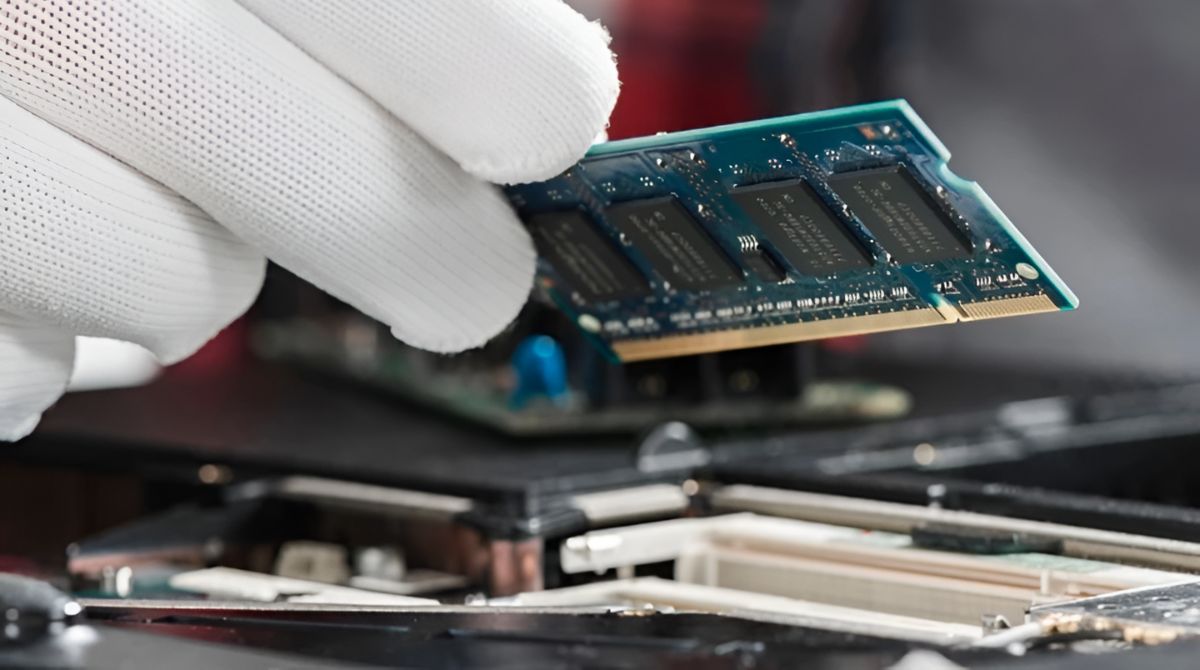
- Inspect the RAM Modules: Ensure that the RAM modules are properly seated in the slots. They should be securely in place and evenly inserted. Check for any visible signs of damage or dirt on the connectors.
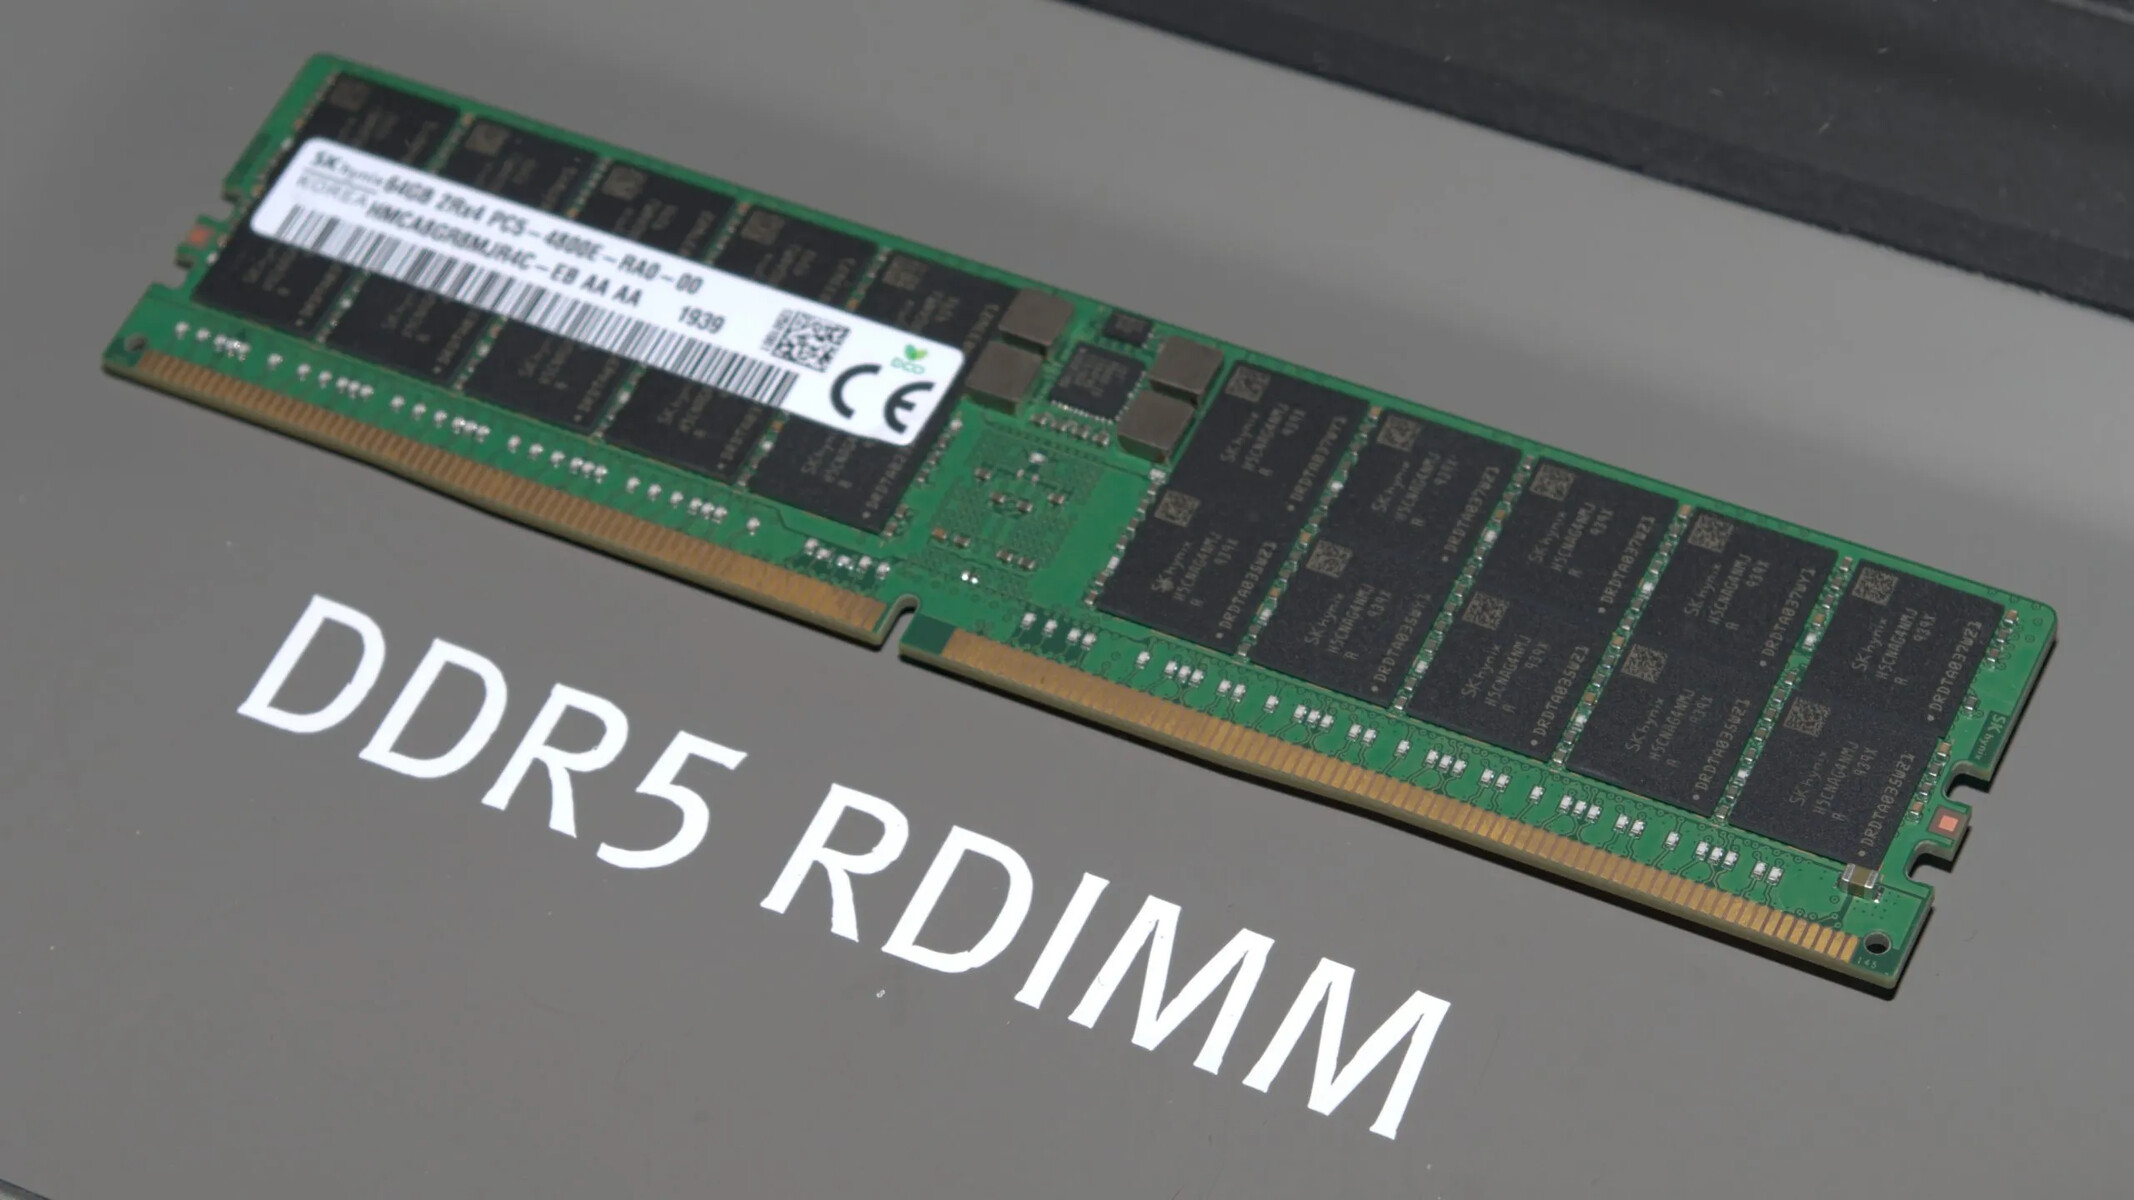
- Verify Compatibility: Make sure that the installed RAM modules are compatible with your motherboard. Check the motherboard’s specifications for supported RAM types, speeds, and capacities. Mismatched or incompatible RAM can cause various issues.
- Test Each Module Individually: If you have multiple RAM modules, remove all but one and power on the computer. Test each module individually by booting the system. This helps identify if any specific module is causing problems.
- Run Diagnostic Software: Utilize diagnostic software like MemTest86 or Windows Memory Diagnostic to conduct thorough tests on your RAM modules. These tools can identify errors or faults in the RAM hardware.
If you encounter any issues during the inspection or testing process, try reseating the RAM modules or swapping them to different slots. If the problems persist, you may need to consult a professional or consider replacing the RAM.
Remember to properly close the computer case and reconnect all cables before powering the system back on. Regularly checking the RAM installation can help prevent potential issues and ensure the smooth operation of your computer.
Common RAM Installation Issues
While installing RAM is generally a straightforward process, there are several common issues that users may encounter. Understanding these issues can help you troubleshoot and resolve any problems that arise during RAM installation. Here are some of the most common RAM installation issues:
- Incompatible RAM: One of the primary issues is installing RAM that is not compatible with your motherboard. It’s essential to check your motherboard’s specifications regarding the type, speed, and capacity of RAM it supports. Using incompatible RAM can result in system instability, crashes, and compatibility errors.
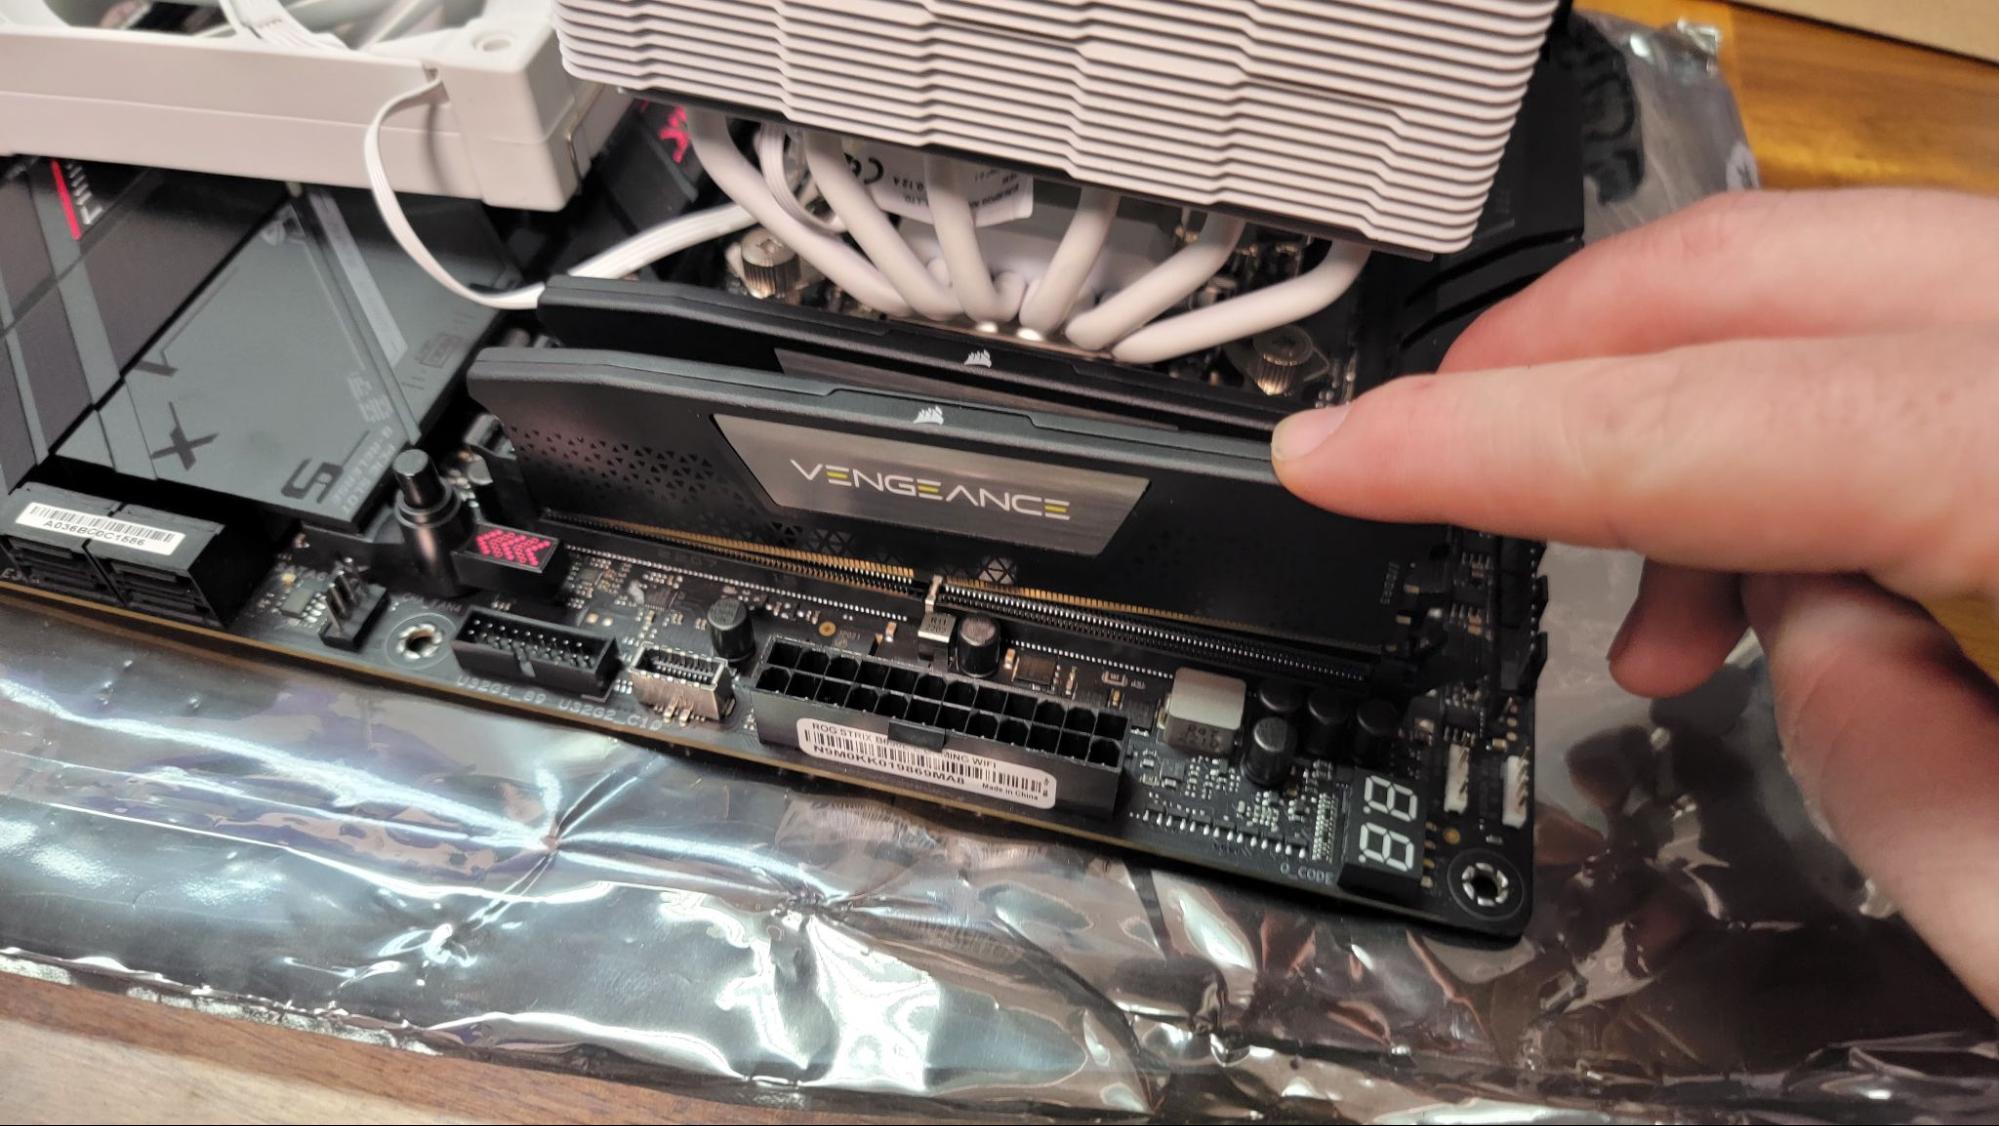
- Improper Seating: RAM modules must be firmly and evenly inserted into the slots. If the modules are not seated correctly, it can lead to connectivity issues and cause system instability. Make sure the modules are securely and fully inserted, and the locking mechanisms are engaged.
- Static Electricity: Static electricity can damage sensitive electronic components, including RAM modules. Always ground yourself by touching a metal surface or wearing an anti-static wristband before handling RAM or any other components. Avoid working in carpeted areas and wear non-static generating clothing.
- Insufficient Power: Inadequate power supply can cause RAM- and system-related issues. Ensure that your power supply unit (PSU) can provide enough power to support the overall system and all the installed components, including the RAM modules and other peripherals.
- Incorrect slot allocation: Placing RAM modules in incorrect slots can cause compatibility and performance issues. Refer to your motherboard’s manual to determine the recommended slot configuration for optimal RAM performance. Properly distributing the modules among the available slots can maximize system memory capacity and performance.
- Dirty or Damaged Connectors: Dust, dirt, or damage on the RAM module connectors or the motherboard’s memory slots can hinder proper connectivity. Before installing RAM, inspect the connectors for any visible dirt or damage. If necessary, clean them gently with compressed air or a soft, lint-free cloth.
By being aware of these common RAM installation issues, you can take the necessary precautions and address them effectively. Following proper installation procedures and guidelines, as well as ensuring compatibility, can significantly reduce the chances of encountering these issues when adding or replacing RAM in your computer.
Troubleshooting RAM Installation Errors
Encountering errors during RAM installation can be frustrating, but with proper troubleshooting, you can identify and resolve the issues. Here are some steps you can take to troubleshoot RAM installation errors:
- Reseat the RAM Modules: Start by reseating the RAM modules. Turn off your computer, disconnect the power source, and remove the RAM modules from their slots. Then, gently reinstall them, ensuring they are securely seated.
- Check Compatibility: Verify that the installed RAM modules are compatible with your motherboard. Ensure they meet the required specifications in terms of type, speed, and capacity. If they are not compatible, consider replacing them with compatible modules.
- Test Individual Modules: If you have multiple RAM modules installed, testing them individually can help identify if any specific module is causing the error. Remove all but one module and test each one separately by booting the system. If a particular module triggers errors, it may indicate a faulty module or a compatibility issue.
- Update BIOS: Outdated BIOS firmware can lead to compatibility problems with newer RAM modules. Visit your motherboard manufacturer’s website and check for BIOS updates. Follow the instructions provided to update your motherboard’s BIOS to the latest version.
- Run System Diagnostics: Utilize diagnostic software, such as memtest86 or Windows Memory Diagnostic, to thoroughly test the RAM modules. These tools can identify errors, faults, or compatibility issues with the RAM hardware. Follow the software’s instructions for running the tests and analyzing the results.
- Check Motherboard Slots: Inspect the motherboard’s memory slots for any visible damage, dust, or debris. Gently clean the slots with compressed air or a soft brush to ensure a clean connection with the RAM modules.
- Use Different RAM Slots: If you are experiencing errors with specific RAM slots, try inserting the modules into different slots. This can help identify if the issue lies with the RAM slots on the motherboard. Refer to the motherboard’s manual for guidance on the recommended slot configuration.
- Consult Technical Support: If you have exhausted all troubleshooting steps and the errors persist, it may be necessary to seek assistance from technical support. Contact your motherboard or RAM manufacturer’s support team for further guidance and possible solutions.
By following these troubleshooting steps, you can identify and rectify common RAM installation errors. Remember to take precautions such as grounding yourself and handling the modules carefully to prevent static damage. Properly installed and functioning RAM is crucial for optimal system performance and stability.
Conclusion
In conclusion, ensuring that RAM is installed correctly is vital for maintaining optimal performance and stability in your computer. Incorrectly installed RAM can lead to various issues, including system crashes, reboots, freezes, slow performance, and error messages. By being aware of the signs of incorrectly installed RAM, you can quickly identify and address any problems.
To check RAM installation, carefully open the computer case, locate the RAM slots, and inspect the modules for proper seating, compatibility, and any visible damage. Running diagnostic software can help pinpoint errors or faults in the RAM hardware. It’s also essential to troubleshoot any installation errors by reseating the modules, testing individual modules, updating the BIOS, and running system diagnostics.
Common RAM installation issues can arise from using incompatible RAM, improper seating, static electricity, insufficient power, incorrect slot allocation, or dirty/damaged connectors. By understanding these issues, you can take preventive measures and resolve them effectively.
Remember to follow proper installation procedures, such as grounding yourself, handling the modules carefully, and closing the computer case securely. If you encounter persistent issues, don’t hesitate to consult technical support for further guidance.
Overall, with the correct installation and troubleshooting, you can optimize your computer’s RAM performance, improving speed, stability, and overall system functionality.