Choosing the Right Hard Drive
When it comes to installing Windows on a new hard drive, selecting the right one is crucial for optimal performance and reliability. Here are some key factors to consider when choosing a hard drive:
- Storage Capacity: Determine the amount of storage you need based on your usage requirements. Consider both your current needs and potential future storage needs.
- Speed: Hard drives come in different speeds, typically measured in revolutions per minute (RPM). The higher the RPM, the faster the drive, resulting in quicker data access. Opt for a higher RPM drive, such as 7200 RPM, for faster boot times and data transfers.
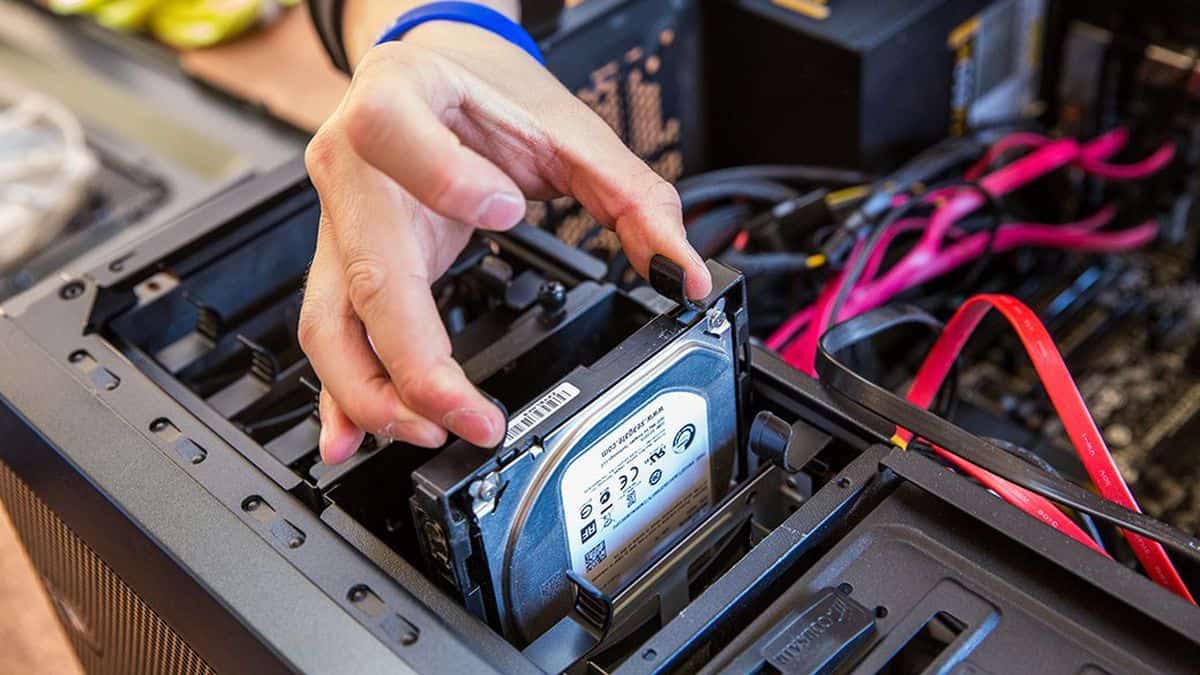
- Form Factor: Check the form factor compatibility with your computer. Common options include 2.5-inch for laptops and smaller systems, and 3.5-inch for desktops. Make sure the drive physically fits your computer’s drive bay.
- Interface: Consider the interface options available for the hard drive. SATA (Serial Advanced Technology Attachment) is the most common interface, providing fast and reliable data transfer. If your system supports it, opting for a Solid State Drive (SSD) with a SATA III interface can significantly improve performance.
- Budget: Determine your budget for the hard drive. It’s important to strike a balance between your storage needs and affordability. SSDs generally offer faster performance but are more expensive per GB compared to traditional hard drives.
Once you have evaluated these factors, you can make an informed decision on the right hard drive for your Windows installation. Remember to compare different brands, read reviews, and consider warranties to ensure you choose a reliable and high-quality product.
Backing Up Your Data
Prior to installing Windows on a new hard drive, it is essential to back up your data to prevent any loss or corruption. Here are some steps to help you safely back up your important files:
- Identify Important Data: Take the time to determine which files and folders contain critical information that you need to preserve. This may include personal documents, photos, videos, music, and any other data that holds value to you.
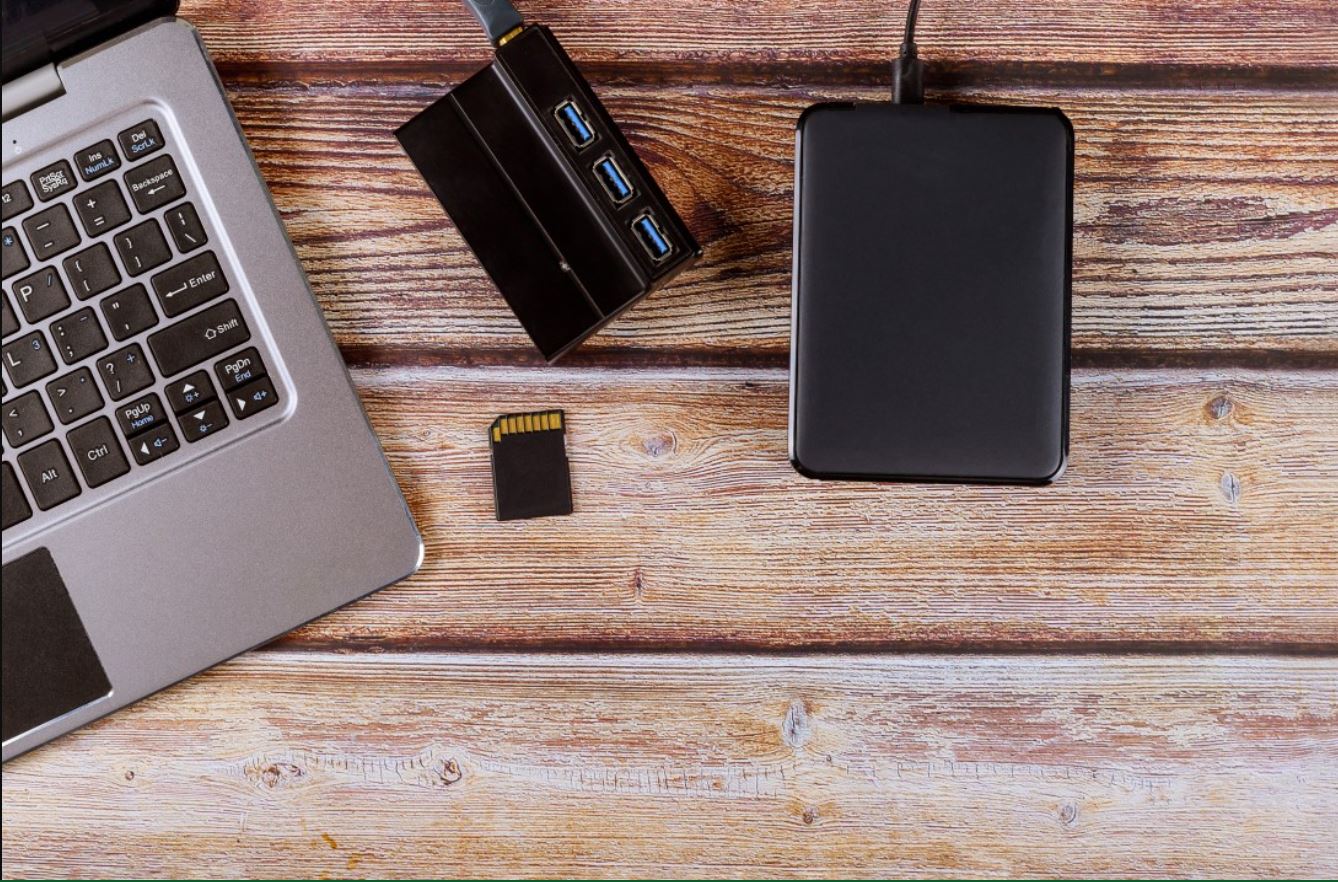
- Choose a Backup Method: There are several backup methods to choose from. You can use an external hard drive, cloud storage services, or even backup software. Evaluate the pros and cons of each method based on your storage needs and preferences.
- Create a Backup Schedule: Establish a regular backup schedule to ensure that your data is constantly protected. You can opt for daily, weekly, or monthly backups depending on how frequently your data changes.
- Organize and Clean Up: Before transferring your files to the backup location, take the opportunity to organize and clean up your data. Delete unnecessary files and organize your folders for a more streamlined backup process.
- Perform the Backup: Start the backup process by transferring your important files to the chosen backup location. Follow the instructions provided by the backup method you have selected, ensuring that all your data is successfully copied.
Remember to verify the integrity of your backup files once the process is complete. You can do this by randomly selecting a few files and confirming that they are accessible and intact.
By backing up your data prior to installing Windows on a new hard drive, you can have peace of mind knowing that your important files are preserved, and you can easily restore them after the installation process.
Creating a Bootable Installation Media
Before you can install Windows on your new hard drive, you’ll need to create a bootable installation media. Here’s how you can do it:
- Download the Windows ISO: Visit the official Microsoft website and download the Windows ISO file. Make sure to select the version of Windows that you want to install.
- Create a Bootable USB Drive: You’ll need a USB drive with sufficient storage capacity (at least 8GB) to create the bootable media. Connect the USB drive to your computer and then use a reliable and user-friendly tool, such as Rufus or the Windows USB/DVD Download Tool, to create a bootable USB drive from the downloaded ISO file.
- Burn the ISO to DVD: If you prefer to use a DVD instead of a USB drive, you can burn the Windows ISO file to a blank DVD using burning software like ImgBurn or Windows Disc Image Burner. Insert the blank DVD into your computer’s optical drive and follow the software instructions to create a bootable DVD.
- Verify Bootable Media: After creating the bootable media, it is essential to verify its integrity to ensure a successful installation. Most tools offer an option to verify the media during the creation process. If not, you can use checksum verification tools like HashCalc or MD5 & SHA Checksum Utility to verify the integrity of the ISO file.
- Set BIOS to Boot from the Media: In order to start the installation process, you’ll need to change your computer’s BIOS settings to boot from the bootable media you just created. Restart your computer and continuously press the designated key (usually F2, F12, or Del) to enter the BIOS setup. Look for the “Boot” or “Boot Priority” menu and set the USB drive or DVD drive as the first boot device. Save the changes and exit the BIOS.
Once you have successfully created the bootable installation media and adjusted your computer’s BIOS settings, you’re ready to proceed with installing Windows on your new hard drive.
Setting Up the BIOS
Before you can install Windows on your new hard drive, it is important to properly configure your computer’s BIOS settings. The BIOS (Basic Input/Output System) is responsible for controlling the hardware and boot process of your computer. Here’s how you can set up the BIOS:
- Accessing the BIOS: Restart your computer and look for the key or key combination to access the BIOS setup. Common keys include F2, F12, and Del. Press the designated key repeatedly until the BIOS setup screen appears.
- Setting the Boot Order: Navigate to the “Boot” or “Boot Priority” tab in the BIOS setup. Change the boot order so that the bootable installation media (USB drive or DVD drive) is the first boot device in the list. This ensures that your computer boots from the installation media when you start it.
- Enabling AHCI Mode: If your computer’s hard drive uses the AHCI (Advanced Host Controller Interface) mode, it is recommended to enable this feature in the BIOS for optimal performance. Look for the “SATA Configuration” or “Storage Configuration” option and set it to AHCI.
- Disabling Secure Boot: If your computer has a Secure Boot feature enabled, you may need to disable it in the BIOS. Secure Boot is a security feature that verifies the integrity of the operating system before allowing it to boot. However, it can sometimes interfere with the installation of Windows from a bootable media.
- Saving and Exiting: Once you have made the necessary changes in the BIOS setup, save the changes by selecting the “Save and Exit” option or pressing the appropriate key. Your computer will restart with the new BIOS settings in place.
It is important to note that the BIOS setup interface may vary depending on the manufacturer and model of your computer. Refer to your computer’s documentation or the manufacturer’s website for specific instructions if needed.
By correctly configuring the BIOS settings, you ensure that your computer is ready to install Windows on the new hard drive, providing a smooth installation process.
Installing Windows
With your bootable installation media ready and the BIOS settings properly configured, it’s time to install Windows on your new hard drive. Follow these steps to complete the installation process:
- Insert the Bootable Media: If you’re using a USB drive, insert it into a USB port on your computer. If you’re using a DVD, insert it into the optical drive.
- Start the Computer: Restart your computer and allow it to boot from the bootable media. Depending on your computer’s BIOS settings, you may see a prompt asking you to press any key to boot from the media. If you don’t see this prompt, ensure that your bootable media is properly inserted and try again.
- Choose Language and Keyboard Settings: Once the boot process is initiated, you’ll be prompted to choose your language preferences. Select your desired language and keyboard layout, then click “Next” to proceed.
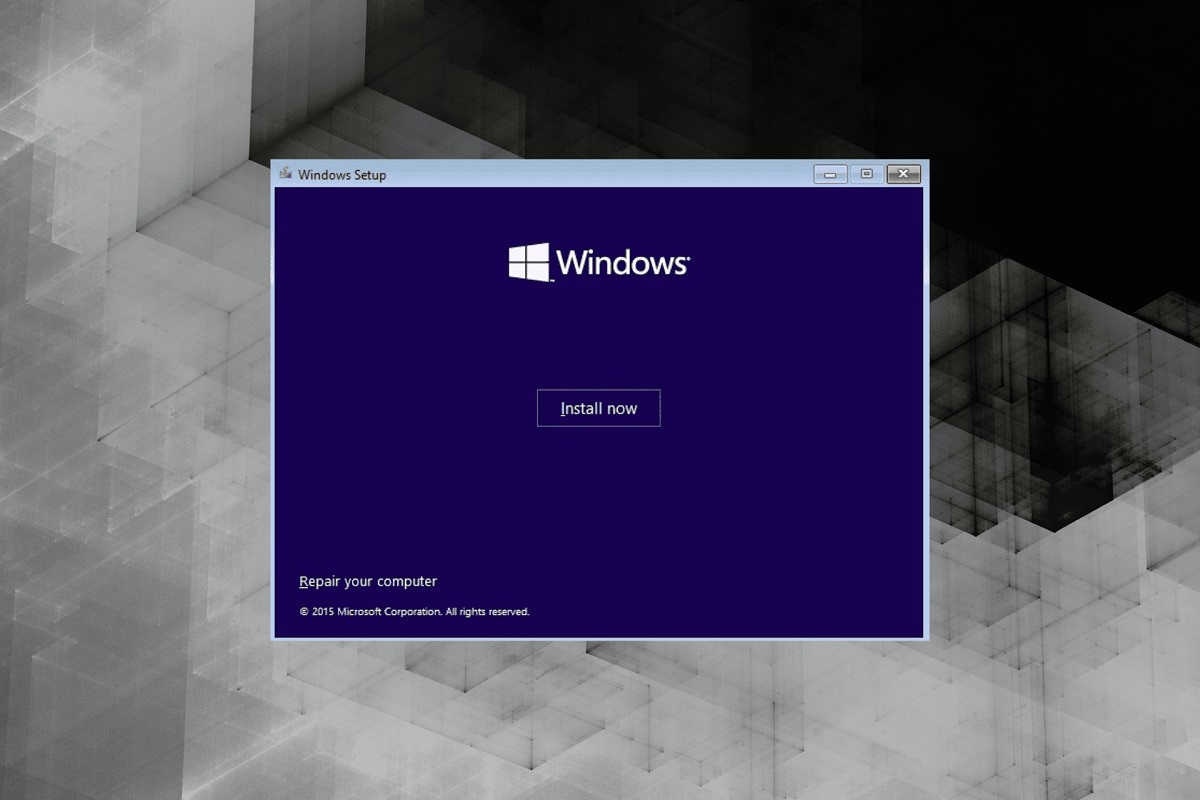
- Install Windows: On the next screen, click “Install Now” to begin the installation process.
- Enter Product Key: If prompted, enter the product key for your copy of Windows. This step may vary depending on the version of Windows you’re installing.
- Read and Accept the License Terms: Review the license terms and conditions, and if you agree, check the box indicating your acceptance. Click “Next” to continue.
- Choose Installation Type: Select the installation type you prefer. You can choose to perform a “Custom” installation to select specific options, or you can opt for the “Upgrade” installation if you’re upgrading from a previous version of Windows.
- Select the Hard Drive: On the next screen, select the hard drive where you want to install Windows. Choose your new hard drive from the list of available drives.
- Follow the On-Screen Prompts: Once you’ve made the necessary selections, follow the on-screen prompts to complete the installation process. This may involve choosing additional options, such as partitioning the hard drive or creating user accounts.
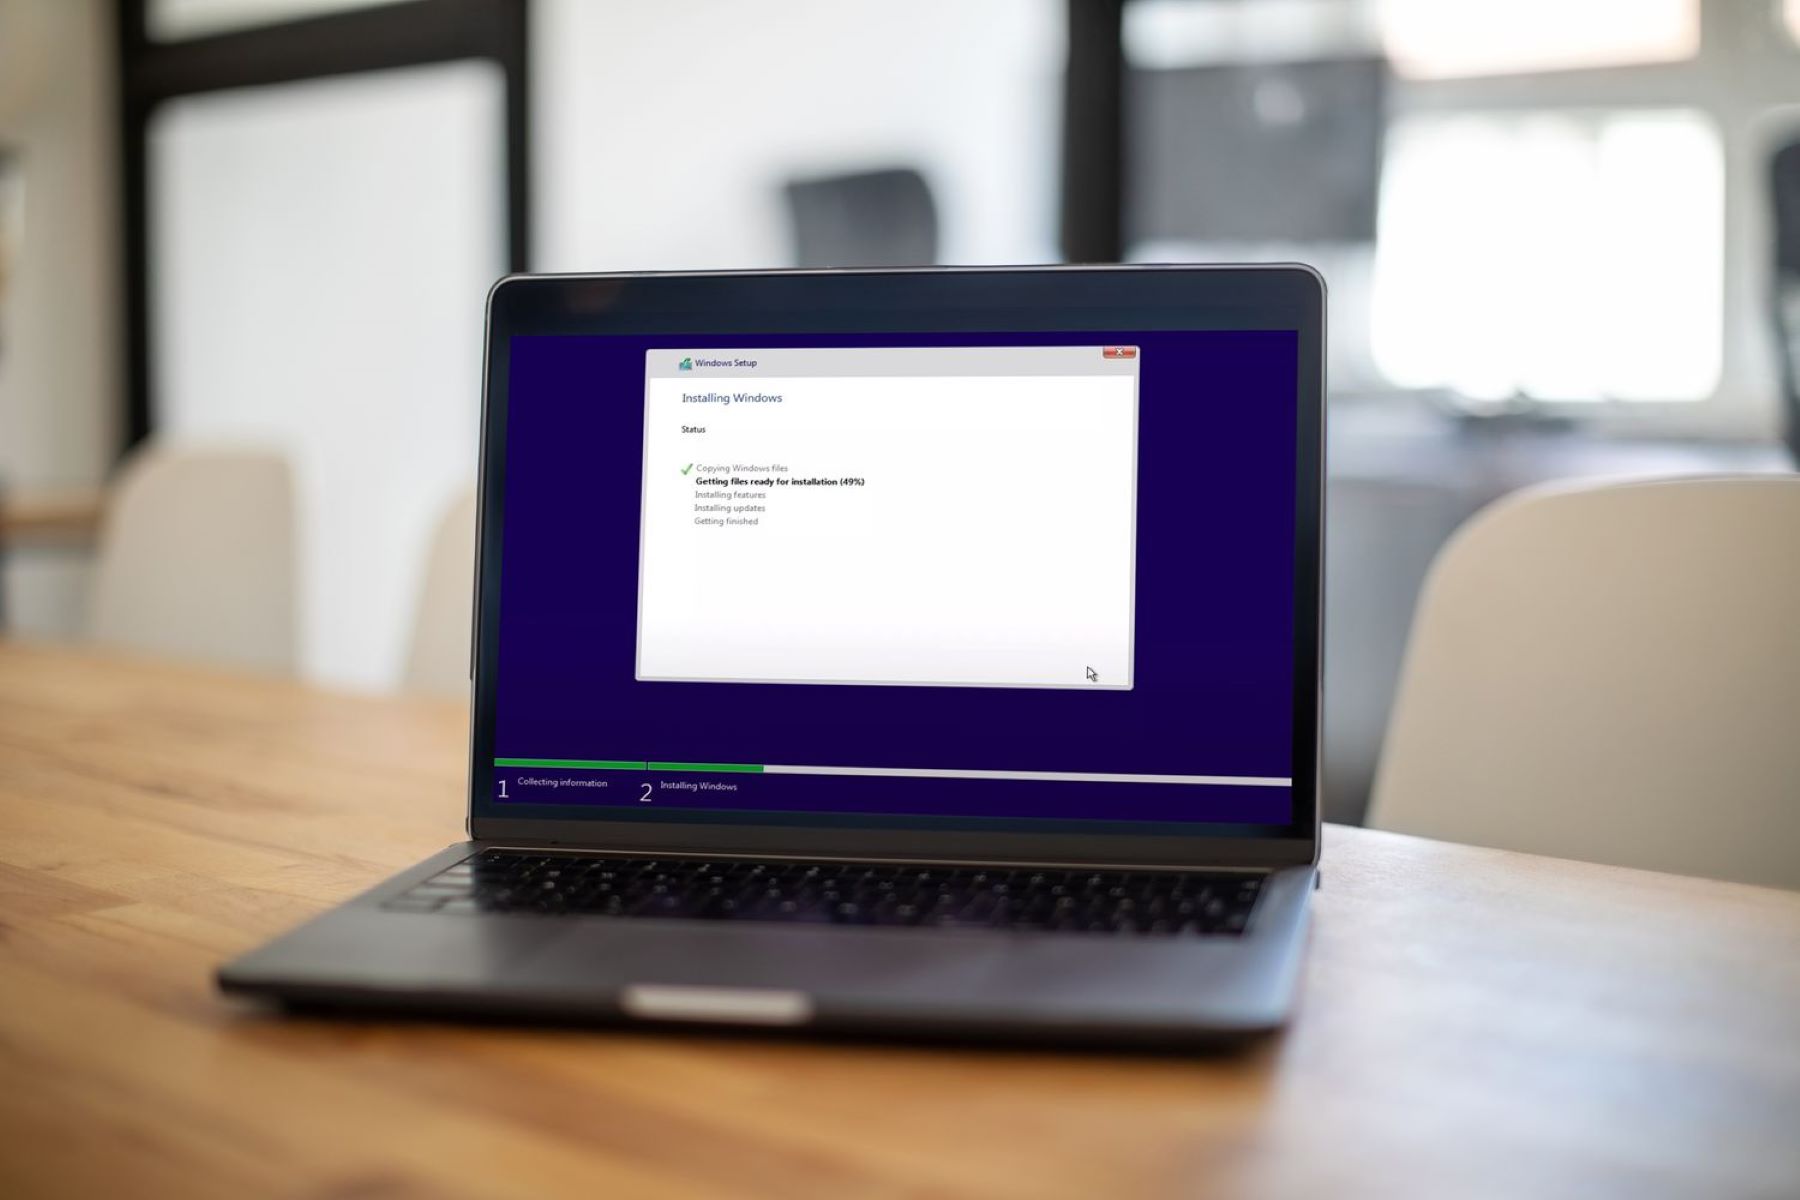
- Wait for the Installation to Complete: Sit back and wait for the installation to finish. It may take some time, so be patient. Your computer may restart multiple times during the installation process.
Once the installation is complete, you’ll be greeted with the Windows setup screen. You can now proceed to configure your Windows settings and personalize your new operating system.
Remember to remove the bootable media from your computer to avoid booting into the installation process again.
Configuring Windows Settings
After successfully installing Windows on your new hard drive, it’s time to configure the initial settings to personalize your operating system. Here are some essential Windows settings to consider:
- Language and Region: Go to the “Settings” menu and select “Time & Language.” Set your preferred language, time zone, and region to match your location.
- Internet Connection: Connect your computer to the internet by selecting your Wi-Fi network or connecting via Ethernet cable. This will allow you to download updates and access online services.
- Account Setup: Choose whether to create a local account or sign in with your Microsoft account. A Microsoft account provides access to additional features such as syncing settings across devices and accessing Microsoft services.
- Privacy Settings: Take a moment to review the privacy settings and choose the level of data collection and sharing that you are comfortable with. Adjust these settings according to your preferences and click “Accept” to proceed.
- Windows Updates: It is important to keep your operating system up to date with the latest security patches and features. Go to “Settings” and select “Update & Security.” Enable automatic updates or choose to manually install updates.
- Customize Your Desktop: Personalize your desktop by choosing your preferred wallpaper, screen resolution, and desktop icons. Right-click on the desktop and select “Personalize” to access these customization options.
- Set Up User Accounts: If you opted for a local account during the setup process, you can create additional user accounts for other individuals who will be using the computer. Go to “Settings” and select “Accounts” to manage user accounts.
- Install Essential Software: Install the necessary applications and software to meet your productivity, entertainment, and security needs. Consider installing an antivirus program, productivity suites, web browsers, media players, and other software that you commonly use.
- Configure Additional Settings: Explore the various settings available in the Windows “Settings” menu to customize your experience further. Adjust settings related to display, sound, notifications, power options, and more.
By configuring these settings according to your preferences, you can personalize your Windows installation and make it more tailored to your needs and preferences.
Installing Drivers
After installing Windows on your new hard drive, it is crucial to install the necessary drivers to ensure that all hardware components are properly recognized and function correctly. Here’s how you can install drivers on your Windows system:
- Windows Update: Start by checking for driver updates using Windows Update. Open the “Settings” menu, select “Update & Security,” and click on “Check for updates.” Windows will automatically scan for available driver updates and install them.
- Manufacturer’s Website: Visit the website of your computer’s manufacturer, such as Dell, HP, or Lenovo, and navigate to the support section. Look for the drivers and software downloads specific to your computer model and operating system. Download the appropriate drivers and follow the installation instructions provided.
- Device Manager: Access the Device Manager by right-clicking on the Start button and selecting “Device Manager” from the menu. In the Device Manager window, expand each category and look for any devices with a yellow exclamation mark or a question mark. Right-click on the device and select “Update driver.” Choose to search automatically for updated driver software. Windows will attempt to find and install the latest driver for the device.
- Driver Update Tools: Consider using third-party driver update tools, such as Driver Booster or Driver Easy, to scan your system for outdated or missing drivers. These tools can automatically search for and install the latest drivers for your hardware components.
- Graphics Drivers: For optimal performance in graphics-intensive tasks such as gaming or graphic design, it is recommended to install the latest graphics drivers from the website of your graphics card manufacturer, such as Nvidia or AMD.
- Audio and Network Drivers: To ensure proper functioning of your audio and network devices, download and install the latest drivers specific to your sound card and network adapter. Visit the websites of the respective manufacturers to obtain the appropriate drivers.
- Peripheral Devices: If you have additional peripheral devices such as printers, scanners, or webcams, visit the manufacturer’s website and download the drivers needed for these devices. Install the drivers following the provided instructions.
Regularly check for driver updates and install them to keep your system running smoothly and to take advantage of any performance improvements or bug fixes provided by the updated drivers.
Updating Windows
After installing Windows on your new hard drive, it is essential to regularly update your operating system to ensure it remains secure, stable, and up to date with the latest features. Here’s how you can update Windows:
- Windows Update: Windows Update is the primary method of updating your operating system. Go to the “Settings” menu, select “Update & Security,” and click on “Check for updates.” Windows will automatically scan for available updates and prompt you to download and install them.
- Automatic Updates: To ensure your system is always up to date, consider enabling automatic updates. This allows Windows to automatically download and install updates in the background without requiring manual intervention.
- Security Updates: Keep your system protected by prioritizing the installation of security updates. These updates address vulnerabilities and help safeguard your computer from malware and other threats. Enable automatic installation of security updates or ensure they are downloaded and installed promptly.
- Feature Updates: Windows periodically releases feature updates that bring new functionality, enhancements, and improvements to the operating system. These updates are typically larger in size and may require more time to install. Review the release notes for each feature update before proceeding with the installation to understand the changes being introduced.
- Driver Updates: Windows Update can also help you keep your drivers up to date. Sometimes updated drivers are released through Windows Update, so it is worth checking for driver updates using this method. However, for certain hardware components, it is recommended to manually install the latest drivers from the manufacturer’s website for optimal performance.
- Restart Your Computer: After installing updates, it is often necessary to restart your computer to complete the installation process. Make sure to save any unsaved work before restarting to avoid data loss.
- Active Internet Connection: Ensure that your computer has an active internet connection when checking for updates. This allows Windows to download the latest updates from Microsoft servers.
- Set Update Preferences: Within the Windows Update settings, you can customize how updates are installed on your system. You can choose to schedule updates to occur during a specific time, pause updates temporarily, or defer feature updates when available.
Regularly updating Windows is crucial in maintaining system security, stability, and performance. By keeping your operating system up to date, you can benefit from the latest features, bug fixes, and improvements provided by Microsoft.
Restoring Your Data
After installing Windows on your new hard drive, it’s time to restore your data to get back to your familiar files, documents, and settings. Here’s how you can restore your data:
- Locate Your Backup: If you followed the recommendation to back up your data before installing Windows, locate your backup files. Whether you used an external hard drive, cloud storage, or backup software, identify the backup location.
- Connect External Storage: If your backup is stored on an external hard drive or USB device, connect it to your computer. Ensure that it is recognized and accessible by the operating system.
- Restore Files Manually: If you backed up your data manually, such as by copying files to an external storage device, you can restore them by copying them back to their original locations on your new installation. Open File Explorer, navigate to the backup location, and copy the files to their respective directories.
- Restore from Backup Software: If you used backup software, open the software and follow its instructions to restore your backed-up data. Most backup software provides a straightforward process for restoring files and folders to your desired location.
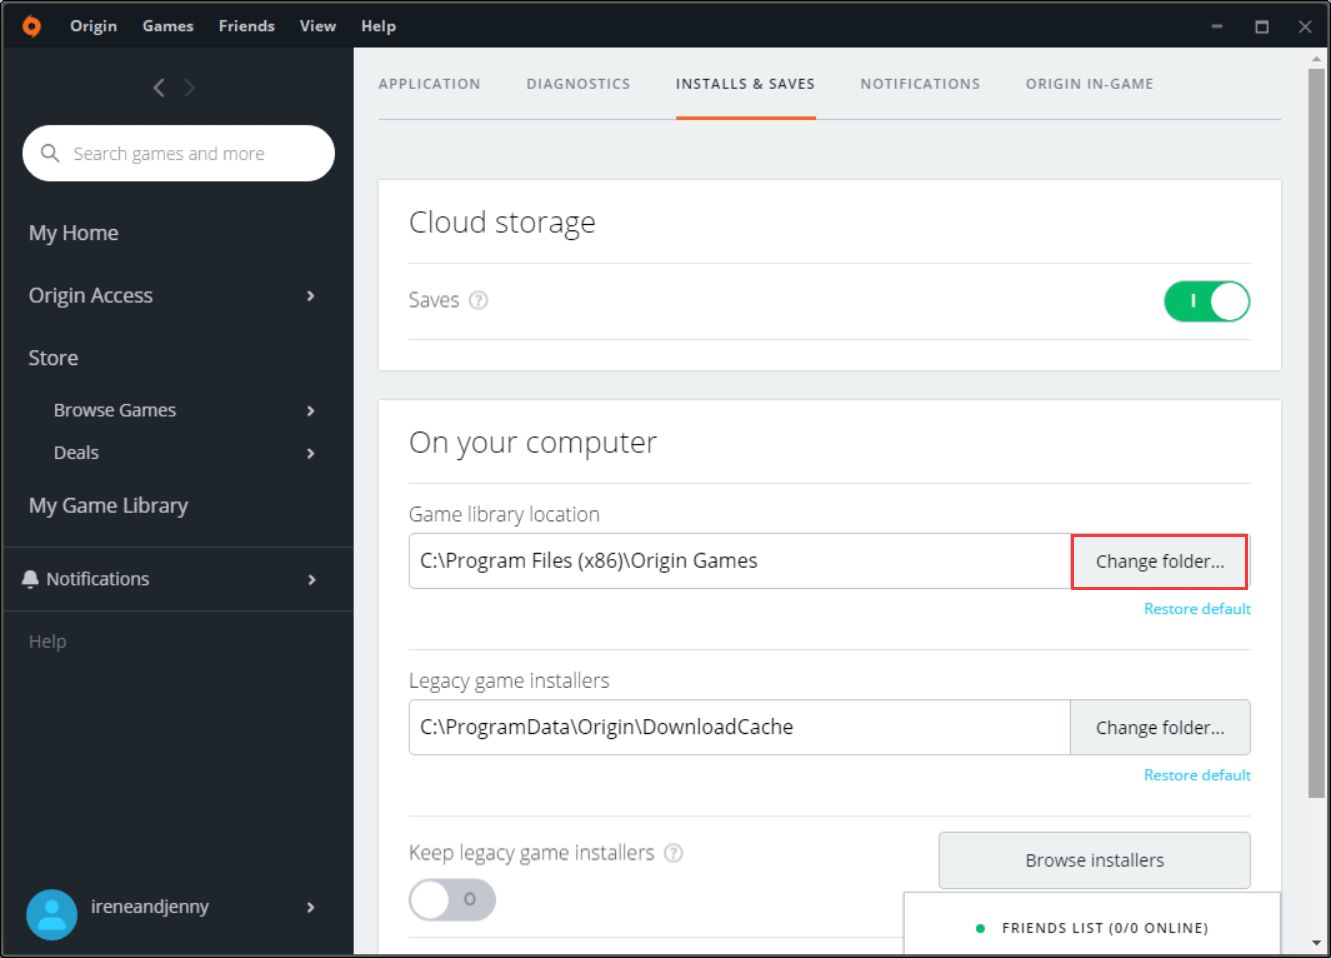
- Cloud Storage: If you stored your data in the cloud, such as using services like Dropbox or OneDrive, simply sign in to your cloud storage account and download your files and folders to their appropriate locations on your new Windows installation.
- Import Email and Browser Data: If you use email clients like Outlook or Mozilla Thunderbird, or if you use web browsers like Chrome or Firefox, you may need to import your email accounts, contacts, bookmarks, and other settings. Refer to the documentation or settings options of the respective applications to import the necessary data.
- Reinstall Applications: After restoring your data, you may need to reinstall any applications or software programs you were using before the installation. If you have the setup files or installation media, run them and follow the prompts to reinstall the applications.
- Verify Data Restoration: Take some time to verify that all your data has been successfully restored. Open your files, check your folders, and ensure that everything is in its proper place. If you encounter any missing or corrupted files, go back and reattempt the restoration process.
By following these steps, you can restore your data and get back to your familiar digital environment on your newly installed Windows operating system.