Introduction
When it comes to managing your files and keeping your computer organized, the Recycle Bin is a crucial feature in Windows 10. It’s a safety net that allows you to recover accidentally deleted files and provides a convenient way to dispose of unwanted files without permanently deleting them.
However, locating the Recycle Bin in Windows 10 may not be as obvious as it once was in earlier versions of the operating system. With the ever-evolving interface and new ways to access system features, it’s essential to know where to find the Recycle Bin to make the most of its functionality.
In this article, we will explore various methods to locate and access the Recycle Bin in Windows 10. Whether you prefer using the desktop, File Explorer, or customizing your Recycle Bin settings, we’ve got you covered.
Are you ready to dive into the world of Windows 10 Recycle Bin navigation? Let’s get started!
Method 1: From the Desktop
If you spend a significant amount of time working on your desktop and prefer a straightforward approach to access the Recycle Bin, this method is for you. Here’s how you can locate the Recycle Bin from the desktop:
- Start by minimizing or closing any open windows or applications until you reach your desktop screen.
- Once on the desktop, look for the Recycle Bin icon. By default, the Recycle Bin is usually located in the top left corner of the screen.
- If you don’t immediately see the Recycle Bin icon, scan the desktop for other icons or folders. There’s a possibility that it may have been moved or hidden.
- Once you locate the Recycle Bin, simply double-click on the icon to open it. This will open a window showing the contents of the Recycle Bin.
Now that you have successfully accessed the Recycle Bin, you can view your deleted files and perform actions such as restoring or permanently deleting them.
It’s worth noting that you can customize the Recycle Bin’s appearance on the desktop. To do this, simply right-click on the Recycle Bin icon and select “Properties” from the context menu. From there, you can choose to display or hide the Recycle Bin icon on the desktop, change the icon’s appearance, or configure other settings to suit your preferences.
Remember, the desktop method provides a quick and direct approach to access the Recycle Bin. If you prefer a different method or cannot find the Recycle Bin on your desktop, continue reading to discover alternative options.
Method 2: Using File Explorer
If you prefer a more organized and comprehensive way to access the Recycle Bin in Windows 10, using File Explorer is the way to go. Here’s how you can locate the Recycle Bin using File Explorer:
- Open File Explorer by clicking on the folder icon located on the taskbar or by pressing the Windows key + E on your keyboard.
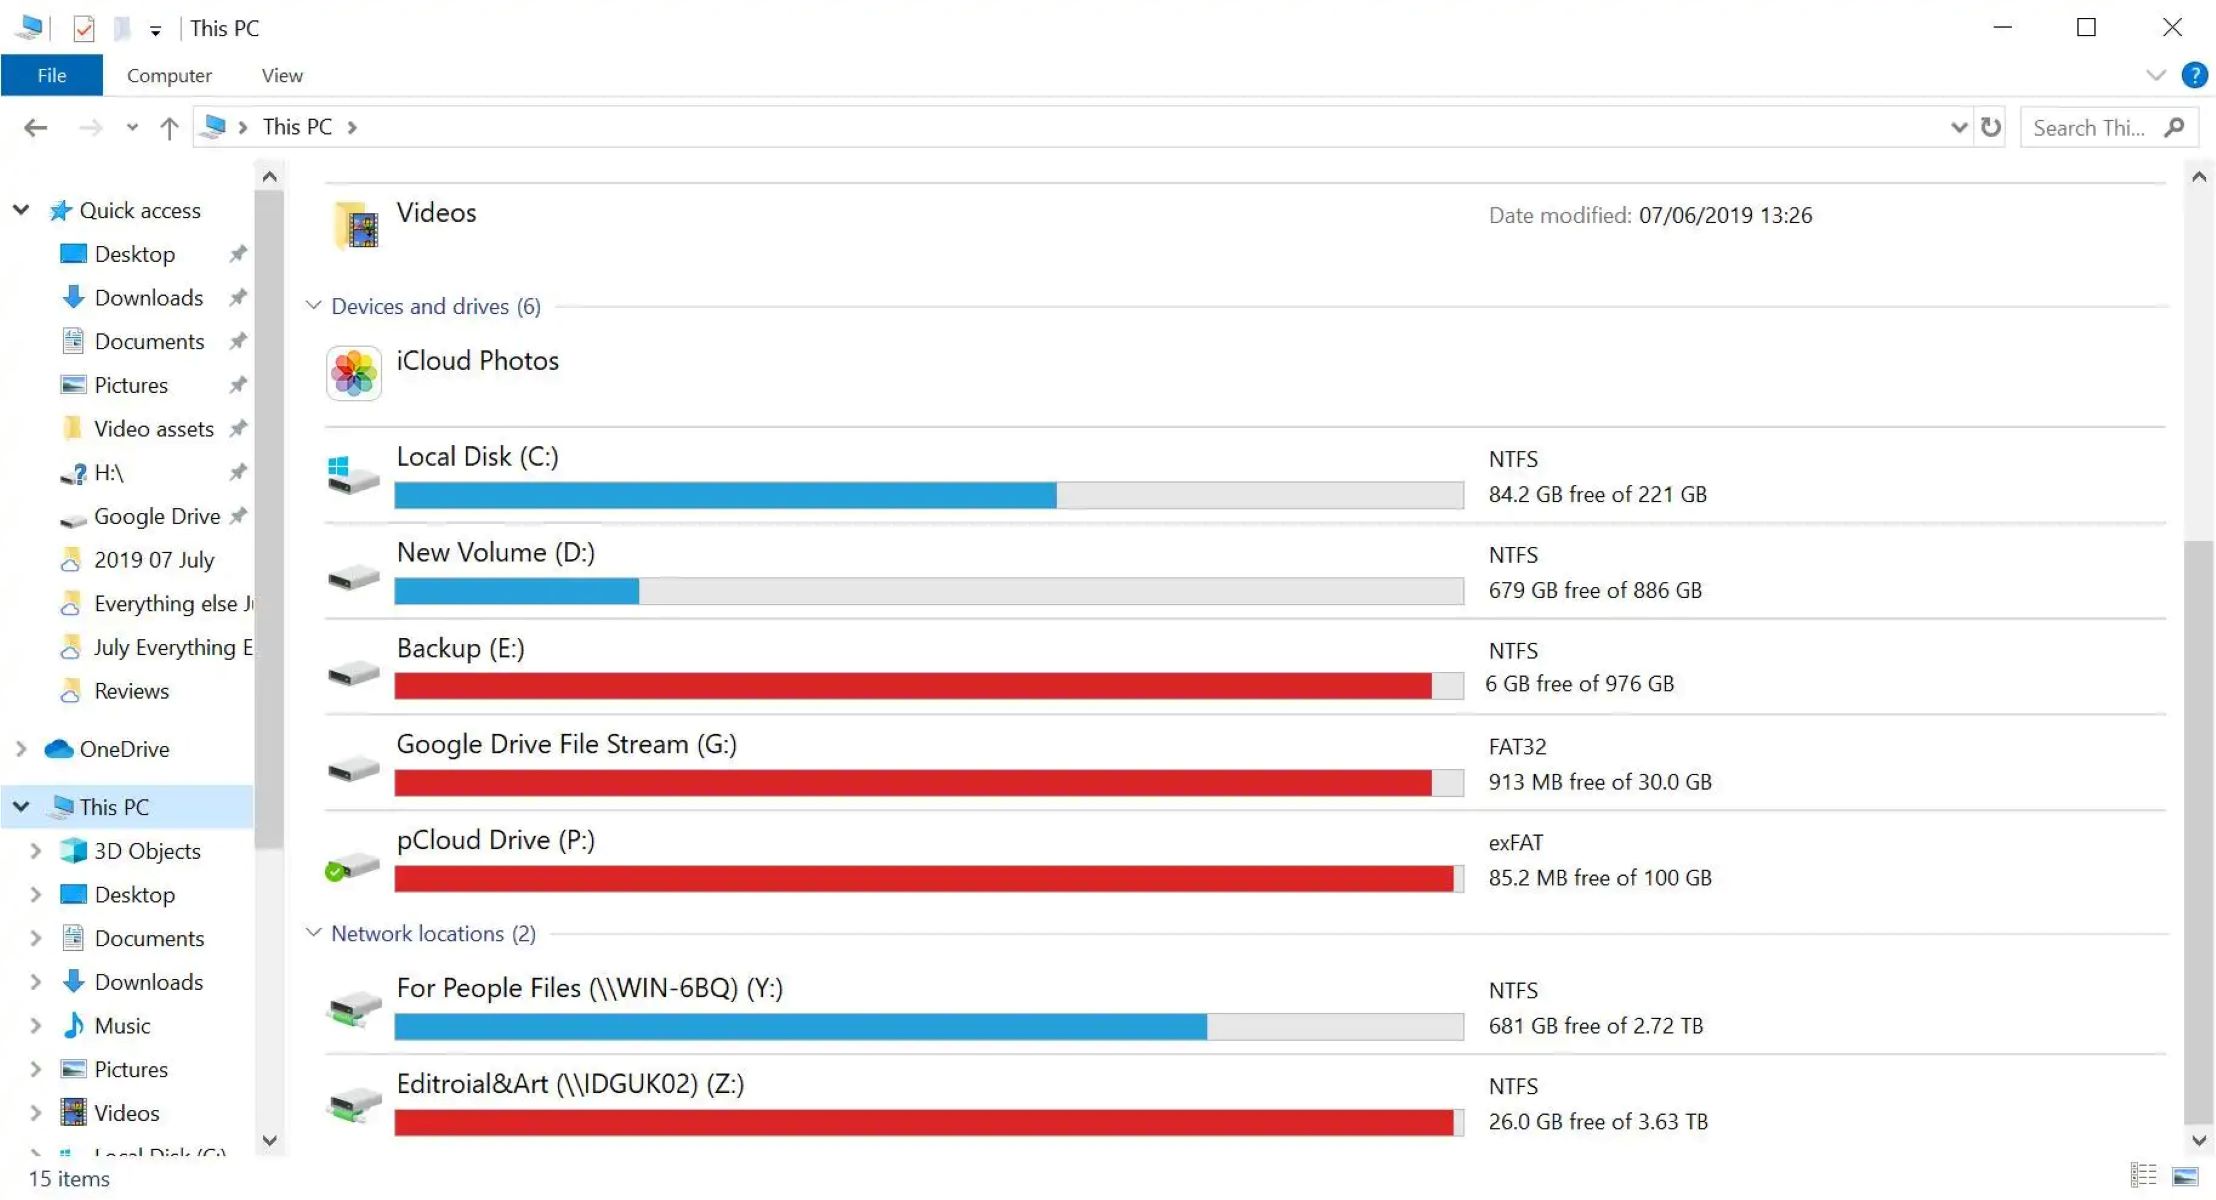
- In the File Explorer window, you will see a list of commonly accessed folders on the left-hand side. Look for “This PC” or “Computer” and click on it to expand the list of drive options.
- Find the drive that corresponds to your main hard drive (usually labeled “Local Disk (C:)”) and click on it to expand the list of folders and files.
- Scroll down or navigate through the folders until you find the “Recycle Bin” folder. It should be located towards the bottom of the list.
- Once you locate the “Recycle Bin” folder, double-click on it to open it. This will display the deleted files and folders that are currently in the Recycle Bin.
Using File Explorer to access the Recycle Bin provides a more organized and detailed view of your deleted files. You can easily sort through the items, restore them to their original location, or permanently delete them if desired.
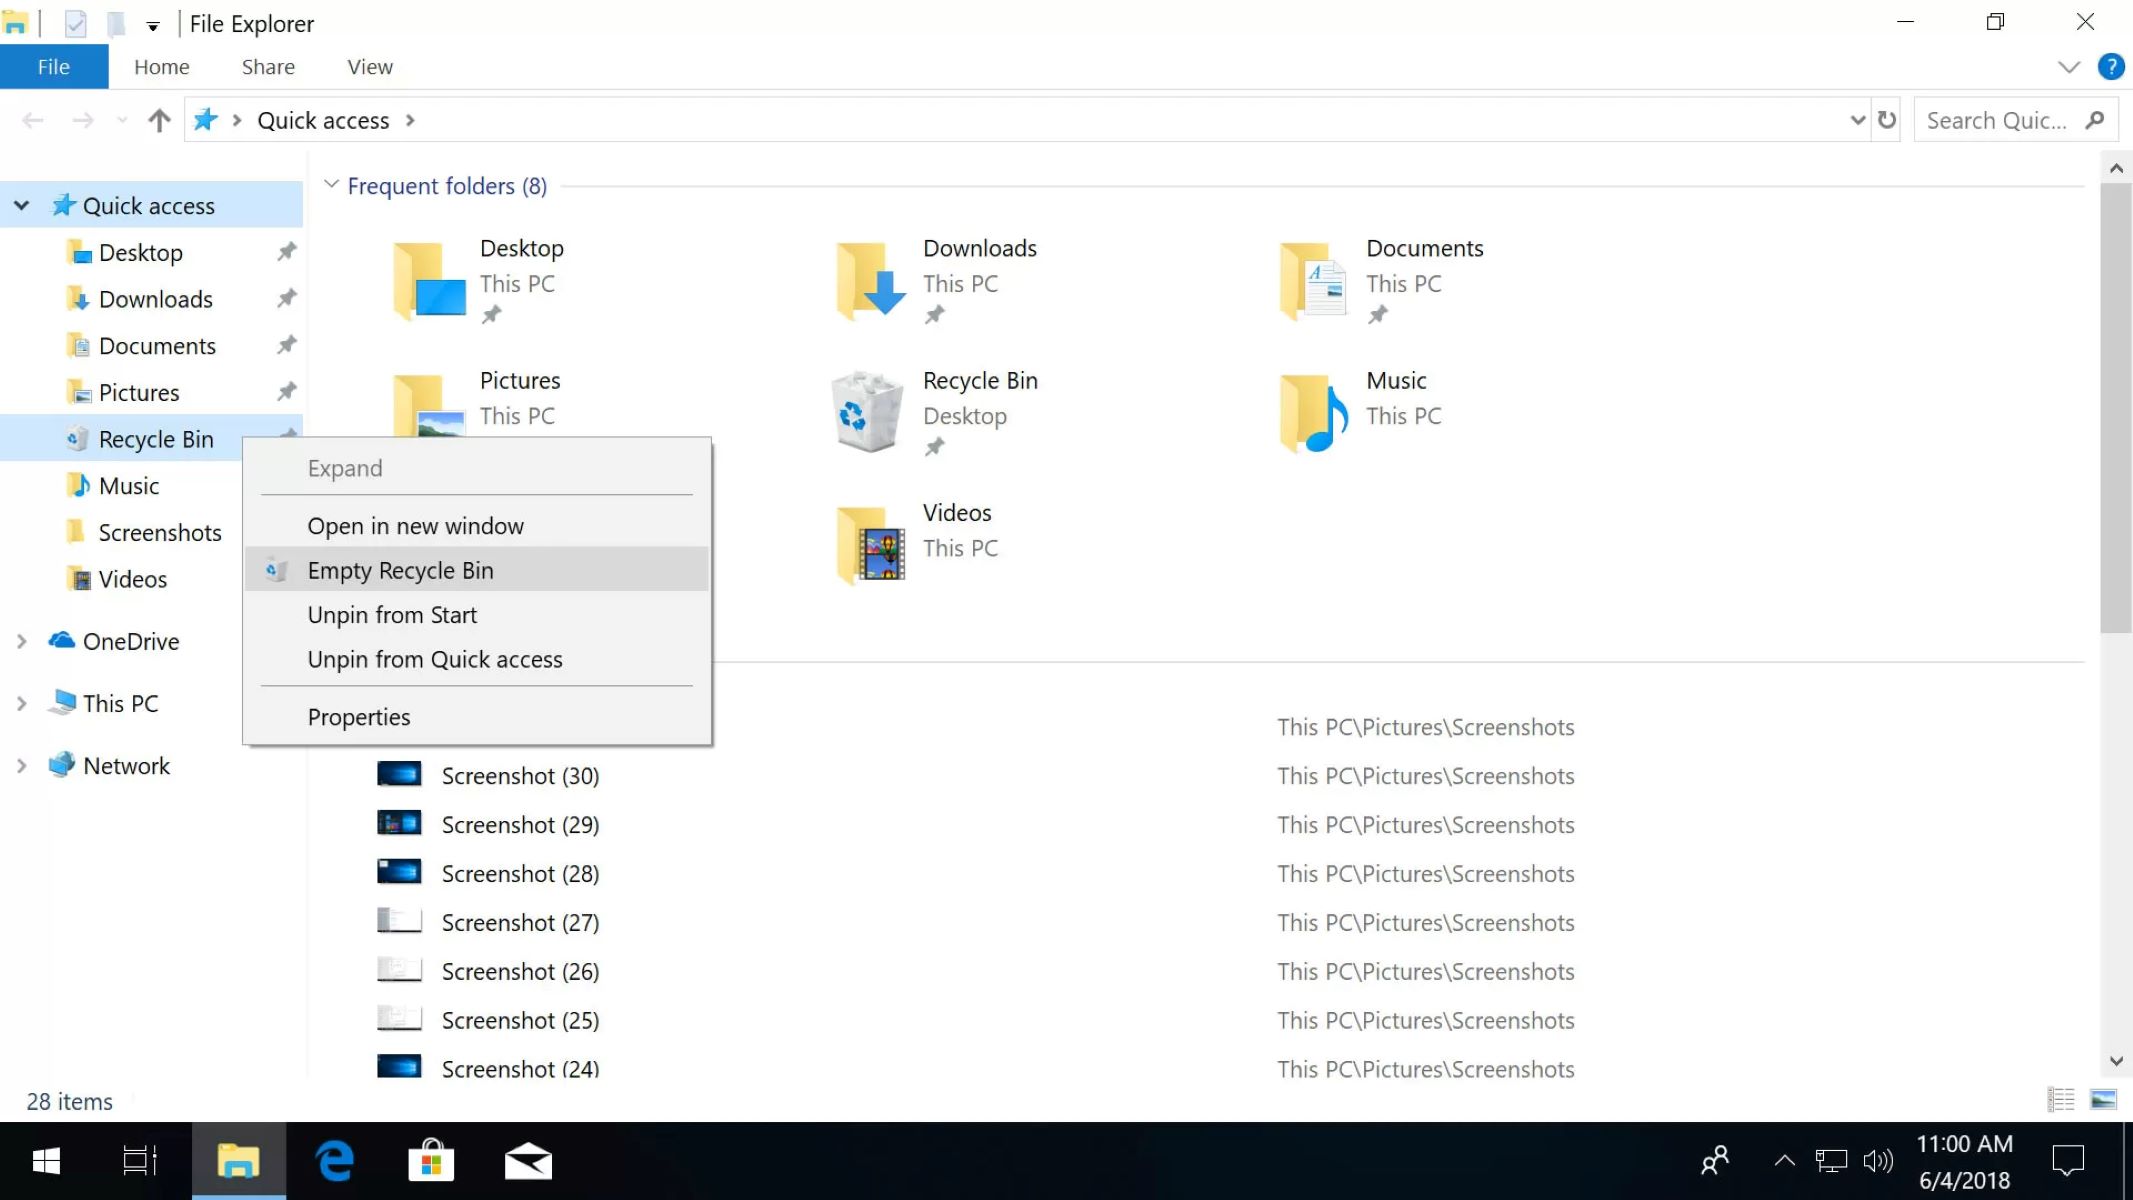
Additionally, you can also pin the Recycle Bin shortcut to the Quick Access section in File Explorer for even easier access. To do this, simply right-click on the Recycle Bin folder and select “Pin to Quick Access” from the context menu. This will add a shortcut to the Recycle Bin under the Quick Access section on the left-hand side of File Explorer.
Now that you know how to access the Recycle Bin using File Explorer, you can efficiently manage your deleted files and maintain a clutter-free storage system.
Method 3: Restoring the Recycle Bin
In some cases, you may find that the Recycle Bin icon is missing from your desktop or File Explorer. This can happen due to various reasons, such as accidental deletion or a change in system settings. Fortunately, Windows 10 provides a simple method to restore the Recycle Bin. Here’s how:
- Right-click on an empty space on your desktop to open the context menu.
- Select “Personalize” from the menu options. This will open the Windows 10 Settings app.
- In the Settings app, click on the “Themes” option in the left-hand menu.
- Scroll down until you find the “Related Settings” section and click on “Desktop icon settings”.
- A new window will appear. Make sure the “Recycle Bin” checkbox is checked. If it is not selected, click on the checkbox to enable it.
- Click “Apply” and then “OK” to save the changes and close the window.
Once you have completed these steps, the Recycle Bin icon should reappear on your desktop. If it does not immediately show up, try refreshing the desktop or restarting your computer for the changes to take effect.
If you prefer to restore the Recycle Bin using File Explorer, follow these steps:
- Open File Explorer by clicking on the folder icon located on the taskbar or by pressing the Windows key + E on your keyboard.
- In the File Explorer window, click on the “View” tab located at the top of the window.
- In the toolbar, click on the “Options” button, which is represented by a small dropdown arrow.
- A Folder Options window will appear. Click on the “View” tab within that window.
- Scroll down until you find the “Hidden files and folders” section.
- Enable the “Show hidden files, folders, and drives” option, and then click “Apply” and “OK”.
After performing these steps, the Recycle Bin folder should become visible in File Explorer, and you can access it as explained in the previous method.
By following the appropriate steps, you can easily restore the Recycle Bin functionality, ensuring that you can conveniently manage your deleted files.
Method 4: Customizing Recycle Bin Settings
Windows 10 allows you to customize the behavior and appearance of the Recycle Bin to suit your preferences. By adjusting these settings, you can have more control over how deleted files are handled. Here’s how you can customize the Recycle Bin settings:
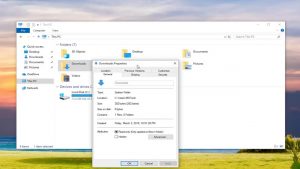
- Right-click on the Recycle Bin icon either on your desktop or in File Explorer.
- Select “Properties” from the context menu that appears. This will open a new window.
- Within the Recycle Bin Properties window, you will find various customization options:
- General: In this tab, you can choose whether to display confirmation dialogs when deleting files, customize the storage size allocated for the Recycle Bin, or select the “Don’t move files to the Recycle Bin” option for immediate deletion.
- Customize: This tab allows you to change the appearance of the Recycle Bin icon, such as choosing a different icon from the available options or using a custom icon of your choice.
- Restore Defaults: If you want to reset the Recycle Bin settings to their default values, use this button.
Once you have adjusted the settings to your liking, click “Apply” and then “OK” to save the changes and close the window. The Recycle Bin will now behave according to your customized settings.
Customizing the Recycle Bin settings provides flexibility in managing deleted files. You can choose whether to have confirmation dialogs when deleting files, set specific storage sizes for the Recycle Bin, or even opt for immediate deletion without sending files to the Recycle Bin.
Remember to consider your workflow and personal preferences when customizing the Recycle Bin settings, as they can significantly impact how you manage and interact with your deleted files.
Conclusion
Navigating and utilizing the Recycle Bin in Windows 10 is crucial for efficient file management and data recovery. By familiarizing yourself with the various methods outlined in this article, you can easily locate and access the Recycle Bin based on your preferred workflow and preferences.
In Method 1, we explored how to access the Recycle Bin directly from the desktop, providing a quick and straightforward approach for those who frequently work on their desktop environment.
In Method 2, we delved into using File Explorer to access the Recycle Bin, which offers a more organized and comprehensive view of deleted files and folders.
Method 3 discussed the steps to restore the Recycle Bin if it goes missing from the desktop or File Explorer. By following the simple restoration process, you can quickly regain access to this essential feature.
Lastly, in Method 4, we explored how to customize the Recycle Bin settings to tailor its behavior to your specific needs. By adjusting the settings, you can have more control over how deleted files are handled and the appearance of the Recycle Bin on your system.
With these methods at your disposal, you can now confidently manage your deleted files and maintain a clutter-free storage system. Whether you prefer the simplicity of the desktop approach, the organization of File Explorer, or the customization options available, Windows 10 provides multiple avenues to access and customize the Recycle Bin to suit your workflow.
Embrace the power of the Recycle Bin in Windows 10, and take full control over your deleted files. Start exploring the methods explained in this article and enjoy a more streamlined and efficient file management experience.