Introduction
Windows 11 is the latest operating system released by Microsoft, packed with exciting new features and a fresh design. Whether you are upgrading from a previous version of Windows or installing it on a new computer, this article will guide you through the process of installing Windows 11.
With its sleek interface, improved performance, and enhanced security, Windows 11 offers an optimized user experience for both work and play. This next-generation operating system introduces a centered Start Menu, redesigned Taskbar, and a host of new productivity tools, making it a compelling choice for users looking to upgrade their computing experience.
In this article, we will walk you through the step-by-step process of installing Windows 11 on your computer. From checking your system compatibility to creating installation media and performing the installation, we will cover everything you need to know to get your Windows 11 up and running smoothly.
Before you begin, it’s essential to ensure your computer meets the minimum system requirements for Windows 11. This includes having a compatible processor, sufficient RAM, and available storage space. Additionally, you’ll want to back up your data to prevent any loss during the installation process. With these preparations in place, you can proceed confidently with the installation of Windows 11.
So, let’s dive into the installation process and equip you with the knowledge to successfully install Windows 11 on your computer. Follow the steps outlined in this article, and you’ll be up and running with the exciting new features of Windows 11 in no time.
System Requirements
Before you start the installation process, it’s important to ensure that your computer meets the minimum system requirements for Windows 11. This will ensure that your device can run the operating system smoothly and without any compatibility issues.
Here are the minimum system requirements for Windows 11:
- Processor: 1 gigahertz (GHz) or faster with 2 or more cores on a compatible 64-bit processor
- RAM: 4 gigabytes (GB) or more
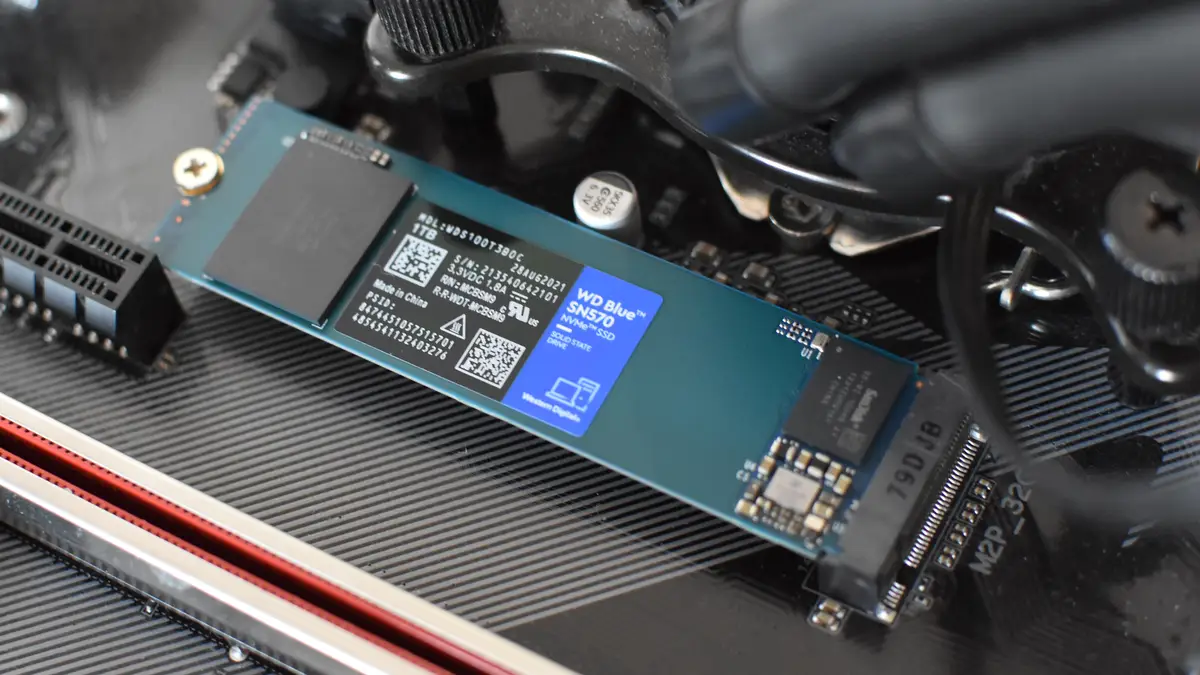
- Storage: 64 GB or more available storage
- Graphics Card: DirectX 12 compatible or later with a WDDM 2.0 driver
- Display: A display with a resolution of 720p or higher, at least 9 inches diagonally with 8 bits per color channel
- Internet Connection: Internet connectivity is necessary for Windows 11 installation and updates
In addition to the minimum requirements, Microsoft has also outlined recommended system requirements for the best performance and experience with Windows 11. These include a faster processor, more RAM, and a larger storage capacity. It’s always a good idea to exceed the minimum requirements if possible for optimal performance.
If you’re unsure about your computer’s hardware specifications, you can check them by accessing the System Information tool on your Windows computer. Simply press the Windows key + R, type “msinfo32” without the quotes, and hit Enter. This will display detailed information about your system, including the processor, installed RAM, and graphics card.
Keep in mind that meeting the system requirements is crucial for a smooth installation and operation of Windows 11. If your computer falls short of the minimum requirements, you may experience performance issues, compatibility problems, or even fail to install the operating system altogether.
Now that you’re familiar with the system requirements for Windows 11, it’s time to move on to the next step: checking your system’s compatibility. This will ensure that your device is ready for the installation of the new operating system.
Step 1: Check for Compatibility
Before proceeding with the installation of Windows 11, it’s crucial to confirm that your computer meets the compatibility requirements. Microsoft has introduced a set of specific hardware and software prerequisites for Windows 11, ensuring a smooth and optimized experience on compatible devices.
To check for compatibility, Microsoft has provided a handy tool called the “PC Health Check” application. This tool can be downloaded from the Microsoft website and helps determine if your computer meets the necessary requirements for Windows 11.
Follow these steps to check for compatibility:
- Go to the Microsoft website and download the “PC Health Check” tool. It is a small executable file, and you can easily find it by searching for “PC Health Check” on the site.
- Once downloaded, run the tool by double-clicking on it.
- The tool will analyze your computer’s hardware and software configuration.
- After the analysis is complete, the tool will display a compatibility report.
If your computer meets the compatibility requirements for Windows 11, the tool will indicate that your device is compatible for the upgrade. In this case, you can proceed to the next step of the installation process.
However, if your computer is not compatible, the tool will provide information on which specific requirement(s) your device does not meet. It may suggest upgrading certain components, such as the processor or graphics card, to ensure compatibility with Windows 11.
If your computer is not compatible, you have a few options. You can choose to upgrade your existing hardware to meet the requirements, or you can consider purchasing a new computer that comes pre-installed with Windows 11. It’s important to note that older devices, especially those released before 2015, may face challenges in meeting the compatibility requirements.
Checking for compatibility is an essential step to ensure a successful installation of Windows 11. It helps prevent encountering issues and potential roadblocks during the installation process. By confirming your device’s compatibility, you can proceed confidently knowing that your computer meets the necessary prerequisites for Windows 11.
Step 2: Backup your Data
Before embarking on the installation of any new operating system, it is crucial to prioritize the safety of your data. It is highly recommended to back up all your important files and documents to prevent any potential data loss during the installation process.
There are several methods you can use to backup your data:
- External Storage Devices: Connect an external hard drive or USB flash drive to your computer and copy your important files and folders to the storage device. Make sure you have enough storage capacity to accommodate all your important data.
- Cloud Storage Services: Utilize cloud storage services such as Google Drive, Microsoft OneDrive, or Dropbox to back up your important files online. These services offer secure storage options and allow you to access your files from any device with an internet connection.
- Network Backup: If you have multiple computers connected on a network, you can utilize network backup tools to create a backup of your data on a separate network drive.
- Disk Imaging Tools: Use disk imaging tools like Macrium Reflect, Acronis True Image, or Windows Backup and Restore to create a complete image of your hard drive. This allows you to restore your entire system in case of any unforeseen issues during installation.
It is important to ensure that all your important files, including documents, photos, videos, and any other data that you cannot afford to lose, are safely backed up. This will provide you with peace of mind as you proceed with the installation of Windows 11, as you can always restore your files after the installation is complete.
Take sufficient time to ensure that the backup process is complete and successful. Double-check that all your files have been properly copied or uploaded to the backup destination of your choice. It is also a good practice to create a backup verification checklist or verify the integrity of the backup to ensure its accuracy.
By backing up your data, you are taking an important precautionary measure to protect against any potential loss or corruption of files during the Windows 11 installation process. This step ensures that you can easily restore your files and continue working seamlessly after the installation is complete.
Step 3: Download Windows 11
Once you have verified the compatibility of your computer and backed up your data, it’s time to download the Windows 11 installation files. Microsoft provides an official method for downloading Windows 11, ensuring that you have a legitimate and secure version of the operating system.
Here’s how you can download Windows 11:
- Visit the official Microsoft website or the Windows Update settings on your computer. Ensure that you are on the official Microsoft site to avoid downloading from unauthorized sources.
- Look for the link or button to download Windows 11. This may vary depending on the Microsoft website layout and updates. Click on the appropriate download link to start the process.
- Authenticate your Microsoft account if prompted. This is required to access the download and installation files.
- Choose the edition of Windows 11 that matches your requirements. Microsoft typically provides options such as Home, Pro, or Enterprise editions.
- Select the language for the installation files. Choose the language that you are comfortable with or prefer to use during the installation process and once Windows 11 is installed.
- Click on the download button to initiate the download process. This may take some time depending on your internet connection speed and the size of the installation files.
It’s important to note that the availability of Windows 11 for download may vary depending on your region and the official release schedule by Microsoft. If Windows 11 is not yet available for download, you may need to wait for the official release or check for updates regularly to ensure you have the latest information.
During the download process, ensure that you have a stable internet connection and sufficient free space on your computer’s storage drive to accommodate the Windows 11 installation files. It’s also recommended to take note of the location where the files are being downloaded as you will need to access them in the next steps of the installation process.
Once the download is complete, you are now ready to move on to the next step: creating installation media for Windows 11.
Step 4: Create Installation Media
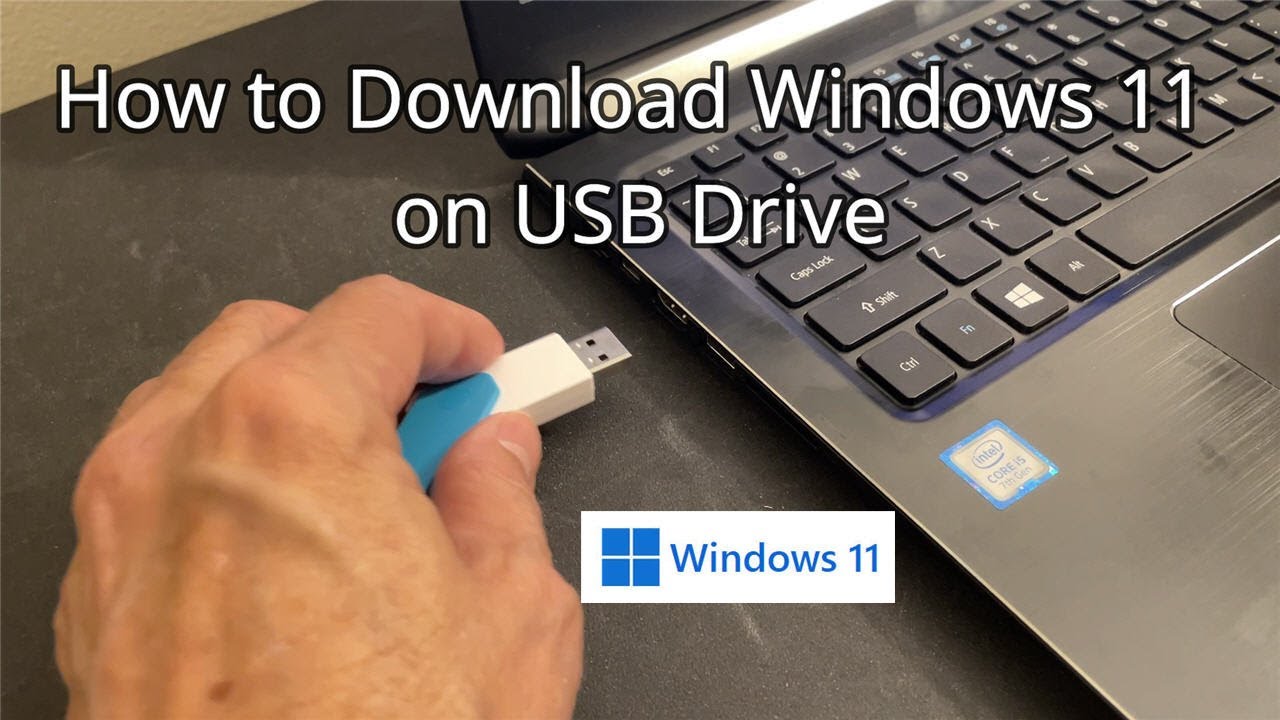
Now that you have downloaded the Windows 11 installation files, the next step is to create installation media. This will allow you to install Windows 11 on your computer using a USB flash drive or DVD.
Follow these steps to create installation media for Windows 11:
- Connect a USB flash drive or insert a blank DVD into your computer’s USB port or optical drive.
- Open the folder where you downloaded the Windows 11 installation files.
- Locate the downloaded files and right-click on the file with the “.iso” extension. Select “Burn disc image” or similar options depending on your operating system.
- Follow the prompts to select the USB flash drive or DVD as the destination for the installation media.
- Click “Burn” or “Start” to begin the process. This may take some time, so be patient and do not interrupt the process.
- Once the burning process is complete, you will have a bootable USB flash drive or DVD containing the Windows 11 installation files.
Alternatively, if you prefer a more user-friendly method, you can use the official Microsoft tool called “Media Creation Tool.” This tool simplifies the process by guiding you through the creation of installation media with just a few clicks.
Creating installation media is essential as it allows you to have a physical copy of the Windows 11 installation files. This comes in handy if you need to perform a clean installation, upgrade multiple computers, or reinstall Windows 11 in the future.
Remember to keep the installation media in a safe place, as you will need it in the next step: installing Windows 11 on your computer.
With the installation media ready, you are now equipped to proceed with the installation of Windows 11. The next step will guide you through the installation process, ensuring a seamless and successful upgrade to the new operating system.
Step 5: Install Windows 11
With the installation media prepared, it’s time to begin the installation process of Windows 11 on your computer. Follow the steps outlined below to install Windows 11:
- Insert the USB flash drive or DVD containing the Windows 11 installation files into your computer.
- Restart your computer and enter the boot menu or BIOS settings. The key to access the boot menu or BIOS settings may vary depending on your computer’s manufacturer, but commonly used keys include F2, F12, Esc, or Delete. Consult your computer’s manual or manufacturer’s website for the exact key.
- In the boot menu or BIOS settings, ensure that the USB flash drive or DVD drive is set as the primary boot device.
- Save the changes and exit the boot menu or BIOS settings. This will restart your computer, and it should now boot from the installation media.
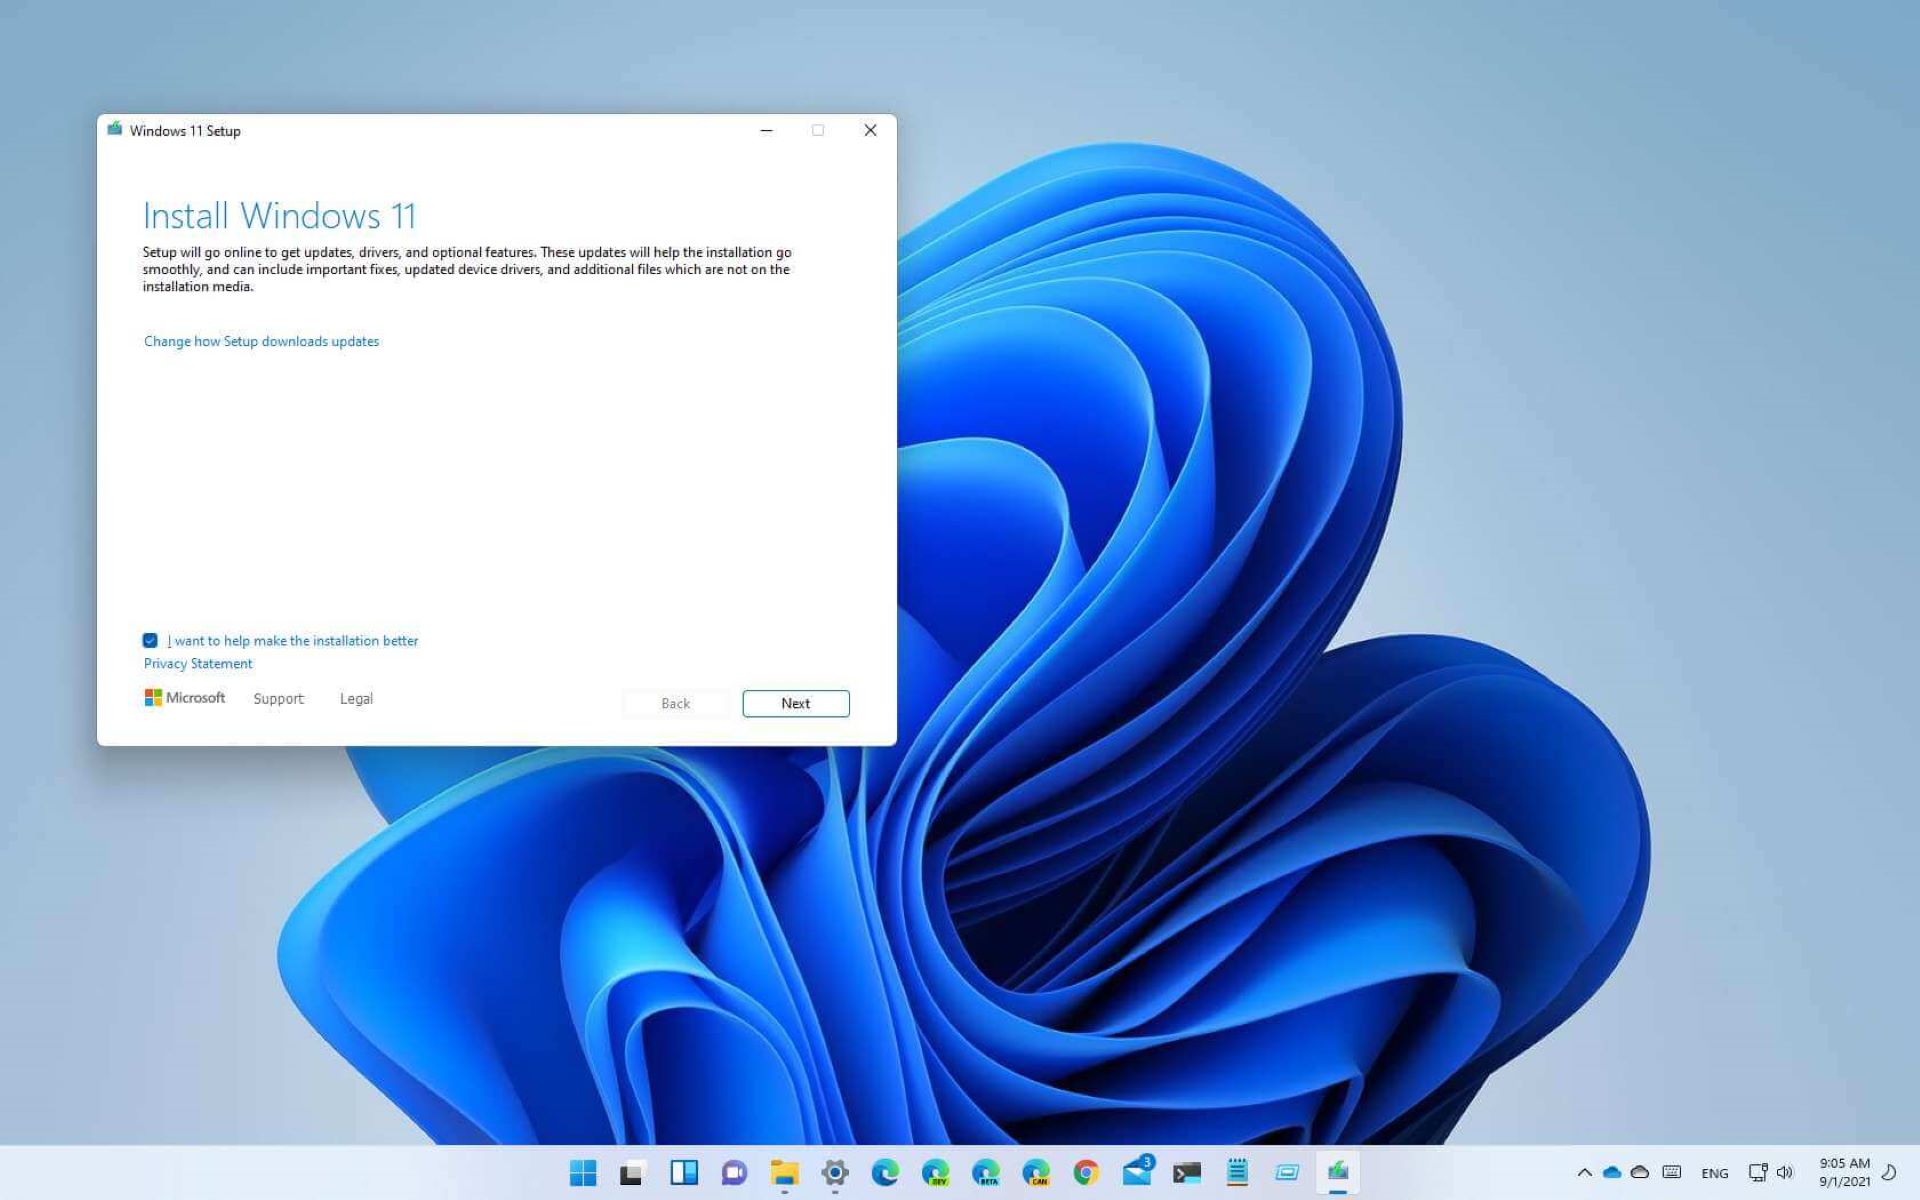
- Windows 11 installation will start. Follow the on-screen prompts and select your preferred language, time format, and keyboard layout.
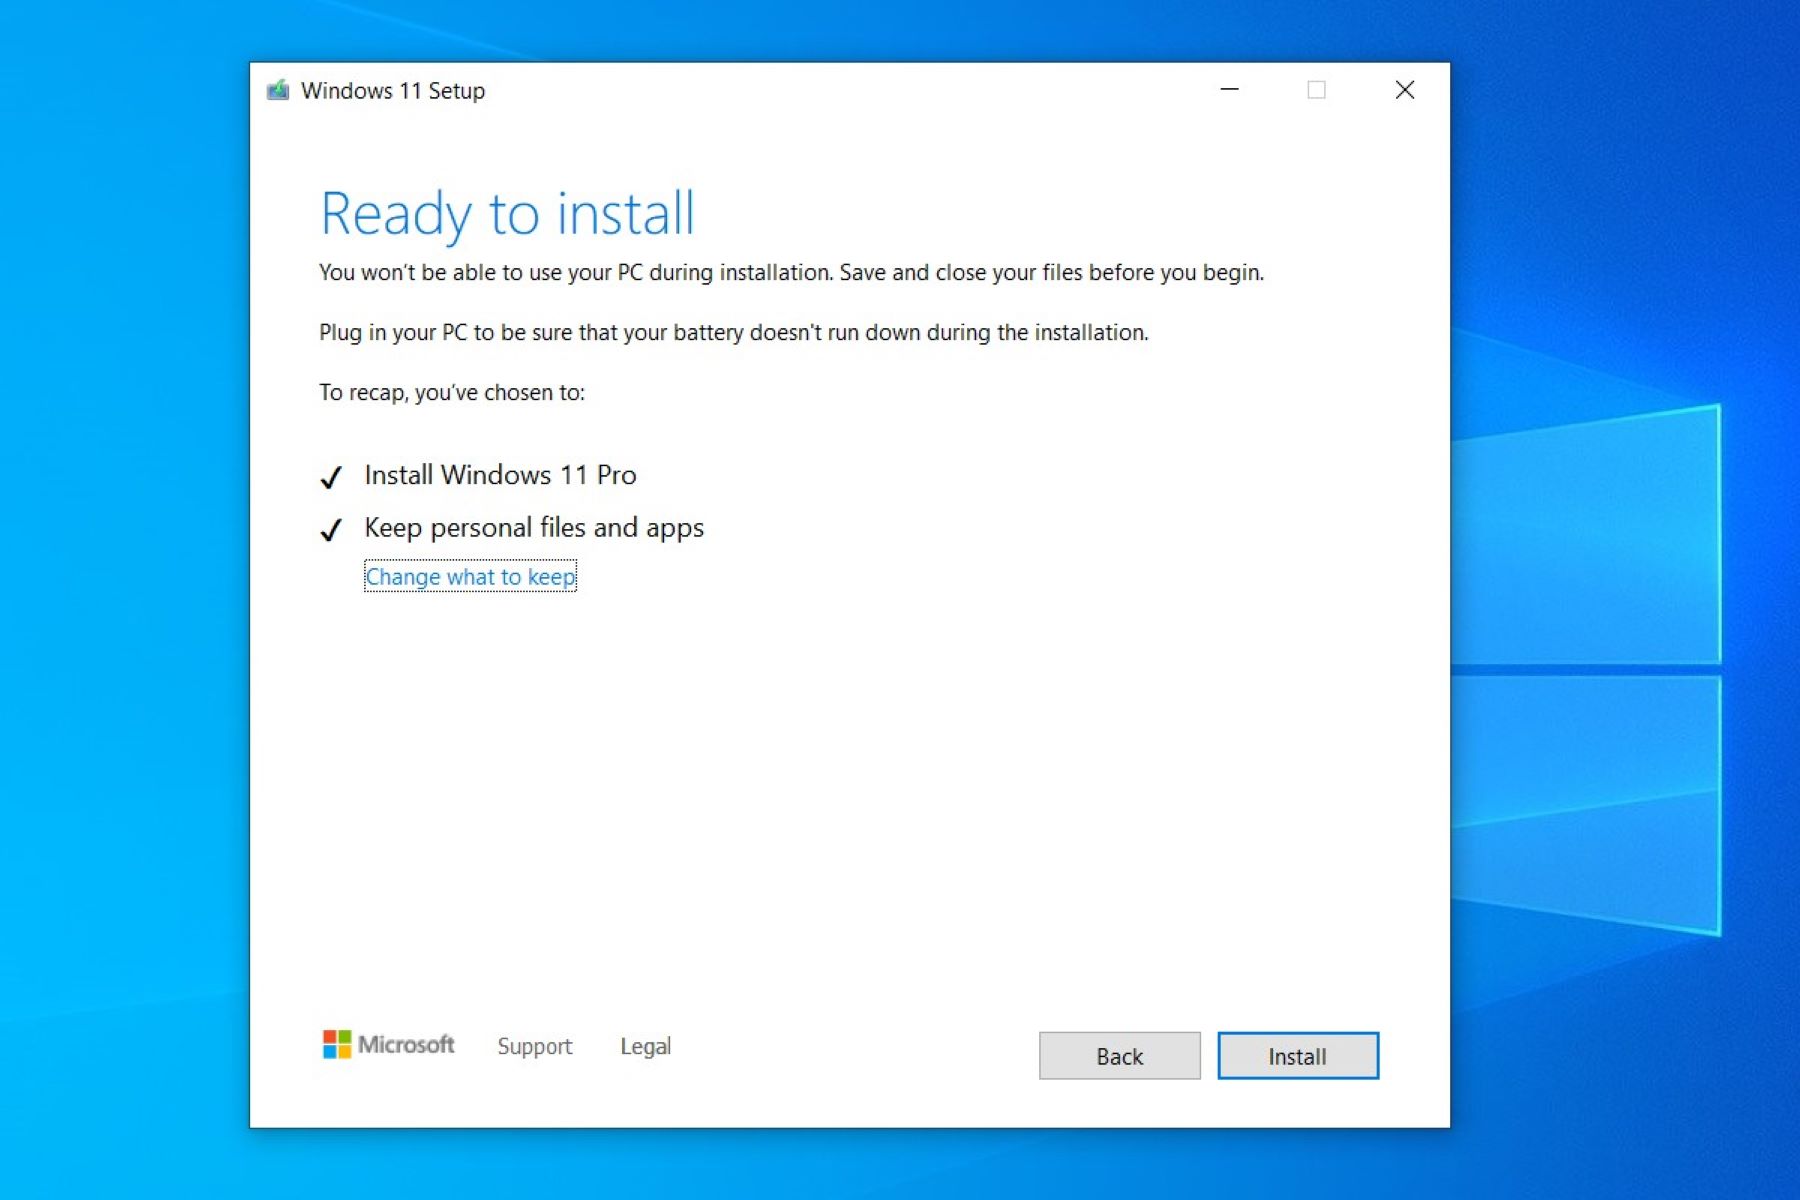
- Click “Install Now” to begin the installation process.
- Review and accept the license terms and agreements.
- Choose the type of installation you want – either an upgrade or a clean installation. An upgrade keeps your files, settings, and applications, while a clean installation will remove all previous files and settings.
- Select the partition or drive where you want to install Windows 11.
- Follow the instructions on the screen and wait for the installation process to complete. Your computer may restart multiple times during the installation.
- Once the installation is finished, you will be prompted to set up your computer. Follow the steps to personalize your settings, create a user account, and choose privacy options.
- After the setup is complete, you will be greeted with the Windows 11 desktop, and you can start exploring the new features and improvements of the operating system.
It’s important to note that the installation process may take some time, depending on your computer’s hardware specifications. It’s recommended to connect your computer to a power source to avoid interruptions during the installation.
Ensure that you have a stable internet connection available during the installation process, as Windows 11 may download and install critical updates to ensure the latest security patches and feature enhancements are applied to your system.
After the installation is complete, you can customize Windows 11 according to your preferences, reinstall your previously backed-up applications, and restore your important files.
Now that you have successfully installed Windows 11, it’s time to set up your computer and enjoy the enhanced features and improved performance of the new operating system.
Step 6: Set Up Windows 11
After successfully installing Windows 11, the next step is to set up the operating system based on your preferences and requirements. Follow the steps below to set up Windows 11:
- On the welcome screen, select your region and preferred language settings.
- Click “Next” to proceed, and you will be prompted to connect to a Wi-Fi network. Select your network from the list and enter the password if required.
- If you have an existing Microsoft account, you can sign in with it to sync your settings and access your personalized data. Alternatively, you can choose to create a new Microsoft account or use a local account.
- Follow the on-screen instructions to set up your privacy settings. You can choose the default settings or customize them based on your preferences.
- Set up a PIN or password for your account to secure your device. This will provide an additional layer of security when logging in.
- Review and select the desired options for enabling or disabling various features and settings, such as Cortana, personalized advertisements, and diagnostic data sharing.
- Customize the visual appearance of Windows 11 by choosing a color scheme, desktop background, and other personalization options to make it feel truly yours.
- Once you have completed the setup process, Windows 11 will finalize the settings and configurations. This may take a few minutes.
- After the setup is complete, you will be taken to the desktop, where you can start exploring Windows 11 and its new features.
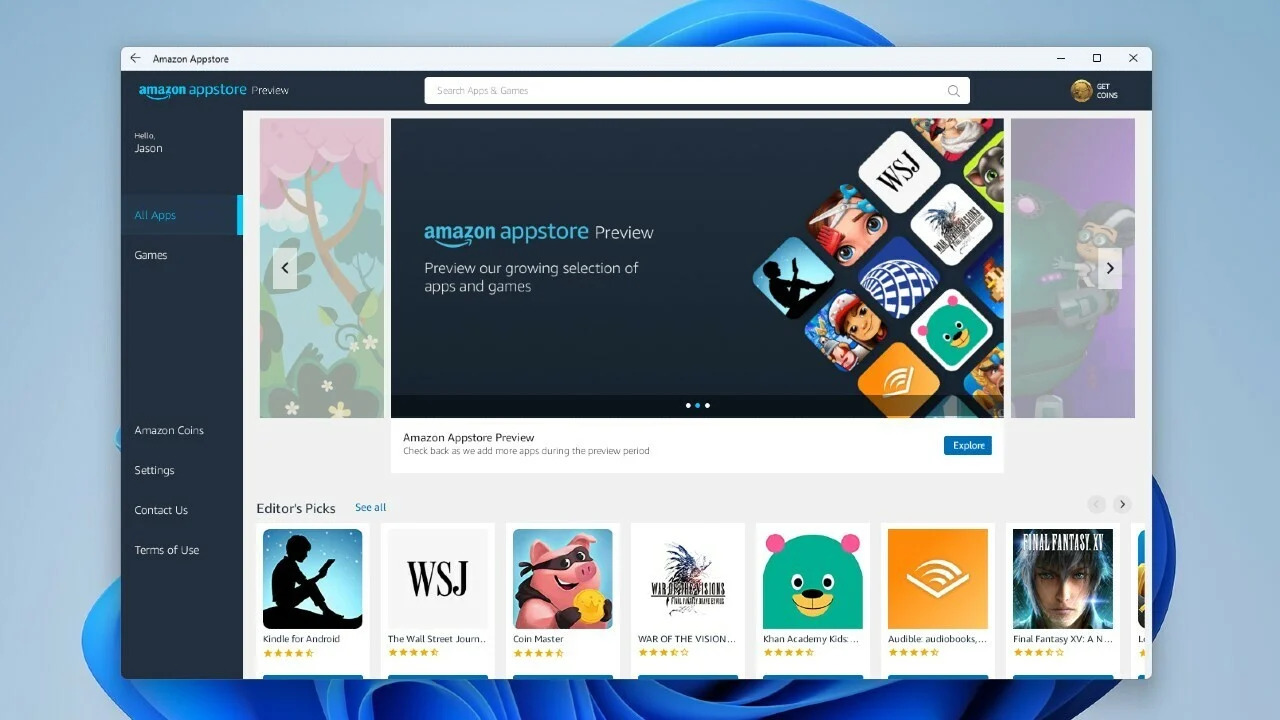
As you navigate through Windows 11, take some time to familiarize yourself with the redesigned Start Menu, Taskbar, and other interface elements. Explore the new widgets, enhanced search capabilities, and improved multitasking features that Windows 11 has to offer.
Additionally, you can reinstall your applications that you had previously backed up, restore your important files from the backup, and customize your settings further according to your needs.
Remember to check for any updates by going to Settings > Windows Update and ensuring that your computer has the latest security patches and feature enhancements.
By completing the setup process, you are ready to fully enjoy the benefits and new experiences that Windows 11 brings to your computer.
Conclusion
Installing Windows 11 can breathe new life into your computer, providing you with a fresh and optimized operating system experience. In this article, we have covered the step-by-step process of installing Windows 11 and ensuring a smooth transition to the new operating system.
We began by checking the compatibility of your computer to ensure that it meets the minimum system requirements for Windows 11. Next, we emphasized the importance of backing up your data to prevent any potential loss during the installation process.
We then guided you through the process of downloading Windows 11 from the official Microsoft website, and creating installation media to facilitate the installation. Subsequently, we explored the installation process itself, highlighting the importance of following the on-screen prompts and making the necessary configuration choices.
Finally, we concluded by discussing the essential step of setting up Windows 11 according to your preferences and needs, customizing the operating system to create a personalized computing experience.
By successfully completing these steps, you can now enjoy the new features, enhanced performance, and improved security of Windows 11 on your computer.
Remember to keep your system up to date by installing the latest updates and patches from Microsoft to ensure optimal performance and protection against security vulnerabilities.
Thank you for following this guide on how to install Windows 11. We hope that this article has been helpful in making the installation process smoother and more enjoyable. Embrace the new era of Windows and explore all the exciting features that Windows 11 has to offer!