Introduction
The introduction of Android apps compatibility on Windows 11 has opened up a whole new world of possibilities for users. With this feature, you can now enjoy your favorite mobile applications right on your Windows 11 PC, bringing together the best of both worlds.
Whether you want to use productivity apps, social media platforms, or even play mobile games on a larger screen, the ability to install Android apps on Windows 11 offers tremendous convenience and flexibility.
In this article, we will provide you with a step-by-step guide on how to install Android apps on your Windows 11 PC. You will learn how to enable Android apps, set up the necessary components, and install apps both from the Microsoft Store and third-party sources.
Before we dive into the specifics, it’s essential to note that the Android app compatibility feature is currently in preview for Windows 11, which means you may encounter some bugs or limitations. However, Microsoft is actively working on improving the functionality and adding more features to enhance the overall experience.
Now, let’s get started and explore how you can unlock the power of Android apps on your Windows 11 PC.
Step 1: Enable Android Apps on Windows 11
Before you can start installing Android apps on your Windows 11 PC, you need to enable the Android app compatibility feature. Here’s how:
- Open the Start menu and click on “Settings.”
- In the Settings window, select “Apps” and then click on “Apps & features” in the left sidebar.
- Scroll down and click on “Optional features.”
- Click on “Add a feature.”
- In the list of available features, locate “Android apps on Windows 11” and click on the checkbox next to it.
- Click on the “Install” button and wait for the feature to be installed.
- Once the installation is complete, restart your PC to apply the changes.
After your PC restarts, the Android app compatibility feature will be enabled, allowing you to proceed with installing and running Android apps.
It’s worth noting that your PC needs to meet the minimum system requirements to enable Android app compatibility. These requirements include having a compatible CPU, sufficient RAM, and a compatible version of Windows 11. Make sure your device meets these specifications before proceeding.
Now that you have successfully enabled the Android app compatibility feature, you can move on to the next step, which involves setting up the Windows Subsystem for Android (WSA) to enhance the Android app experience on your Windows 11 PC.
Step 2: Set up the Windows Subsystem for Android (WSA)
To optimize the performance and functionality of Android apps on your Windows 11 PC, you need to set up the Windows Subsystem for Android (WSA). Follow these steps:
- Open the Start menu and click on “Settings.”
- In the Settings window, select “Apps” and then click on “Apps & features” in the left sidebar.
- Scroll down and click on “Programs and Features.”
- In the new window, click on “Turn Windows features on or off.”
- Scroll down and locate “Windows Subsystem for Android.”
- Check the box next to “Windows Subsystem for Android” to enable it.
- Click on the “OK” button and wait for the feature to be installed.
- Once the installation is complete, restart your PC to apply the changes.
After your PC restarts, the Windows Subsystem for Android will be ready to go. This subsystem provides the necessary infrastructure to run Android apps seamlessly on Windows 11.
It’s important to note that enabling the Windows Subsystem for Android may require specific system updates and configuration changes. Ensure that your Windows 11 installation is up to date and that you have installed all available updates for a seamless experience.
Now that you’ve successfully set up the Windows Subsystem for Android, you can proceed to the next step, which involves installing Android apps from the Microsoft Store.
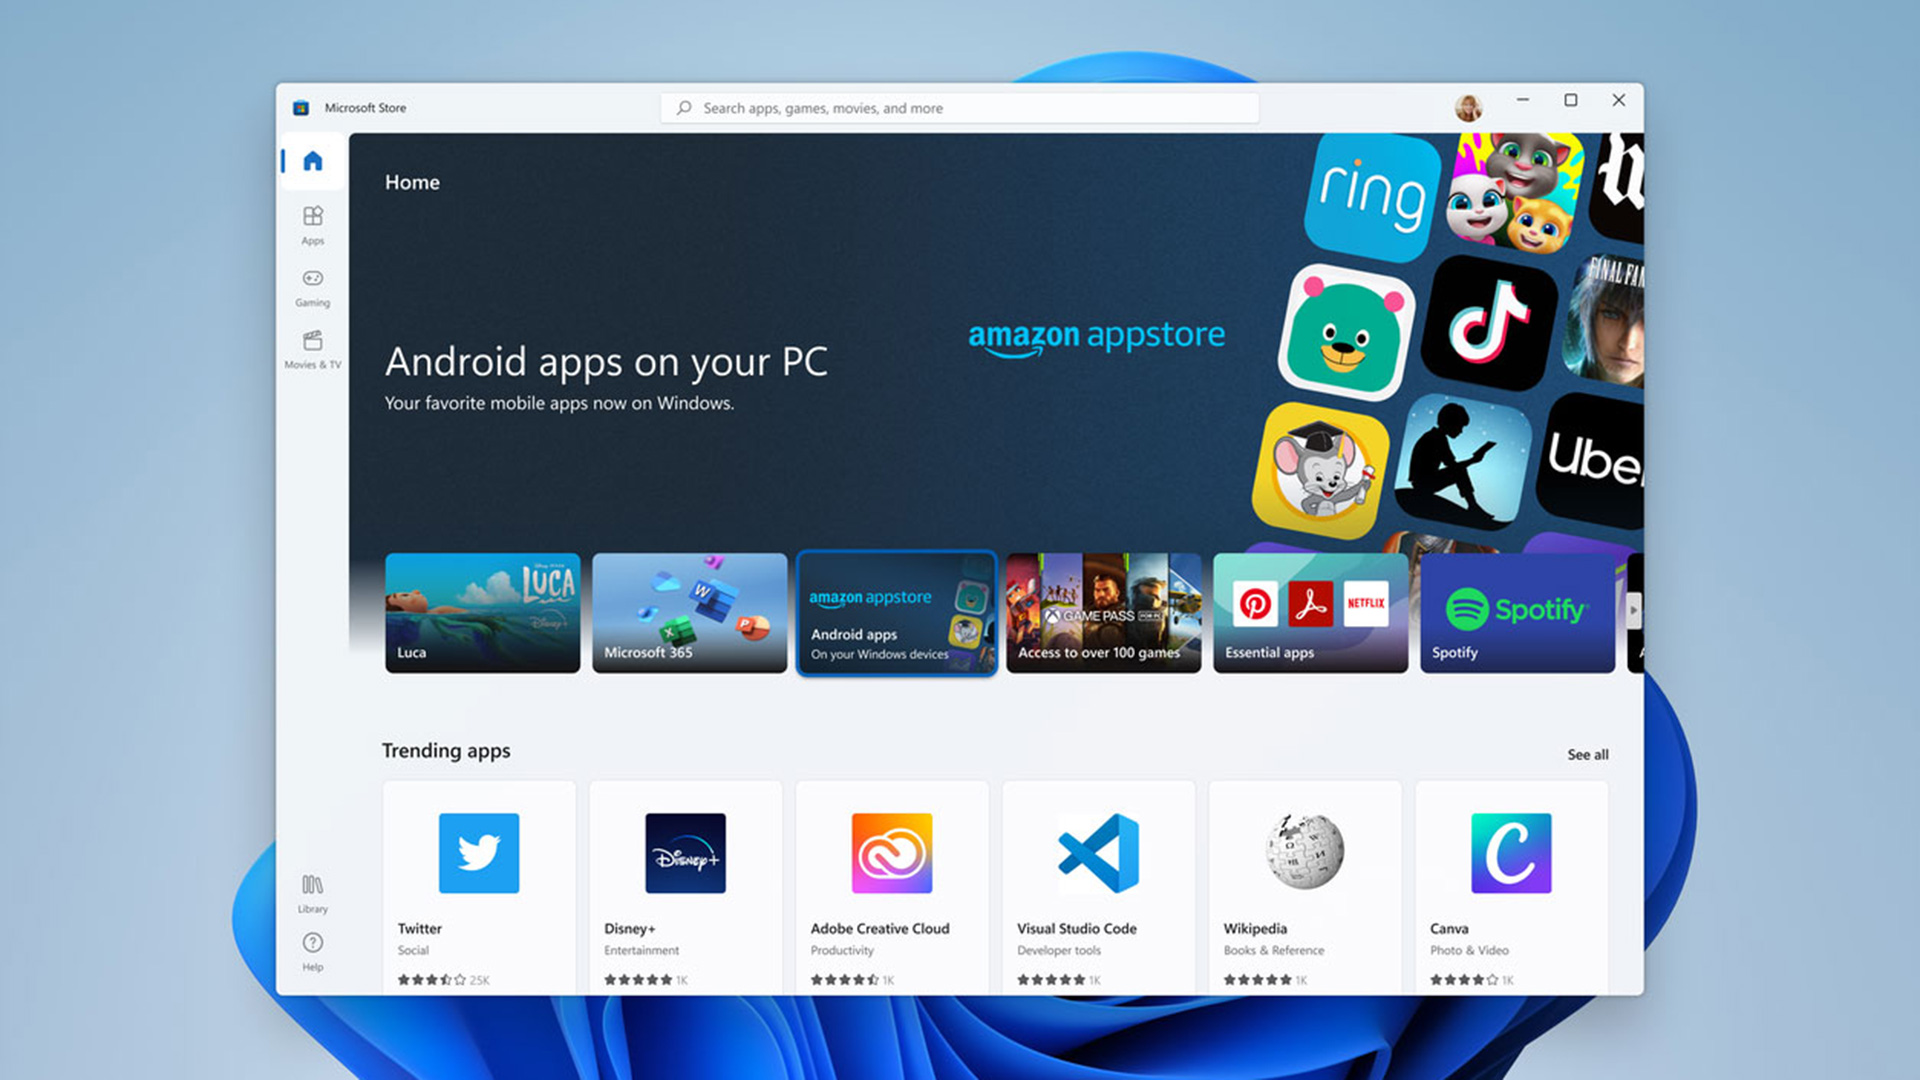
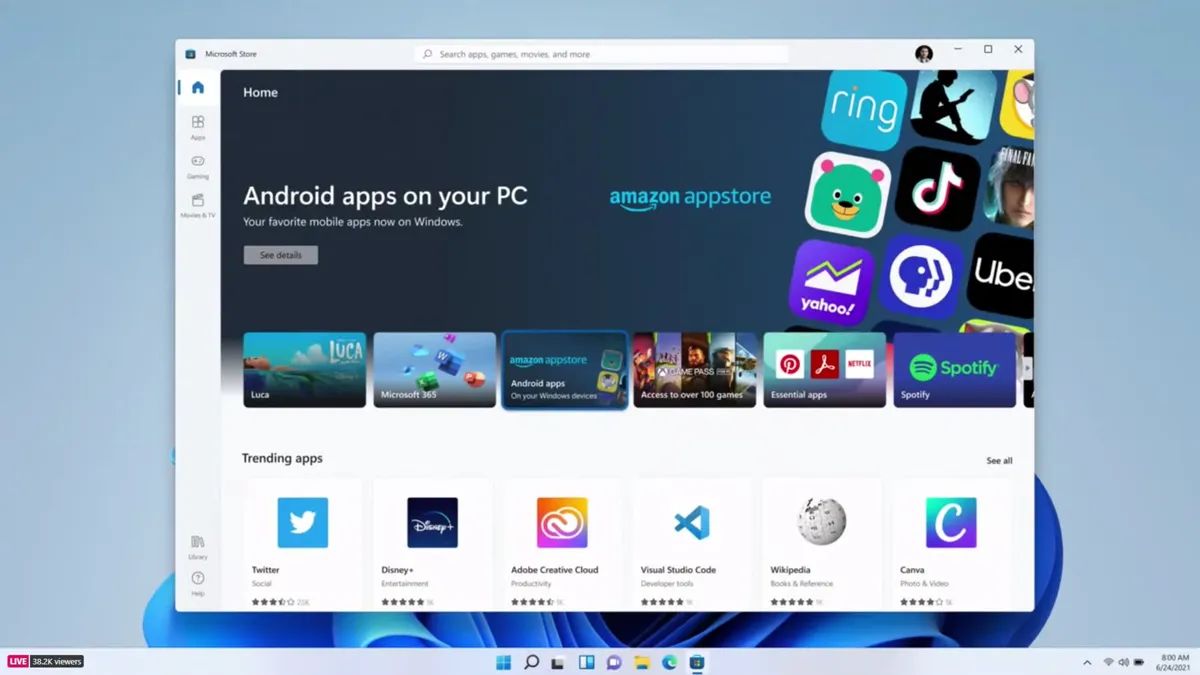
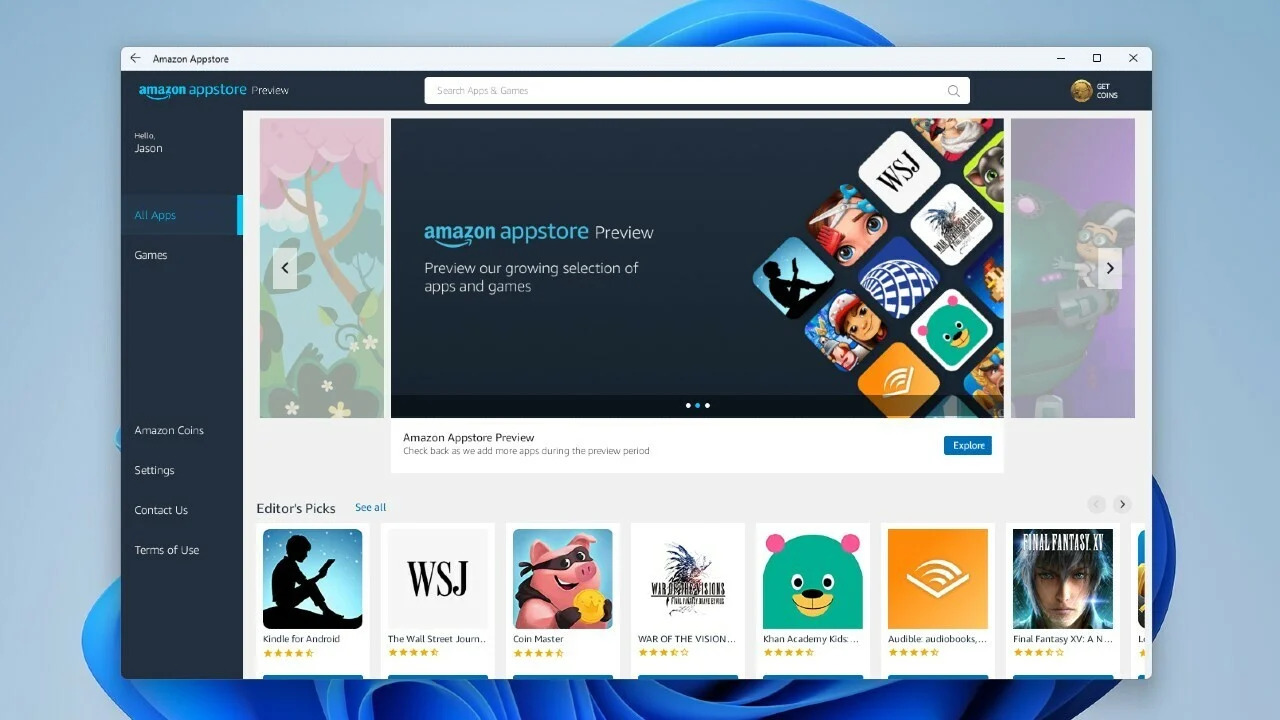
Step 3: Install Android Apps from the Microsoft Store
One of the simplest ways to install Android apps on your Windows 11 PC is through the Microsoft Store. Here’s how:
- Open the Microsoft Store application on your Windows 11 PC.
- In the search bar at the top of the screen, type in the name of the Android app you want to install.
- Press Enter or click on the “Search” button.
- From the search results, click on the app you want to install.
- On the app’s page, click on the “Get” or “Install” button.
- Wait for the app to download and install on your PC.
- Once the installation is complete, you can find and launch the app from the Start menu or by searching for it on your PC.
It’s important to note that not all Android apps are available in the Microsoft Store. The availability of apps may vary depending on developers’ decisions. If you can’t find a specific app in the Microsoft Store, you can explore other methods, such as installing Android apps from third-party sources, which we’ll discuss in the next step.
Keep in mind that while downloading and installing Android apps from the Microsoft Store is generally safer compared to third-party sources, be sure to read app reviews, check the ratings, and verify the app’s legitimacy before installation.
Now that you’ve learned how to install Android apps from the Microsoft Store, you can move on to the next step where we’ll explore installing Android apps from third-party sources.
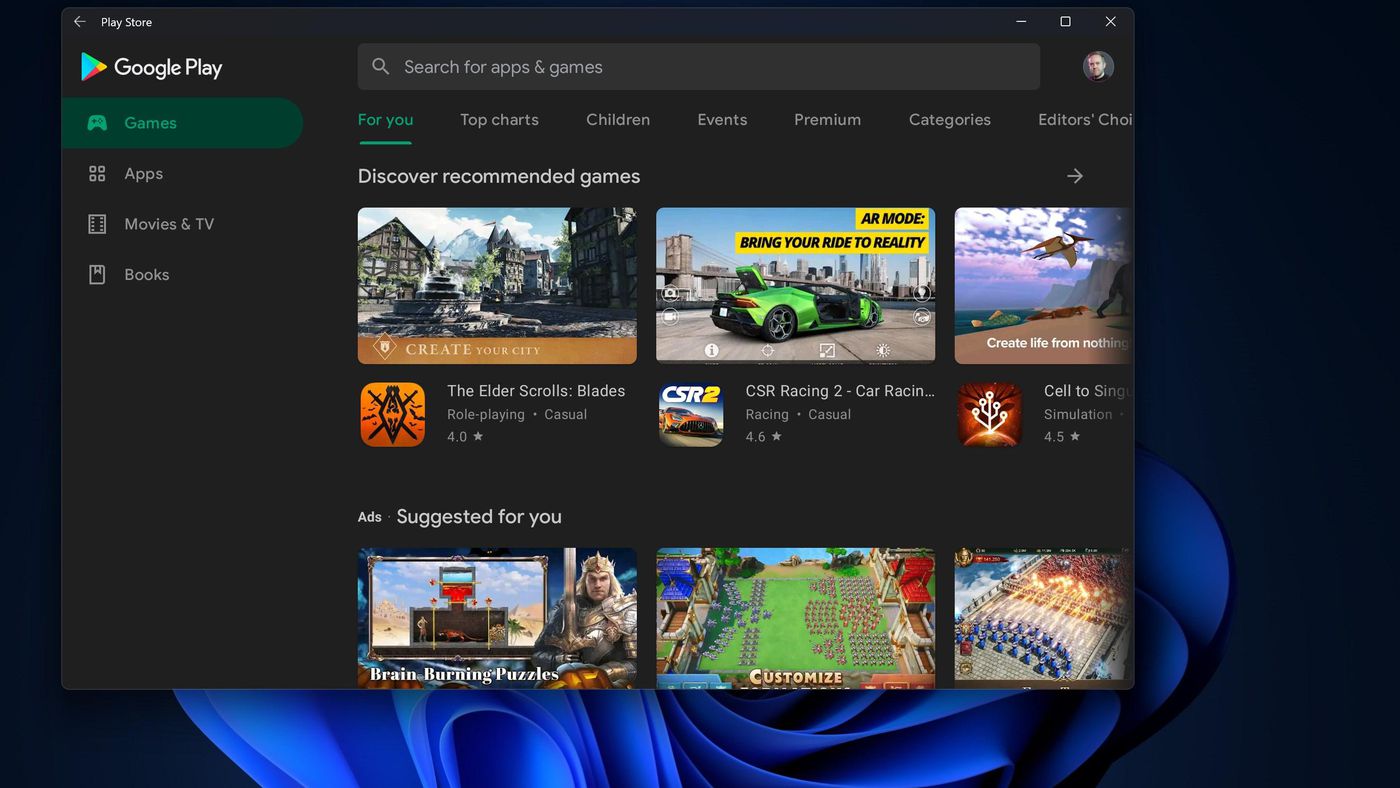
Step 4: Install Android Apps from Third-Party Sources
In addition to the Microsoft Store, you can also install Android apps on your Windows 11 PC from third-party sources. Here’s how:
- Open your preferred web browser on your Windows 11 PC.
- Search for reputable third-party Android app stores, such as APKMirror or APKPure.
- Navigate to the website and search for the Android app you want to install.
- Click on the download button or link for the app.
- Once the APK file is downloaded, locate it in your downloads folder.
- Double-click on the APK file to start the installation process.
- Follow the on-screen prompts to install the app.
- After the installation is complete, you can find and launch the app from the Start menu or by searching for it on your PC.
It’s important to exercise caution when downloading and installing Android apps from third-party sources. Only download apps from trusted websites to mitigate the risk of malware or other security threats. Always read app reviews, check the app’s ratings, and ensure that you are downloading from a reputable source.
Furthermore, keep in mind that not all Android apps may work perfectly on Windows 11 through third-party sources. Some apps may have compatibility issues or may not function properly due to the differences in the operating systems.
Now that you’ve learned how to install Android apps from third-party sources, you can move forward and troubleshoot any common issues you may encounter while installing or running Android apps on Windows 11.
Step 5: Troubleshooting Common Issues
While installing and running Android apps on Windows 11 is a relatively straightforward process, you may encounter some common issues along the way. Here are a few troubleshooting tips to help you resolve them:
- App Compatibility: Not all Android apps are guaranteed to work flawlessly on Windows 11. If you encounter compatibility issues or if an app refuses to open or crashes frequently, check the app’s requirements and ensure that your PC meets them.
- App Permissions: Some Android apps may require specific permissions to function properly. Make sure to grant the necessary permissions, such as access to your device’s storage, microphone, or camera.
- App Updates: Keep your installed Android apps up to date. Developers regularly release updates to fix bugs and improve app performance. Check for updates in the Microsoft Store or the third-party source from where you installed the app.
- System Updates: Ensure that your Windows 11 PC is up to date with the latest system updates. Microsoft releases regular updates to address bugs and enhance system stability. Go to the Settings menu, click on “Windows Update,” and check for any available updates.
- System Performance: If you encounter slow performance while running Android apps, make sure that your PC meets the minimum system requirements. Close any unnecessary applications running in the background, free up disk space, and consider upgrading your hardware if needed.
- Reporting Issues: If you come across persistent issues or encounter a problem that you can’t resolve, consider reporting the issue to the app developer or Microsoft support. They may be able to provide specific troubleshooting steps or updates to fix the problem.
By following these troubleshooting tips, you can address common issues and enjoy a smooth experience while using Android apps on your Windows 11 PC.
With this guide, you have learned how to enable Android apps, set up the Windows Subsystem for Android, install apps from the Microsoft Store and third-party sources, and troubleshoot common issues. Now you can fully embrace the versatility and convenience of running Android apps on your Windows 11 PC.
Conclusion
Installing Android apps on your Windows 11 PC opens up a world of possibilities, allowing you to enjoy the best of both Android and Windows ecosystems. Whether you want to boost productivity, connect with friends and family on social media, or play your favorite mobile games on a larger screen, the ability to install Android apps on Windows 11 brings convenience and flexibility to your computing experience.
In this article, we have provided a comprehensive guide on how to install Android apps on Windows 11. Starting from enabling Android app compatibility and setting up the Windows Subsystem for Android to installing apps from the Microsoft Store and third-party sources, you now have the knowledge and tools to seamlessly integrate Android apps into your Windows 11 PC.
Remember to exercise caution when downloading and installing apps from third-party sources, ensuring that they are from reputable websites to protect your device and personal information. Additionally, staying up to date with app and system updates, granting permissions, and optimizing system performance can help you troubleshoot any common issues you may encounter along the way.
As Android app functionality on Windows 11 continues to evolve and improve, it’s an exciting time to explore the vast array of apps available and customize your PC experience according to your preferences and needs.
Embrace the power and versatility of Android apps on Windows 11, and enjoy the seamless integration of these two worlds in your computing journey, unlocking new levels of productivity, entertainment, and connectivity.