Introduction
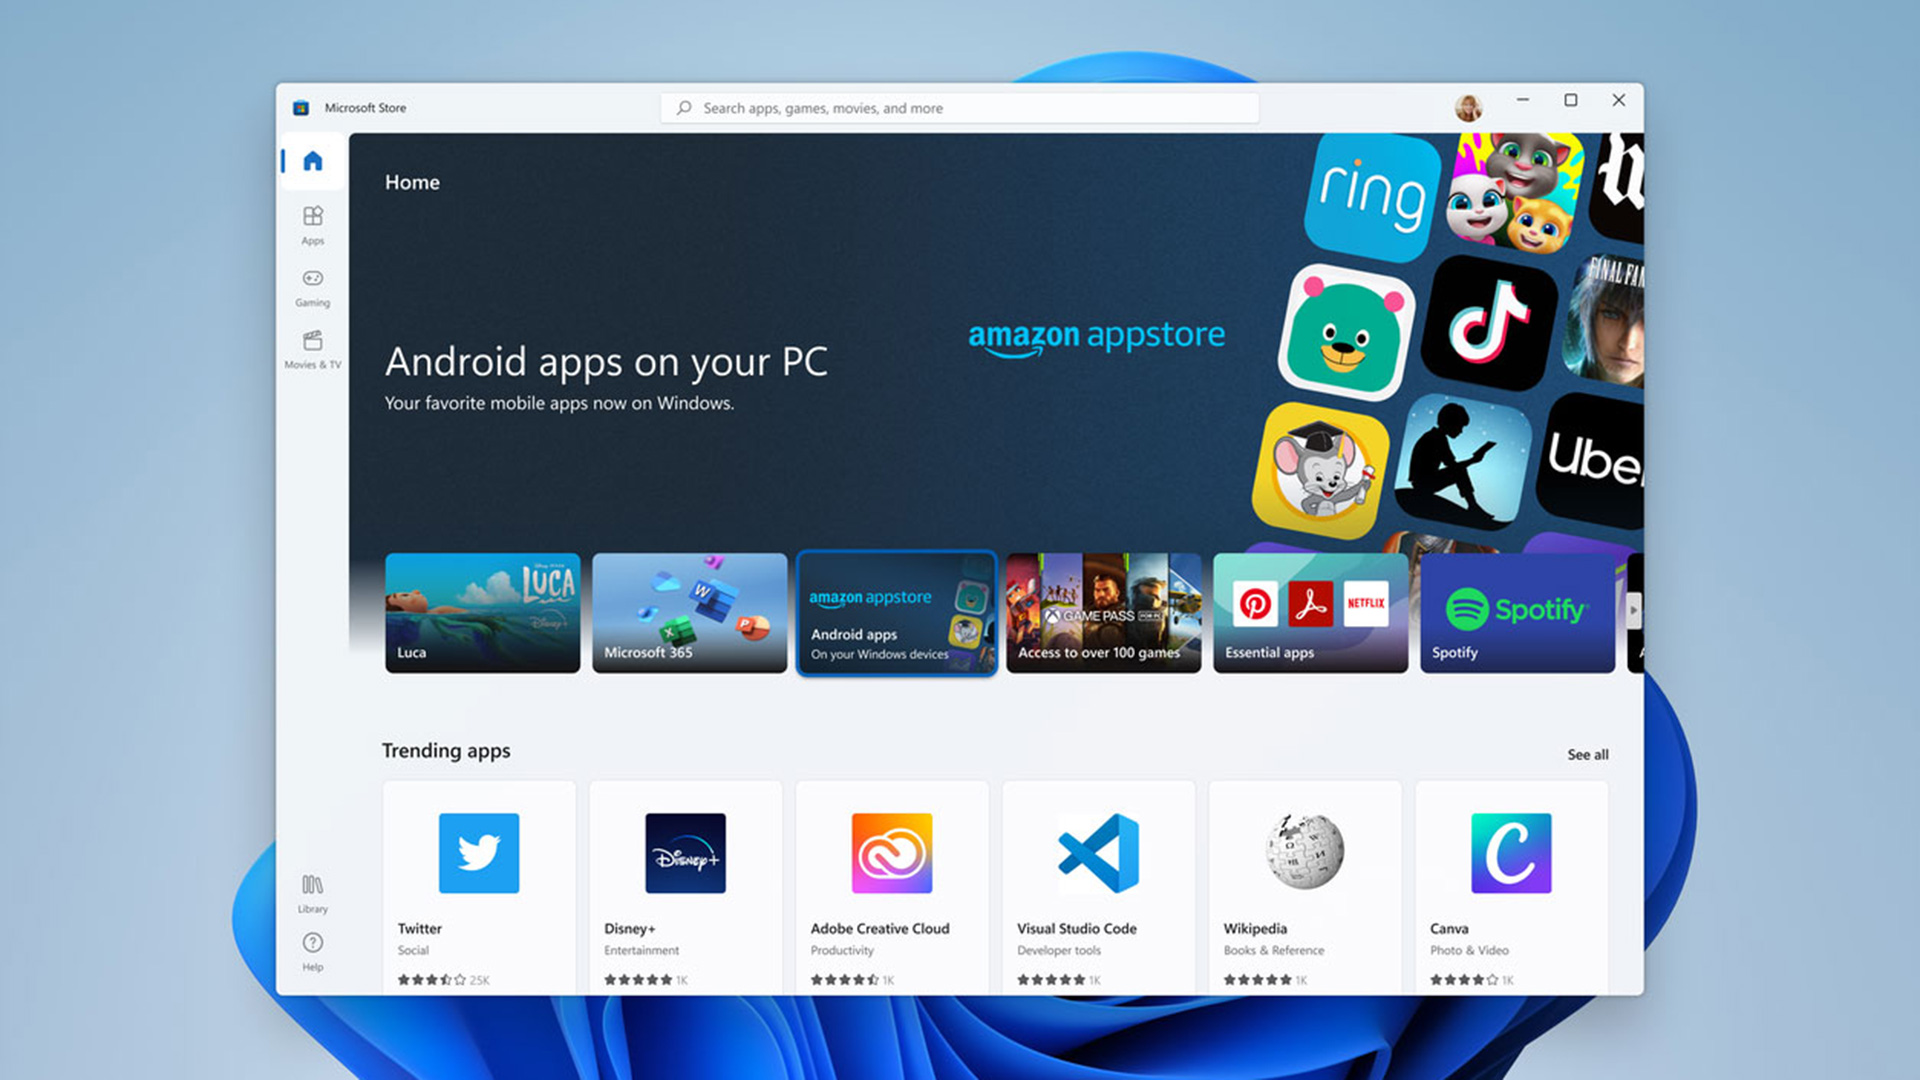
Welcome to the world of Android apps on Windows 11! With the advancement of technology, it’s now possible to enjoy your favorite Android applications right on your Windows PC. Whether you’re looking to stay connected on social media, play your favorite mobile games, or use productivity tools, downloading Android apps on Windows 11 can greatly enhance your PC experience.
Gone are the days of being limited to a smaller screen or relying solely on your smartphone. Thanks to Android emulators, you can now replicate the Android environment on your Windows 11 PC and access a vast library of apps. This means you can enjoy your favorite apps on a larger screen, take advantage of keyboard and mouse controls, and even multitask with other Windows 11 applications.
In this article, we will guide you through the process of downloading Android apps on Windows 11. We’ll cover how to install an Android emulator, download and install the app player, sign in to your Google account, access the Google Play Store, search and install Android apps, and finally, how to launch and use the apps on your Windows 11 PC.
Whether you’re a tech enthusiast, a gamer, or someone who wants to increase productivity, learning how to download Android apps on Windows 11 will open up a whole new world of possibilities. So, without further ado, let’s get started with the step-by-step process and bring the Android experience to your Windows 11 desktop.
Step 1: Install an Android Emulator
The first step in downloading Android apps on Windows 11 is to install an Android emulator. An emulator is software that mimics the Android operating system, allowing you to run Android apps on your PC. There are several reliable emulators available, such as BlueStacks, Nox Player, and LDPlayer.
To get started, visit the website of your preferred Android emulator and download the installer. Make sure to choose the version compatible with Windows 11. Once the installer is downloaded, locate the file and run it to begin the installation process.
Follow the on-screen instructions to complete the installation. You may be asked to select a storage location and customize certain settings. It’s recommended to use the default settings unless you have specific preferences. The emulator may take several minutes to install, depending on your computer’s performance.
Once the installation is complete, you’ll have an Android emulator installed on your Windows 11 PC. The emulator provides a virtual Android device where you can run Android apps. It comes with a pre-loaded set of apps and a home screen that resembles an Android smartphone or tablet.
It’s important to note that some Android emulators may require virtualization technology (VT-x/AMD-V) to be enabled in your computer’s BIOS. If you encounter any issues during installation or running the emulator, check your computer’s BIOS settings and enable virtualization if necessary.
Now that you have successfully installed an Android emulator on your Windows 11 PC, you’re one step closer to enjoying a wide range of Android apps. In the next step, we’ll guide you on how to download and install the App Player, which is required to access the Google Play Store and download Android apps.
Step 2: Download and Install the App Player
After you have installed an Android emulator on your Windows 11 PC, the next step is to download and install the App Player. The App Player is a crucial component that allows you to access the Google Play Store and download Android apps directly to your emulator.
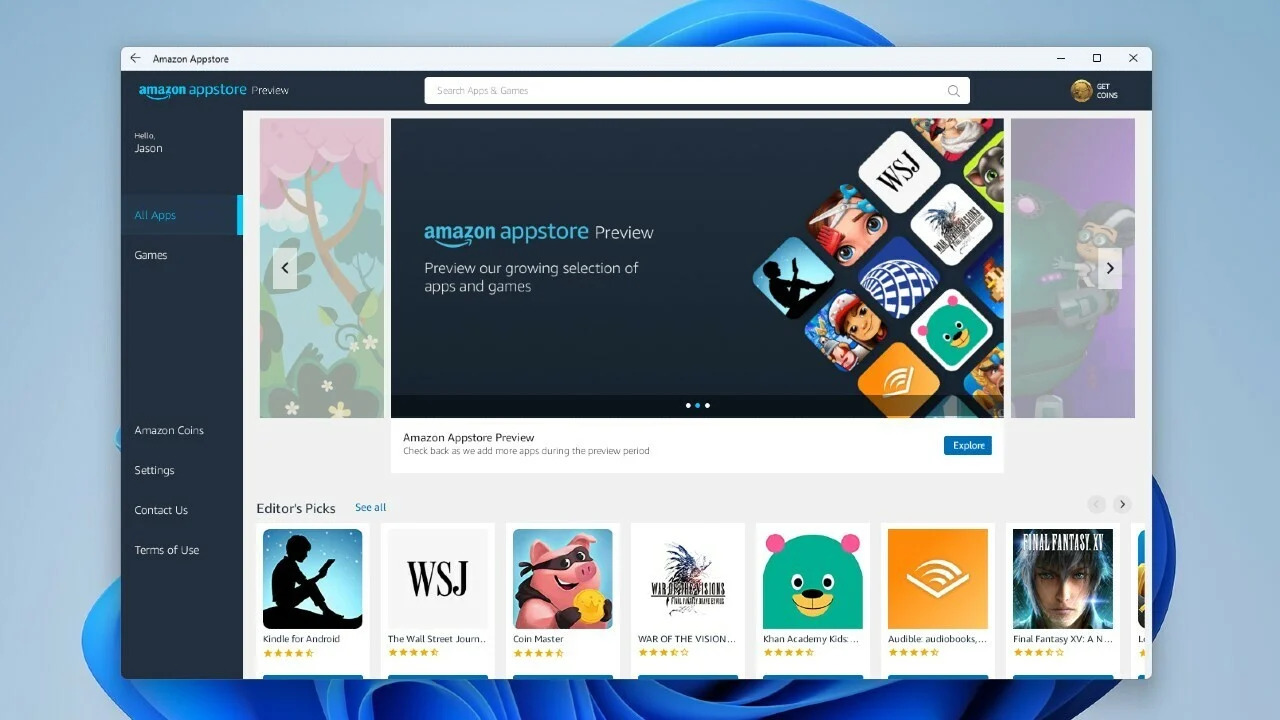
To begin, launch the Android emulator that you installed in the previous step. Once the emulator is up and running, you’ll typically find a pre-installed app or shortcut called “App Store,” “Play Store,” or something similar. This is the App Player that you need to open.
Click on the App Player icon, and it will take you to the Google Play Store interface within the emulator. The interface will look identical to what you see on an Android device, with various categories, featured apps, and a search bar to find specific apps.
If you’re prompted to sign in to your Google account, enter your credentials to proceed. This step is important, as it allows you to sync your Google account and access your app library, preferences, and other settings.
Once you’re signed in, you can begin exploring the vast array of apps available on the Google Play Store. Browse through categories, check out editor’s picks, or use the search function to find a specific app you want to download.
When you find an app you wish to install, click on its listing to open the app’s details page. Review the app’s description, ratings, and user reviews to make an informed decision. If everything looks good, click the “Install” button.
The App Player will then begin downloading and installing the chosen app onto your Android emulator. The download speed and installation time will vary depending on the size of the app and your internet connection speed. Once the installation is complete, you’ll see a notification indicating that the app is ready to use.
Repeat this process for each app you want to download and install on your Windows 11 PC. You can install as many apps as you’d like, taking advantage of the larger screen and improved functionality that a PC offers.
Now that you have successfully installed the App Player and accessed the Google Play Store, you’re ready to start downloading Android apps on your Windows 11 PC. In the next step, we’ll guide you on signing in to your Google account within the emulator, which is essential for accessing your existing app library and accessing premium features of certain apps.
Step 3: Sign in to your Google Account
Signing in to your Google account within the Android emulator is essential for accessing your existing app library, syncing your preferences, and accessing certain premium features of apps that require account authentication. Here are the steps to sign in:
- Open the Android emulator you installed on your Windows 11 PC in the previous steps.
- Locate the Google Play Store app icon or shortcut and click on it.
- You will be prompted to sign in with your Google account. Click on the “Sign in” option.
- Enter your Google account credentials, including your email address and password.
- If you have enabled two-factor authentication for your Google account, you may be prompted to enter a verification code.
- Once you have entered the correct credentials, click on the “Sign in” button.
The emulator will then verify your account information and sign you in. This process may take a few moments depending on your internet connection speed.
After successfully signing in, your Google account will be synced with the Android emulator. This means that any apps you previously downloaded from the Google Play Store on your Android device will appear in the “My Apps” or “Library” section of the emulator’s Play Store interface.
Additionally, signing in with your Google account allows you to access app-specific data and preferences, such as login information, app settings, and account synchronization. You can take advantage of these features to seamlessly transition between your Android device and the emulator on your Windows 11 PC.
Keep in mind that signing in to your Google account within the Android emulator is optional. If you prefer not to link your Google account, you can still download and use Android apps without synchronization or access to your existing app library. However, signing in offers a more integrated and personalized experience.
Now that you have signed in to your Google account within the Android emulator, you’re ready to access your existing app library and enjoy premium features that require account authentication. In the next step, we’ll guide you on how to access the Google Play Store and start searching for the Android apps you want to download and install on your Windows 11 PC.
Step 4: Access the Google Play Store
Now that you have signed in to your Google account within the Android emulator, it’s time to access the Google Play Store. This is where you can browse and download a wide variety of Android apps directly to your Windows 11 PC. Here’s how you can access the Google Play Store:
- Launch the Android emulator on your Windows 11 PC.
- Look for the Play Store app icon or shortcut on the home screen or in the app drawer of the emulator.
- Click on the Play Store icon to open it.
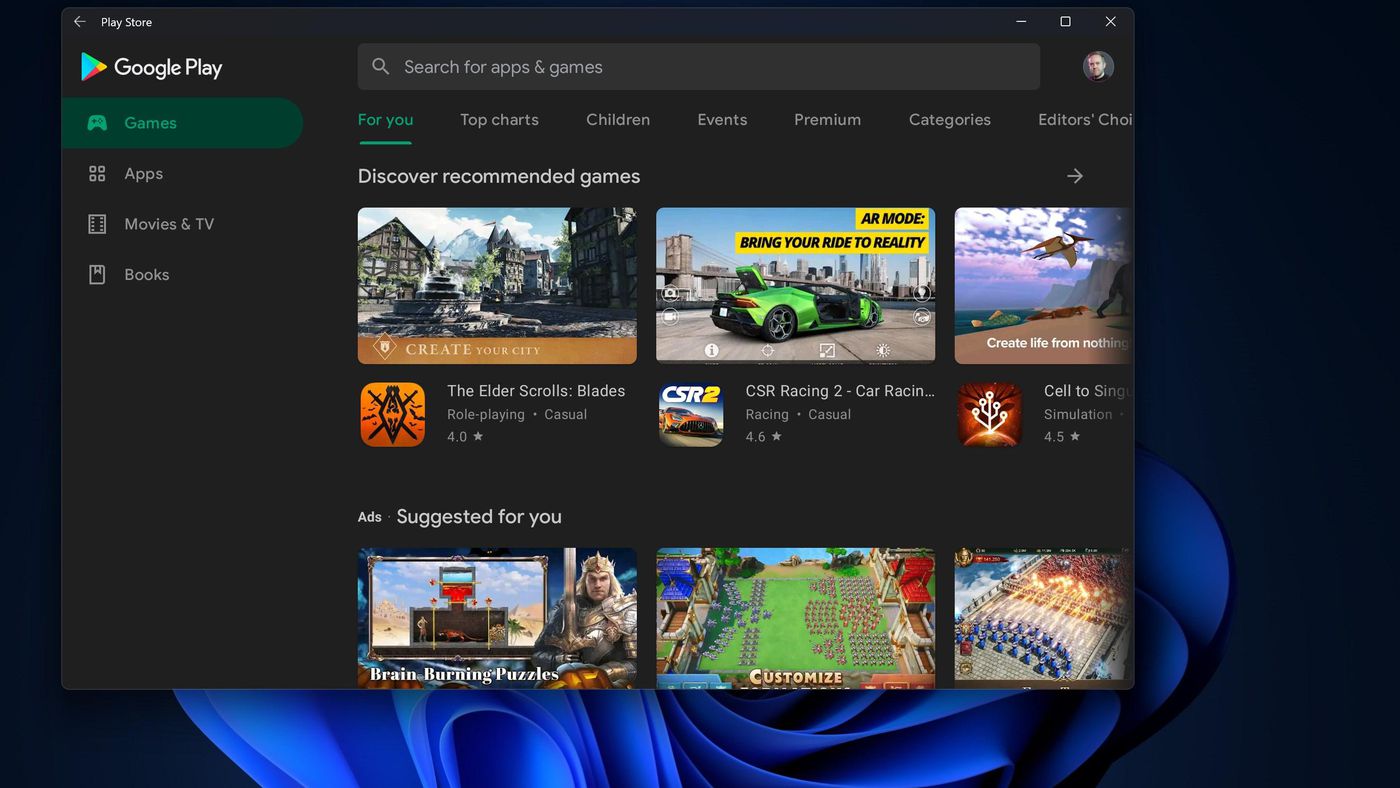
Once you open the Google Play Store, you’ll see a familiar interface similar to what you’d find on an Android device. Here, you can explore different categories, featured apps, and a search bar to find specific apps.
It’s worth noting that the Google Play Store within the Android emulator may have a limited selection of apps compared to a physical Android device. Some apps may not be available due to compatibility issues or other restrictions. However, most popular and widely-used apps can still be found and downloaded.
To start browsing for apps, you can click on different categories or explore featured apps showcased on the home screen. You can also use the search bar at the top to search for specific apps by name, category, or keywords.
When you find an app you want to download, click on its listing to view more details. You’ll see information such as the app’s description, screenshots, user reviews, and ratings. Take some time to review these details to ensure the app is reliable and meets your requirements.
If the app looks suitable for your needs, click on the “Install” button to start the download and installation process. The app will then be downloaded and installed in the background, and you’ll see a progress bar indicating the status.
Repeat this process for any other apps you wish to download and install on your Windows 11 PC. You can explore various categories, top charts, and recommendations to discover new and exciting apps.
Now that you know how to access the Google Play Store within the Android emulator, you’re ready to search for and install Android apps on your Windows 11 PC. In the next step, we’ll guide you on how to search for specific apps and install them onto the emulator.
Step 5: Search and Install Android Apps
With access to the Google Play Store within the Android emulator, you can now search for and install Android apps onto your Windows 11 PC. Whether you’re looking for productivity tools, social media apps, or games, here’s how you can search for and install Android apps:
- Open the Android emulator on your Windows 11 PC.
- Navigate to the Google Play Store, either through an app icon or shortcut.
- Once you’re on the Play Store interface, you can either browse through categories and featured apps or use the search bar at the top to find specific apps.
- Enter the name or keywords related to the app you’re looking for in the search bar.
- As you type, the Play Store will provide suggestions and show relevant apps based on your search query.
- Select the app you want to install from the search results or suggestions.
- On the app’s details page, you’ll find information such as the app’s description, screenshots, user reviews, and ratings. Take a moment to review this information to ensure the app meets your needs and has positive feedback.
- If you’re satisfied with the app, click on the “Install” button to initiate the download and installation process.
- The app will be downloaded and installed in the background. You can monitor the progress through the notification bar or within the Play Store interface.
- Once the installation is complete, you’ll see a notification indicating that the app is ready to be launched.
Repeat these steps for each app you wish to download and install on your Windows 11 PC. You can explore different categories, check out top charts, and discover new and trending apps.
Keep in mind that some apps may have specific requirements or restrictions. For example, certain apps may only be available for specific regions, or they may require additional permissions or services to function properly. Make sure to read the app’s description and reviews to understand any such requirements.
Now that you know how to search for and install Android apps, you can start building your collection of apps on your Windows 11 PC. In the next step, we’ll guide you on how to launch and use the installed Android apps within the Android emulator.
Step 6: Launch and Use the Apps
Now that you have successfully downloaded and installed Android apps on your Windows 11 PC, it’s time to launch and start using them. Here’s how you can launch and use the installed Android apps within the Android emulator:
- Open the Android emulator on your Windows 11 PC.
- Locate the app you want to use on the emulator’s home screen, app drawer, or in the “My Apps” or “Library” section of the Play Store interface.
- Click on the app icon to launch it.
- The app will open in a new window within the emulator, providing you with the same user interface and functionality as if you were using it on an Android device.
- You can interact with the app using your keyboard and mouse, simulating touch gestures and actions. The emulator’s controls will allow you to navigate through the app, enter text, and use its features.
- Explore the various options and features of the app, customize settings, and make the most of its functionality.
- Depending on the app, you may need to sign in with your account credentials or go through any initial setup processes.
- Once you’re familiar with the app’s interface and functionality, you can use it just like you would on an Android device. Stay connected on social media, play games, stream content, or use productivity tools.
- To switch between different apps, you can use the multitasking feature of the Android emulator, similar to switching between apps on a mobile device.
- When you’re done using an app, you can close it by clicking on the “X” or “Close” button on the app window.
Remember, since you’re using the Android emulator on your Windows 11 PC, you’ll be able to benefit from the larger screen, improved performance, and the ability to multitask with other Windows applications.
Feel free to explore and use the installed Android apps on your Windows 11 PC to enhance your productivity, entertainment, and overall user experience.
With this step-by-step guide, you now know how to download, install, and use Android apps on your Windows 11 PC. Embrace the versatility and convenience of having your favorite Android apps at your fingertips while working or relaxing on your PC.
Conclusion
Congratulations! You have successfully learned how to download and install Android apps on your Windows 11 PC using an Android emulator. This opens up a whole new world of possibilities, allowing you to enjoy your favorite apps on a larger screen, take advantage of keyboard and mouse controls, and seamlessly integrate with the Windows 11 environment.
By following the step-by-step process, you have installed an Android emulator, downloaded and installed the App Player, signed in to your Google account, accessed the Google Play Store, searched for and installed Android apps, and learned how to launch and use the apps within the emulator. You now have the ability to choose from a vast library of Android apps and enjoy them on your Windows 11 PC.
From productivity tools to social media apps, games, and entertainment platforms, the possibilities are endless. You can stay connected with friends and family, increase your productivity, explore new games, or access useful utilities – all on your Windows 11 desktop.
Remember, the Android emulator provides a virtual Android environment on your PC, and the Google Play Store is your gateway to downloading a wide variety of apps. Furthermore, signing in to your Google account within the emulator offers synchronization and access to your existing app library and preferences.
So, go ahead and explore the Google Play Store, try out different apps, and make the most out of your Windows 11 experience. Whether you’re a tech enthusiast, a gamer, or simply someone looking to enhance productivity, downloading Android apps on your Windows 11 PC gives you the best of both worlds.
Enjoy the versatility, convenience, and endless possibilities that come with having Android apps right at your fingertips on your Windows 11 PC. Embrace the power of technology and make the most out of your digital experience!