Introduction
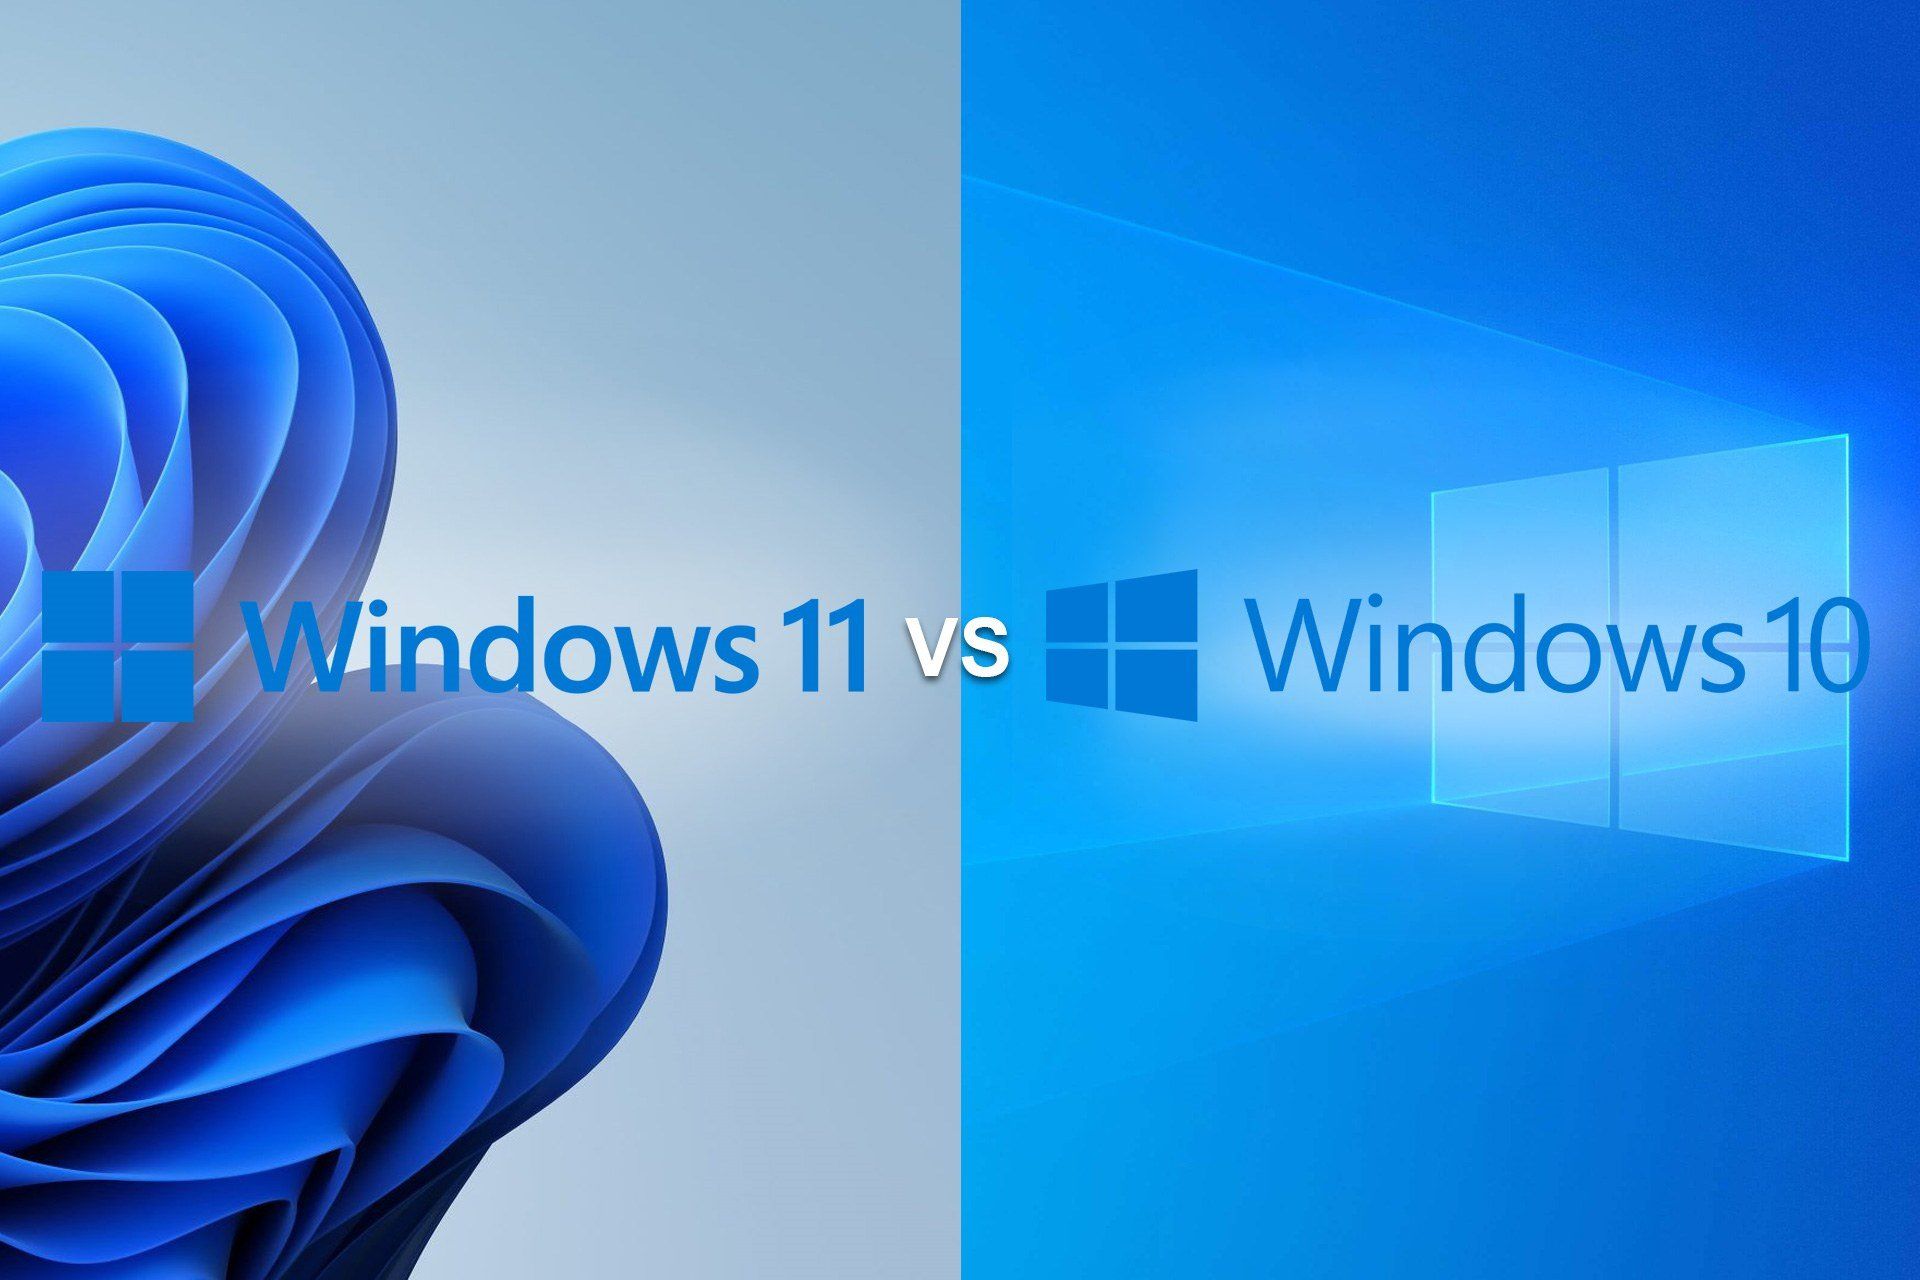
Windows 11, the latest operating system from Microsoft, has generated a lot of buzz with its sleek design, enhanced features, and improved performance. However, not all computers are compatible with the official hardware requirements of Windows 11. Many users with older CPUs have been left wondering if they can still upgrade to Windows 11 and enjoy its benefits.
In this article, we will delve into the world of installing Windows 11 on unsupported CPUs. We’ll explore how to identify if your CPU is unsupported, the steps to prepare for the installation process, and the methods to bypass the CPU check and successfully install Windows 11 on your system.
While it’s important to note that installing Windows 11 on an unsupported CPU is not officially supported by Microsoft, there are various methods and workarounds that can help you get Windows 11 up and running on your older hardware.
Before we proceed, it is essential to understand that installing Windows 11 on unsupported CPUs may come with certain limitations. Your system may not meet the minimum requirements for optimal performance, and some features may not function as intended. However, if you are willing to adventure into the realm of unofficial installations, we are here to guide you through the process.
So, if you’re ready to explore how to install Windows 11 on unsupported CPUs and embark on the exciting journey of using Microsoft’s newest operating system, let’s dive right in!
Overview of Windows 11 System Requirements
Before we dive into the process of installing Windows 11 on unsupported CPUs, let’s take a moment to understand the official system requirements set by Microsoft. These requirements serve as a benchmark for ensuring that your computer can handle the new operating system’s demands.
Here are the key hardware requirements for Windows 11:
- Processor: Windows 11 requires a compatible 64-bit processor with a clock speed of at least 1 GHz and a minimum of 2 or more cores.
- RAM: Your system should have a minimum of 4 GB of RAM to run Windows 11 smoothly.
- Storage: Windows 11 requires a minimum of 64 GB of storage to install the operating system. Additional space may be needed for applications, files, and updates.
- Graphics Card: Your computer needs to support DirectX 12 or later with a WDDM 2.0 driver for a seamless graphical experience.
- Display: Windows 11 demands a monitor with a minimum resolution of 720p. Additionally, the display must have a diagonal size of at least 9 inches and support High-Definition Multimedia Interface (HDMI) or DisplayPort.
- Internet Connection: A reliable internet connection is recommended for downloading updates and accessing online features.
These are the basic requirements to officially install and run Windows 11. However, it’s worth mentioning that the CPU requirement has been a key point of contention for many users with older hardware, as the official compatibility list includes only select processors.
Now that we have familiarized ourselves with the system requirements, let’s move on to understanding the CPU requirements specifically, and how you can determine if your CPU is unsupported for Windows 11.
Understanding the CPU Requirements for Windows 11
The CPU requirements for Windows 11 have been one of the most debated aspects since the announcement of the operating system. Microsoft’s official list of supported CPUs is limited, leaving many users with older processors wondering if they can still upgrade.
The primary CPU requirement for Windows 11 is the need for a compatible 64-bit processor with a clock speed of at least 1 GHz and a minimum of 2 or more cores. However, Microsoft has also introduced a new set of requirements called “TPM” (Trusted Platform Module) and “Secure Boot”. These requirements ensure a higher level of security in the system.
TPM, a security-related hardware component, is responsible for securely storing encryption keys and other sensitive information. Windows 11 demands the presence of TPM version 2.0 for compatibility. Secure Boot, on the other hand, ensures that only trusted software is executed, protecting the system from malware and unauthorized access.
While these new requirements play a vital role in enhancing security, they have caused incompatibility issues for many older CPUs that lack the necessary TPM support. Additionally, several CPUs that technically meet the clock speed and core requirements may still be unsupported due to other compatibility factors.
To determine if your CPU is unsupported for Windows 11, you can use Microsoft’s PC Health Check tool or other third-party software that provides CPU and hardware information. These tools will indicate whether your CPU meets the specific requirements for Windows 11 compatibility.
It’s important to note that even if your CPU is technically unsupported, it may still be capable of running Windows 11. Microsoft’s official requirements are designed to ensure optimal performance and compatibility, but alternative methods and workarounds can often enable installation and successful operation on unsupported CPUs.
In the next section, we will guide you through the process of identifying if your CPU is unsupported and how to proceed with preparing for the installation process.
Identifying if Your CPU is Unsupported
If you’re unsure whether your CPU is supported by Windows 11, there are a few methods you can use to identify its compatibility. The following steps will help you determine if your CPU meets the requirements:
- Check the official list: Start by referring to the official list of supported CPUs provided by Microsoft. This list includes processors from various manufacturers that are officially deemed compatible with Windows 11. If your CPU is on this list, you can rest assured that it meets the requirements.
- Utilize Microsoft’s PC Health Check tool: Microsoft has released a PC Health Check tool specifically designed to verify the compatibility of your system with Windows 11. This tool provides a quick assessment and informs you if your CPU is supported or if any other hardware components are incompatible.
- Third-party system information tools: There are several third-party software tools available that can provide detailed information about your CPU and its compatibility with Windows 11. Tools like CPU-Z and Speccy can provide valuable insights into your CPU’s specifications, including clock speed, core count, and supported features.
By utilizing these methods, you can determine whether your CPU is officially supported by Windows 11. However, it’s important to note that being officially unsupported does not necessarily mean your CPU cannot run Windows 11. There are alternative methods and workarounds available that can enable successful installation and operation on unsupported CPUs.
In the next section, we will guide you through the steps to prepare for the installation process, regardless of whether your CPU is officially supported or not.
Preparing for the Installation Process
Before diving into the installation process of Windows 11 on an unsupported CPU, it’s essential to make a few preparations to ensure a smooth and successful upgrade. Whether your CPU is officially supported or not, these steps will help you prepare your system for the installation:
- Back up your data: Before making any major changes to your operating system, it is crucial to back up all your important files and data. This will protect your personal information and ensure that you don’t lose any important data during the installation process.
- Check for driver updates: Visit the manufacturer’s website of your computer or motherboard and check for any available driver updates. Installing the latest drivers can help improve system compatibility and performance, ensuring a smoother installation experience.
- Free up disk space: Windows 11 requires a minimum of 64 GB of storage space. To ensure that you have enough space for the installation, it’s advisable to clean up your hard drive by deleting unnecessary files, uninstalling unused applications, and emptying your recycle bin.
- Disable or uninstall incompatible software: Identify any software applications that may be incompatible with Windows 11 due to your CPU or other factors. It’s recommended to disable or uninstall these applications before proceeding with the installation to prevent potential conflicts during the upgrade process.
- Create a system restore point: Creating a system restore point allows you to revert back to your current operating system configuration in case any issues arise during the installation. This provides an additional layer of safety and ensures that you can easily switch back if needed.
- Ensure stable power supply: It’s crucial to have a stable power supply during the installation process. Connect your laptop or PC to a power source or use a UPS (Uninterruptible Power Supply) to prevent any sudden shutdowns or interruptions that could potentially damage your system or corrupt the installation.
By following these preparatory steps, you will be ready to proceed with the installation process of Windows 11 on your unsupported CPU. In the next section, we will explore how to find and download an unofficial Windows 11 ISO file to begin the installation process.
Finding and Downloading an Unofficial Windows 11 ISO File
Installing Windows 11 on an unsupported CPU requires obtaining an unofficial Windows 11 ISO file. Here are the steps to find and download the ISO file:
- Search for trusted sources: Look for reputable websites or forums that provide unofficial Windows 11 ISO files. It’s essential to ensure that you download the ISO from a trusted source to avoid any potential security risks or malware.
- Verify the authenticity: Before downloading the ISO file, verify its authenticity. Check for user reviews, comments, and feedback on the website or forum to ensure that others have successfully used the ISO without any issues. This step helps to minimize the risk of downloading a corrupted or modified version of the operating system.
- Download the Windows 11 ISO: Once you’ve identified a trusted source, proceed to download the unofficial Windows 11 ISO file. Make sure to select the appropriate version (32-bit or 64-bit) based on your system’s architecture.
- Perform a virus scan: After downloading the ISO file, it’s crucial to perform a virus scan using reliable antivirus software. This scan will help detect any potential viruses or malware that may have been inadvertently downloaded alongside the ISO file.
- Verify the file integrity: To ensure the downloaded ISO file is complete and not corrupted, verify its integrity using the provided checksum or by comparing it with the official checksum, if available. This step provides assurance that the ISO file has not been tampered with.
By following these steps, you can obtain an unofficial Windows 11 ISO file from a trusted source. Remember to exercise caution while downloading and ensure the file’s authenticity and integrity before proceeding.
In the next section, we will guide you through the process of creating a bootable USB drive using the downloaded Windows 11 ISO file.
Creating a Bootable USB Drive with the Windows 11 ISO
Once you have obtained the Windows 11 ISO file, the next step is to create a bootable USB drive. Follow these steps to create a bootable USB drive with the Windows 11 ISO:
- Obtain a USB drive: Ensure you have a USB drive with sufficient storage capacity (at least 8GB) to accommodate the Windows 11 ISO file.
- Backup data: Before proceeding with the creation of the bootable USB, make sure to back up any important data on the USB drive, as the process will erase all existing data.
- Download and install a USB bootable software: There are several reliable third-party software applications available that can help you create a bootable USB drive. Popular options include Rufus, BalenaEtcher, and Windows USB/DVD Download Tool. Download and install the software of your choice.
- Launch the bootable USB software: Open the USB bootable software on your computer.
- Select the Windows 11 ISO: In the bootable USB software, browse for the downloaded Windows 11 ISO file and select it.
- Choose the USB drive: Select the USB drive you want to use for creating the bootable drive. Ensure that you have selected the correct USB drive to avoid accidentally formatting the wrong device.
- Start the bootable process: Click on the “Start” or “Create” button to begin the process of creating the bootable USB drive. The software will format the USB drive and copy the necessary files from the Windows 11 ISO to make it bootable.
- Wait for the process to complete: The software will take some time to complete the bootable process, so be patient and let it finish without interruption.
- Eject the USB drive: Once the process is complete, safely eject the USB drive from your computer.
After completing these steps, you will have created a bootable USB drive with the Windows 11 ISO. This USB drive will be used to install Windows 11 on your system, even if your CPU is officially unsupported.
In the next section, we will guide you through the process of modifying the ISO file to bypass the CPU check and proceed with the installation of Windows 11.
Modifying the ISO File to Bypass CPU Check
After creating a bootable USB drive with the Windows 11 ISO, the next step is to modify the ISO file to bypass the CPU check. This process involves editing specific files within the ISO to trick the installation process into thinking that your CPU meets the official requirements. Here’s how you can modify the ISO file:
- Mount the Windows 11 ISO: Begin by opening the Windows 11 ISO file by right-clicking on it and selecting the option to mount it. This will create a virtual drive with the contents of the ISO.
- Navigate to the “Sources” folder: Open the mounted virtual drive and navigate to the “Sources” folder. Locate the “install.wim” or “install.esd” file within this folder.
- Extract the “install.wim” or “install.esd” file: Use a file extraction tool, such as 7-Zip, to extract the “install.wim” or “install.esd” file from the ISO. Place the extracted file in a location on your computer for editing.
- Open the extracted file with a Windows image editor: Open the extracted “install.wim” or “install.esd” file using a Windows image editor, such as DISM GUI or NTLite.
- Edit the “install.wim” or “install.esd” file: Within the Windows image editor, navigate to the section that contains the CPU compatibility check. Modify or delete the relevant lines of code that perform the CPU check. Save the changes to the edited file.
- Replace the original file within the ISO: Replace the original “install.wim” or “install.esd” file within the mounted virtual drive with the edited file that you saved. Make sure the replacement file has the same name as the original file.
- Unmount the Windows 11 ISO: After replacing the file, unmount the Windows 11 ISO by right-clicking on the mounted virtual drive and selecting the unmount option. This will save the modifications to the ISO file.
By following these steps, you will have modified the Windows 11 ISO to bypass the CPU check. This modification tricks the installation process into allowing Windows 11 to be installed on your system, regardless of your CPU’s official compatibility.
In the next section, we will guide you through the process of installing Windows 11 on an unsupported CPU using the modified ISO file and the bootable USB drive.
Installing Windows 11 on an Unsupported CPU
Now that you have the modified Windows 11 ISO file and a bootable USB drive, you’re ready to proceed with the installation process. Here’s how you can install Windows 11 on an unsupported CPU:
- Connect the bootable USB drive: Insert the bootable USB drive into a USB port on your computer.
- Restart your computer: Restart your computer and access the BIOS or UEFI settings. The key to enter these settings varies depending on your computer manufacturer, but it is often the F2, F10, or Del key.
- Set the USB drive as the primary boot device: In the BIOS or UEFI settings, navigate to the “Boot” or “Boot Order” section and change the boot order to prioritize the USB drive as the primary boot device.
- Save the changes and exit the BIOS or UEFI settings: Save the changes made to the boot order and exit the BIOS or UEFI settings. Your computer will now boot from the USB drive.
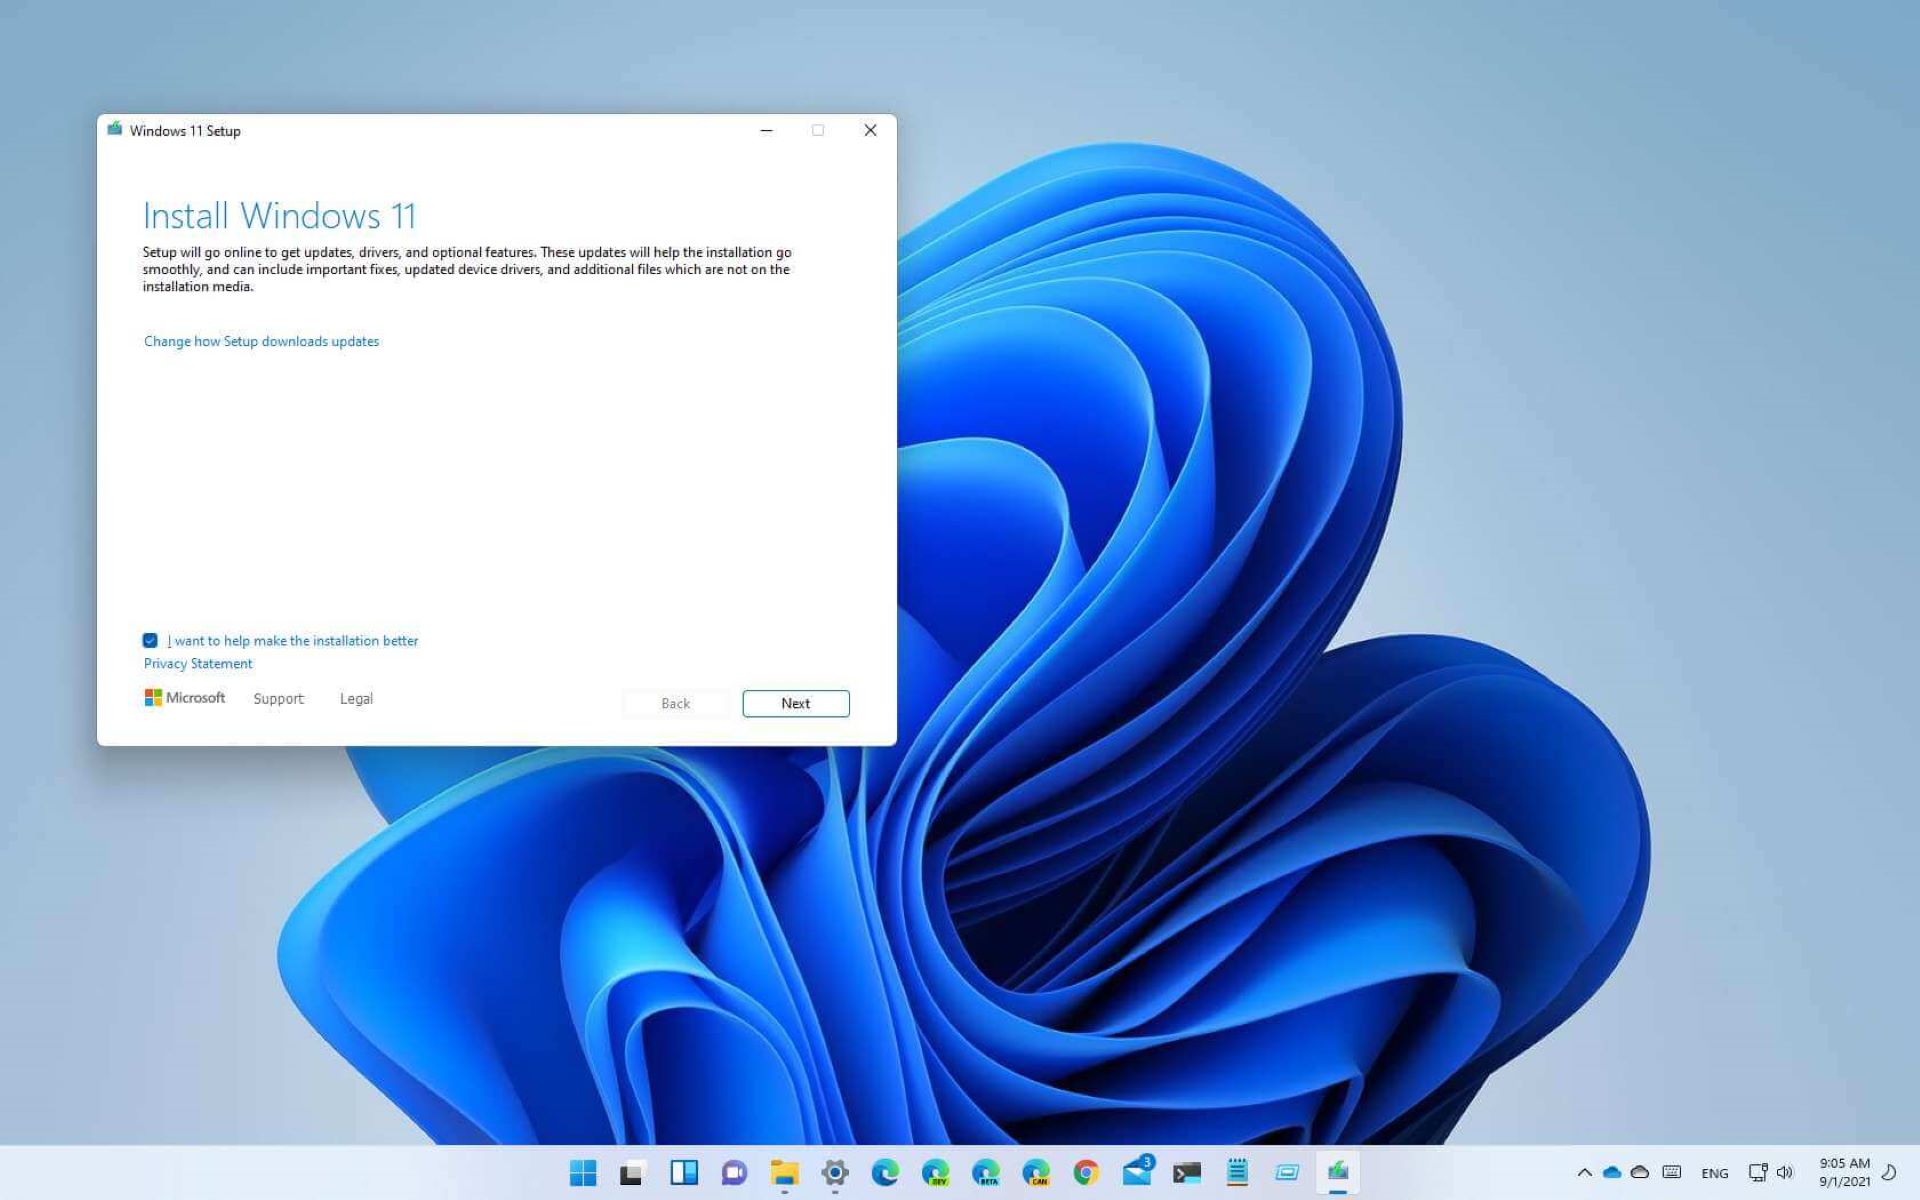
- Follow the Windows 11 installation prompts: Once the computer boots from the USB drive, the Windows 11 installation process will begin. Follow the on-screen prompts to proceed with the installation.
- Select the desired options: During the installation process, you will be prompted to choose your language, time zone, and keyboard layout. Select the desired options according to your preferences.
- Enter the product key: If prompted, enter the product key for your Windows 11 installation. If you don’t have a product key, you can choose the option to skip this step, and Windows 11 will be installed as a trial version.
- Accept the terms and conditions: Read and accept the terms and conditions for using Windows 11.
- Choose the installation type: Select the installation type that suits your needs, such as upgrading an existing operating system or performing a clean installation.
- Select the installation location: Choose the drive or partition where you want to install Windows 11. Make sure to select the appropriate drive and take caution to not overwrite any important data.
- Wait for the installation to complete: Sit back and wait for the installation process to complete. This may take some time, so be patient.
- Follow the on-screen setup instructions: After the installation process is finished, Windows 11 will guide you through the initial setup, such as creating a user account and setting up preferences.
- Complete the installation: Once you have finished the setup process, you can start exploring and using Windows 11 on your unsupported CPU.
Following these steps will allow you to install Windows 11 on an unsupported CPU and experience the new features and enhancements of the operating system.
In the next section, we will discuss some common issues that you may encounter during the installation process and provide troubleshooting tips to overcome them.
Troubleshooting Common Issues During Installation
While installing Windows 11 on an unsupported CPU can be an exciting endeavor, you may encounter some common issues during the installation process. Here are some troubleshooting tips to help you overcome these challenges:
- Error message during installation: If you encounter an error message during the installation process, make sure to note down the error code or message. You can search for the specific error online to find potential solutions or workarounds.
- BSOD (Blue Screen of Death) errors: If you experience a blue screen error during the installation, it may be caused by incompatible drivers or hardware issues. Try disconnecting any unnecessary hardware devices and updating your drivers to the latest versions before attempting the installation again.
- Installation freezing or getting stuck: If the installation process freezes or gets stuck at a certain point, it could be due to compatibility issues, insufficient system resources, or conflicting software. Restart your computer and ensure that your system meets the minimum requirements for Windows 11. Disable any unnecessary background processes or antivirus software that may be causing conflicts.
- Slow installation process: If the installation process is proceeding unusually slowly, it could be a result of various factors, such as the speed of your USB drive, the resources of your system, or the presence of conflicting software. Try using a faster USB drive, closing any unnecessary applications, and disabling antivirus software during the installation process.
- Failed installation attempts: If your installation attempts continue to fail, double-check that your CPU meets the necessary requirements for Windows 11. Consider reaching out to online forums or communities for support, as other users may have encountered similar issues and found solutions.
It’s important to note that troubleshooting issues during the installation process can be complex, and the solutions may vary depending on your specific situation. If you’re unsure about the troubleshooting steps, consider seeking assistance from technical experts or professionals to ensure a smooth installation process.
With these troubleshooting tips, you can address common issues that may arise during the installation of Windows 11 on an unsupported CPU. Stay patient and persistent, and soon you’ll be enjoying the features and benefits of Windows 11!
Now let’s move on to the final section, where we’ll provide some final thoughts and considerations for installing Windows 11 on an unsupported CPU.
Final Thoughts and Considerations
As we conclude this guide on installing Windows 11 on an unsupported CPU, it’s important to consider a few final thoughts and considerations:
1. Unsupported installation: Installing Windows 11 on an unsupported CPU involves modifying the operating system and bypassing official requirements. This means that you may encounter limitations, performance issues, and potential compatibility problems. Proceed with installing Windows 11 on an unsupported CPU at your own risk.
2. User experience and optimization: While you may be able to successfully install Windows 11 on your unsupported CPU, the overall user experience and performance may not be optimal. Some features may not function as intended, and you may experience slower performance compared to running Windows 11 on officially supported hardware.
3. Security implications: Microsoft sets specific hardware requirements for Windows 11 to ensure a secure and stable operating system. By installing Windows 11 on an unsupported CPU, you may compromise the security of your system. Be cautious and take appropriate measures to protect your computer from potential security risks.
4. Keeping your system up to date: As Windows 11 continues to evolve, future updates and patches may not be compatible or fully tested on unsupported CPUs. This could result in compatibility issues or the inability to install future updates. It’s important to understand and accept that continued use of Windows 11 on an unsupported CPU may limit your ability to keep the system up to date.
5. Exploring alternative operating systems: If your CPU is not compatible with Windows 11 and you still want to upgrade your system, consider exploring alternative operating systems that are compatible with your hardware. Linux, for example, offers a wide range of distributions that can provide a modern and optimized computing experience on older hardware.
In summary, installing Windows 11 on an unsupported CPU is an advanced process that requires caution and acceptance of potential limitations. While it may be possible to run Windows 11 on an unsupported CPU, it is important to weigh the risks and benefits and consider alternative options if needed. As technology continues to advance, it’s crucial to keep your hardware up to date to ensure compatibility and optimal performance with the latest operating systems.
We hope this guide has provided you with valuable insights and guidance for installing Windows 11 on an unsupported CPU. Remember to always proceed with caution and make informed decisions based on your specific situation and requirements.