Introduction
Welcome to our guide on how to install a Cryboig CPU cooler! If you’re looking to optimize the cooling performance of your computer’s central processing unit (CPU), replacing the stock cooler with a Cryboig aftermarket cooler is a great option. Cryboig CPU coolers are known for their efficient heat dissipation, silent operation, and easy installation process. In this article, we’ll walk you through the step-by-step instructions on how to properly install a Cryboig CPU cooler.
Installing a CPU cooler is crucial to maintaining an optimal temperature for your CPU, which is essential for its performance and longevity. The Cryboig CPU cooler is designed to efficiently draw heat away from the CPU and dissipate it, ensuring that it operates within safe temperature limits even under heavy loads.
Before we dive into the installation process, it’s important to note that every computer system is unique, and the specific steps may vary depending on your hardware setup. It’s crucial to consult your motherboard and CPU cooler’s manuals for any specific instructions or additional requirements.
Now let’s get started with the installation process of your Cryboig CPU cooler. By following these steps carefully, you’ll be able to enjoy the benefits of improved cooling performance and a quieter computing experience.
Step 1: Gather the Required Tools and Equipment
Before you begin the installation process, it’s important to gather all the necessary tools and equipment. Having everything prepared beforehand will make the installation smoother and more efficient. Here’s a list of the tools and equipment you’ll need:
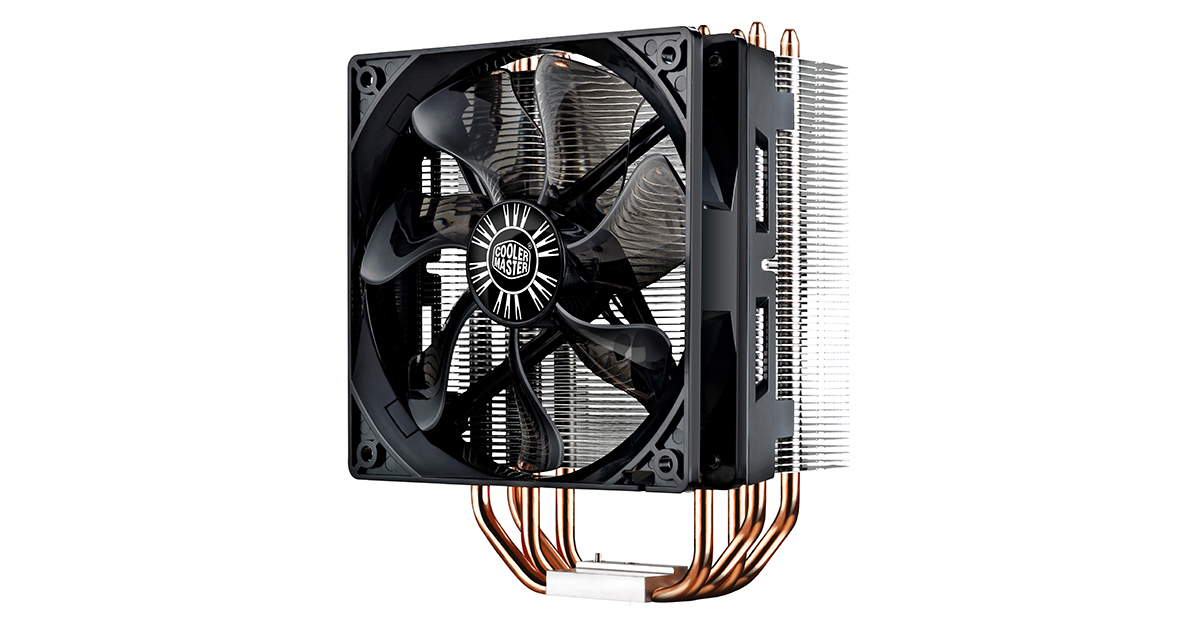
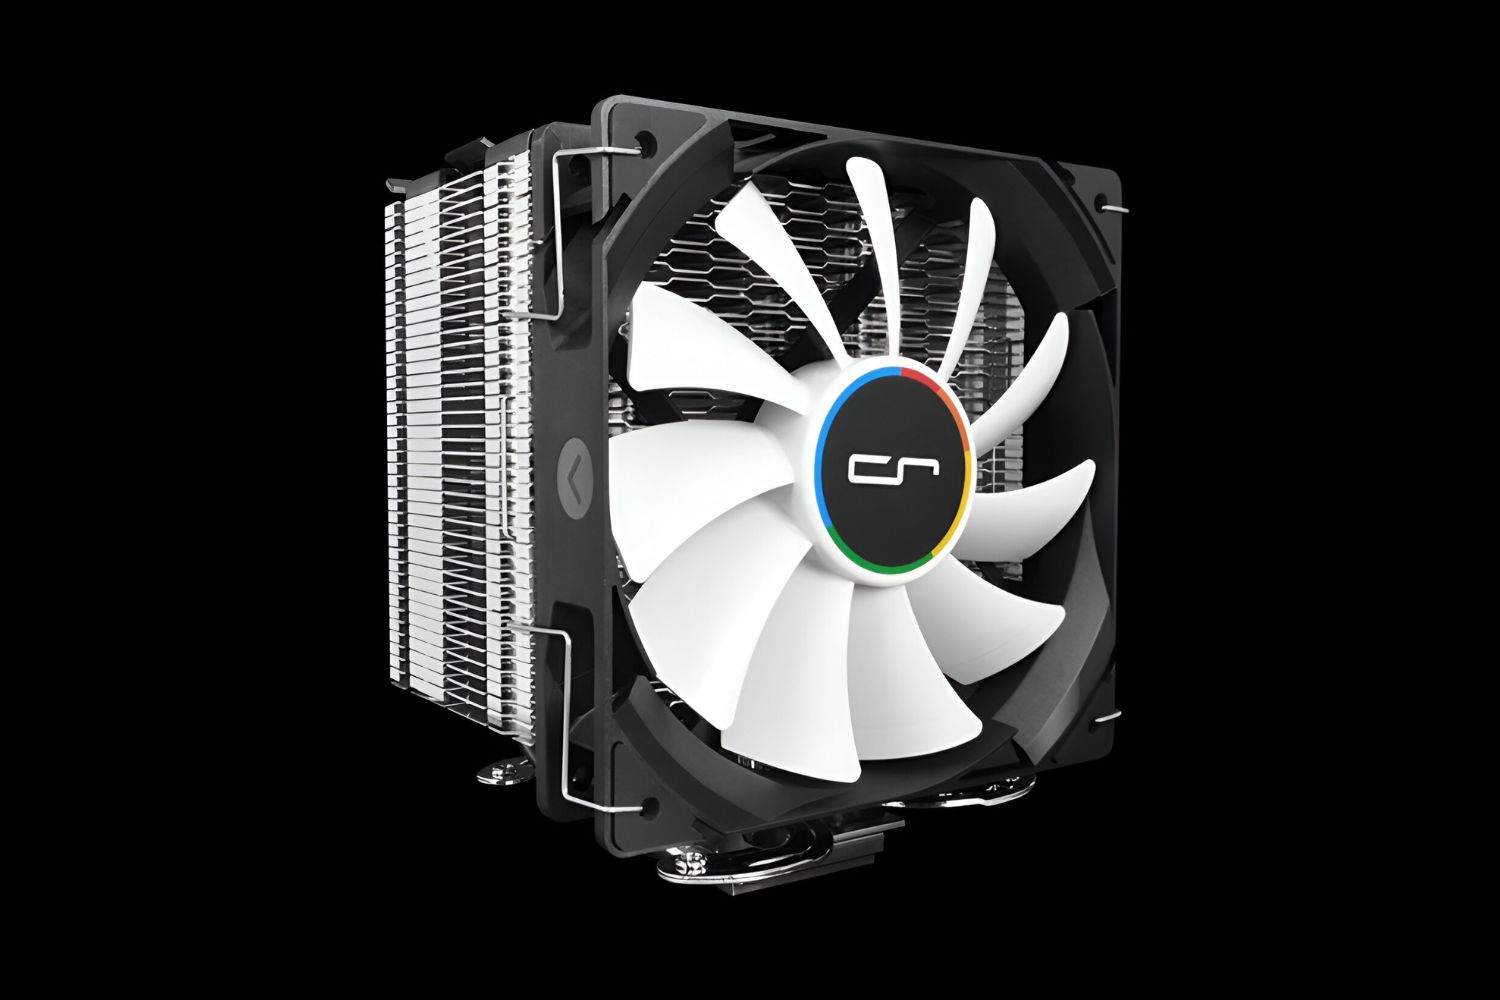
- Cryboig CPU cooler (specific model based on your requirements)
- Screwdriver (usually a Phillips-head screwdriver)
- Thermal paste
- Cleaning solution (isopropyl alcohol or thermal paste remover)
- Microfiber cloth or lint-free cloth
- Anti-static wrist strap (optional, but recommended to prevent static discharge)
Once you have gathered all the necessary tools and equipment, make sure to read through the Cryboig CPU cooler’s manual for any additional requirements or precautions. It’s essential to work in a well-lit and static-free environment to prevent any damage to your hardware components.
It’s also a good idea to familiarize yourself with the various parts of the Cryboig CPU cooler and understand how they fit together. This will make the installation process easier and less time-consuming.
By having all the tools and equipment ready, you’ll be well-prepared to proceed with the installation process smoothly. Let’s move on to the next step, where we’ll prepare the motherboard and CPU for the Cryboig CPU cooler installation.
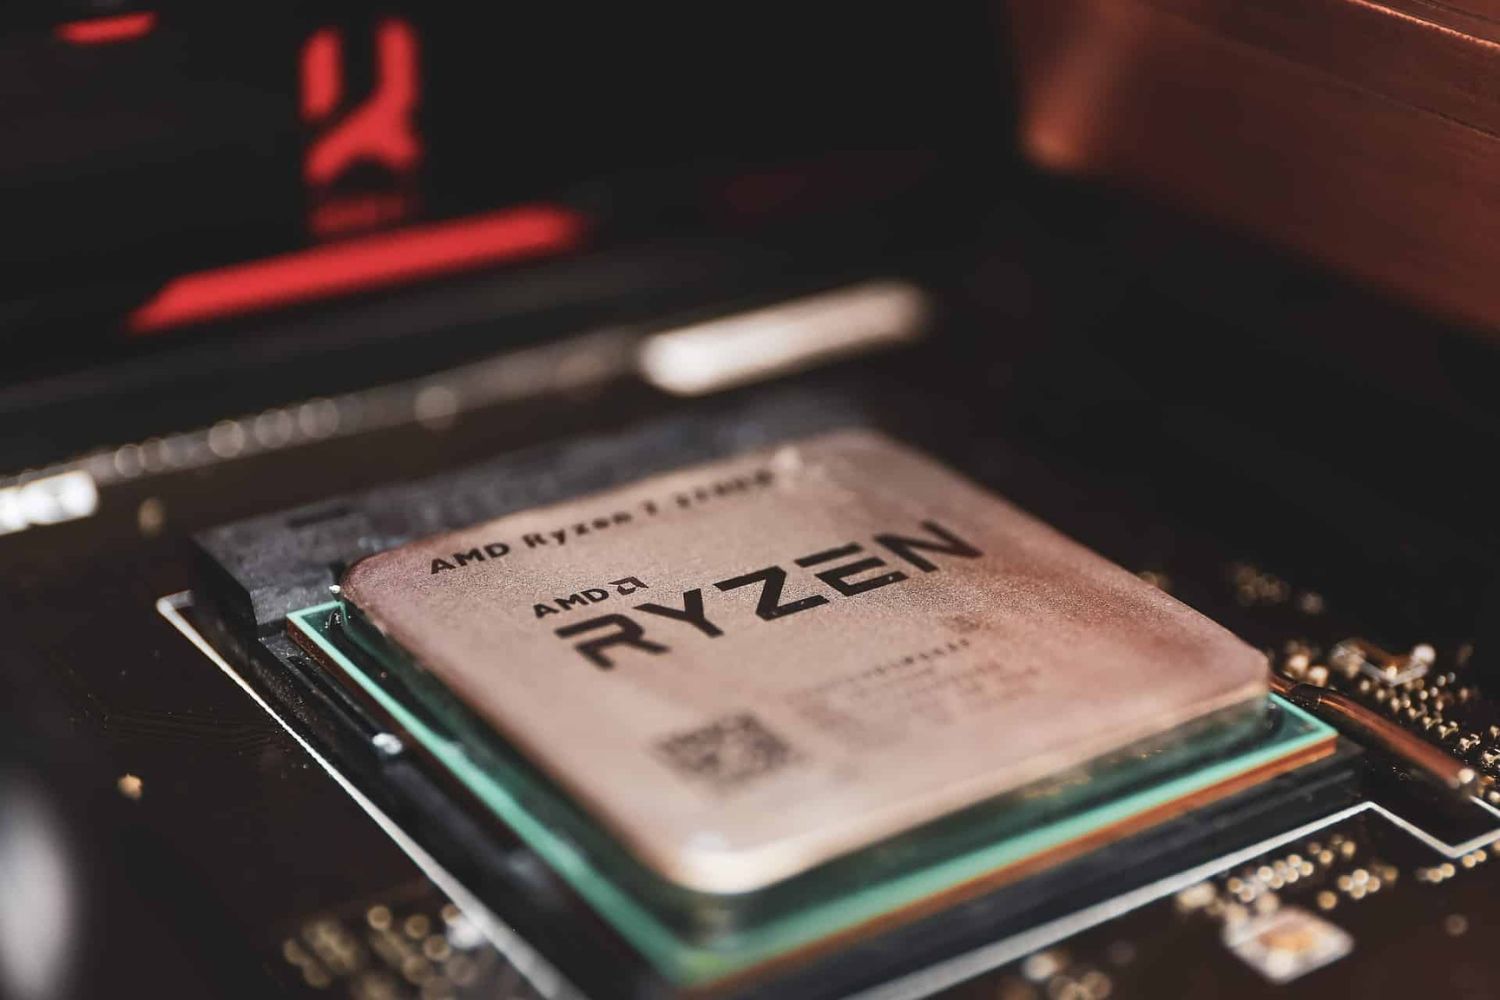
Step 2: Prepare the Motherboard and CPU
Before installing the Cryboig CPU cooler, it’s important to prepare the motherboard and CPU for the installation process. Follow these steps to ensure a smooth and successful installation:
- Power off your computer and disconnect it from the power source. This will prevent any accidental electrical damage during the installation process.
- Open up your computer case and locate the CPU socket on the motherboard. Consult your motherboard’s manual if you’re unsure about its exact location.
- Carefully remove the protective cover from the CPU socket. The cover might be secured with a lever or latch, so make sure to unlatch or release it gently.
- Once the cover is removed, you’ll have access to the CPU socket. Locate the arrow or triangle marker on one of the corners of the socket. This marker indicates the orientation for installing the CPU.
- Take your CPU and align it with the arrow or triangle marker on the CPU socket. Ensure that the notches on the CPU match the alignment markers on the socket.
- Gently lower the CPU into the socket, making sure it fits smoothly and evenly. Avoid applying excessive force or rocking motions, as this can damage the delicate pins on the CPU.
- Once the CPU is properly seated in the socket, close the socket cover and secure it in place. Ensure that the lever or latch is locked and engaged to hold the CPU in position.
Preparing the motherboard and CPU is a crucial step in the installation process. By following these steps carefully, you’ll ensure that the CPU is properly seated and ready for the Cryboig CPU cooler installation. Now, let’s move on to the next step, where we’ll apply thermal paste to the CPU.
Step 3: Apply Thermal Paste to the CPU
Thermal paste is a crucial component that ensures optimal heat transfer between the CPU and the Cryboig CPU cooler. Applying thermal paste correctly will improve the cooling efficiency of your system. Follow these steps to apply thermal paste to the CPU:
- Start by cleaning the CPU with a small amount of cleaning solution such as isopropyl alcohol or thermal paste remover. This will remove any residual thermal paste or dirt from the CPU surface. Use a microfiber cloth or a lint-free cloth to wipe the CPU gently and make sure it’s completely dry.
- Take the thermal paste tube and carefully squeeze a small amount onto the center of the CPU. Be cautious not to apply too much paste, as it can lead to excessive heat buildup or interference with other components.
- Using a spreading tool or the provided spatula, spread the thermal paste evenly across the surface of the CPU. Aim for a thin and uniform layer that covers the entire surface without any gaps or excess buildup. This will ensure optimal heat transfer between the CPU and the Cryboig CPU cooler.
- Once the thermal paste is evenly spread, you can proceed with installing the Cryboig CPU cooler onto the CPU. Make sure to avoid touching the thermal paste or the CPU surface with your fingers, as it can introduce oils and contaminants that affect the heat transfer.
Applying thermal paste correctly will effectively bridge the microscopic gaps between the CPU and the Cryboig CPU cooler, allowing for efficient heat transfer. Take your time and follow these steps carefully to achieve the best results. In the next step, we’ll install the CPU cooler bracket. Let’s move on!
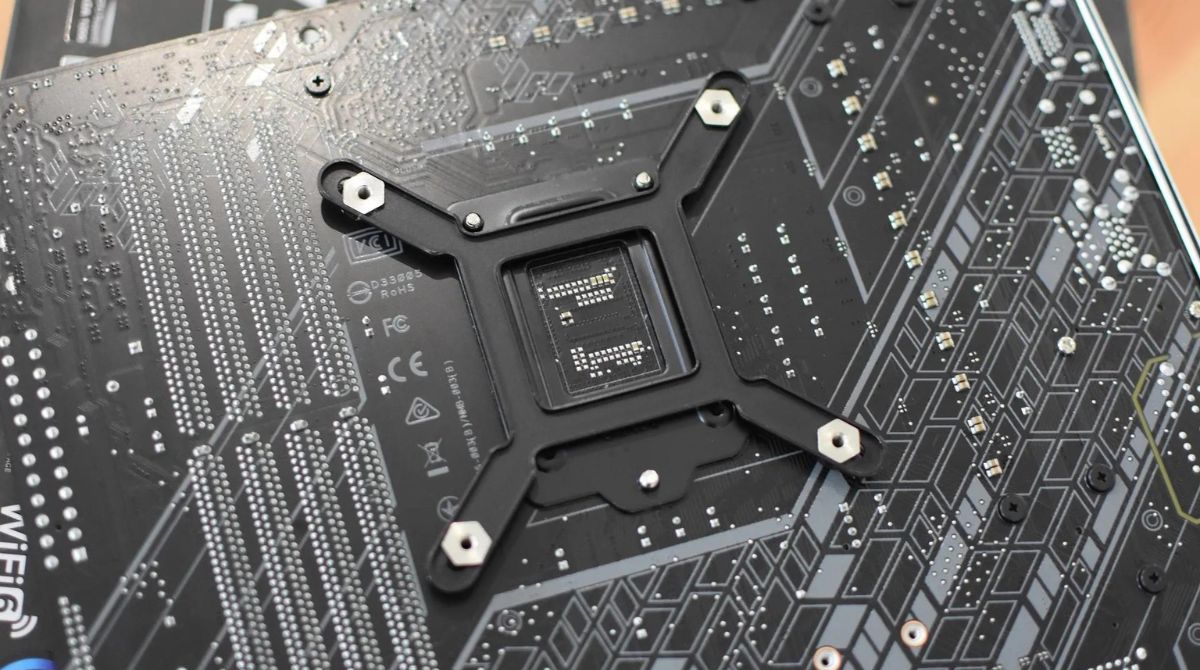
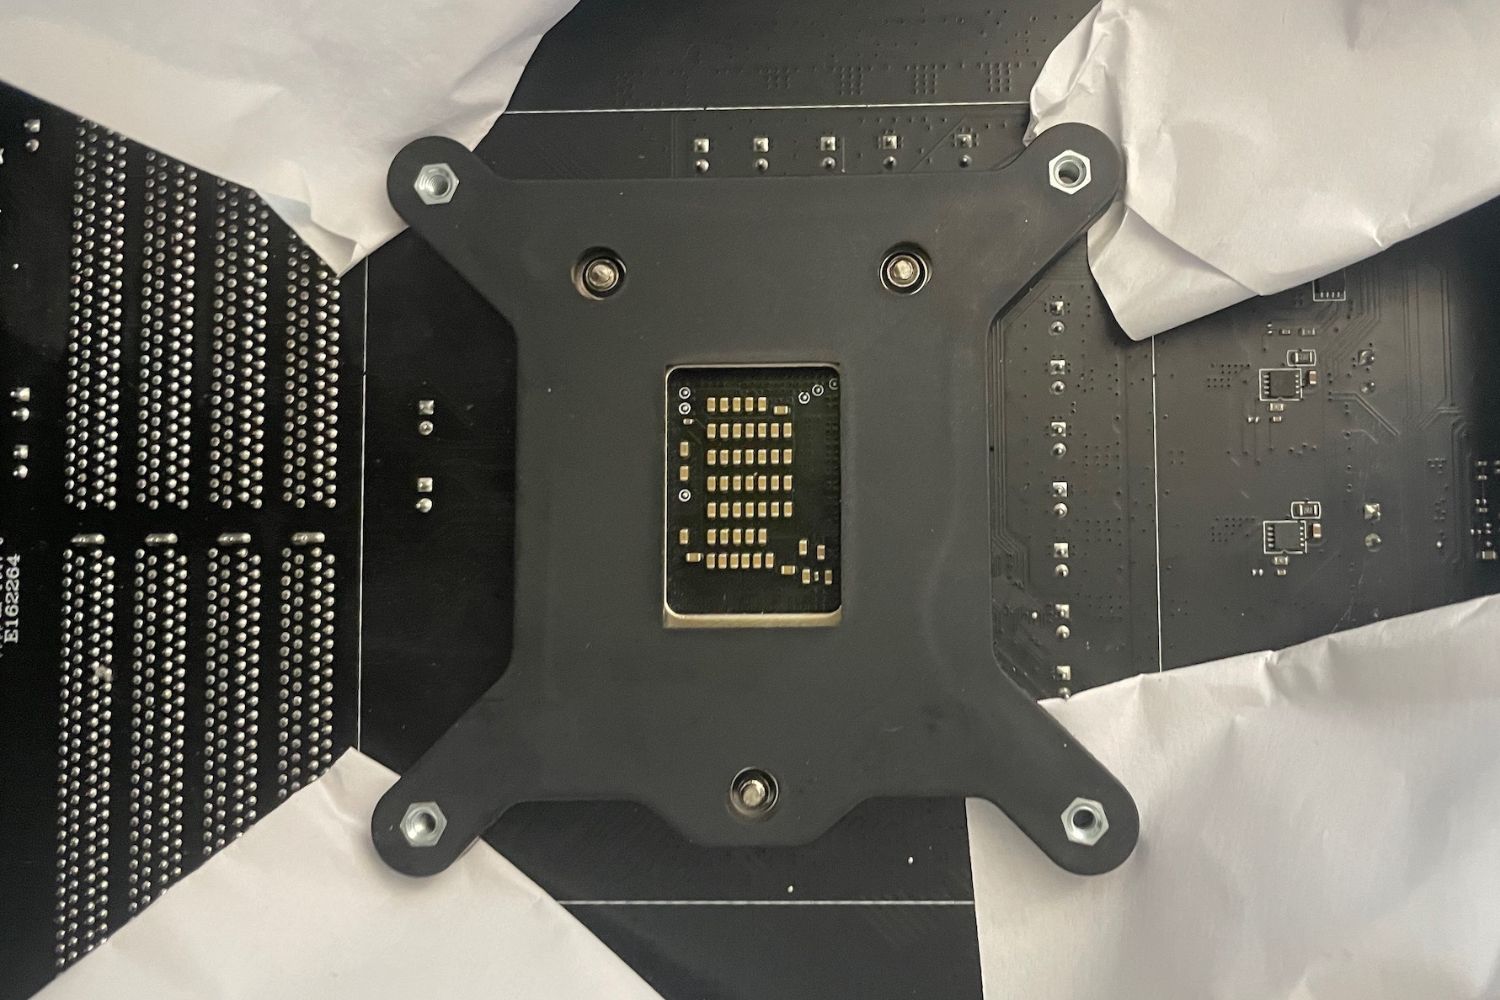
Step 4: Install the CPU Cooler Bracket
The CPU cooler bracket is an essential component that holds the Cryboig CPU cooler in place. Installing the bracket correctly will ensure a secure and stable mounting for the cooler. Follow these steps to install the CPU cooler bracket:
- Refer to the Cryboig CPU cooler’s manual to identify the specific bracket needed for your motherboard. Cryboig provides different brackets to accommodate various motherboard socket types.
- Place the CPU cooler bracket onto the back of the motherboard, aligning it with the mounting holes around the CPU socket. Ensure that the bracket is oriented correctly and fits snugly against the motherboard.
- Use the provided screws or fasteners to secure the CPU cooler bracket onto the motherboard. Tighten the screws firmly but avoid over-tightening, as it can damage the motherboard or cause uneven pressure on the CPU.
- Once the bracket is securely installed, double-check its alignment and stability. Ensure that it doesn’t interfere with any nearby components or obstruct the CPU socket in any way.
Installing the CPU cooler bracket is a crucial step in the installation process. A properly installed bracket provides a solid foundation for the Cryboig CPU cooler, ensuring optimal cooling performance and stability. Take your time to follow these steps accurately. In the next step, we’ll position the CPU cooler onto the CPU. Let’s proceed!
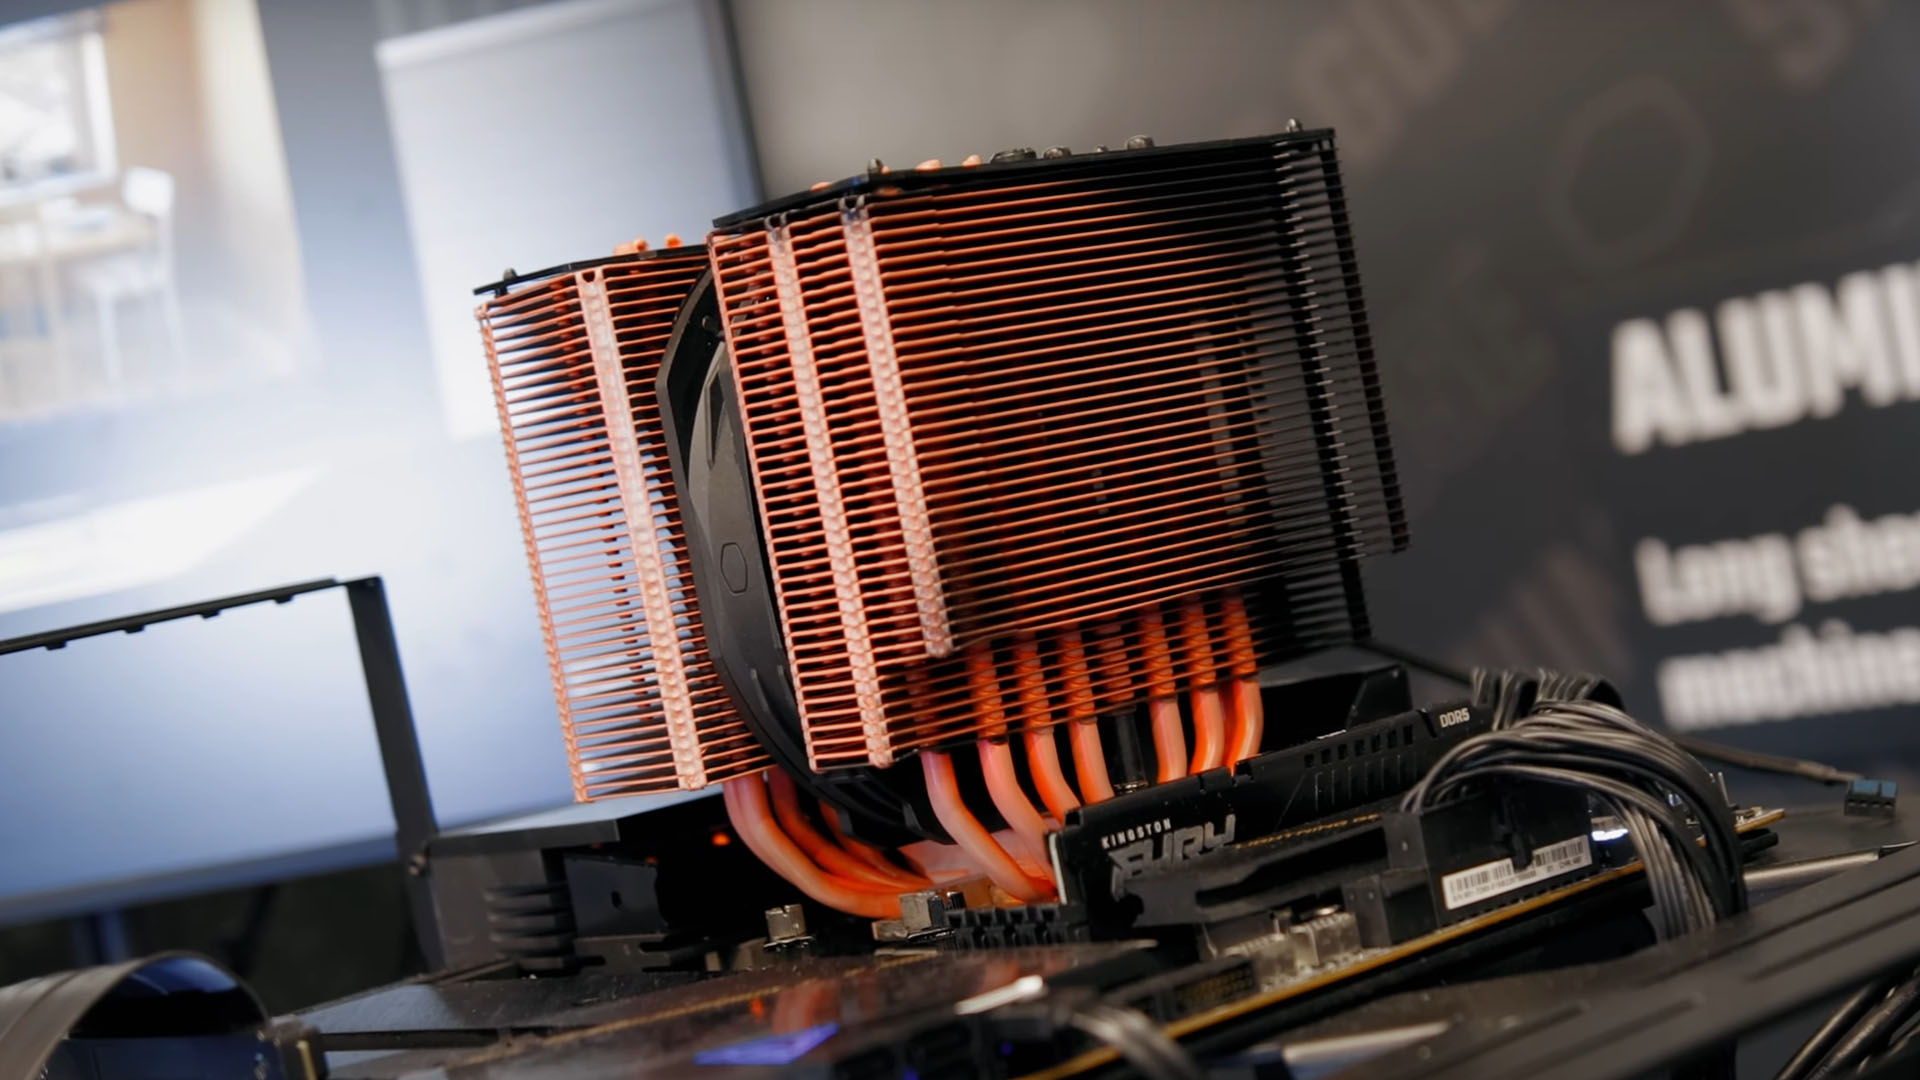
Step 5: Position the CPU Cooler onto the CPU
Now that the CPU cooler bracket is securely installed, it’s time to position the Cryboig CPU cooler onto the CPU itself. Properly aligning the cooler ensures that it covers the CPU and maximizes heat dissipation. Follow these steps to position the CPU cooler:
- Carefully pick up the Cryboig CPU cooler, ensuring that you handle it by the edges or designated handling areas. Avoid touching the heatsink or any other components of the cooler.
- Align the CPU cooler so that the base (contact plate) is directly above the CPU and the screw holes on the cooler match the mounting holes on the CPU cooler bracket.
- Gently lower the CPU cooler onto the CPU, ensuring that it makes full contact with the thermal paste applied earlier. Be cautious not to apply excessive force or wiggle the cooler, as it can disrupt the thermal paste bond.
- Ensure that the screw holes on the CPU cooler align with the mounting holes on the CPU cooler bracket. Double-check the alignment to prevent any misalignment or potential damage to the CPU or motherboard.
Properly positioning the CPU cooler onto the CPU is crucial for efficient heat transfer and cooling performance. Take your time and be careful when handling the CPU cooler to avoid any accidental damage. In the next step, we’ll secure the CPU cooler in place. Let’s move forward!
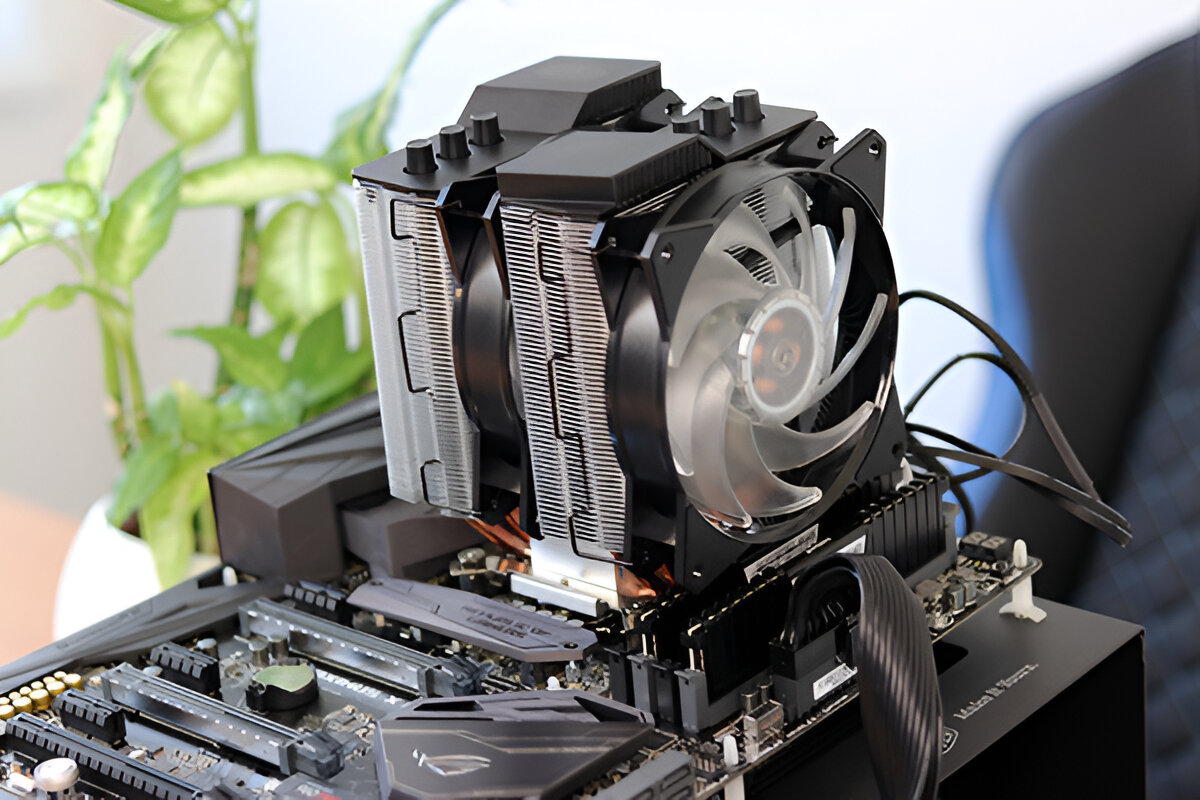
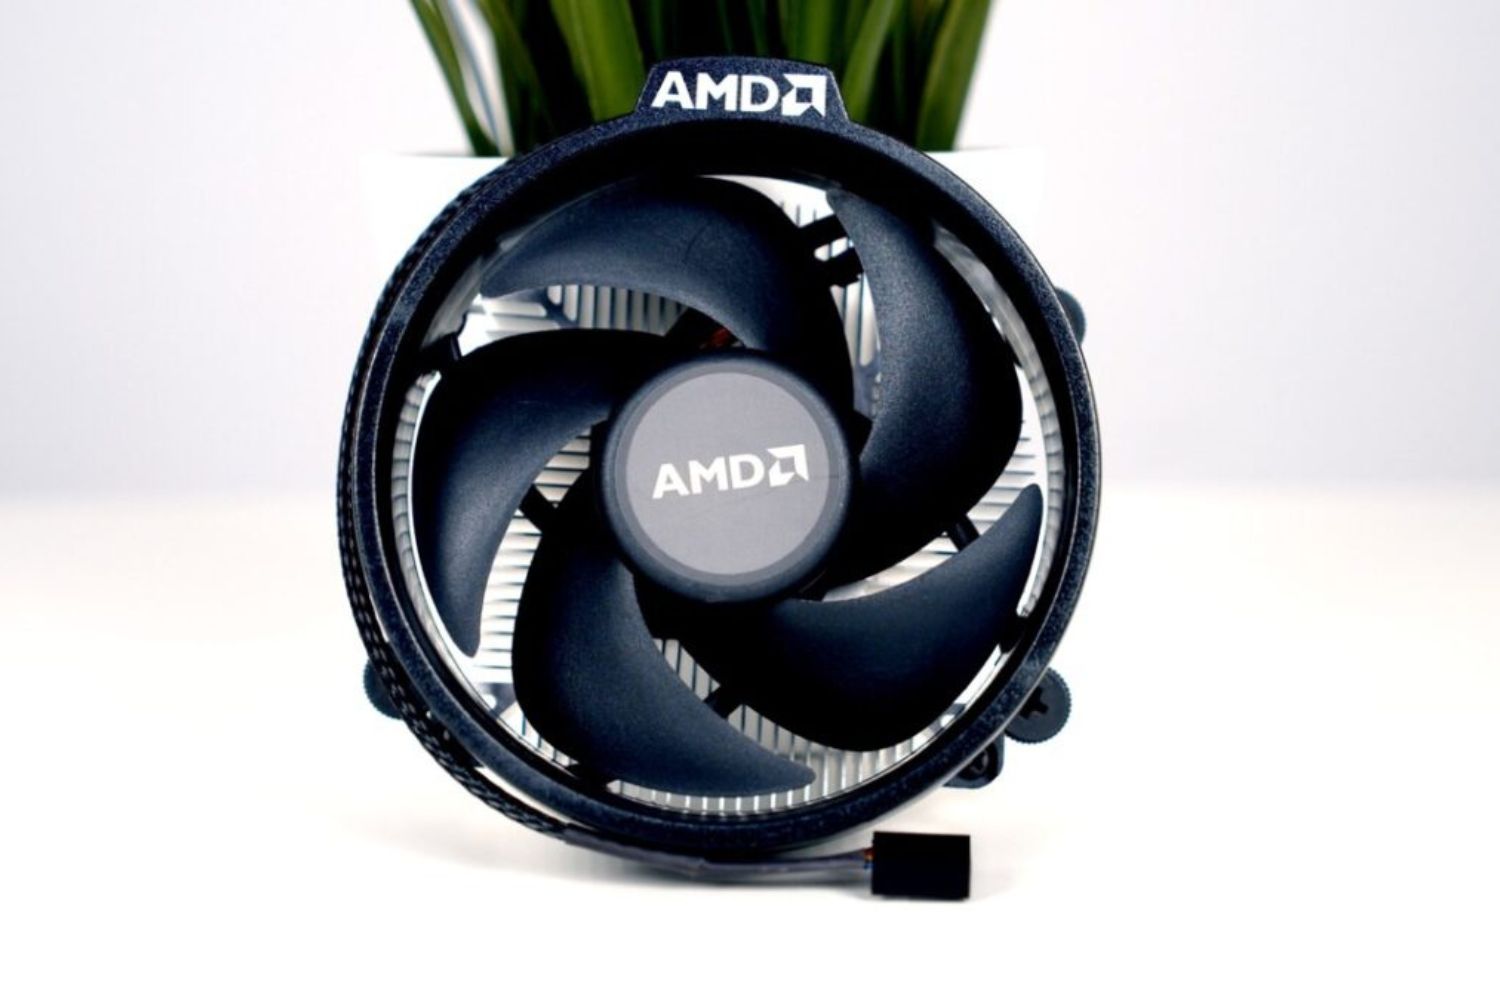
Step 6: Secure the CPU Cooler in Place
Once the Cryboig CPU cooler is correctly positioned on the CPU, it’s time to secure it in place. Properly securing the CPU cooler ensures that it remains firmly attached to the motherboard, promoting optimal heat dissipation. Follow these steps to secure the CPU cooler:
- Identify the mounting mechanism provided with your Cryboig CPU cooler. Common methods include using screws, brackets, or clips to secure the cooler.
- If screws are required, carefully insert them through the screw holes on the CPU cooler and align them with the corresponding holes on the CPU cooler bracket. Use a screwdriver to tighten the screws gently, ensuring that the cooler remains stable.
- If brackets or clips are provided, follow the instructions in the Cryboig CPU cooler’s manual to securely attach them onto the cooler and motherboard. This typically involves hooks or latches that need to be properly hooked or snapped into place.
- Once the CPU cooler is securely attached, gently shake it or apply slight pressure to check for any loose connections. Ensure that the cooler remains firm and stable, without moving or wobbling excessively.
Securing the CPU cooler in place is crucial for maintaining proper contact between the cooler and the CPU, ensuring efficient heat dissipation. Take your time and follow the instructions provided by Cryboig for your specific cooler model. In the next step, we’ll connect the CPU cooler to the motherboard. Let’s proceed!
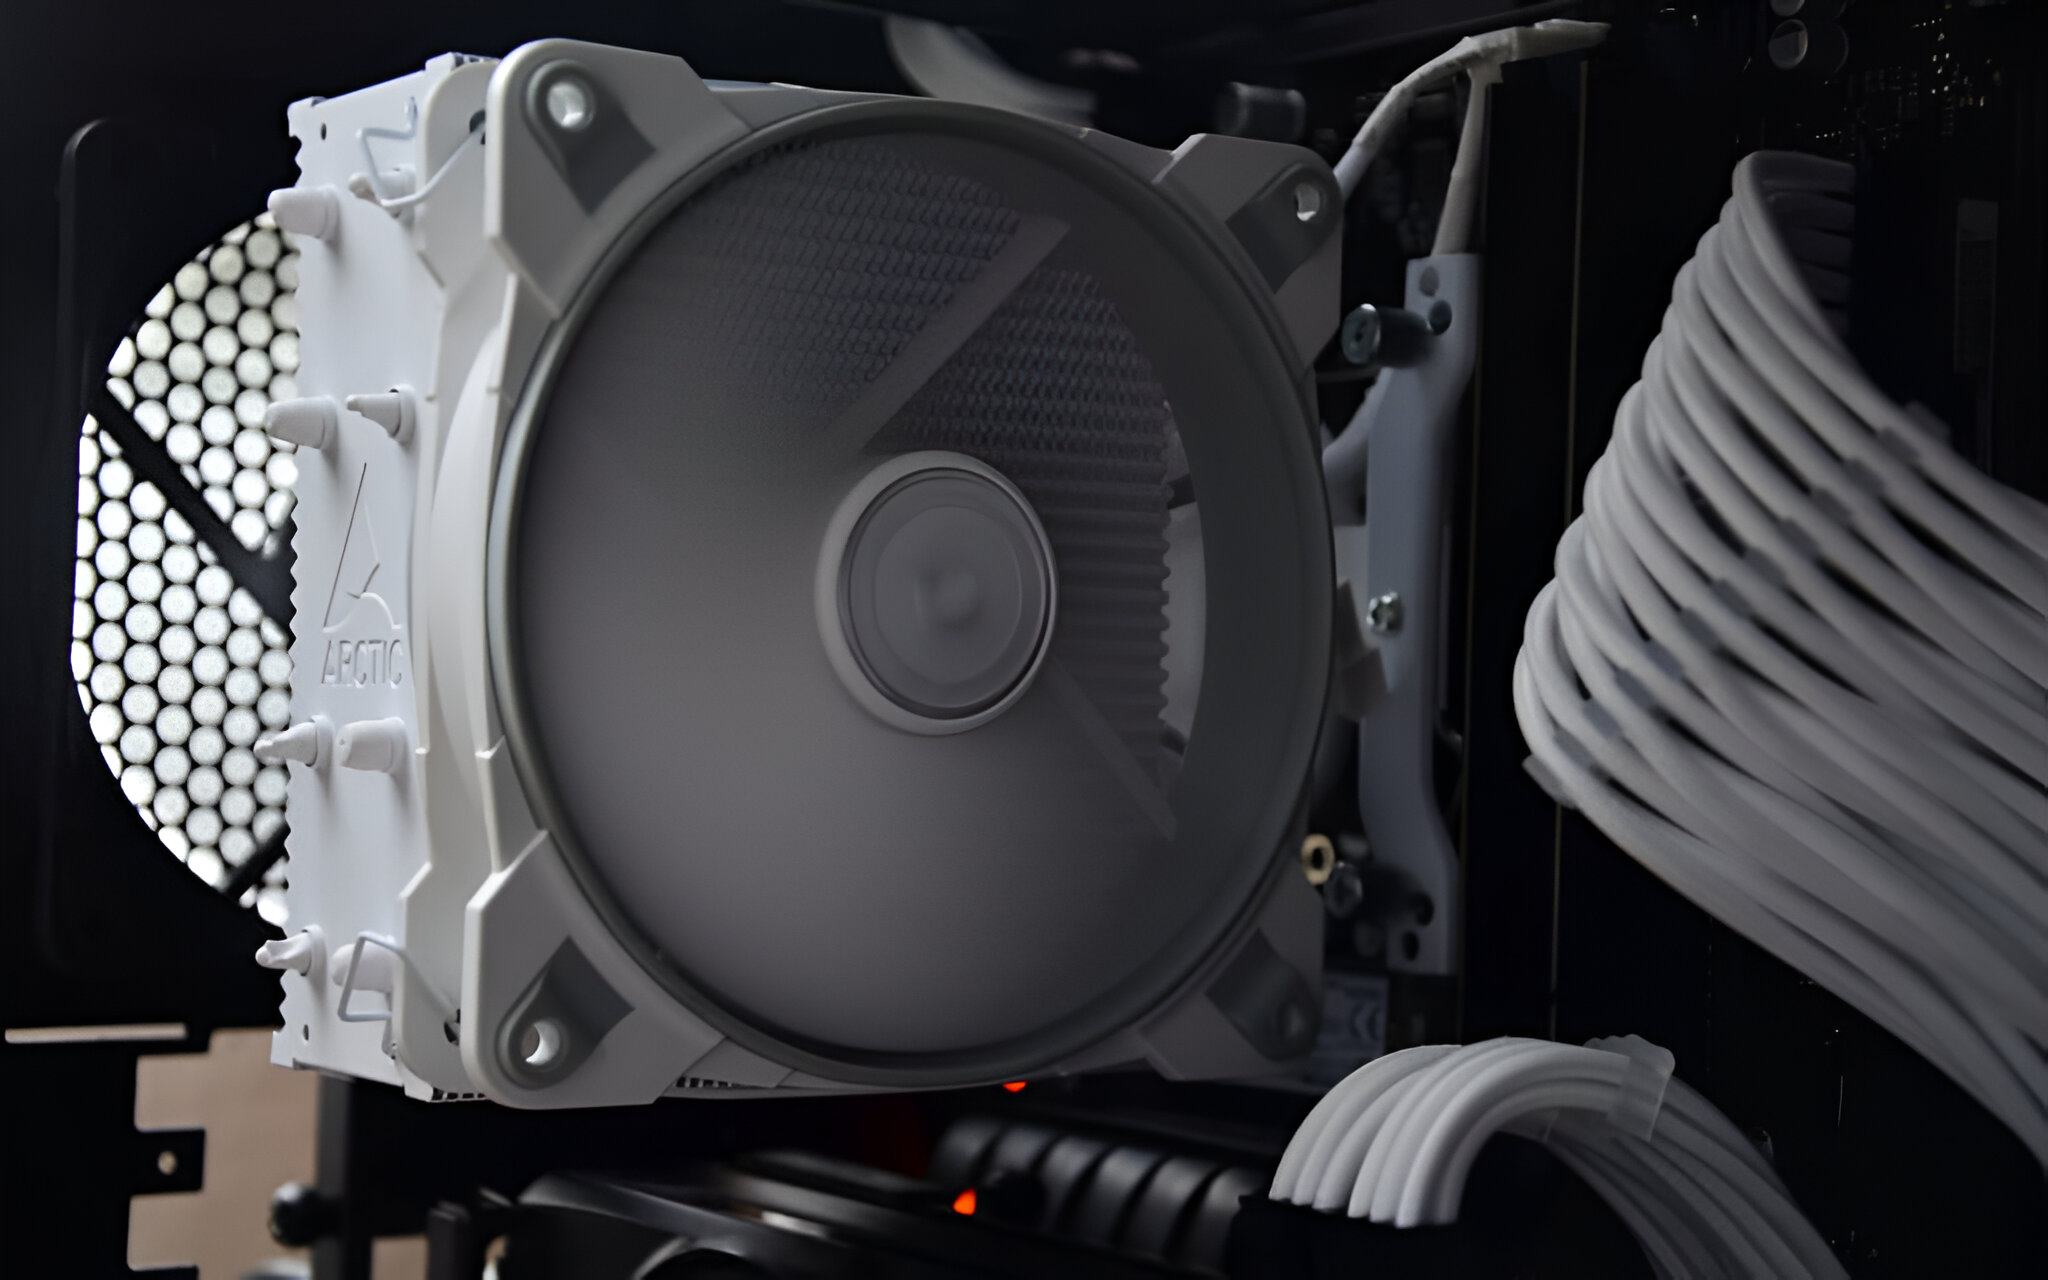
Step 7: Connect the CPU Cooler to the Motherboard
After securing the Cryboig CPU cooler in place, the final step is to connect it to the motherboard. This step ensures that the cooler is properly powered and controlled for optimal cooling performance. Follow these steps to connect the CPU cooler to the motherboard:
- Locate the CPU fan header on the motherboard. Consult your motherboard’s manual if you’re unsure about its exact location.
- Identify the CPU cooler’s fan cable. It is usually a 3 or 4-pin connector that matches the CPU fan header on the motherboard.
- Lift the latch on the CPU fan header and carefully align the CPU cooler’s fan cable with the header pins.
- Gently press the fan cable onto the header pins, ensuring a secure and tight connection. Make sure that the connector is fully inserted and locked into place by lowering the latch.
Connecting the CPU cooler to the motherboard provides power to the cooler’s fan and enables the motherboard to control its speed for optimal cooling performance. Properly connecting the fan cable ensures that the cooler operates efficiently and helps maintain the desired temperature for your CPU.
Once the CPU cooler is securely connected to the motherboard, you can close the computer case and reattach any removed components. Ensure that all connections are secure and follow proper cable management practices.
With the Cryboig CPU cooler properly installed and connected, you’re now ready to power on your computer and enjoy improved cooling performance for your CPU. Ensure that all other components are functioning correctly and monitor the CPU temperature for any abnormalities.
Congratulations, you have successfully completed the installation of the Cryboig CPU cooler! By following these steps carefully, you have optimized the cooling capabilities of your system and ensured its longevity. Enjoy the benefits of improved thermal management and a quieter computing experience!
Conclusion
Installing a Cryboig CPU cooler is a straightforward process that can greatly enhance the cooling performance of your computer’s CPU. By following the step-by-step instructions provided in this guide, you have successfully learned how to install a Cryboig CPU cooler. Here’s a quick recap of the installation process:
- Gather the required tools and equipment.
- Prepare the motherboard and CPU.
- Apply thermal paste to the CPU.
- Install the CPU cooler bracket.
- Position the CPU cooler onto the CPU.
- Secure the CPU cooler in place.
- Connect the CPU cooler to the motherboard.
Remember to refer to the specific instructions provided in the Cryboig CPU cooler’s manual as each cooler model may have slight variations in the installation process.
Installing a Cryboig CPU cooler not only helps keep your CPU cool but also contributes to its overall performance and longevity. Efficient heat dissipation is essential for preventing thermal throttling and maintaining stable system operation, especially during demanding tasks such as gaming or video rendering.
Additionally, Cryboig CPU coolers are known for their silent operation, making them a great choice for users who prioritize a quiet computing experience. The combination of excellent cooling performance and low noise levels makes Cryboig CPU coolers a popular choice among enthusiasts and professionals alike.
Now that you’ve successfully installed your Cryboig CPU cooler, don’t forget to monitor your CPU temperature regularly and ensure that it remains within safe operating limits. This will help you keep your system performing optimally and prolong the lifespan of your CPU.
We hope this guide has been helpful in assisting you with the installation process. If you have any further questions or need additional support, always refer to the Cryboig CPU cooler’s manual or reach out to their customer support for assistance.
Enjoy the benefits of improved cooling performance and a quieter computing experience with your newly installed Cryboig CPU cooler!