Introduction
Google Sheets is a powerful tool that allows you to create, edit, and collaborate on spreadsheets online. While it primarily focuses on numerical data, there are times when you may need to insert text boxes to provide additional information or highlight specific content. Text boxes in Google Sheets act as containers for text that can be moved and resized within the spreadsheet.
In this article, we will explore three different methods to insert a text box in Google Sheets. Whether you want to add annotations, create labels, or provide explanations, text boxes offer a versatile way to enhance the visual presentation of your sheets.
Before we dive into the methods, it’s important to note that text boxes are not available in the mobile app version of Google Sheets. To insert a text box, you will need to use the desktop version of Google Sheets.
Now let’s delve into the different methods you can use to insert a text box in Google Sheets.
Method 1: Inserting a Text Box from the Toolbar
The easiest and most straightforward way to insert a text box in Google Sheets is through the toolbar. Follow the steps below to add a text box to your spreadsheet:
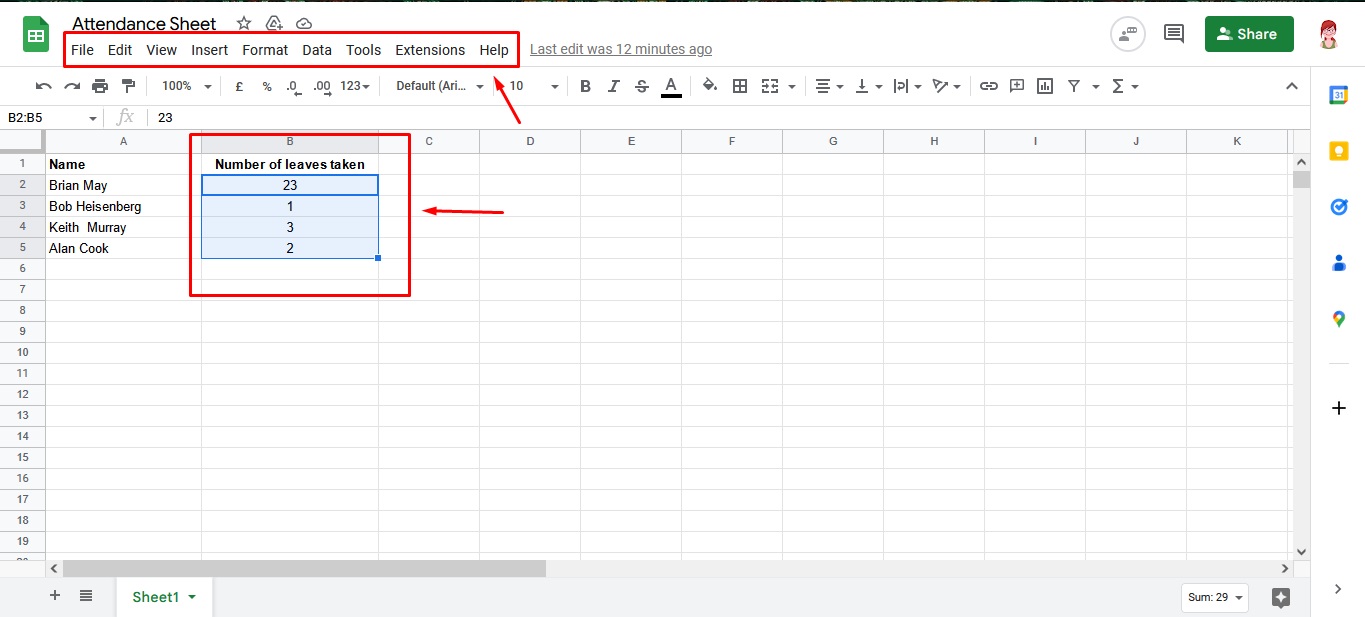
- Open your Google Sheets document and navigate to the sheet where you want to insert the text box.
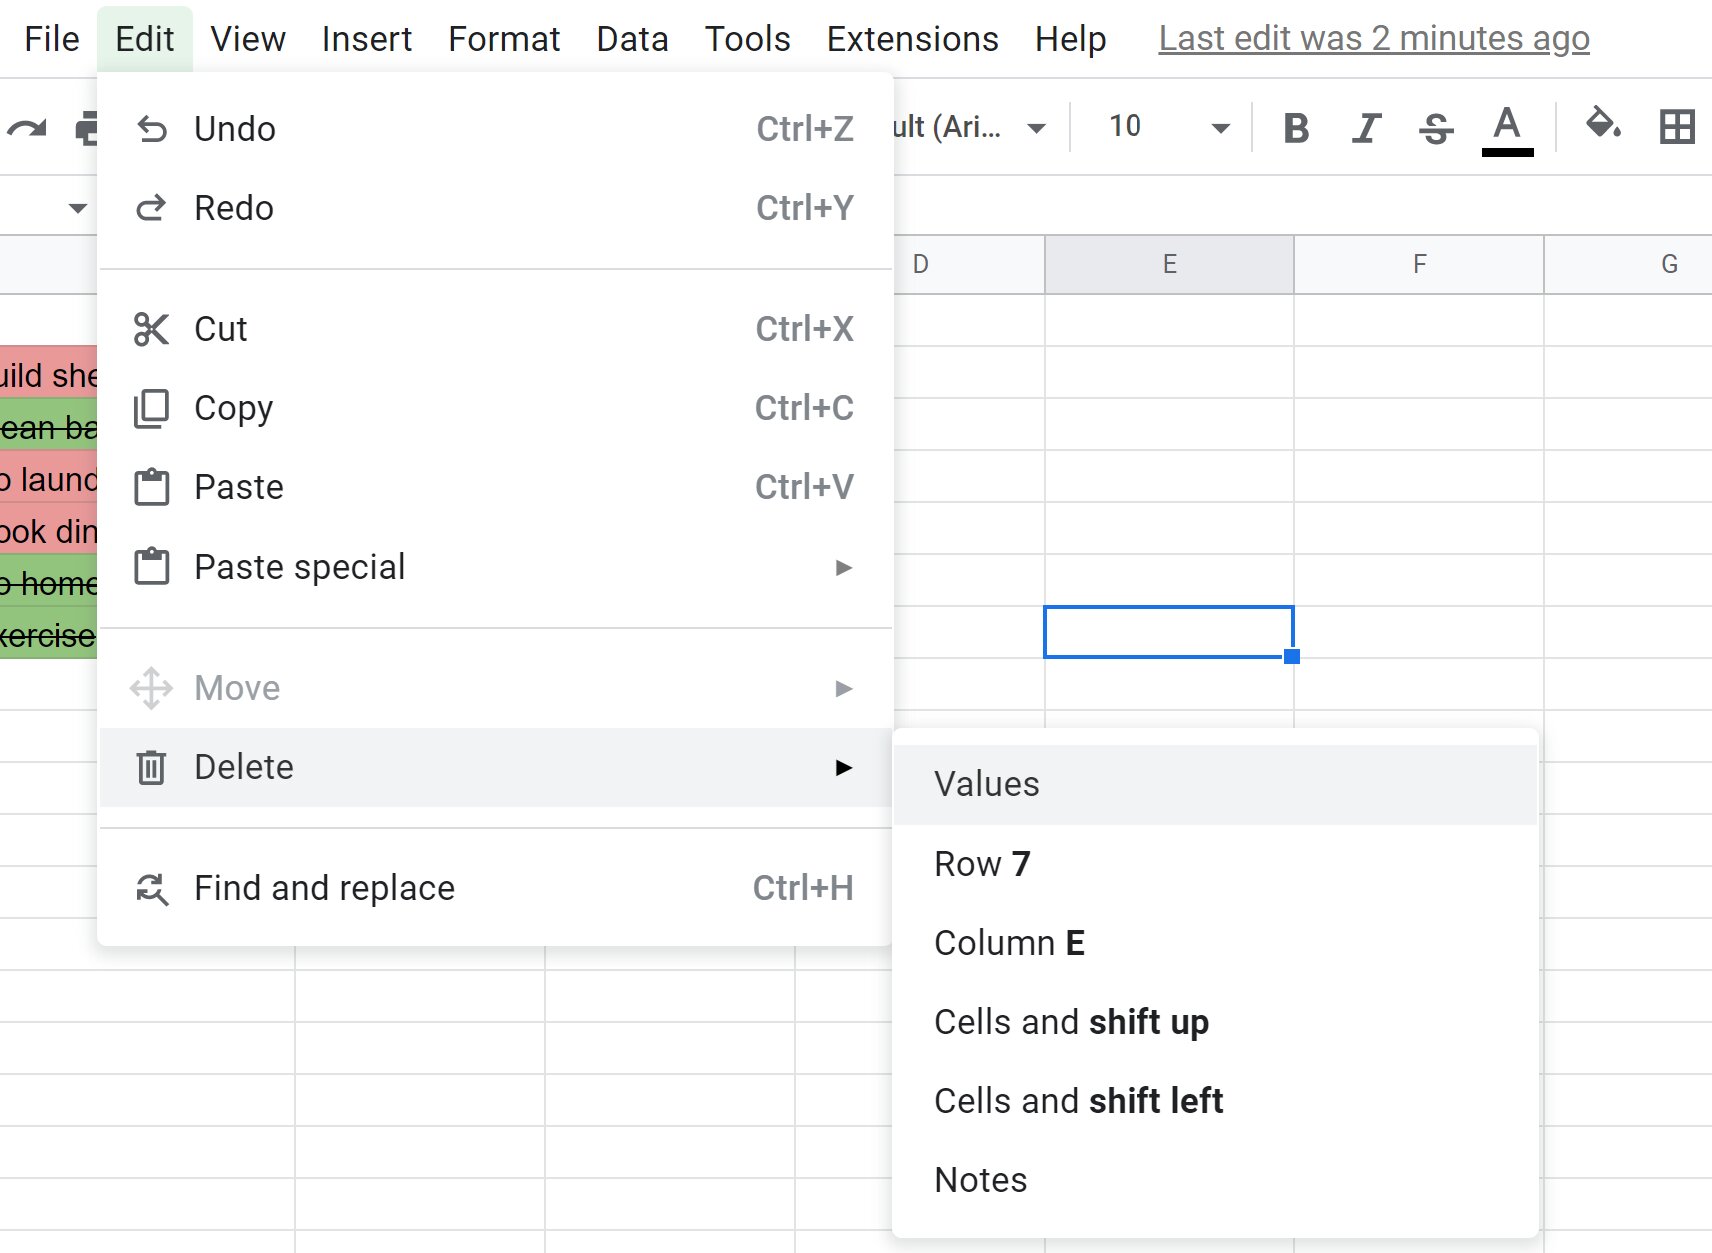
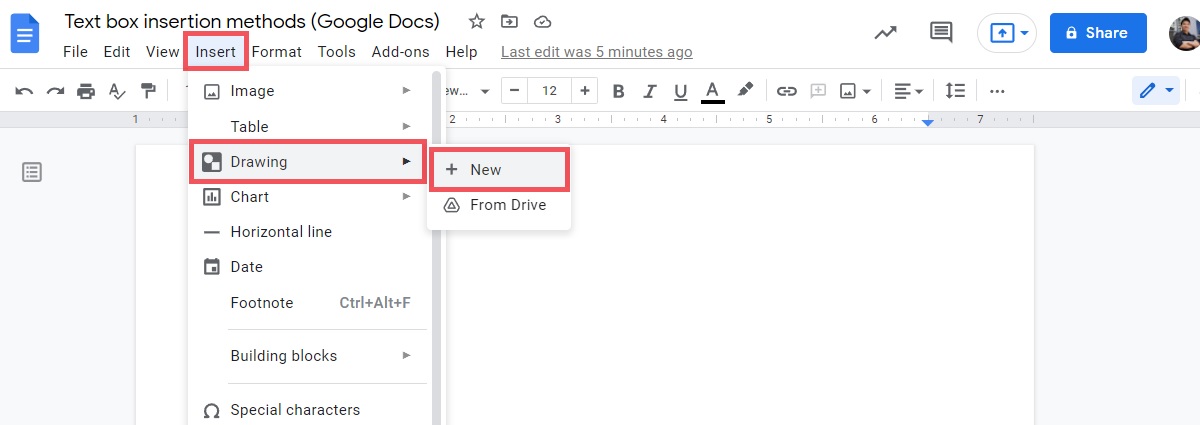
- Click on the Insert menu located at the top of the screen.
- In the drop-down menu, hover over Drawing and select New from the options that appear.
- A drawing canvas will open, providing you with various drawing tools.
- Click on the T icon in the toolbar, which represents the text box tool.
- A cursor resembling a plus sign will appear on the drawing canvas.
- Click and drag on the canvas to create the desired size of the text box.
- Type or paste the text you want to include in the text box.
- Use the selection handles on the text box to resize or reposition it within your sheet.
- Once you are satisfied with the placement, click outside the text box to exit the drawing canvas mode.
By following these steps, you can easily insert a text box in Google Sheets using the toolbar. This method allows you to quickly add annotations, labels, or additional information to your spreadsheets.
Now, let’s move on to the next method of inserting a text box in Google Sheets.
Method 2: Inserting a Text Box from the Insert Menu
If you prefer using the menu options to insert a text box in Google Sheets, you can follow the steps below:
- Open your Google Sheets document and navigate to the sheet where you want to insert the text box.
- Click on the Insert menu located at the top of the screen.
- In the drop-down menu, select Text box from the options.
- A text box will be inserted into your spreadsheet.
- Type or paste the desired text content into the text box.
- Use the selection handles on the text box to resize or reposition it within your sheet.
- Customize the appearance of the text box by adjusting the font, text color, background color, and border options using the formatting options in the toolbar.
- Once you are satisfied with the placement and formatting, you can click outside the text box to continue working on your spreadsheet.
This method provides a quick and efficient way to insert a text box without the need for additional drawing tools. You can easily customize the appearance of the text box to match the style and design of your spreadsheet.
Now, let’s explore the final method of inserting a text box using a keyboard shortcut.
Method 3: Using the Keyboard Shortcut to Insert a Text Box
If you prefer using keyboard shortcuts to perform tasks in Google Sheets, you’ll be pleased to know that there is a shortcut for inserting a text box as well. Follow the steps below to use the keyboard shortcut:
- Select the cell or range of cells in which you want to insert the text box.
- Press Ctrl + Alt + Shift + M (Windows) or Cmd + Option + Shift + M (Mac) simultaneously.
- A text box will be inserted into your spreadsheet at the selected location.
- Type or paste the desired text content into the text box.
- Use the selection handles on the text box to resize or reposition it within your sheet.
- Customize the appearance of the text box by adjusting the font, text color, background color, and border options using the formatting options in the toolbar.
- Once you are satisfied with the placement and formatting, you can click outside the text box to continue working on your spreadsheet.
This keyboard shortcut provides a convenient way to quickly insert a text box without the need to navigate through menus or use drawing tools. It streamlines the process, allowing you to focus on adding and formatting the content of the text box.
Now that you are familiar with three different methods to insert a text box in Google Sheets, you can choose the one that suits your preference and workflow best. Utilize text boxes to enhance the visual presentation of your spreadsheets, provide annotations, or add important information to your data.
Conclusion
Inserting text boxes in Google Sheets can greatly enhance the visual appeal and organization of your spreadsheets. Whether you need to add annotations, labels, or additional information, text boxes offer a flexible way to present your data effectively.
In this article, we explored three different methods to insert a text box in Google Sheets. You can use the toolbar, the insert menu, or a keyboard shortcut to add text boxes to your spreadsheets.
The toolbar method provides a simple and intuitive way to insert a text box, allowing you to quickly add annotations or explanations to your sheet. The insert menu method offers menu-based navigation for those who prefer a more structured approach. Finally, the keyboard shortcut method is ideal for users who prefer to maximize efficiency and speed in their workflow.
Regardless of the method you choose, text boxes allow you to customize the appearance of your content, resize and reposition them within your sheet, and ensure a visually appealing presentation of your data.
So go ahead and start experimenting with text boxes in Google Sheets. Add additional context to your spreadsheets, make important information stand out, and provide clear explanations to your collaborators or audience.
Remember, having well-organized and visually appealing spreadsheets can make a significant impact on the readability and understanding of your data.
Now you have the knowledge to effectively use text boxes in Google Sheets. Give them a try and see how they can elevate your spreadsheet presentations.